Dive into a thrilling survival experience in MEG Endless Reality Roblox! Master missions and discover essential tips to conquer every level.
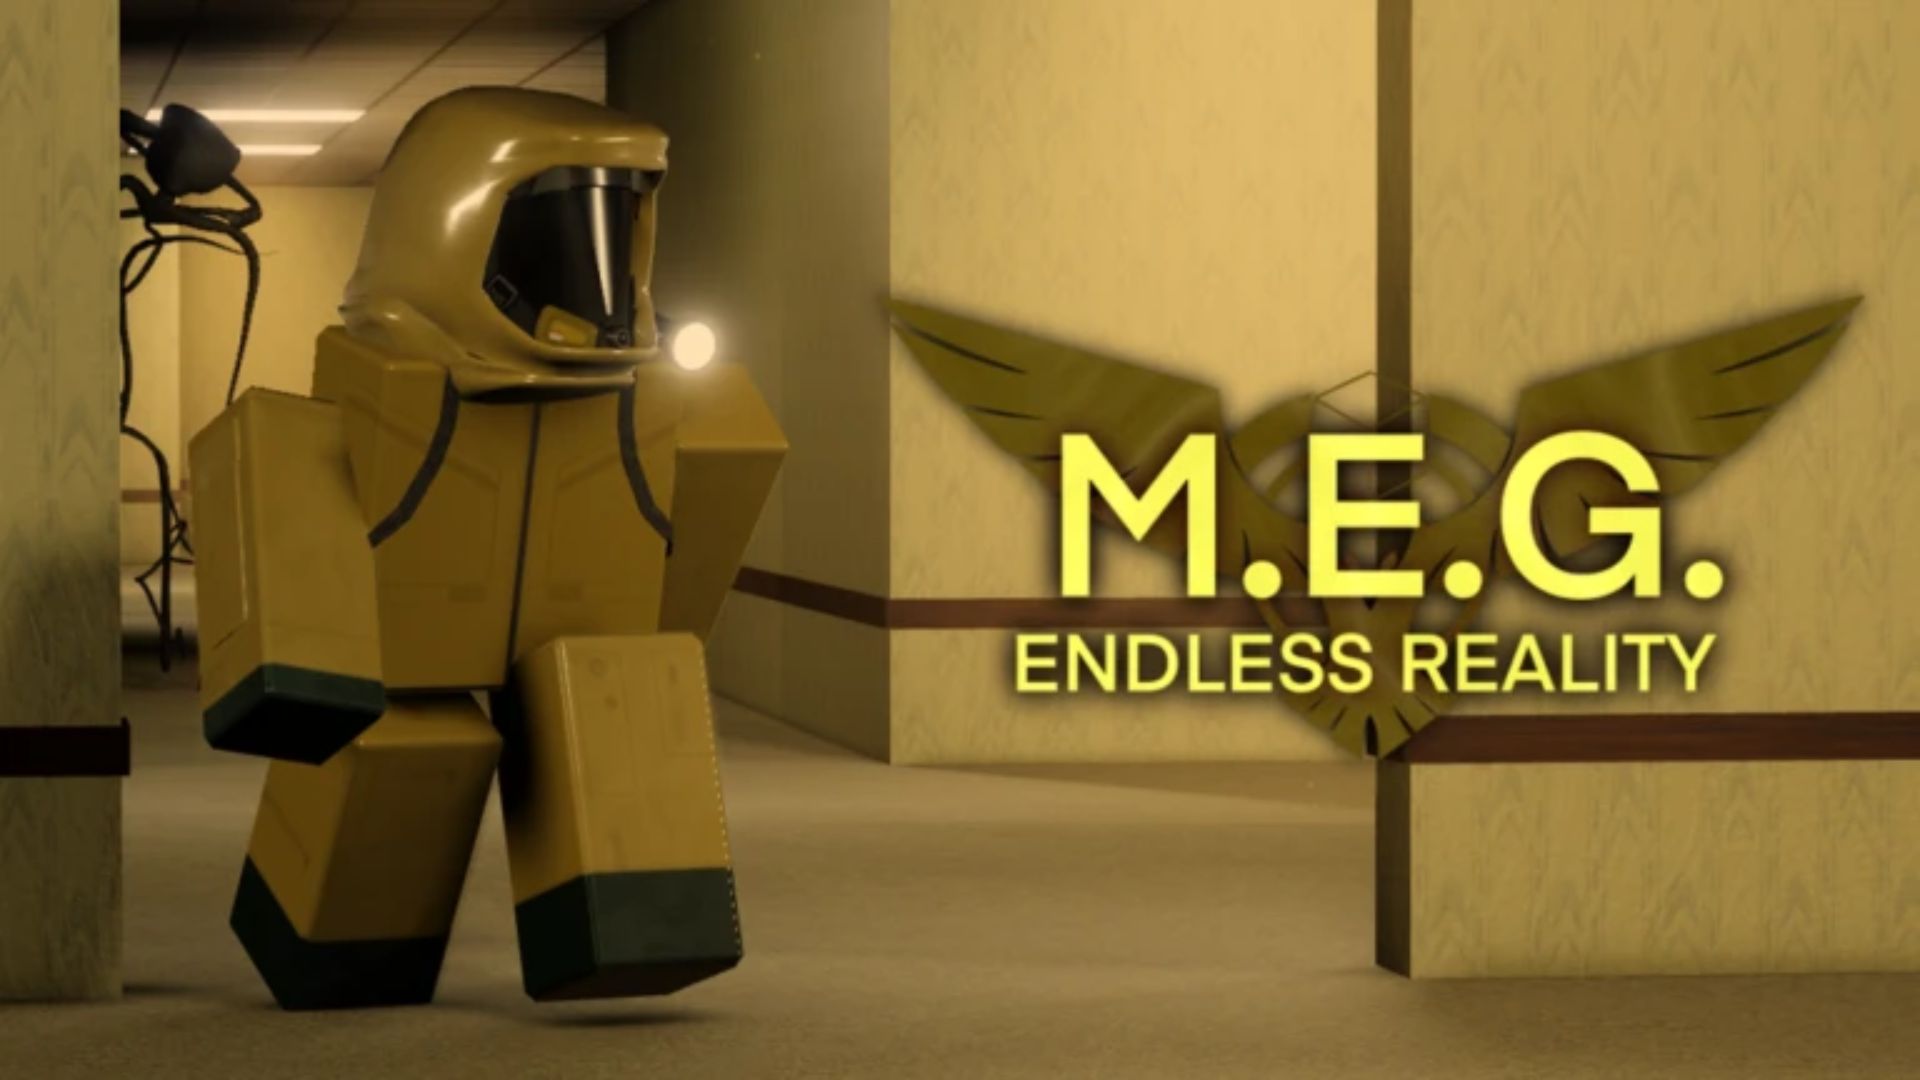
Getting dropped into MEG Endless Reality is like clocking in for a job where every shift could be your last. You’re now part of the Major Explorer Group, and your task is simple on paper—enter bizarre, unstable levels, complete your mission, and find your way back before time runs out.
The game doesn’t waste time holding your hand, so if you want to make it past your first few runs, you’ll need to know exactly what to do, what to avoid, and how to gear up.
Everything About MEG Endless Reality Roblox
Controls and First Steps
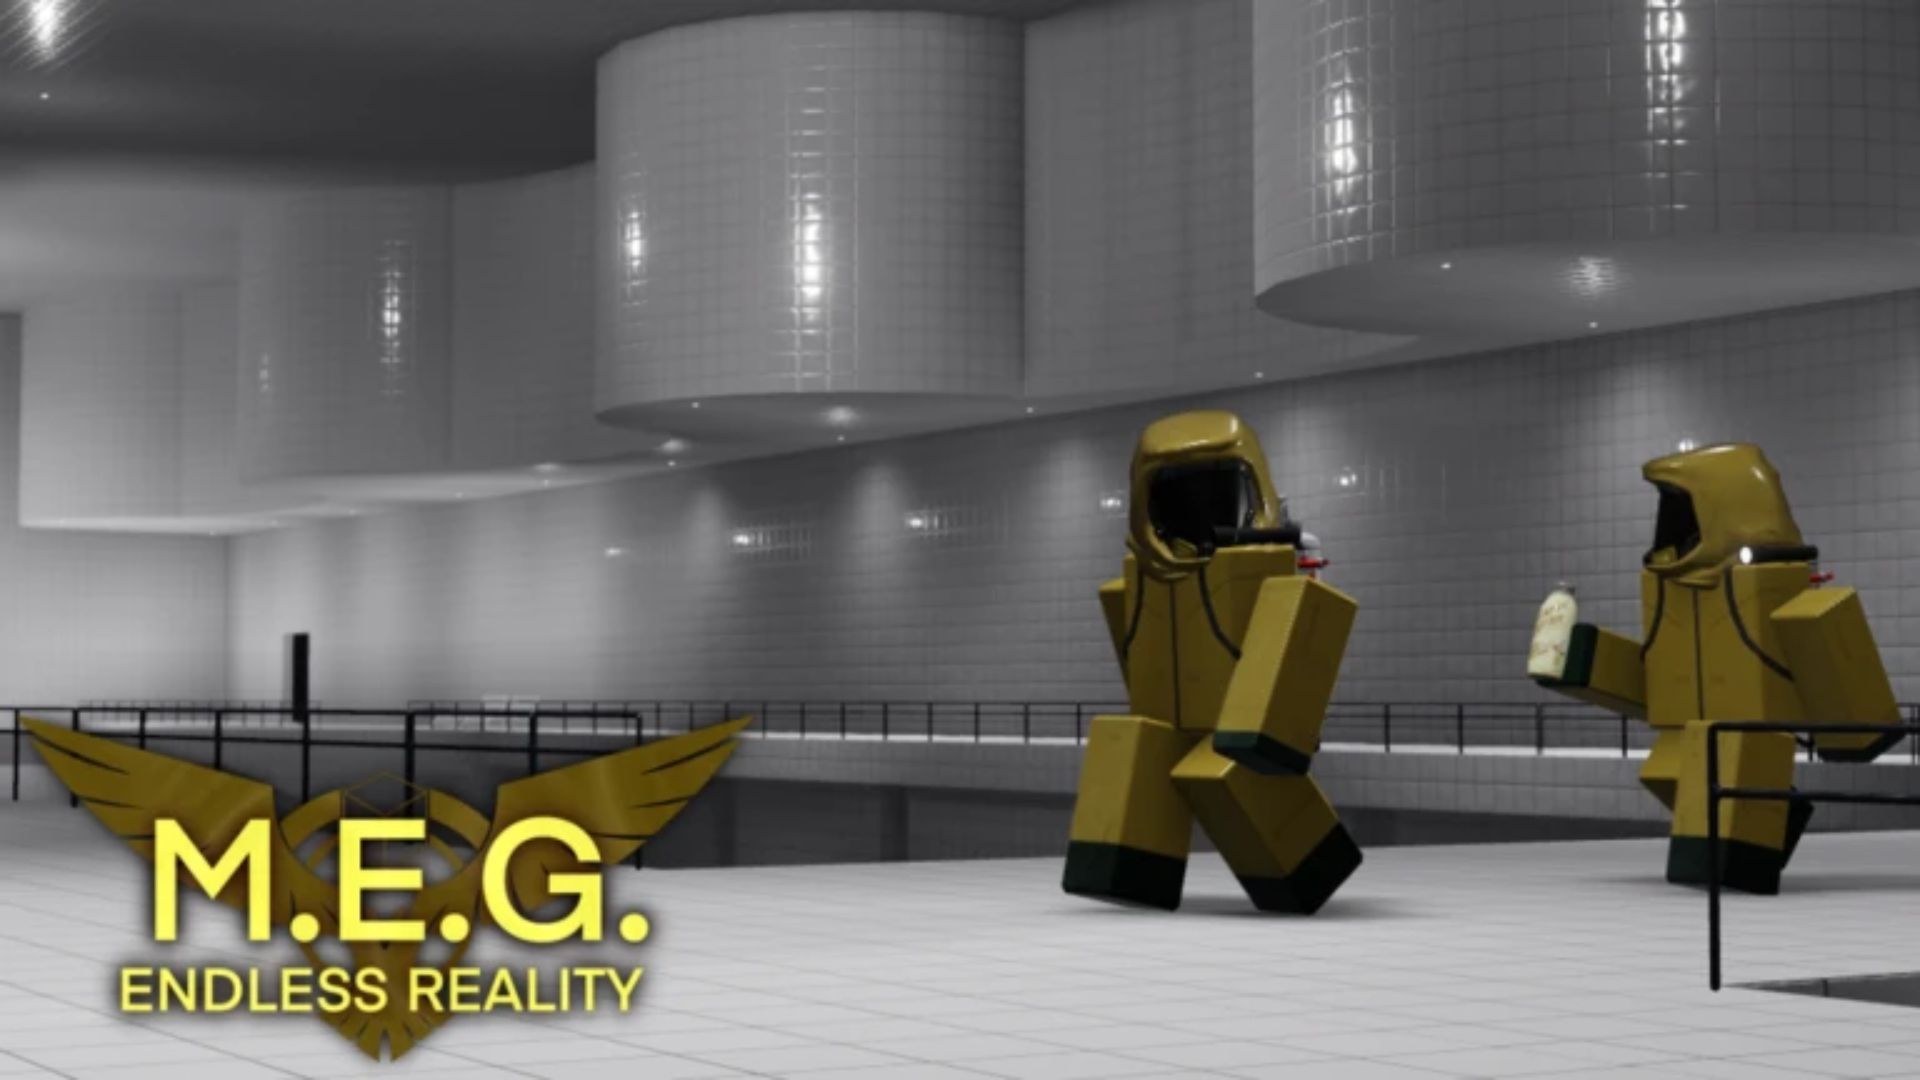
Learn the keybinds before anything else. Movement uses WASD, jump is Space, interact is E, sprint is Shift, flashlight is F, crouch is C, and hotkeys 1-9 swap gear. Walk around HQ, approach the central terminal, and press E to open the mission menu. Choose a level, read the objective, and confirm. The elevator lights up. Step in, wait for the doors to close, and the timer starts.
Mission Flow
Every run follows a loop.
- Spawn in the level.
- Check the objective text at the top of the screen.
- Search the map until you complete the task.
- Return to the elevator before the clock hits zero.
Objectives fall into three buckets: locate and interact with a specific item, capture a hostile entity with a trap, or clear an area of smaller threats. The faster you finish, the larger the payout.
Know Your Levels
Each level has fixed rules, even if layouts shuffle. Memorize the high-risk zones first.
| Level | What to Expect |
|---|---|
| The Habitable Zone | Teleporting legless entity. Avoid contact. |
| Ligneous Desolation | Rolling ball of limbs that deals heavy damage. |
| Paradise | Maze‐like interiors with identical rooms. Drop pings often. |
| Poolrooms | No hostiles during tests. Safe loot run. |
| Memories | Another no-hostile option, good for learning routes. |
Safer maps let you practice path-finding. Hazard maps demand traps, armor, and tight coordination.
The Shop
Cash only matters if you live long enough to spend it. Buy in this order.
- Elevator Compass – 40 credits
Indicates elevator location on HUD. Absolute priority. - Watch – 250 credits
Displays remaining time. One per squad is enough. - Body Armor – 300 credits
Adds a buffer of health ticks. Turns fatal hits into near misses. - Medkit – 250 credits
Restores full health. Carry at least one on danger maps. - Bear Trap – 300 credits
Immobilises most entities. Place it, lure them over, leave. - Energy Drink – 400 credits
Double sprint speed for a burst. Save it for the return run.
UV flashlights, radios, cameras, and cosmetic suits can wait until you have a consistent income.
Loadout Routine
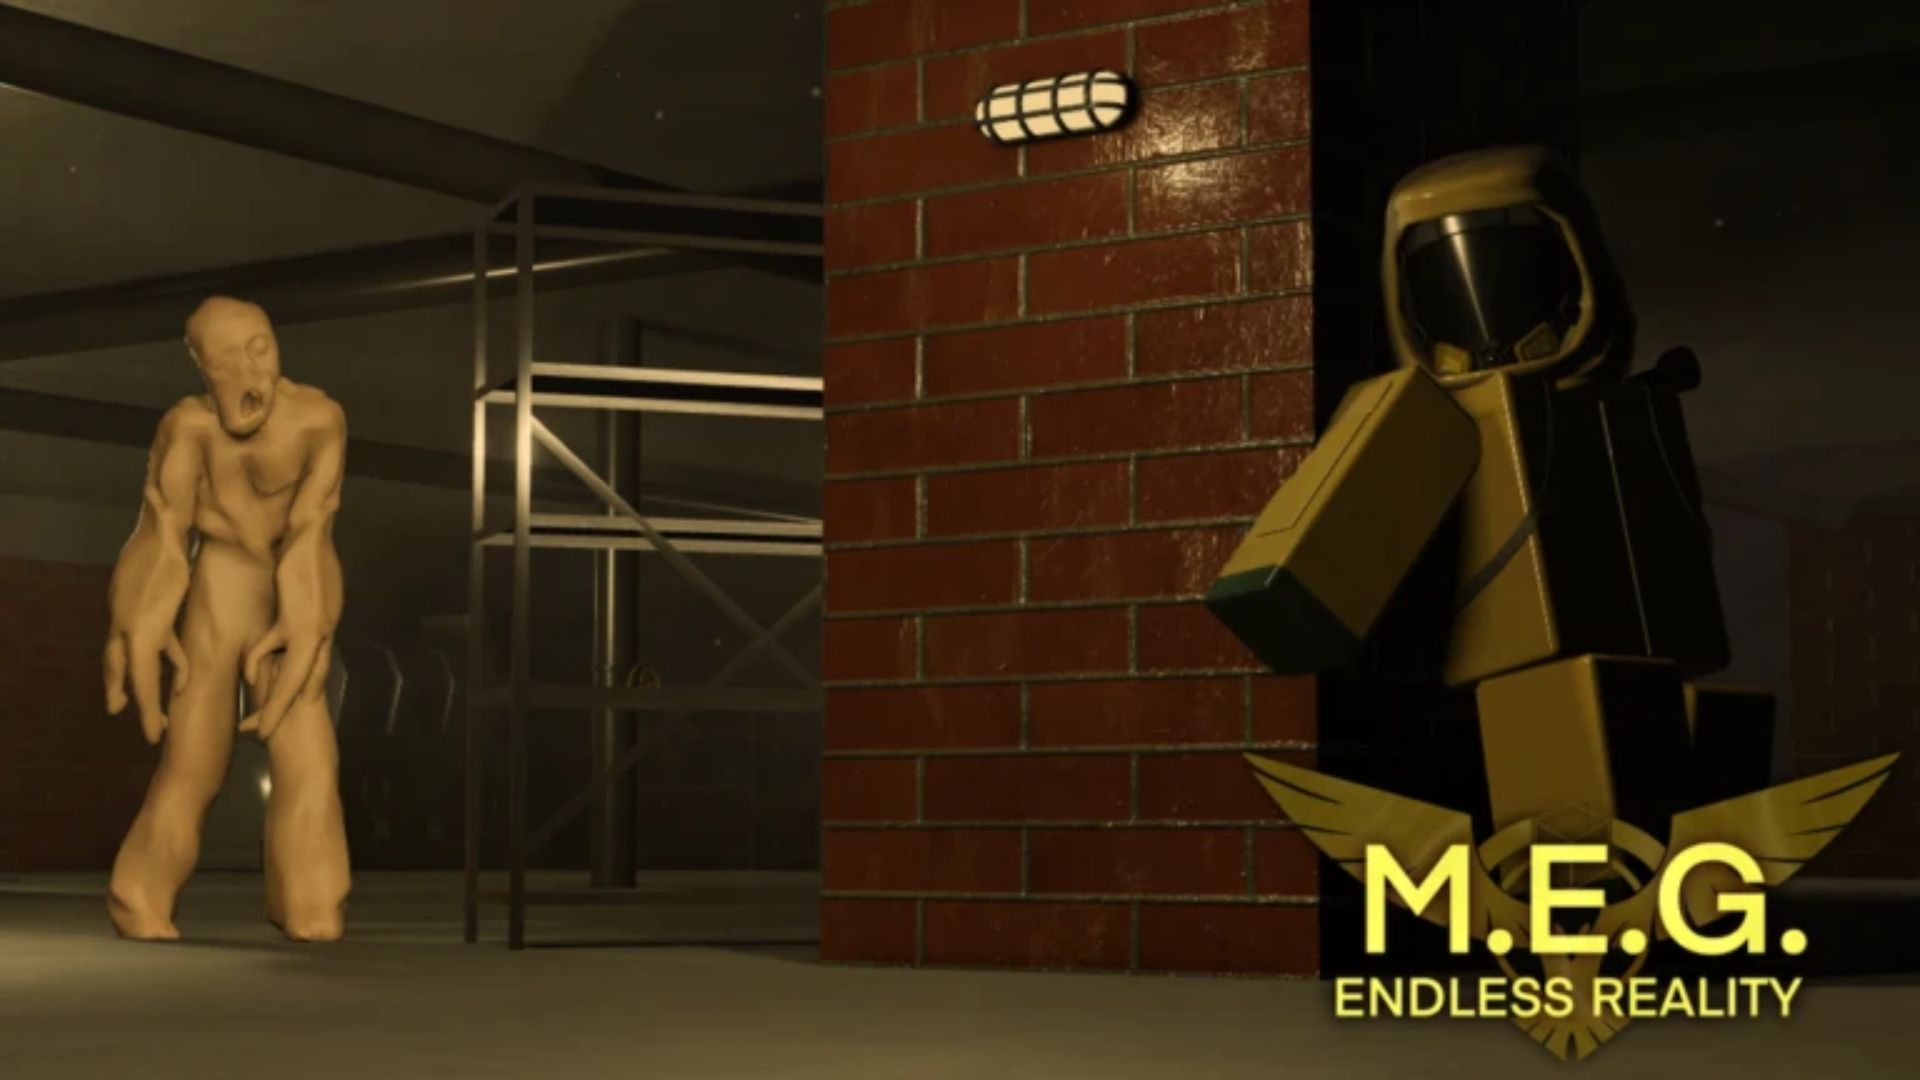
Before every drop:
- Equip flashlight, compass, and watch.
- Slot traps or drinks on hotkeys 1-3.
- Confirm armor is active in the inventory panel.
- Toggle voice or text chat for quick calls with teammates.
Team Tactics
Coordinate rather than cluster. Split the map into slices and assign one player per slice. The compass carrier stays near the elevator once the item is found. The time-keeper watches the clock and calls return deadlines. If someone spots a hostile, mark the spot with a ping and back off. Bear traps work best when two players bait and one places.
Solo Strategy
Playing alone is possible but with strict precautions. Pick safe levels until you can afford armor. Use doors and corners to break line-of-sight. Drop pings in complex areas to avoid loops. Never fight an entity without a trap unless the exit is within sprint range.
Movement Rules
Sprint has a generous bar that refills quickly, so use it whenever areas feel clear. Crouch only to slip under debris or soften footsteps near a hostile. Jumping is slower than sprinting; avoid it unless an obstacle blocks the path.
Quick Reference Checklist
- Terminal -> Choose level -> Read objective.
- Compass locked on elevator.
- Watch time every thirty seconds.
- Complete tasks first, loot later.
- Exit with at least thirty seconds spare on high-risk maps.
Master these fundamentals and MEG Endless Reality stops feeling like a death sentence and starts paying the bills. Finish objectives, bank credits, upgrade steadily, and you’ll outlast the explorers who rush blindly into the dark.
Looking For More?
Thank you for reading the article. We provide the latest news and create guides for Baldur’s Gate 3, Starfield, ARK Survival Ascended, and more. Also, watch Deltia play games on Twitch or visit his YouTube channel!
 Reddit
 Email
Email
