Facebook
 Reddit
 Email
Email
Learn how you can complete the Recruitment Drive main mission in Borderlands 4 so that you can progress to the next quest
The Recruitment Drive quest in Borderlands 4 is the second main mission that begins after completing the Guns Blazing quest. Similar to most missions in the game, the quest is a fairly lengthy one with lots of objectives. Although completing the mission may take some time, Claptrap will accompany you for the whole task. Here is a detailed article that contains everything you need to know about the Recruitment Drive quest in the game.
Also Read: All Side Missions in Borderlands 4
Recruitment Drive Main Mission Guide in Borderlands 4
Below is the detailed breakdown of the mission:
Head to the Ripper Camp
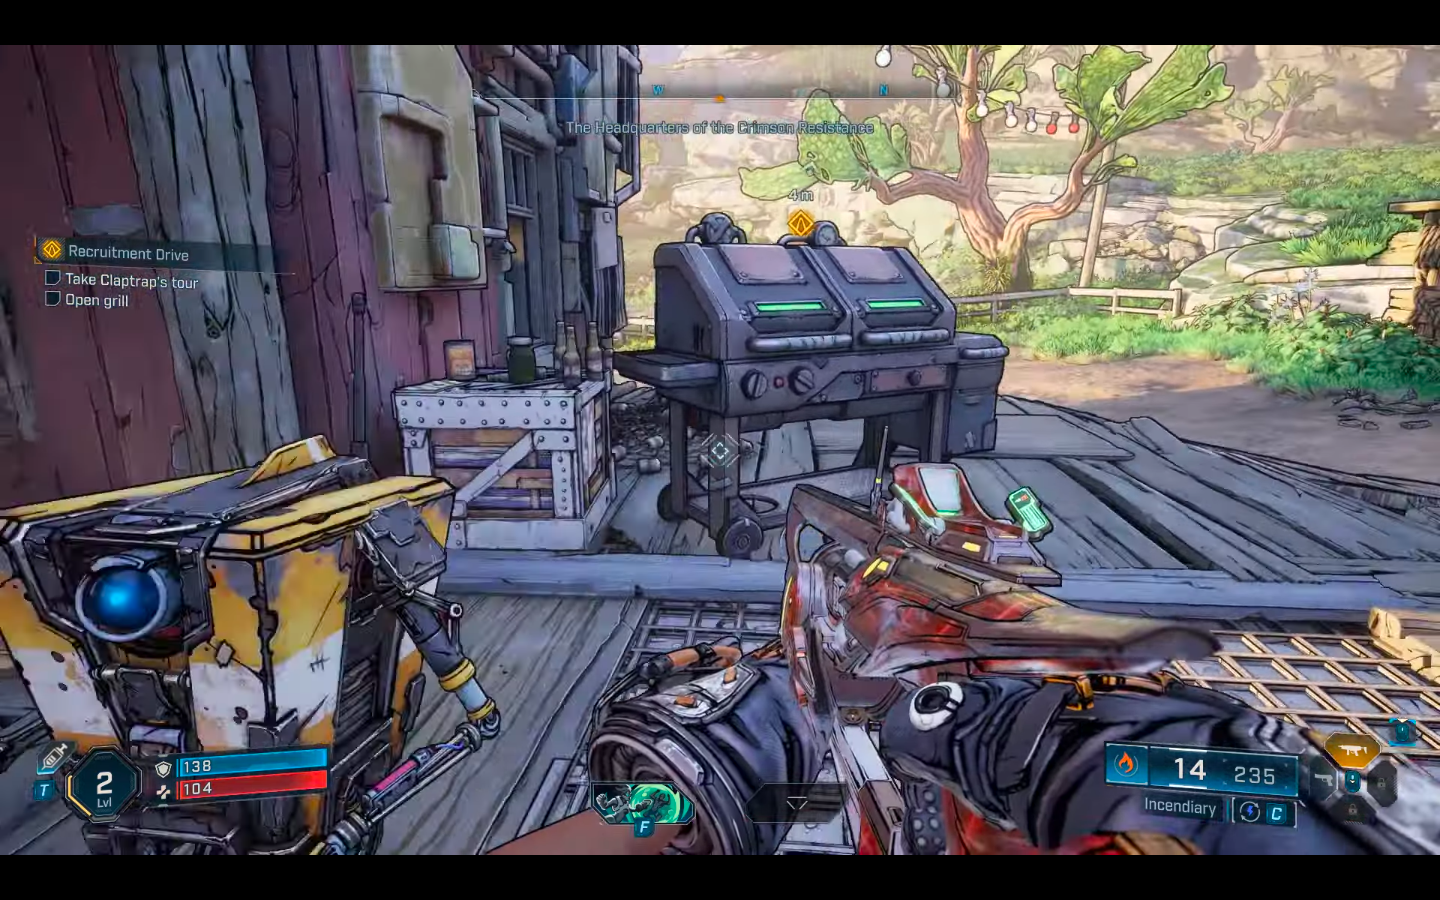
Once the quest officially starts, you will find the noisy Claptrap doing his usual commentary. Afterward, he offers you a tour of the area and begins by showing you a grill. Once you open it, you can collect some AAA batteries from there. Next, follow Claptrap as he leads the way. Once you are at the abandoned post, you need to clear out the Rippers there. However, tackling them would not be a big challenge, as all you need to do is take cover occasionally and aim precisely.
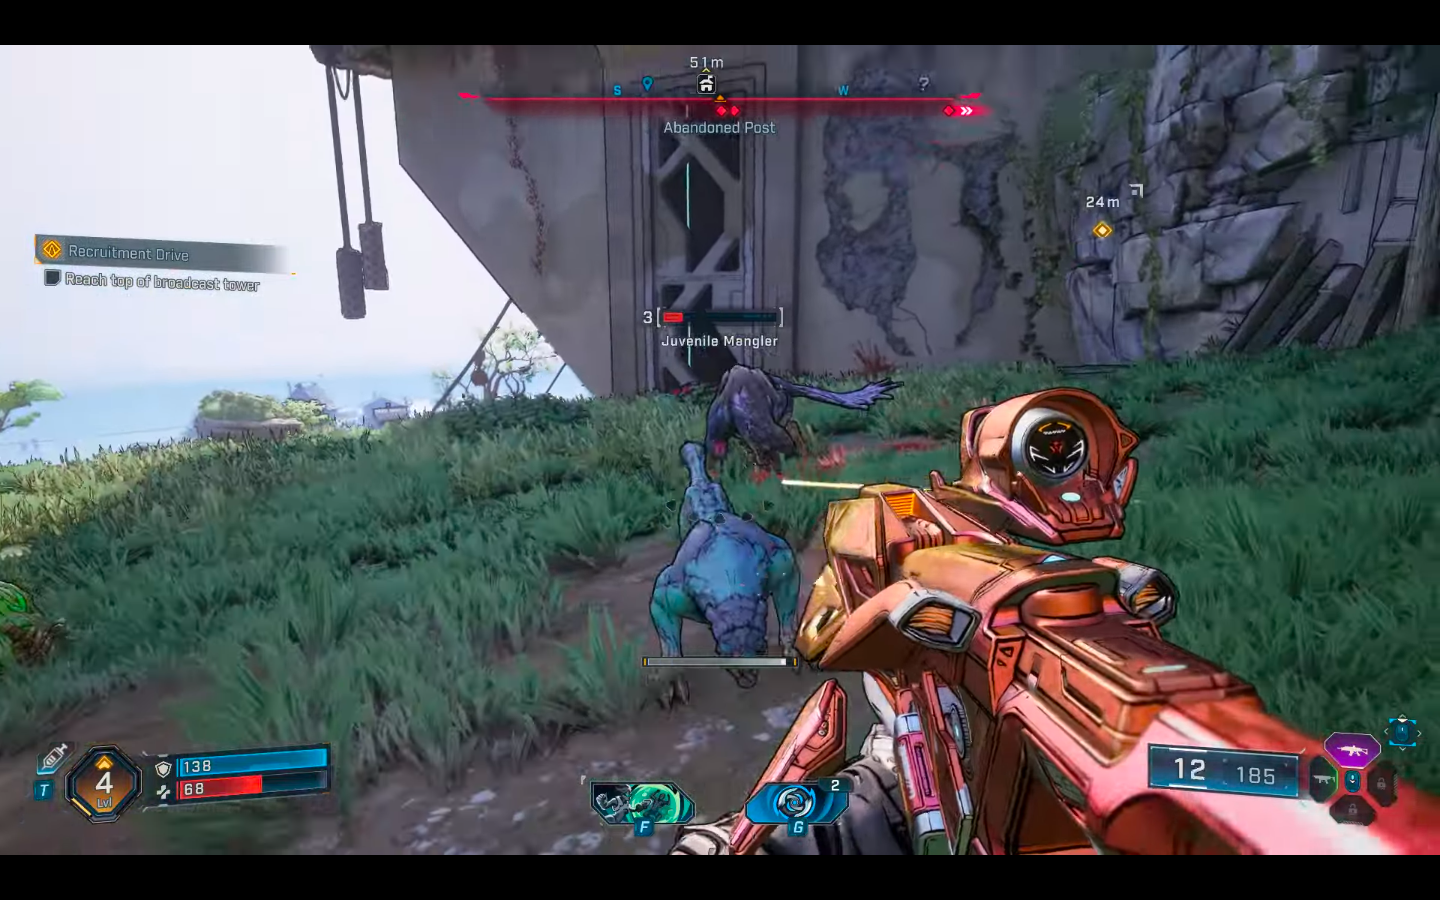
For the next objective, climb the platform to arrive in front of the elevator. However, you will not use it to head any further. All you need to do is wait until your ECHO Device gets activated. Afterward, follow the bright yellow line. After a short distance, some Manglers will attack you. Once you clear them, keep going ahead towards the Ripper camp, where you need to take down some more Rippers.
Find and Kill Splashzone
The next objective of the task is to find and kill Splashzone. For this, you need to arrive at the Riptide Grotto section, where you will have an intense fight with a few more Rippers. Once you defeat them, march ahead, double jump over the massive gap, and climb the metal wall to arrive at another area with similar enemies. Eliminate them and continue straight, where you will have to jump over a gap to encounter Splashzone.
Defeating him will take some time, as he is not alone. Additionally, it is recommended to take out the accompaniments first. The key strategy to defeat the monster is to maintain distance and keep firing some bursts towards him. Keep following this strategy, and you will soon defeat Splashzone. Once he is down, loot the drops, including a key, which you will need later in the mission.
Loot Splashzone’s Chest and Arrive at the Top of the Broadcast Tower
After obtaining the key, follow the marker to find the Splashzone chest. Once there, open it to collect the Glidepack, which will be required further. Complete the next objective, which simply requires you to use the glider to exit the area. Now, your next task is to return to the Broadcast Tower by following the marker. To save time and reach there easily, use the newly unlocked gliding mechanics.
However, you need to defeat some enemies along the way. Additionally, do not forget to collect the loot you find on your journey. Once you reach the tower, you need to get to its top. Start your climbing journey and use the gliding mechanics to move ahead. Soon, you will need to glide across a massive gap. Afterward, climb the metal wall and arrive at a level below the top. Finally, use the grapple to climb to the top of the tower. Once there, you will listen to the voice of Claptrap congratulating you for making it this far.
Get Clearance for the Elevator
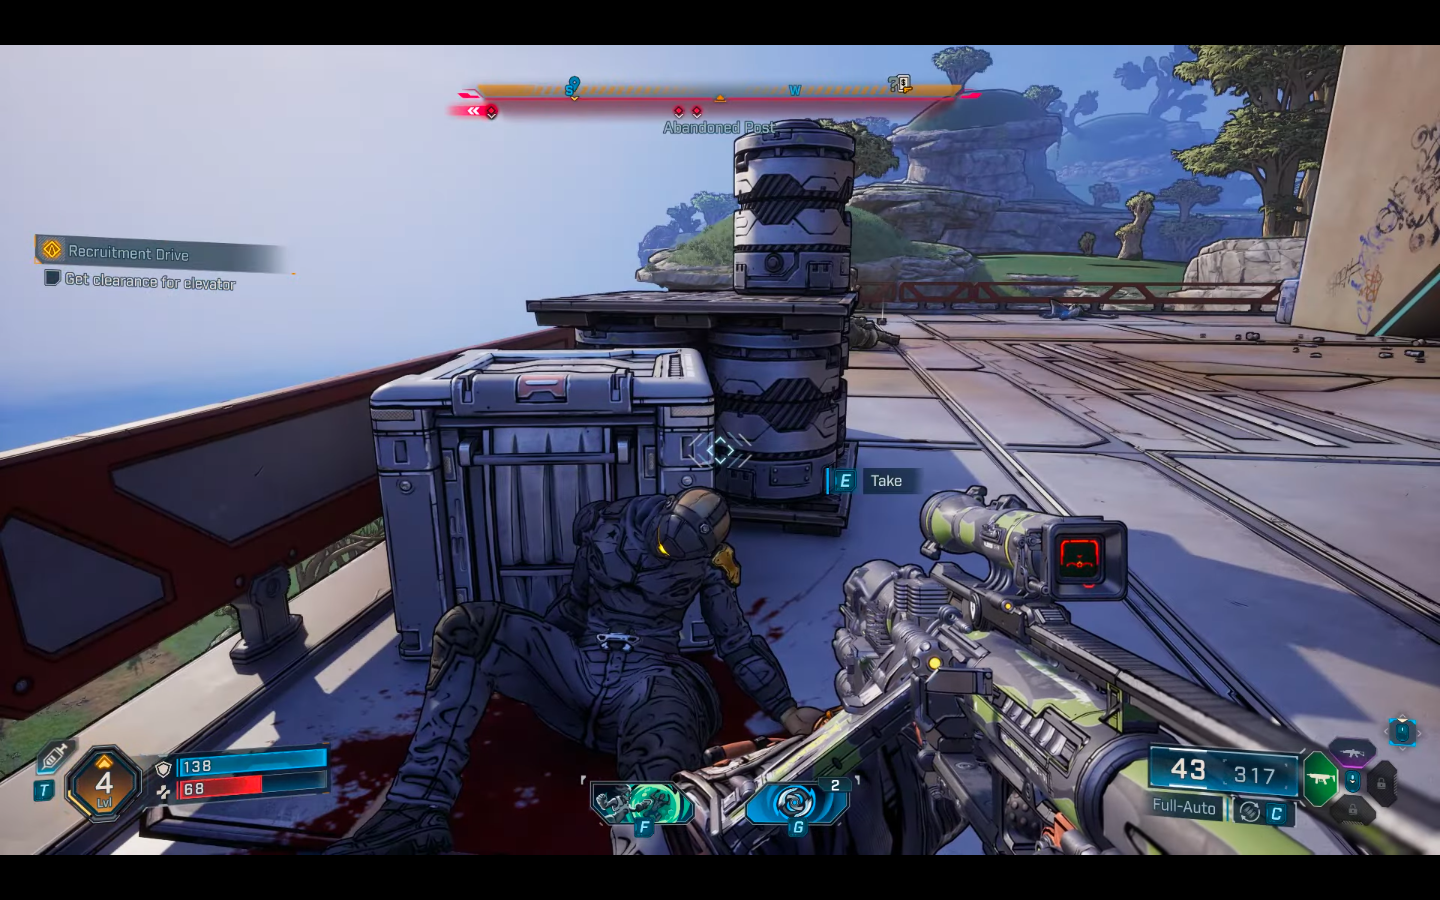
The next part of the mission feels like a dead end, where you are stuck in front of an elevator. The only clue you have is that you need to get clearance for the elevator. To find a way ahead, you need to search one of the fallen dead bodies that is at one of the corners. By doing this, you will collect a collar chip that you can use to activate the elevator.
Start the Broadcast To Complete the Recruitment Drive Mission
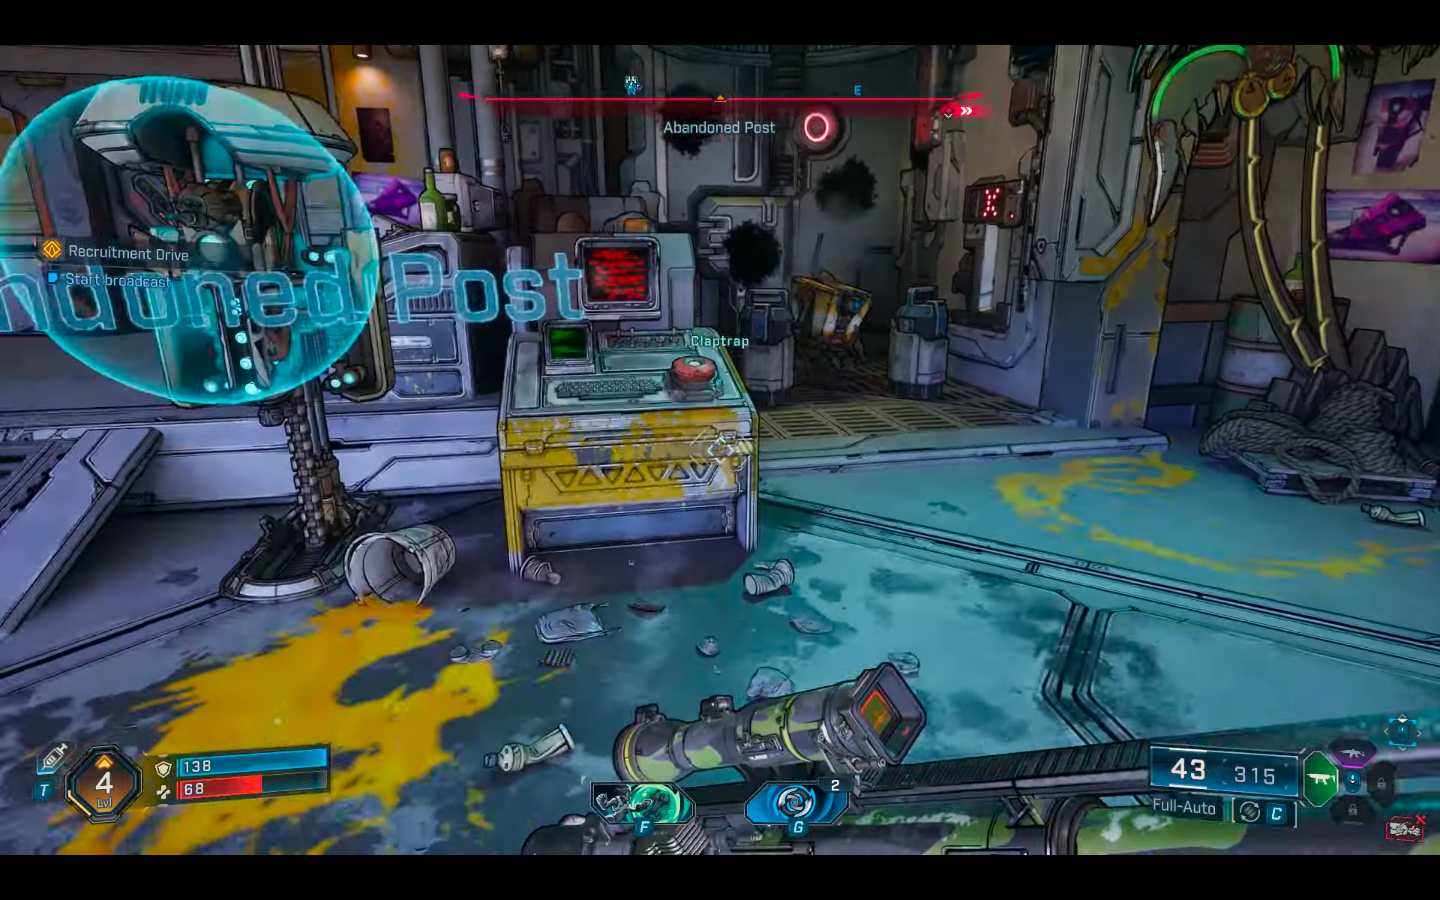
For the final stretch of the mission, you need to help Claptrap head inside the Resistance Safehouse. To do so, punch the door and head inside. Move to the end to find a green tablet on a computer desk. Interact with some of the green glowing items to help Claptrap get the codes for the safehouses.
Soon, you will be successful in activating Claptrap’s Safehouse. Next, you will have to listen to him talk until the red button of the machine glows green. Finally, press it to begin the broadcast. After a brief interaction with Claptrap, the Recruitment Drive quest will complete, and the next main mission, Down and Outbound, will start. That was all about the Recruitment Drive mission in Borderlands 4.

We provide the latest news and create guides for Borderlands 4. Meanwhile, you can check out the following articles or catch us playing games on YouTube: