Facebook
 Reddit
 Email
Email
In this guide, we’ll explore how you can begin and complete the side quest, dubbed the Precious Cargo quest, in Dying Light The Beast.

Precious Cargo quest in Dying Light The Beast is one of the many optional missions you can take on. A marker will appear on the map after you’ve made enough progress, and you can simply go there and start the quest. This mission involves locating an ammo container that’s somewhere under a water duct, close to a warehouse.
While the description sounds simple enough, you might have trouble with one part of this quest. So, without further ado, let’s jump right into this detailed guide for the side quest.
How To Start the Precious Cargo Quest in Dying Light The Beast

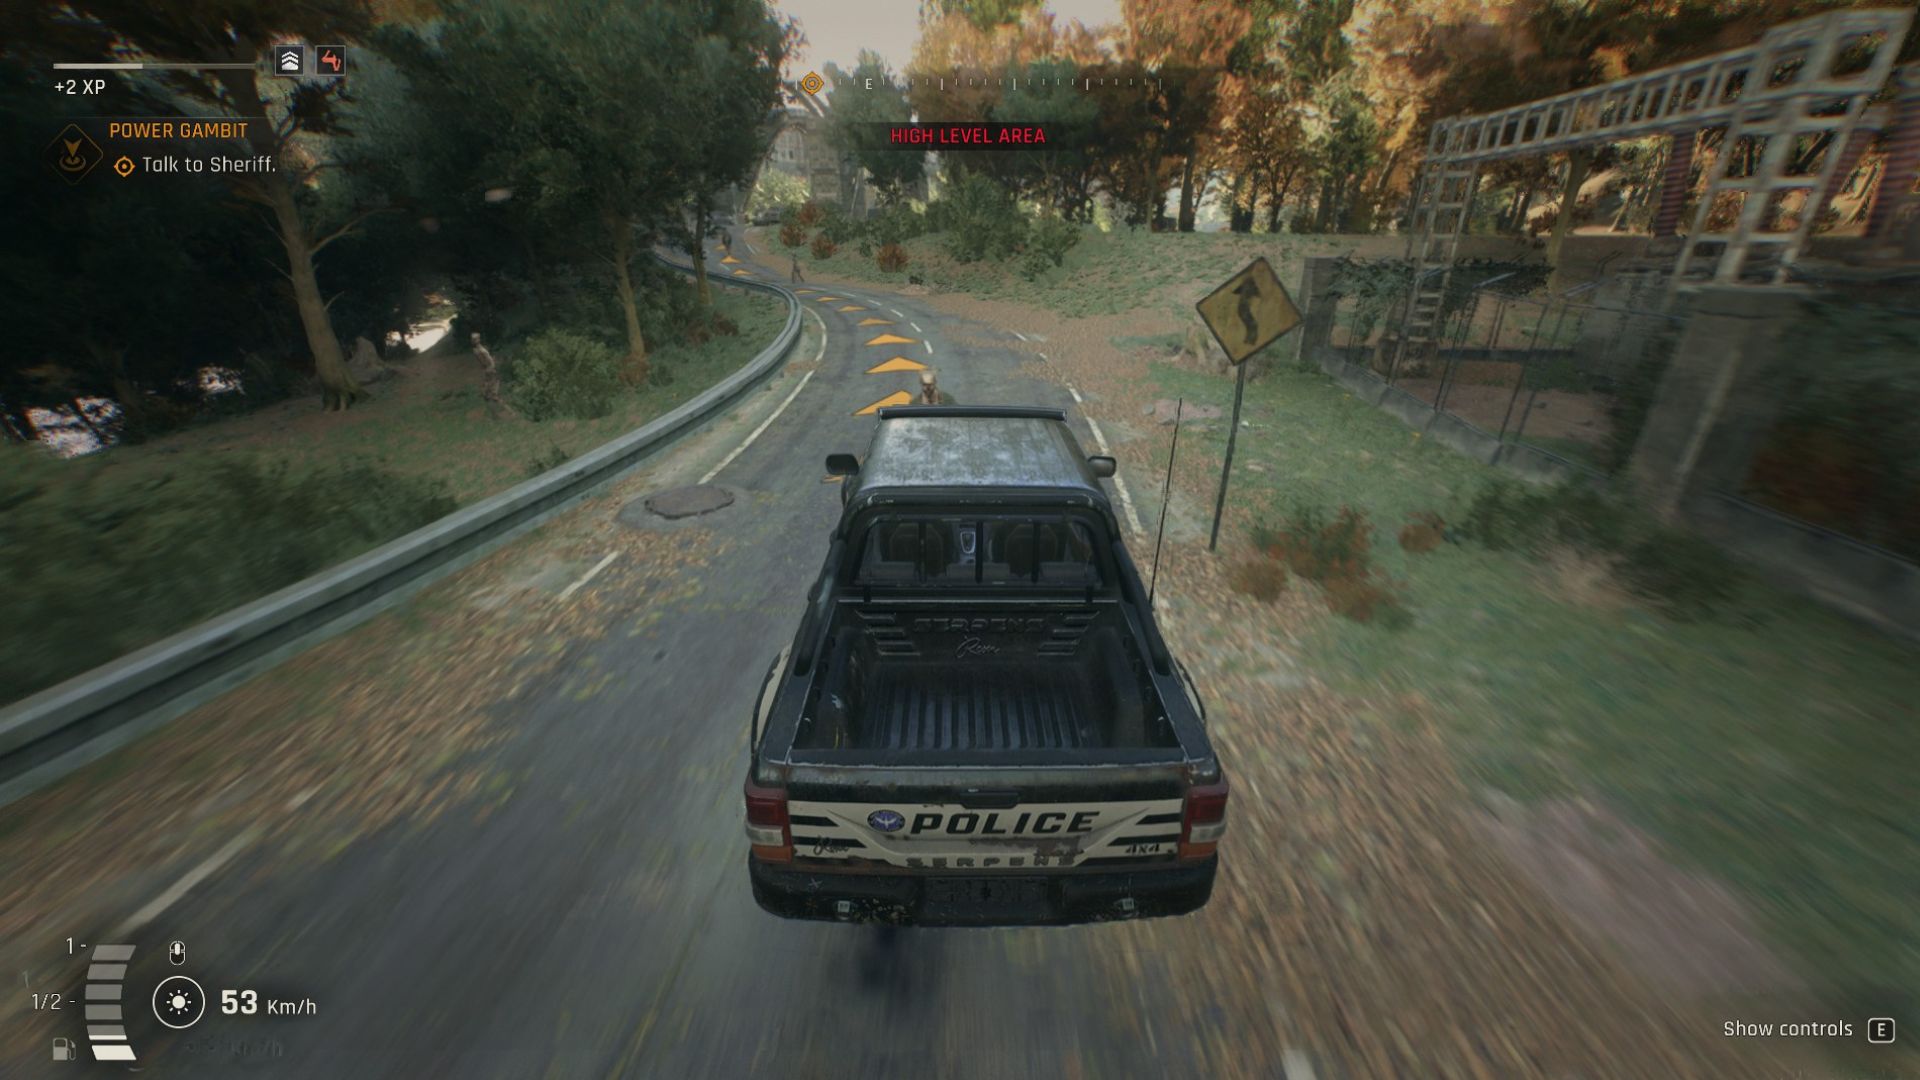
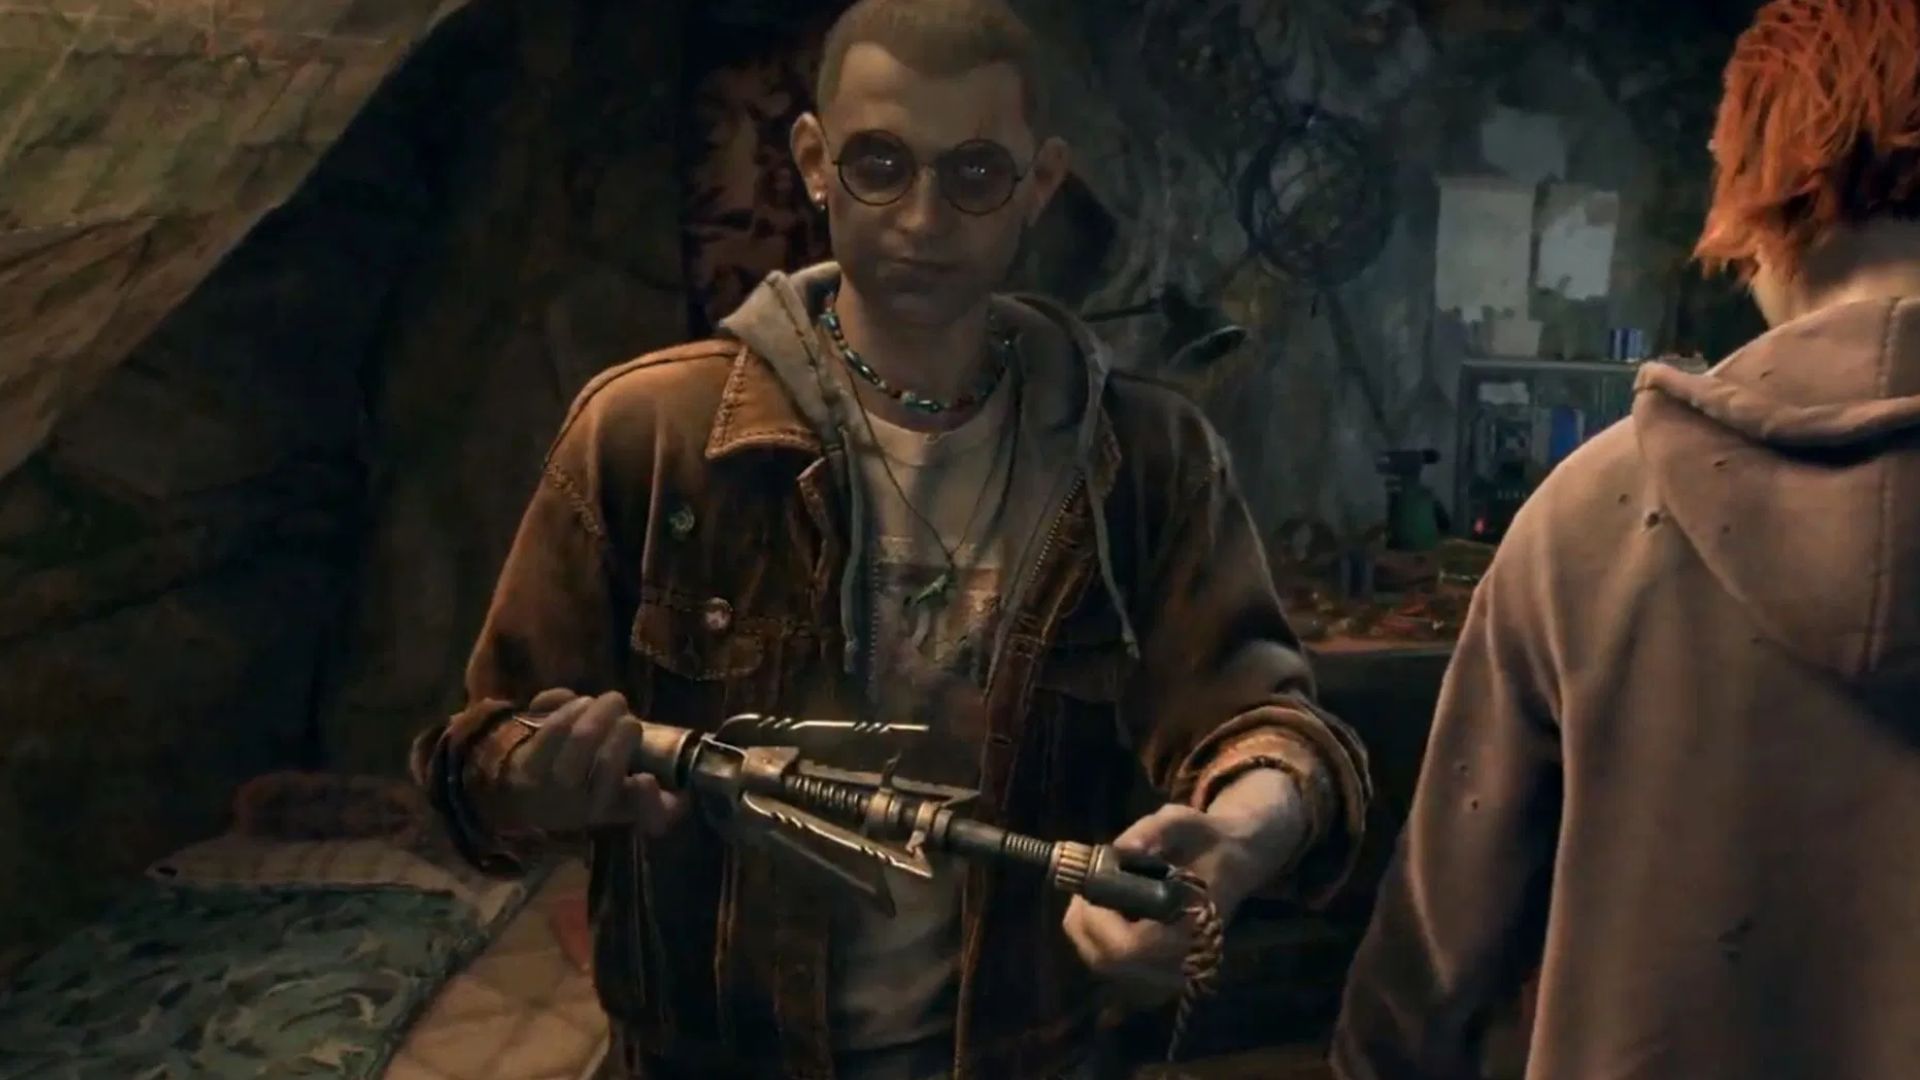
You will need to head to the map marker for the quest in Old Town. There, you can speak to an NPC named Keller. He’ll tell you how during their escape from Krenburg, the survivors were ambushed by raiders. In the panic that ensued, the survivors had to hightail it out of there.
This led to one of their ammo crates falling in the aqueduct. Keller will inform you that since the power is back on, you could technically power one of the cranes in that area now to retrieve the container from underwater. However, he also warns you about infected and other enemies crawling in that part of the map. Still, Kyle decides to help him out and head out to get that container.
How To Complete the Precious Cargo Quest in Dying Light The Beast
Locating the Container and the Right Crane
The first order of business is locating the container. To do this, simply head to the walkway over the aqueduct and keep hitting your survivor sense. It will soon highlight the ammo container. Now, just dive into the water and proceed near it. The objective will update and ask you to head back to shore now. After you do that, the game will highlight three cranes in the area.
You will need to figure out which of them is in working condition. We’ll save you the trouble and just tell you that the right choice is the crane that has the magnet attachment. Climb on top of the crane and try to power it on. However, if that sounded too good to be true, it is. The crane has no power. From here, just proceed to the top of the warehouse and check out the electric panel there.
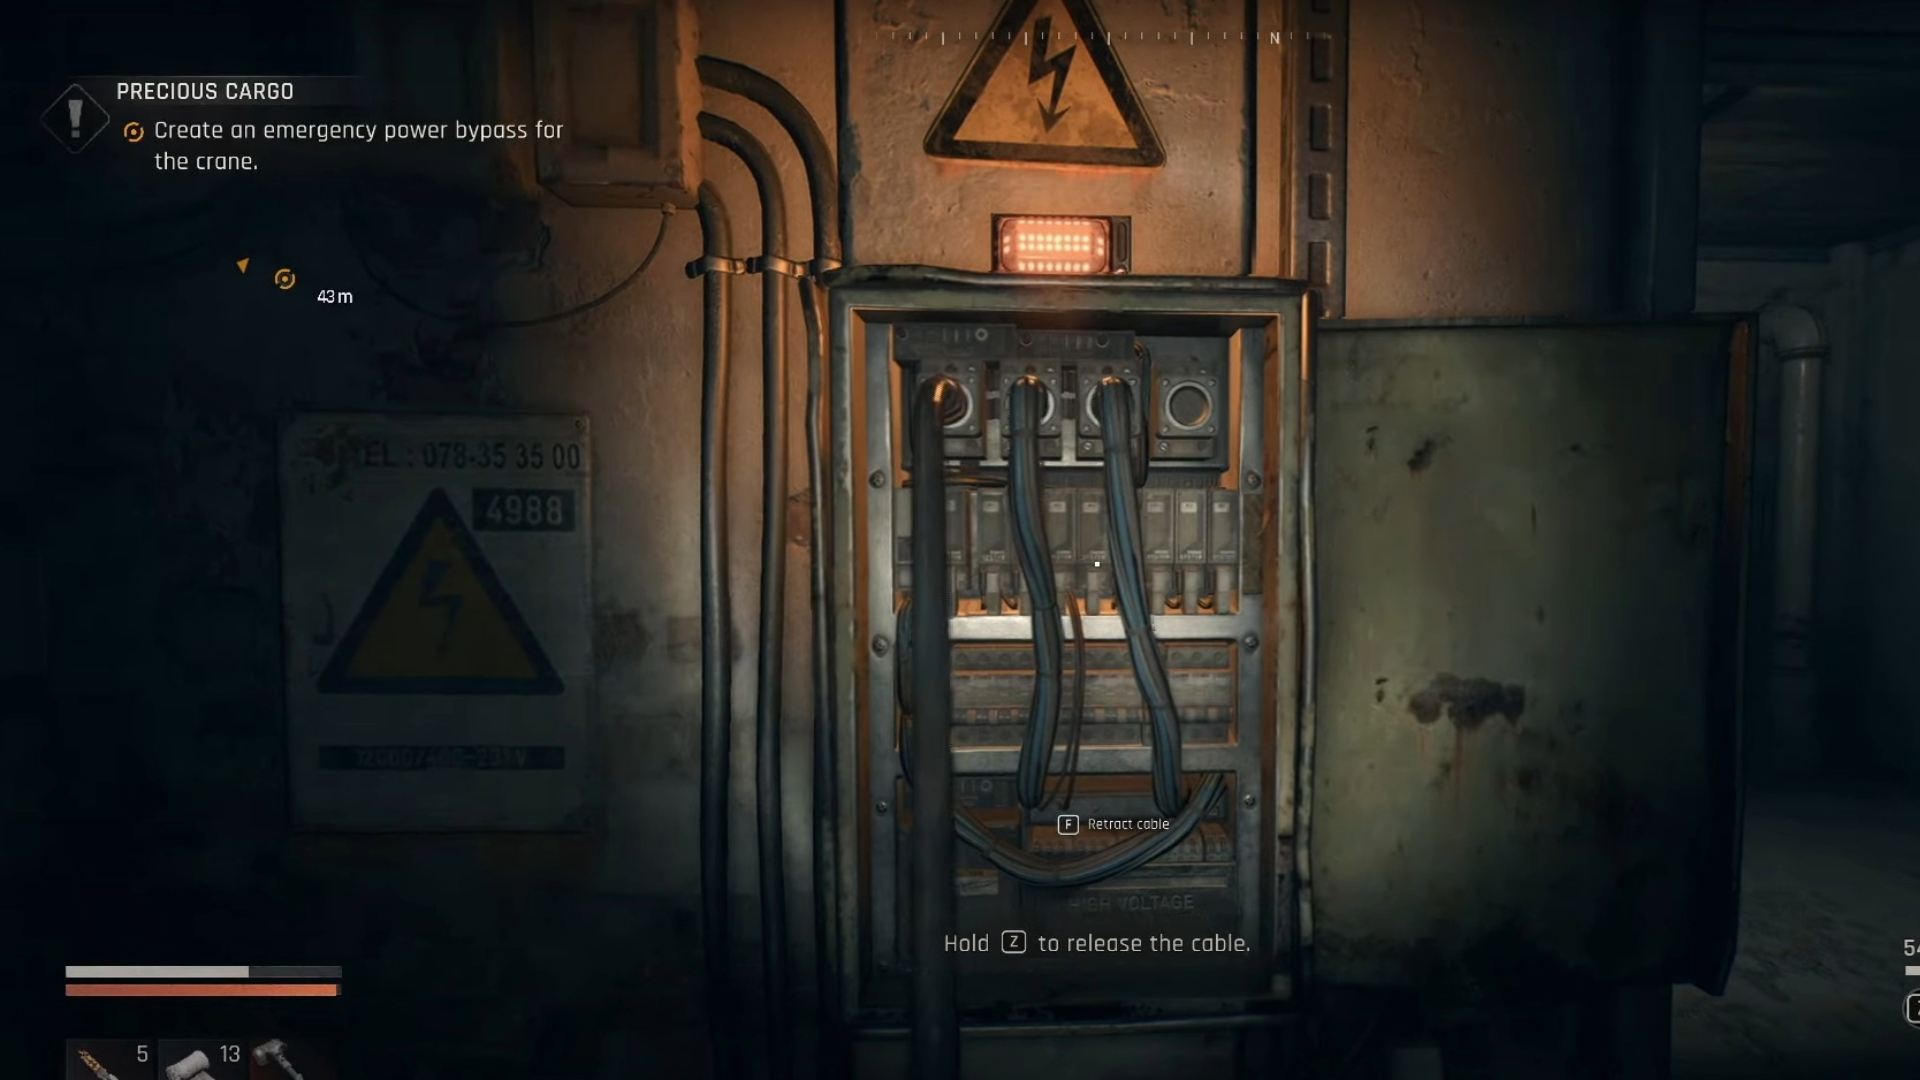
Finding the Electrical Switchgear
Your next move is to head inside the warehouse to find the switchgear there. Simply stand facing the warehouse building with your back to the aqueduct, and proceed to the building’s left-hand side. There is some scaffolding here that you can climb to reach a window, which lets you inside the warehouse.
We suggest taking down the many infected inside this location to make things easier for yourself. Regardless, here’s what you need to do to reach the Switchgear.
- Head through the vent to the next room, and take down all of the infected (or sneak past them). You’ll soon find a door that’s open halfway inside one of the offices.
- After entering this gap, find another vent and take it to another part of the warehouse with more infected.
- In this section, you’ll find four rooms in the four corners. Two of these rooms are inaccessible. Between the other two, head to the room that has an opening on its floor. Enter this opening.
- Now, head toward a room on the left. You’ll find two vents here. One of the vents will lead inside the locked room. You can take this to get some loot. The other vent leads to a new area.
- The new area is a hallway with several doors. You need to lockpick the second door on your left. Inside this particular room is the Electrical Switchgear.
Restoring Power To the Crane
Interact with the mechanism, and Kyle will grab on to the wire. As you exit the room and open a metal gate at the end of the hallway, a loud recording will start playing automatically. It will distract any remaining infected in the area, allowing you to pass by without further difficulty.
Climb up a few shelves to reach the platform above the warehouse floor. Then, take the ladder up. Finally, you’ll reach the room where you can plug in the Switchgear wire to a terminal. After that, grab the wire from the Switchgear here as well. Now, head outside using a door just behind you and jump down from the roof onto the crane with the magnet. Connect the wire in your hand to the crane to make it operational.
Also Read: Dying Light The Beast: What Lurks Beyond the Pines Walkthrough Guide
Getting the Container Out

Now, you can head inside the crane and interact with its controls. This will trigger a cutscene that shows you pulling out the shipping container from underwater using the machine. After the scene ends, simply get down from the crane and interact with the container door to try and open it. However, just then a vehicle will appear. The Ringleader and his people will ambush you.
The Ringleader will tell you that he’s the one who broadcasted the loud recording to distract any infected. And now, he wants you to split whatever’s in the container 50-50. You can either choose to refuse that deal entirely or hand over 25% of the loot you found. We suggest going with the latter option. With this choice, you’ll get a plethora of rewards, including a bunch of Military Medkits. However, you’ll lose some of the ammo you retrieved when picking this option.
Return To Keller
Finally, after settling the matter with the Ringleader, head back to Keeler and report what happened to him. However, that won’t complete the quest. Instead, after some time, Keller will call you over the radio and speak to you. This marks the end of the Precious Cargo quest in Dying Light The Beast. You will receive the following rewards:
- 7500 XP
- 2x Basic Manual Pages
- Co-op Lootbox (if you completed this quest in co-op)
Also Read: Dying Light The Beast: 5 Mistakes To Avoid
We provide the latest news and create guides for Dying Light The Beast. Meanwhile, you can check out the following articles or catch us playing games on YouTube: