Facebook
 Reddit
 Email
Email
Here is a guide on how you can use Photo Mode in Where Winds Meet and what each feature does for the perfect cinematic shot.
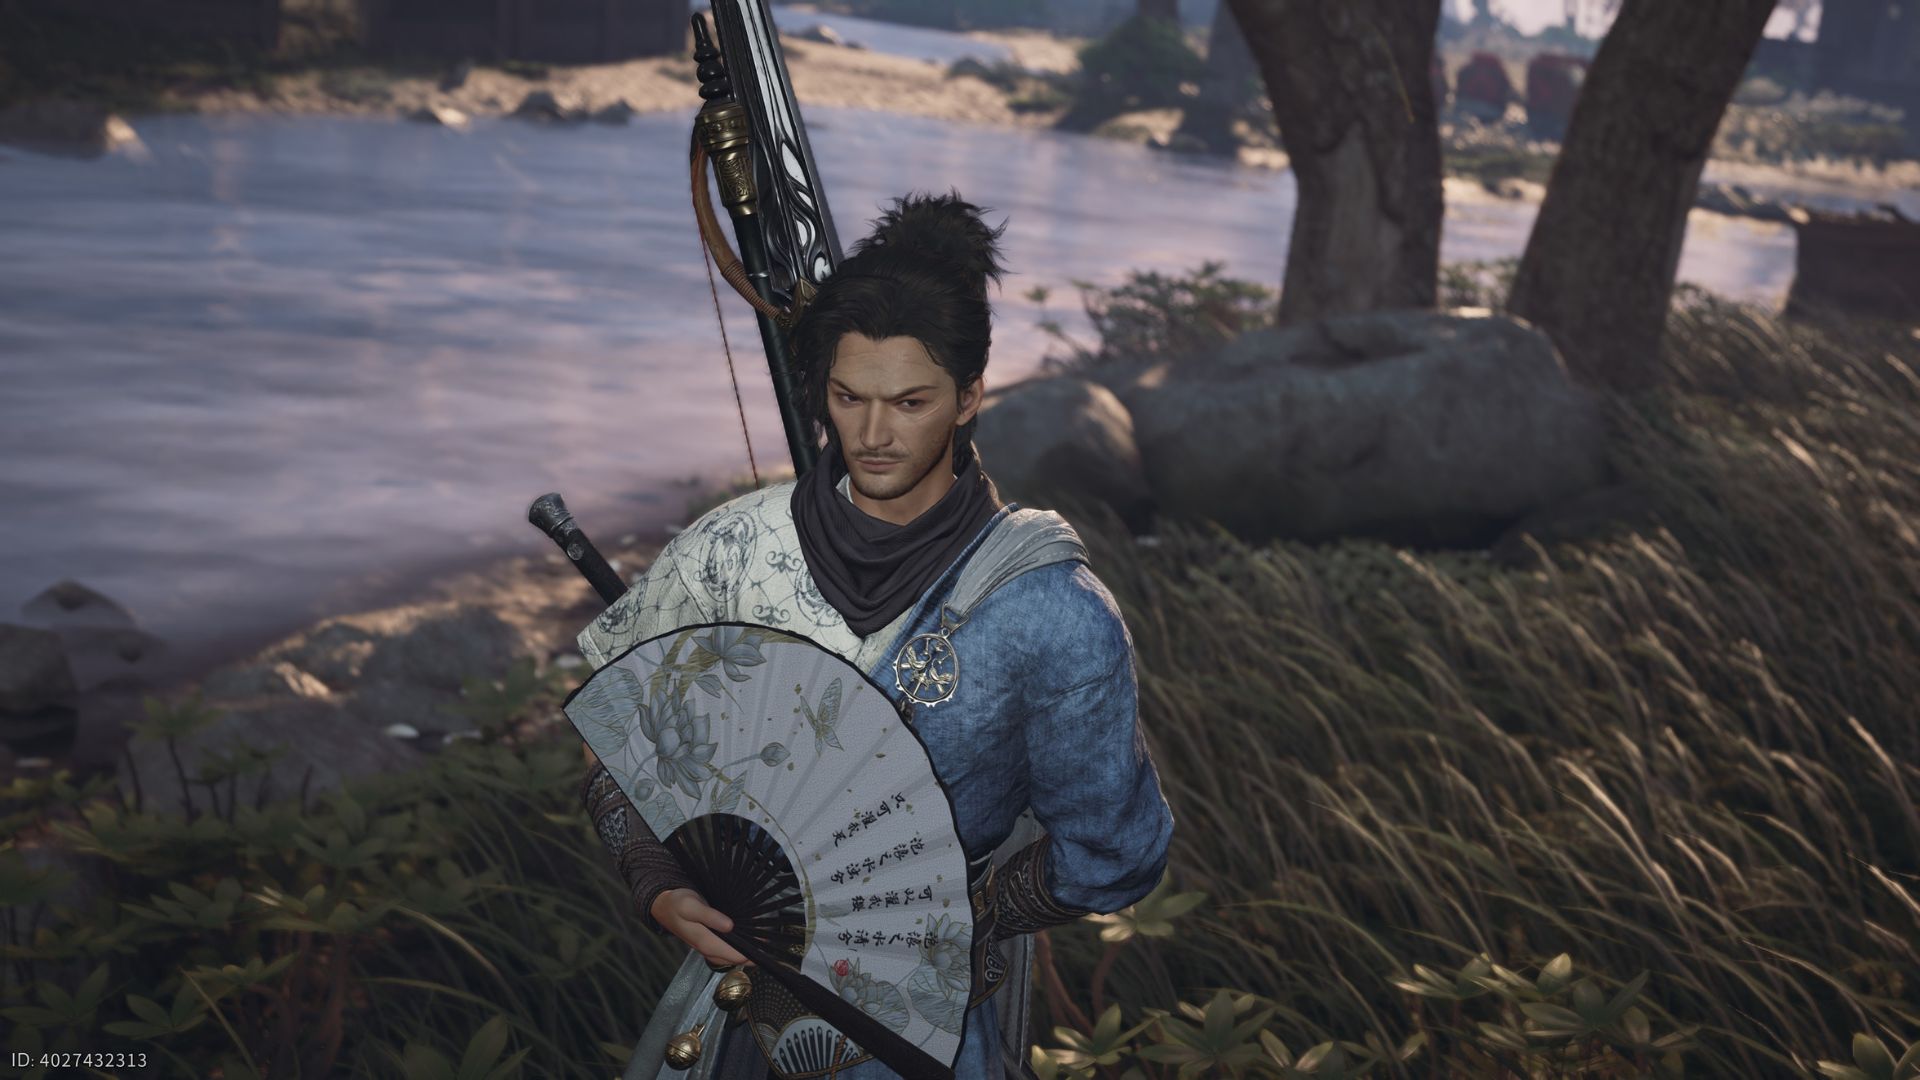
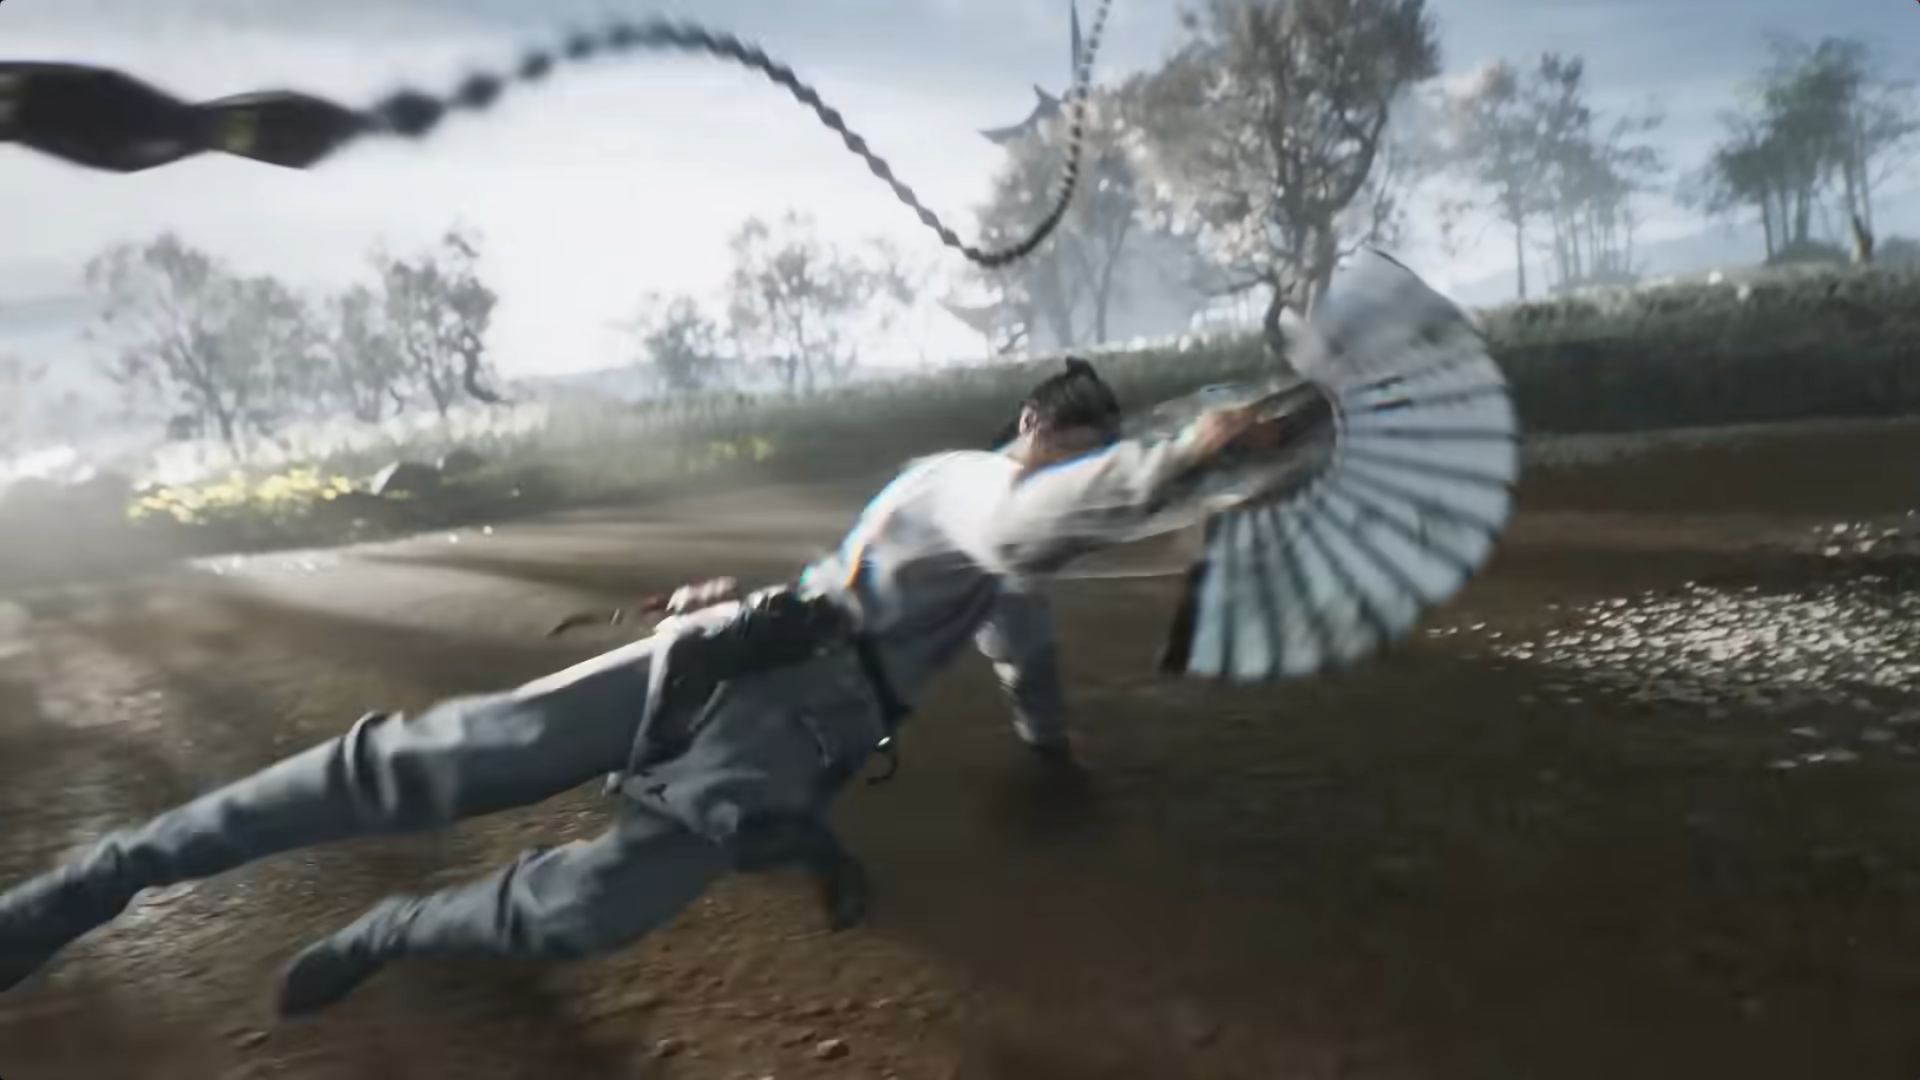
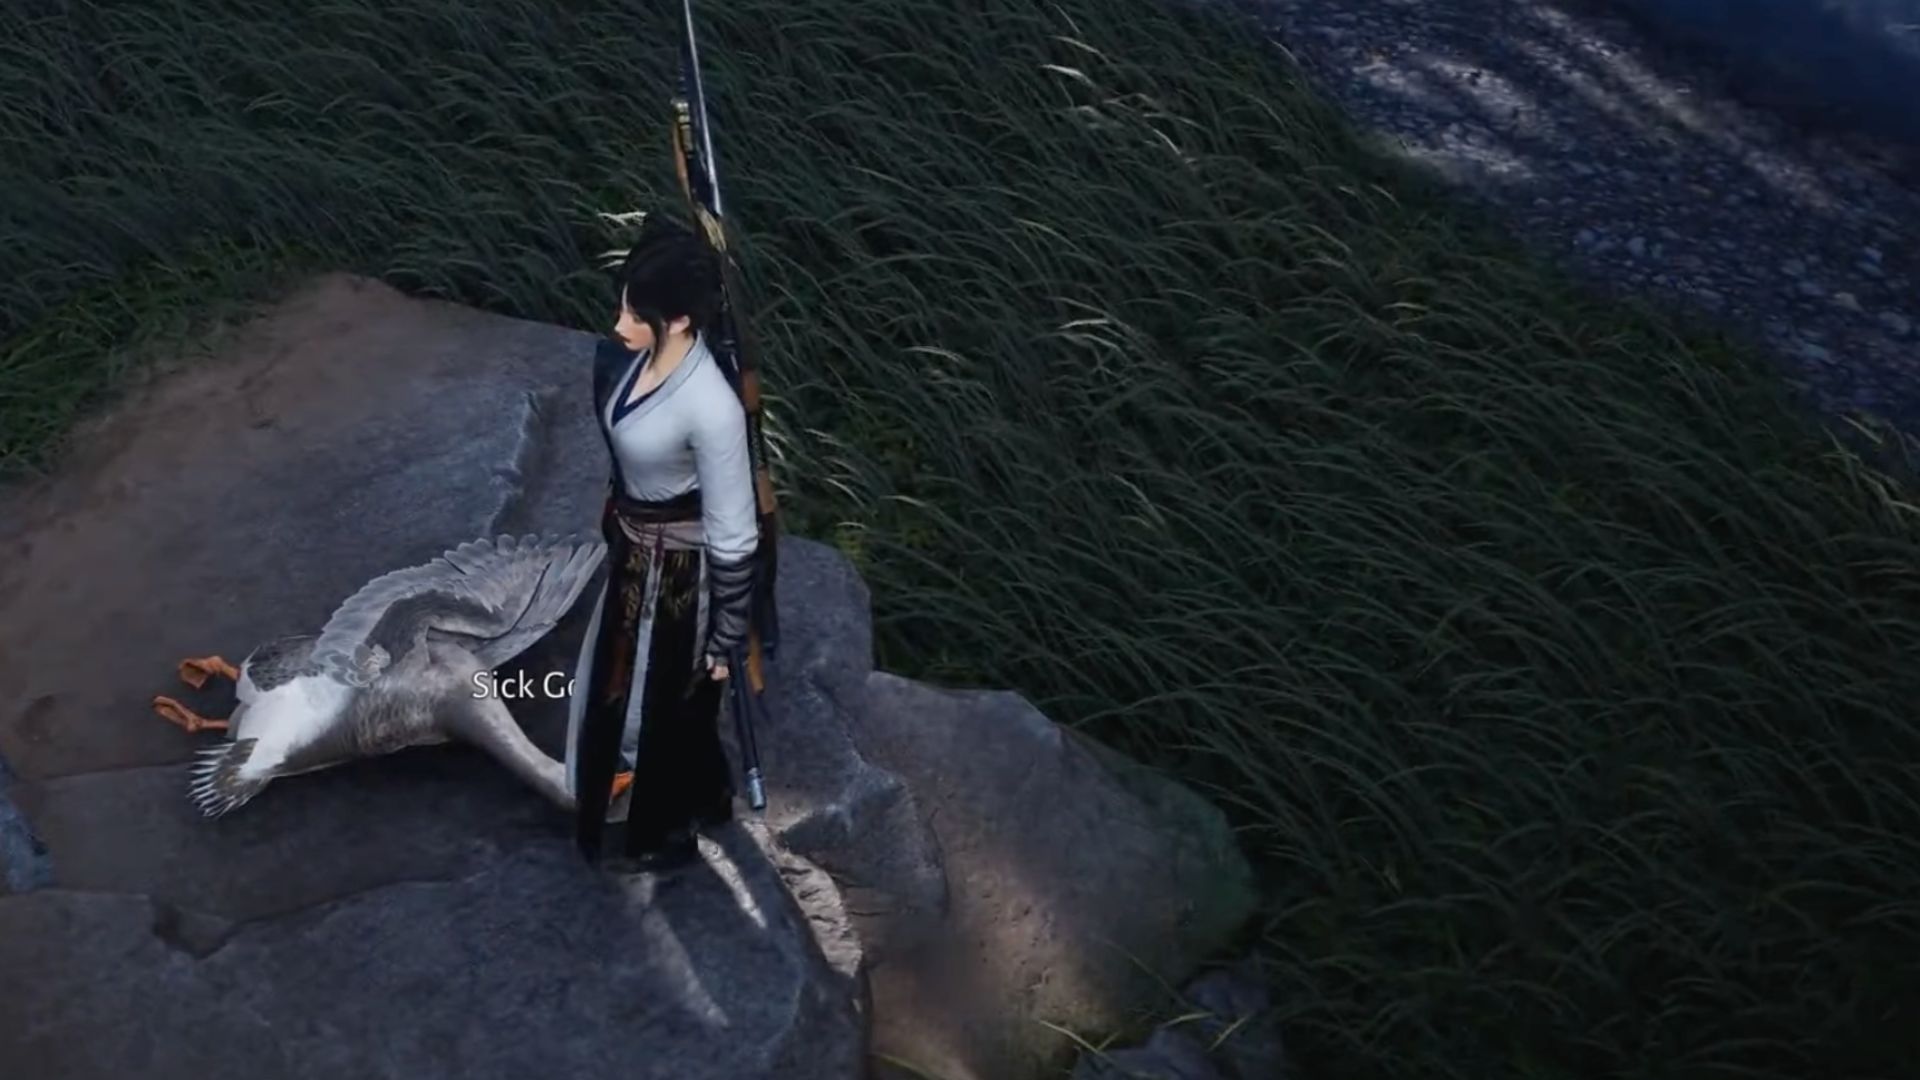
The Photo Mode in Where Winds Meet lets you capture its cinematic environment and turn it into a frame-worthy masterpiece. This gameplay feature is quite versatile, allowing you to take complex angles, diverse poses, and extra filters. Additionally, there is also a daily mission where you take a picture of various locations for rewards.
Needless to say, it’s more than just a way to take a screenshot of the game. This is why knowing how to use it properly is crucial if you want to capture photogenic moments. That said, here is a guide on how you can use the Photo Mode in Where Winds Meet.
How To Turn On Photo Mode in Where Winds Meet
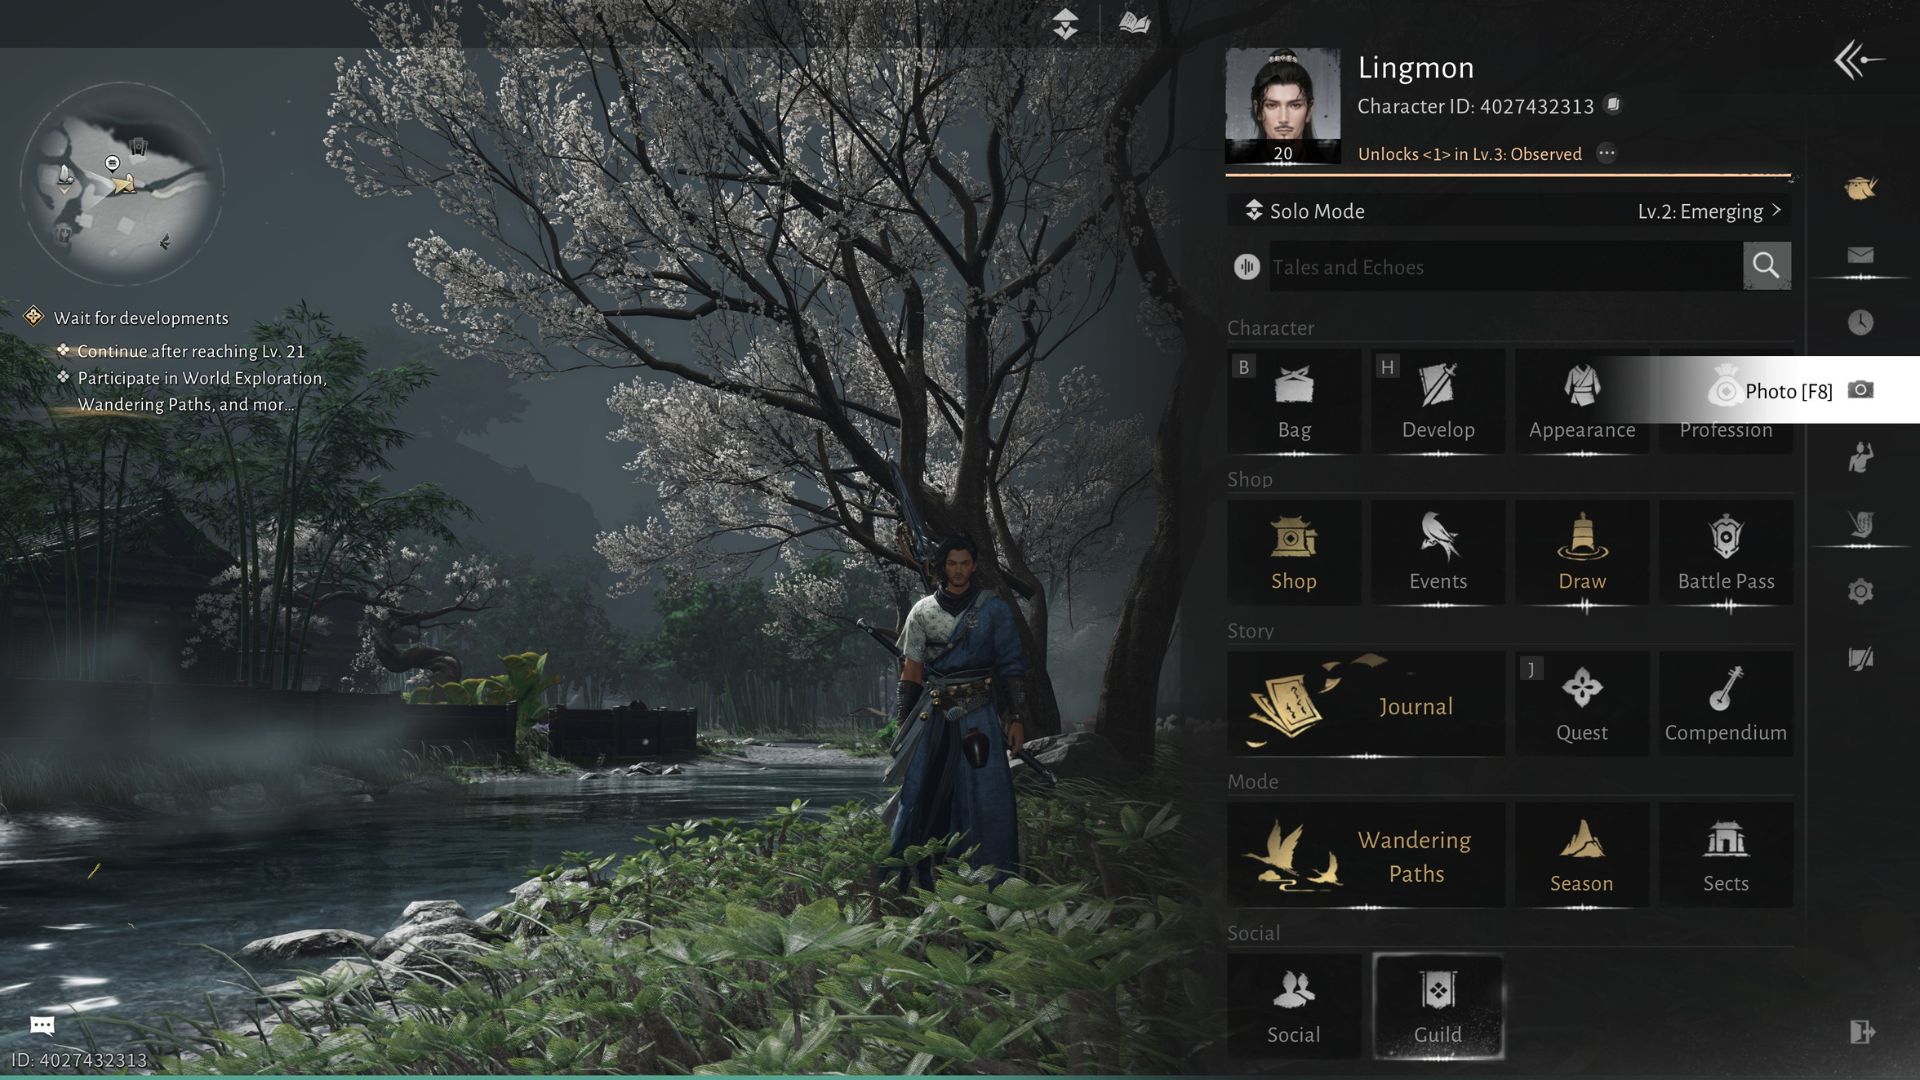
Turning on Photo Mode in Where Winds Meet is pretty straightforward. You simply press F8 on your keyboard to activate this gameplay feature. Alternatively, you only need to press the ESC key on your keyboard to reveal the sidebar. Then, click the camera icon on the left side of the screen.
The Photo Mode sidebar has four icons you can interact with. The first one is the Album that shows all your saved images using Photo Mode. Keep in mind that this does not include images taken outside the Photo Mode, like the screenshot feature from Steam. The next icon is Redo, which reverts the changes you made. Redo lets you experiment with multiple effects and poses and then simply redo them before your last change.
Hide UI is next, which disables the entire interface of Photo Mode. This lets you see what your image would look like before taking the shot. Lastly, the Appearance icon allows you to change your clothing and weapons equipped.
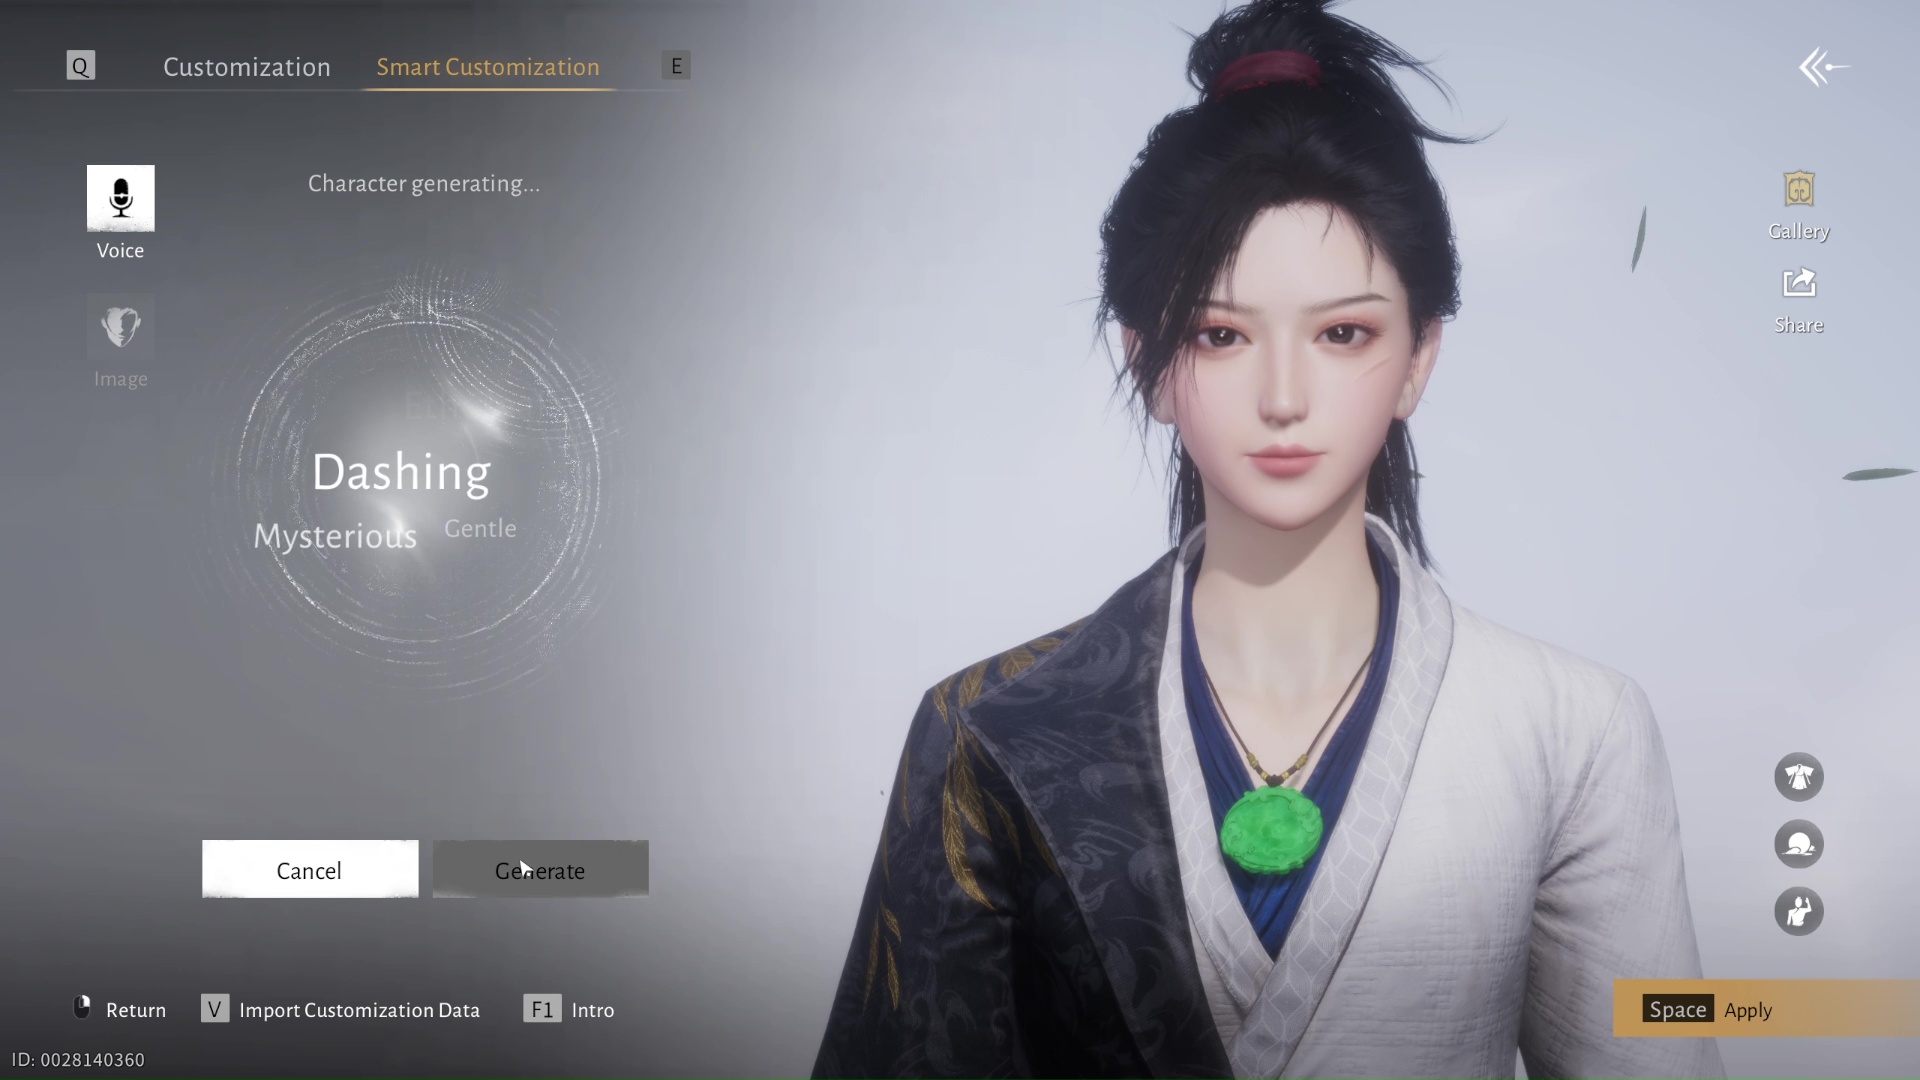
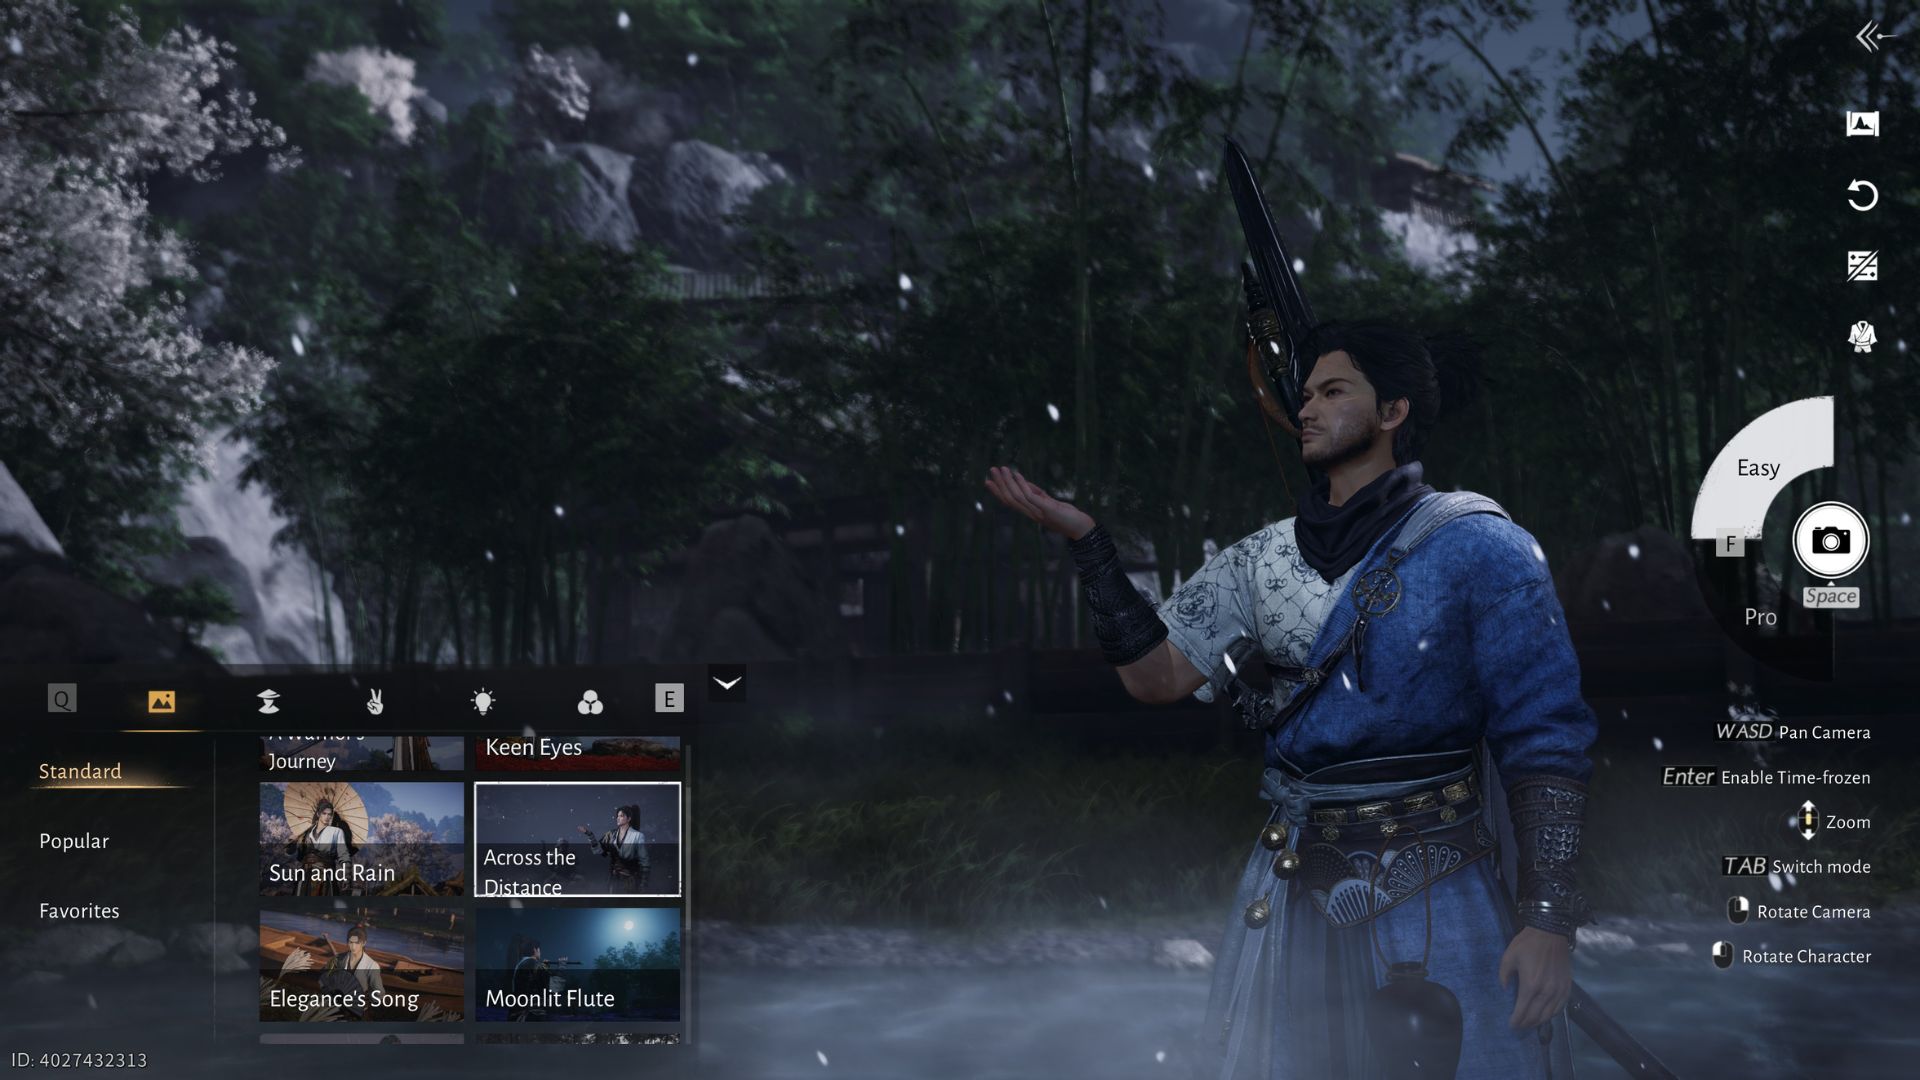
Once you are in Photo Mode, you will notice there are two options you can choose. The Easy option lets you choose from a wide variety of preset poses for your character, ambience, and filters. There are either from the game or made by the community. This is the easiest way to get photogenic shots if you can’t be bothered to be technical and fully customize it.
The Pro option gives you freedom on how you want your photo to look. You can set just about anything, from the coloration of the environment, the weather, and even the speed and direction of the wind.
Easy Photo Mode Features
Here is a quick rundown of all the features you can find in Easy Photo Mode in Where Winds Meet:
Templates
The templates section is self-explanatory. It’s filled with various pre-made poses for your character. Clicking on one of them will automatically set everything for you. It’s a good option if you simply want to take quick, cool pictures of your character.
Camera Basics
This section is where you make adjustments to the camera angles and what aspects of the game you want to show or hide.
- Focal Length is how far or close the camera zoom is.
- Aperture is how blurry the background is.
- Zoom magically shrinks or grows your character size for that perfect angle.
- FOV Adjustment adjusts the field of vision.
- Soft Light Mode adds a soft light filter to your photo.
- Show/Hide Info lets you hide or show specific objects like player names, signposts, or buildings that are in the shot.
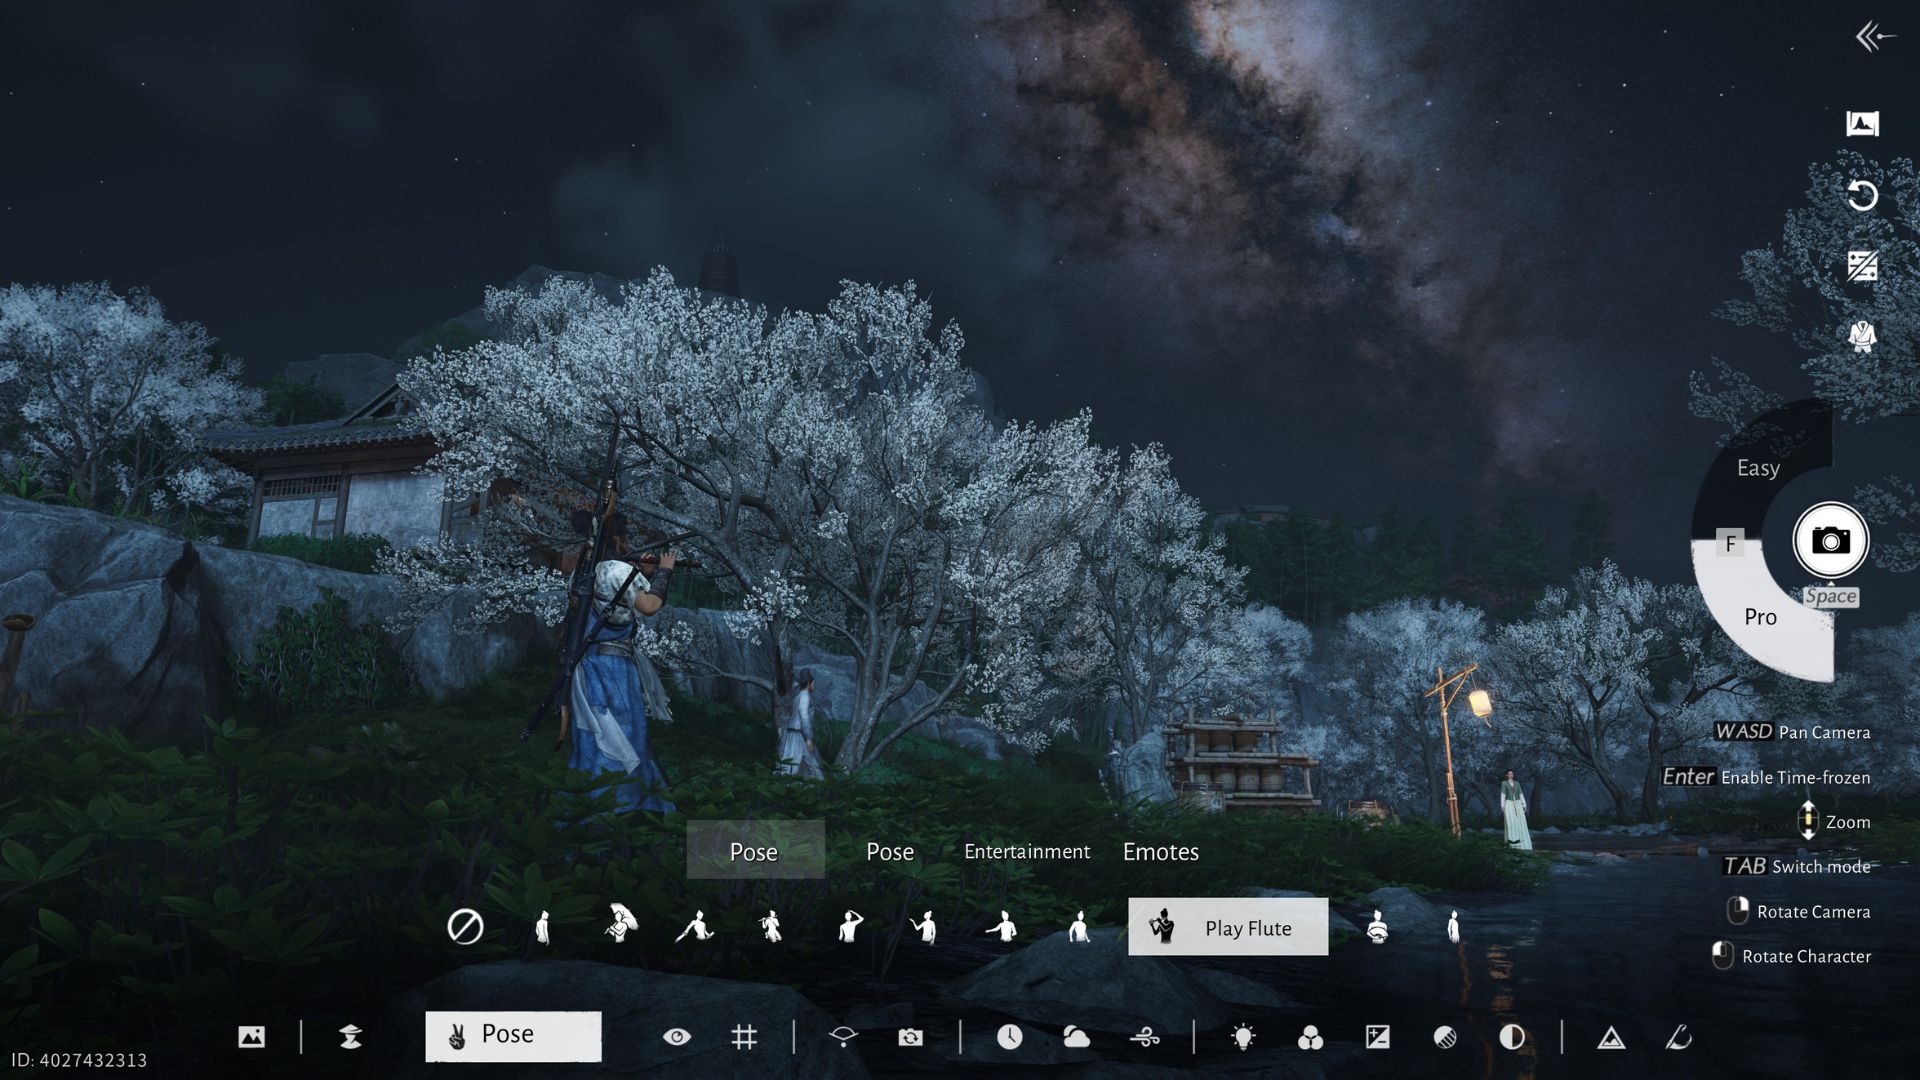
Poses
The Pose sections are where you can change your character’s facial expressions or body poses. However, there are poses that require you to unlock them first. You will have limited options if you have just started playing the game.
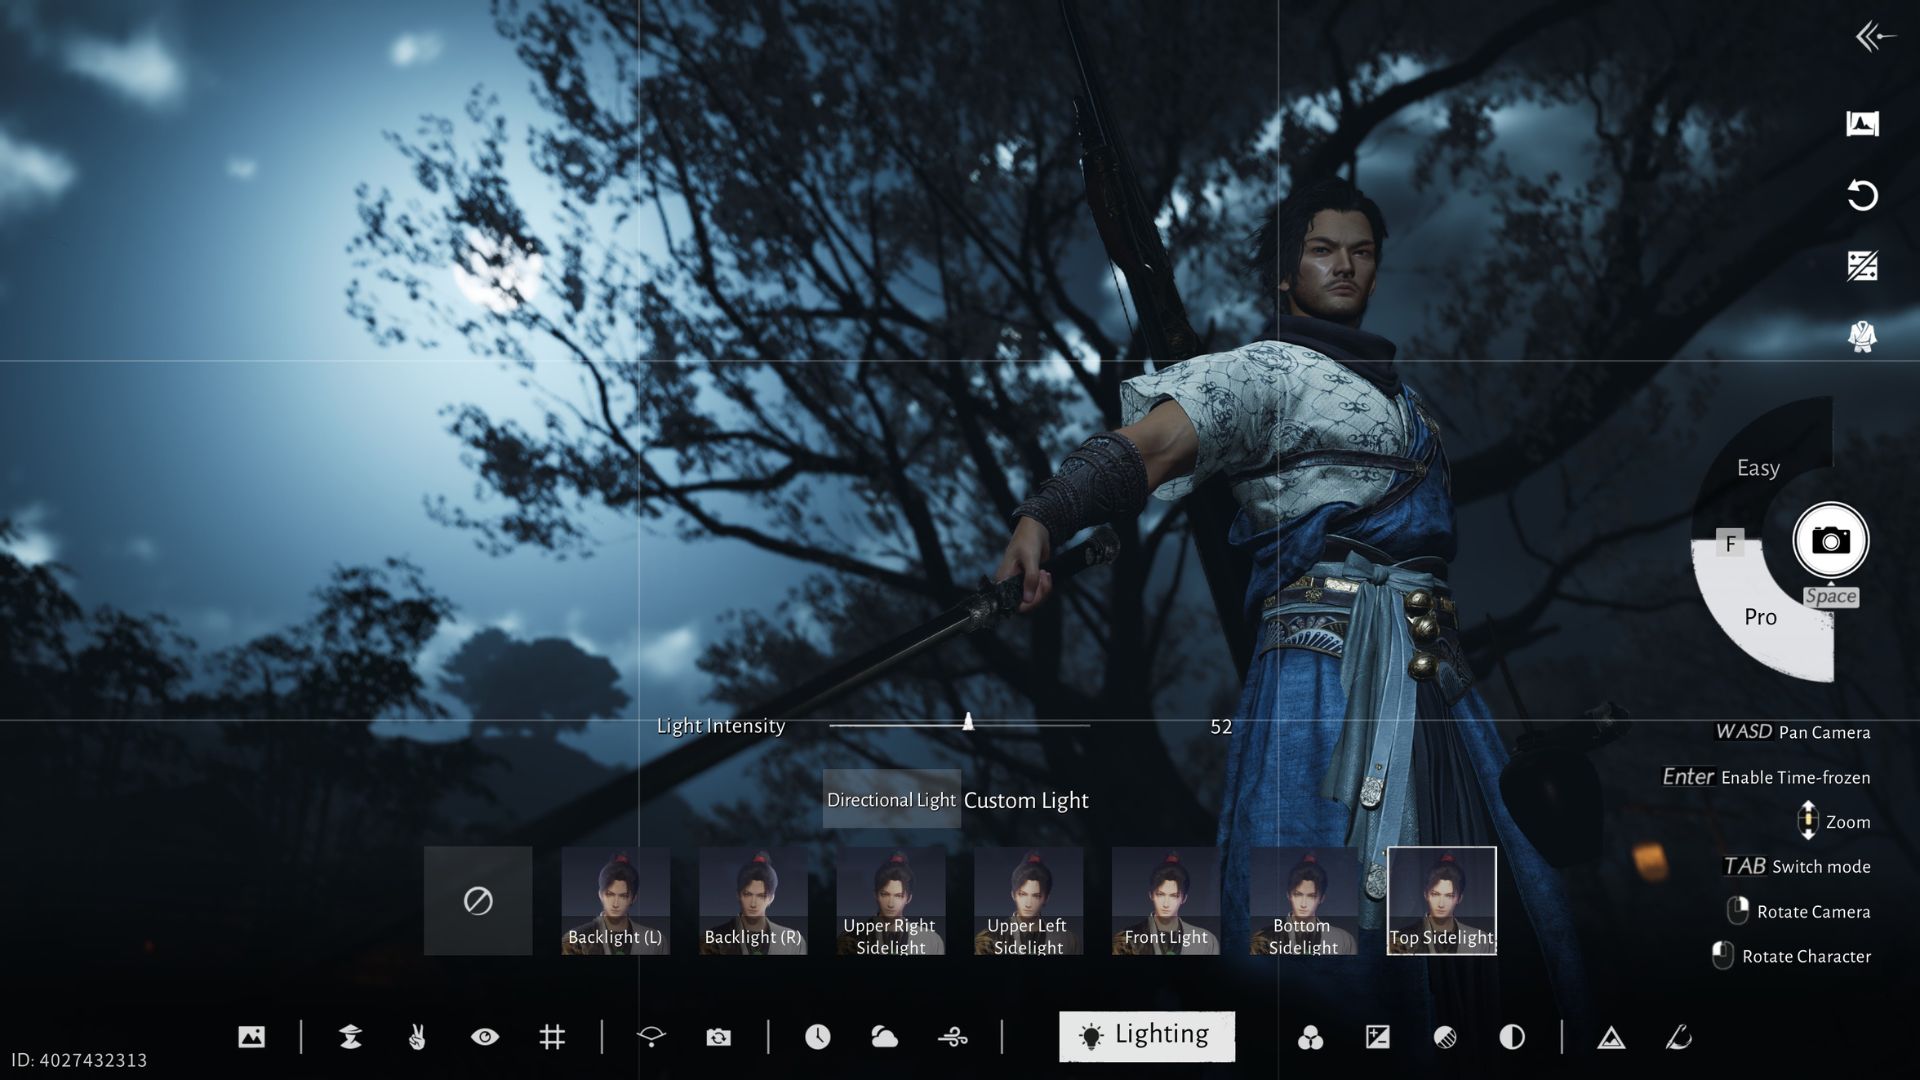
Lighting
The Lighting option allows you to control how light interacts with your character. By adjusting the angle and intensity, you can dramatically alter the mood, shadows, and highlights in your shot.
Filter
The Filters option lets you apply different color presets to change the overall tone and atmosphere of your shot. This lets you take shots that are either vibrant, dramatic, or cinematic.
Pro Photo Mode Features
Here is a quick rundown of the options you have in Pro Photo Mode in Where Winds Meet:
Template
Similar to the one in Easy, the Template option lets you choose from a wide variety of presets. If you don’t want to start from scratch, grab one from the list or browse through community-made presets. Then, alter them to your liking.
Character
This option lets you hide certain items, NPCs, or other players in the background. It’s a useful way to remove distracting elements from your shot.
Pose
Select from a wide variety of character poses. However, some of the options in here might be locked on your end. You will need to unlock them first if you want to use these poses. They are available either through progression, Battle Pass, or purchased in the in-game shop.
View Management
This changes where your character is looking. You drag the Eye icon, and the character will try to look as far as he can without ruining their pose.
Gridlines
Gridlines in the Pro Photo Mode in Where Winds Meet provide a composition guide. This helps you frame your character for cleaner, more professional-looking shots.
Focal Length
The Focal Length changes how far or close the camera is. Below it is the Aperture, which adjusts the intensity of the blur for the background.
Tilt
This option tilts the camera to a chosen angle, ideal for creating dramatic, stylish, or cinematic shots.
Time
Adjusts the time of day for your world. A good option to tweak if you want to advance the time and get a specific moment like sunset, dawn, or nighttime.
Weather
Customizes the weather in the game. There are a wide variety of options such as cloudy, fog, warm overcast, thunderstorm, and more. It’s a good way to make your shots more cinematic.
Environmental Wind
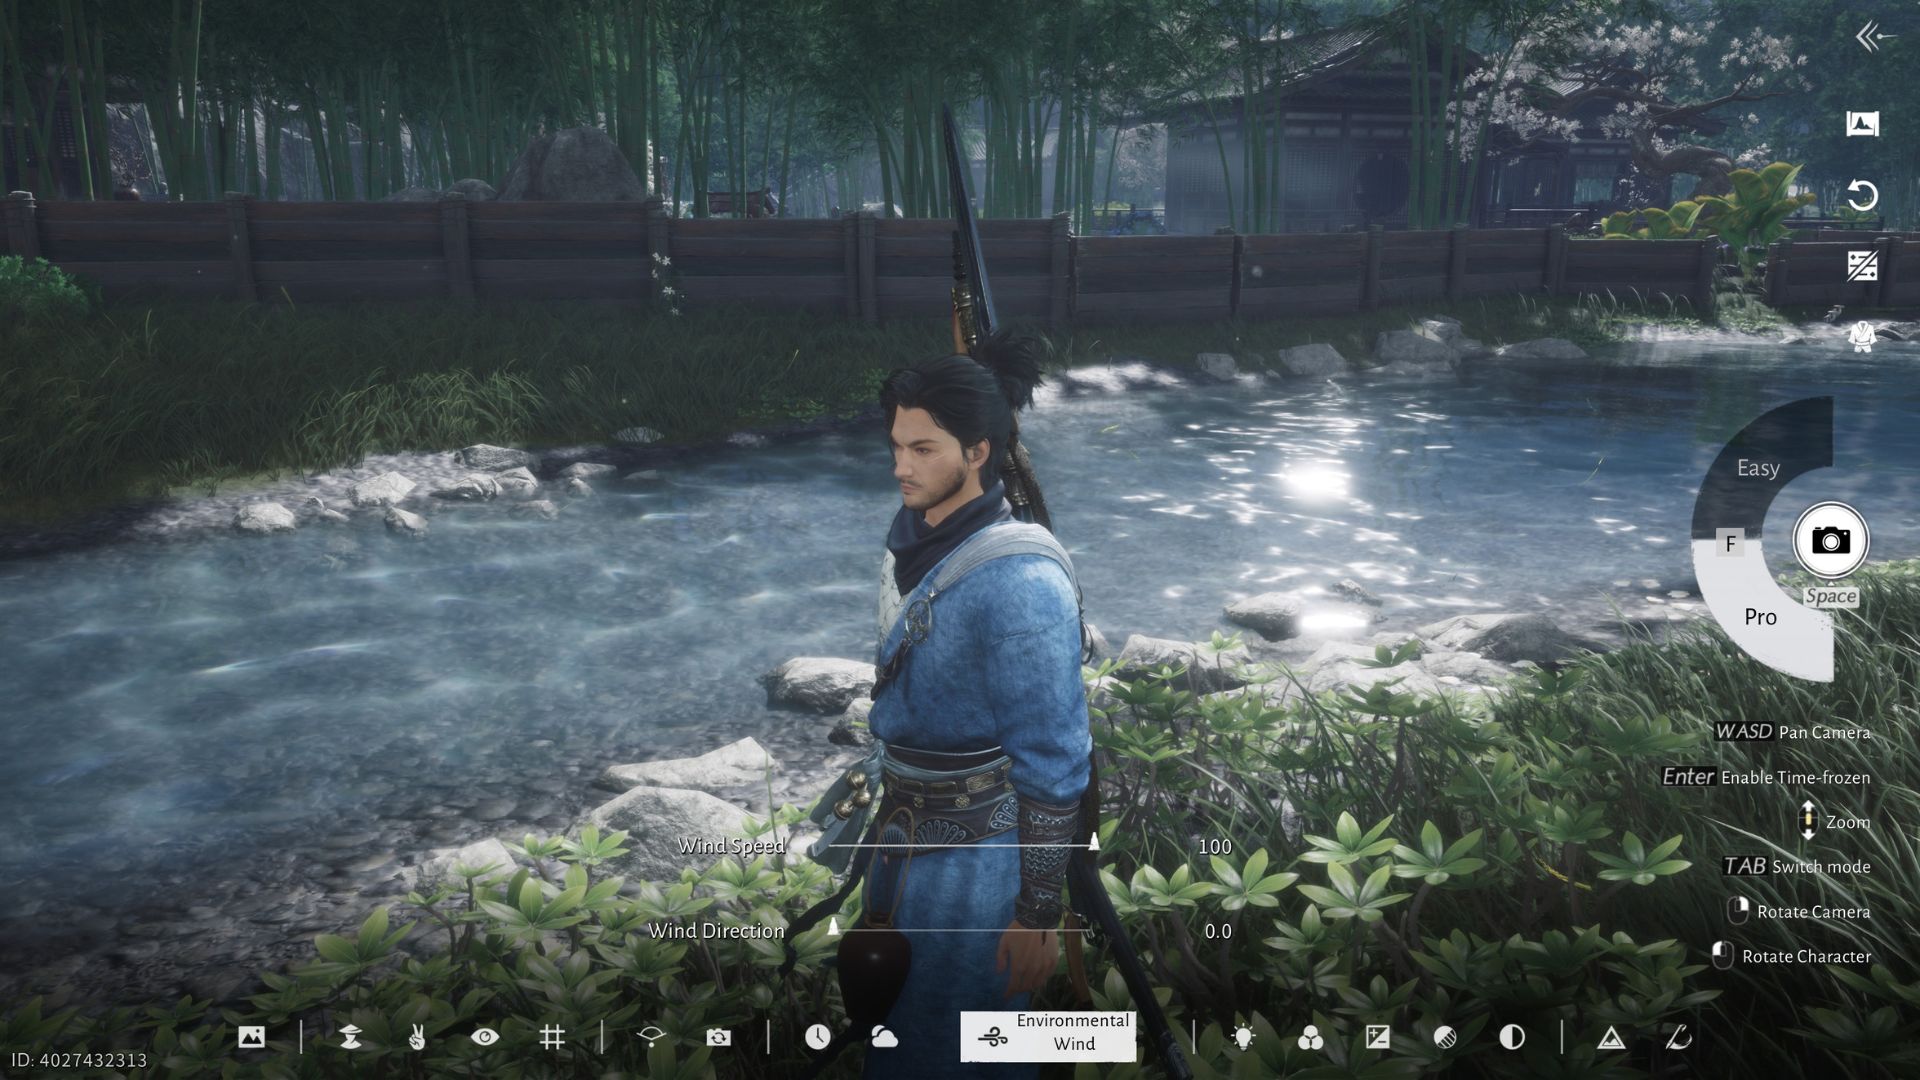
Adjusts the strength of the wind in your shot. Additionally, you can also set the direction of the wind blowing. This lets aspects like tall grass, hair, or robes, wave with the wind.
Lighting
Adjusts the angle of the light that hits your character, allowing you to shape shadows, emphasize details, or create a specific mood.
Filters
This option is self-explanatory as it lets you select from various types of filters to add to your photo. There are a lot of options, allowing you to set the tone of your shots.
Light Adjustment
The Light Adjustment changes the overall exposure of your photo. Additionally, it includes the options to adjust the Vignette and toggle for Soft Light Mode.
Light Overflow
Light Overflow controls the bloom effect in your shots, making bright areas softly glow. This adds a dreamy, radiant quality to your scene. Use it to enhance highlights and create a more cinematic atmosphere.
Coloration
Coloration changes the overall color temperature of your photo, letting you shift from warm, golden tones to cool, icy hues.
Detail Level
Adjusts the quality of the background. For example, setting it to low will reveal low-quality leaves on trees. You don’t need this option much if you blur out the background.
Inscription
Adds text in the photo. For now, there are four options on the list. All of them are just variations of the game’s logo. Needless to say, you might find a use for this, like making your custom wallpaper with the game’s logo.
We provide the latest news and create guides for Where Winds Meet. Meanwhile, you can check out the following articles or catch us playing games on YouTube: