Facebook
 Reddit
 Email
Email
Discover the locations of all Lobby Fissures and learn how you can unlock the Tinker Cosmetic in Abyssus.
The lobby area in Abyssus is not only for preparation and loadout setup, but also hides a secret puzzle. While exploring the lobby area, you will occasionally come across a glowing blue Fissure. These Fissures are actually tied to a secret challenge called ‘Lobby Fissures’. You can find a total of eight Fissures scattered throughout the lobby. Shooting all of them completes the challenge and unlocks the Tinker Cosmetic, which you can equip through the wardrobe.
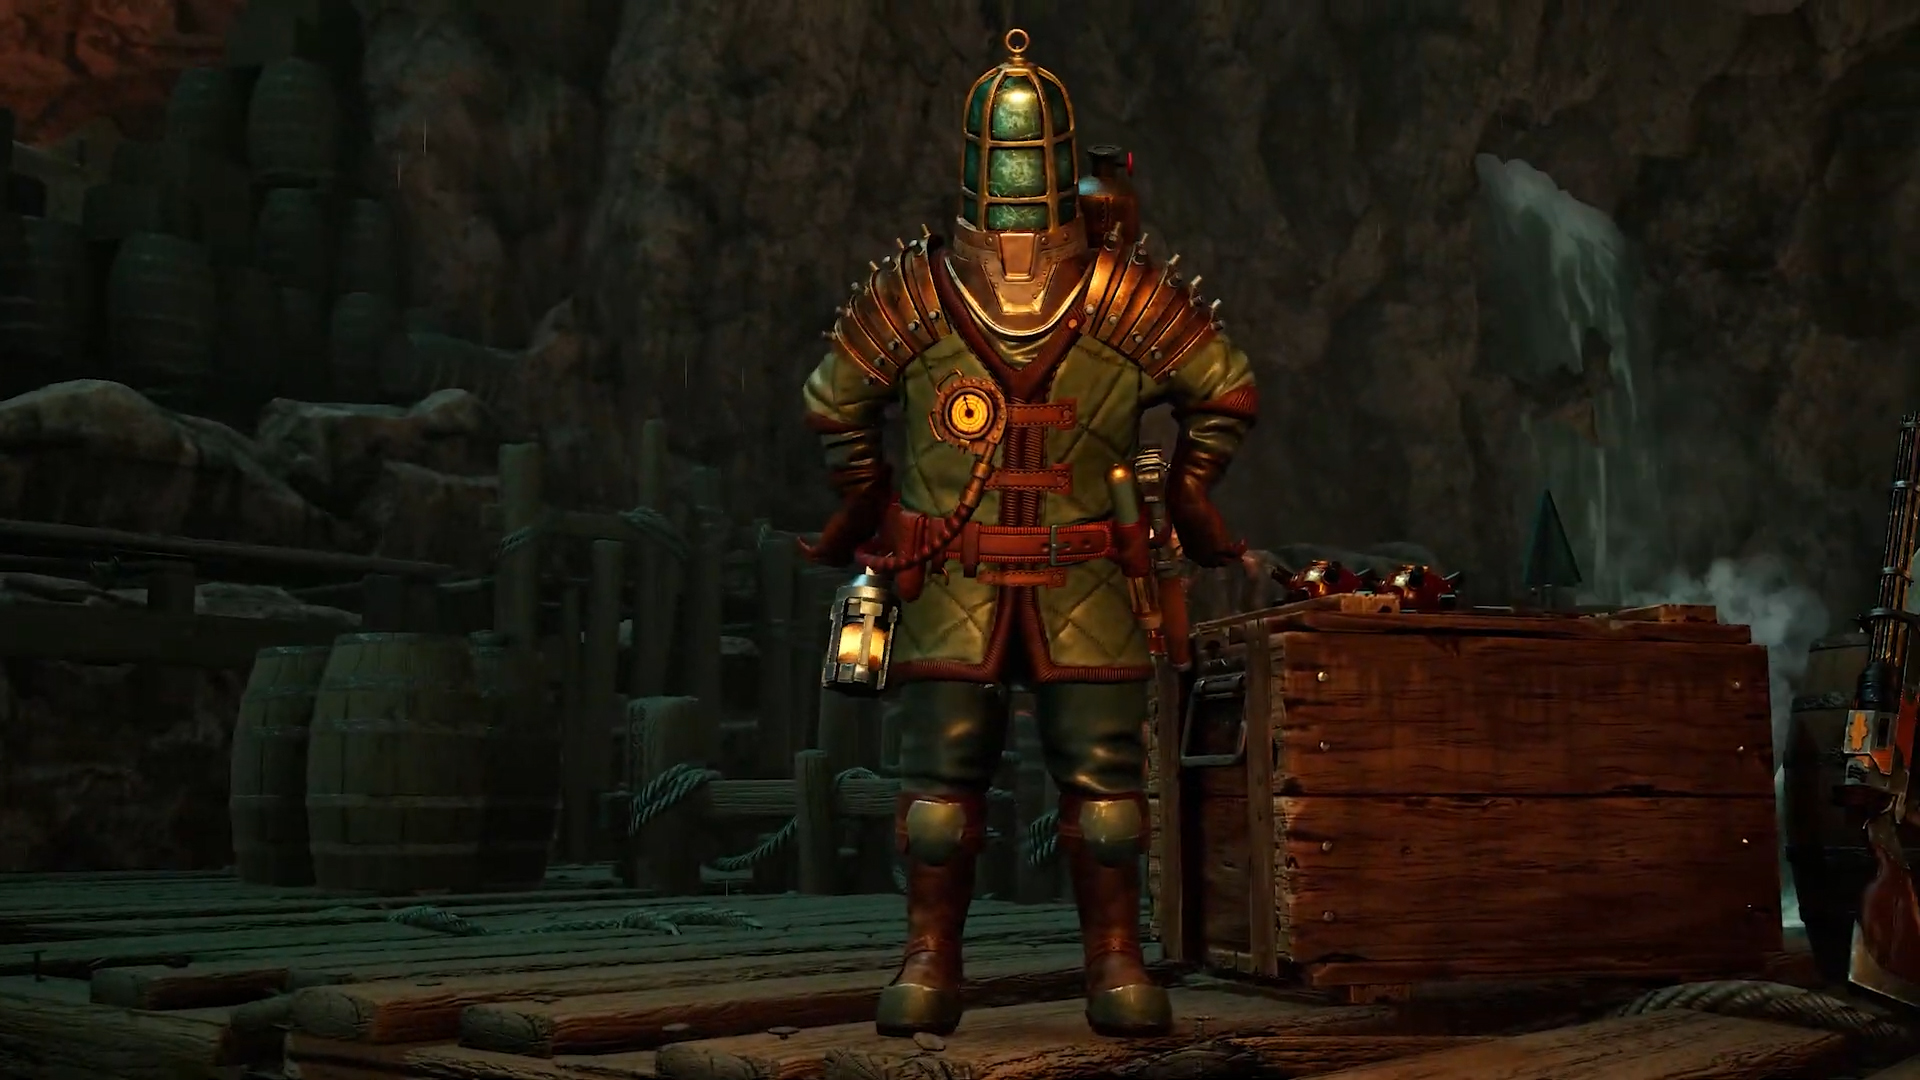
The Tinker cosmetic provides a yellow color scheme to your suit. If you aim to get your hands on this cosmetic, you need to find and shoot all Fissures in the lobby area. While some can be seen in plain sight as you explore, others require sharp observation and tricky parkour moves. This guide explains how to find all Fissures and unlocks the Tinker Cosmetic in Abyssus.
Related: Abyssus: How To Play with Friends
All Lobby Fissure Locations in Abyssus
The following table explains where you can find all eight Fissures in the lobby area.
| Fissures | Locations |
|---|---|
| Fissure #1 | From the starting location, move forward until you reach the cliff opening. Look to your right to spot the first Fissure. |
| Fissure #2 | The second Fissure is located on the right side of the bell. |
| Fissure #3 | From the bell, turn around and move forward to reach the docks. Go to the far right, and you will spot the third Fissure. |
| Fissure #4 | Now, return to the docks entry and turn right. Continue forward and stop by the waterfalls. Look far to your right by the rocks, and you will find the fourth Fissure. |
| Fissure #5 | Walk straight through the waterfall, which takes you to a hidden room. You will find the fifth Fissure on the back left corner of the room. |
| Fissure #6 | Then, proceed into the cave at the base of the waterfall, and activate the switch at the entrance. Use your double jump and double jump dash abilities to jump across the nearby platforms. Once you reach the platform at the top corner, you will find the sixth Fissure under a platform on your front. |
| Fissure #7 | After shooting the fissure, get to the platform and reach the entrance at the top. Once outside, turn back to spot the seventh Fissure. |
| Fissure #8 | Now simply continue the path ahead. Jump to the top of the cave at the far end, and you will spot the eighth Fissure there. |
Thank you for reading the article. We provide the latest news and create guides for new and old titles, including Death Stranding 2, Baldur’s Gate 3, Roblox, Destiny 2, and more.