Facebook
 Reddit
 Email
Email
In this article, we will be discovering all 14 safes and the codes required to unlock them in The Last of Us Part 2.
In The Last Of Us Part 2, there are 14 safes to explore throughout various chapters. You get to open these safes with both Ellie and Abby. You will also be required to find codes around the same area, which will be used to unlock the safes. Let us take a look at all the safe Locations and combinations in The Last of Us 2
All Safe Locations and Combination Codes in The Last Of Us 2
Keep this guide handy for a quick reference of all the safe locations and combinations in The Last of Us 2.
| Chapter | Location | Code |
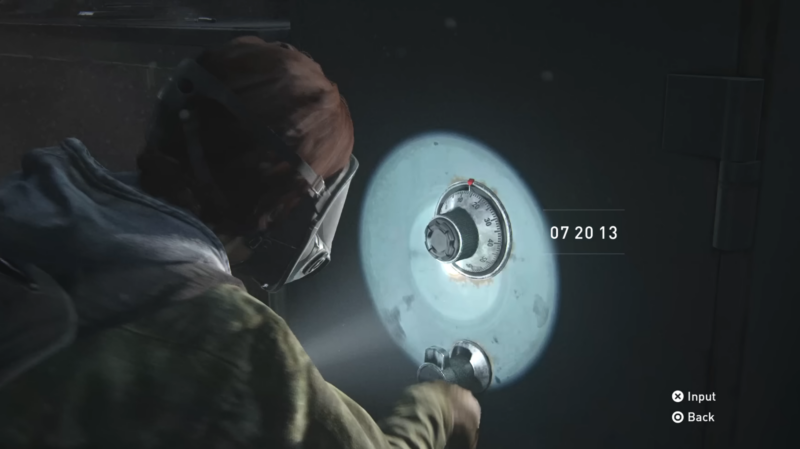
| Jackson Patrol | Supermarket | 7-20-13 |
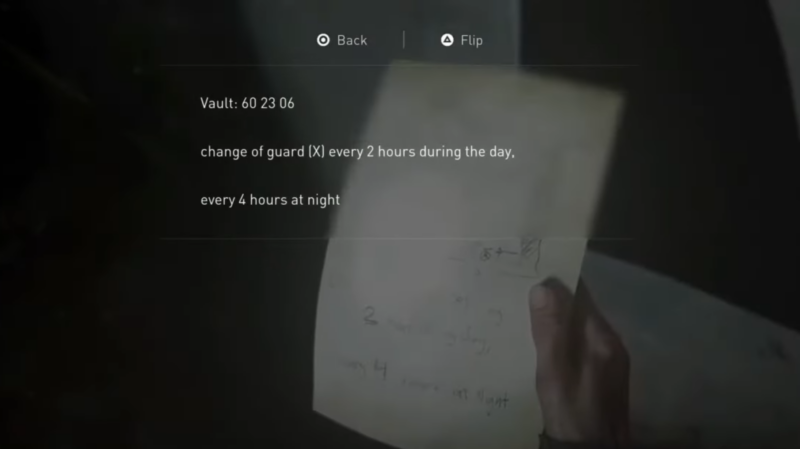
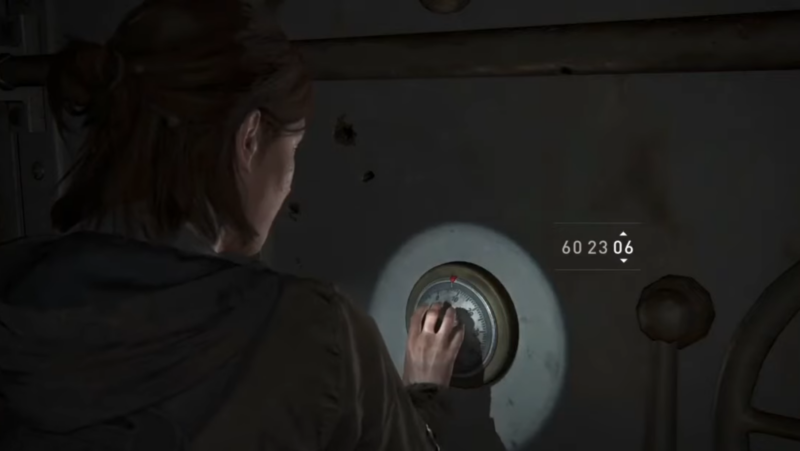
| Seattle Day 1 | Downtown | 60-23-06 |
| Seattle Day 1 | Downtown | 86-07-22 |
| Seattle Day 1 | Downtown | 0451 |
| Seattle Day 1 | Capital Hill | 55-01-33 |
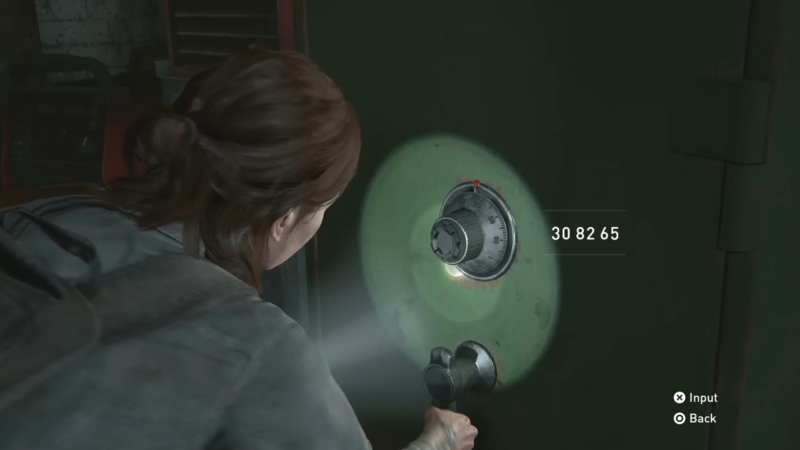
| Seattle Day 2 | Hillcrest | 30-82-65 |
| Seattle Day 2 | The Seraphites | 10-08-83 |
| Seattle Day 2 | The Seraphites | 38-55-23 |
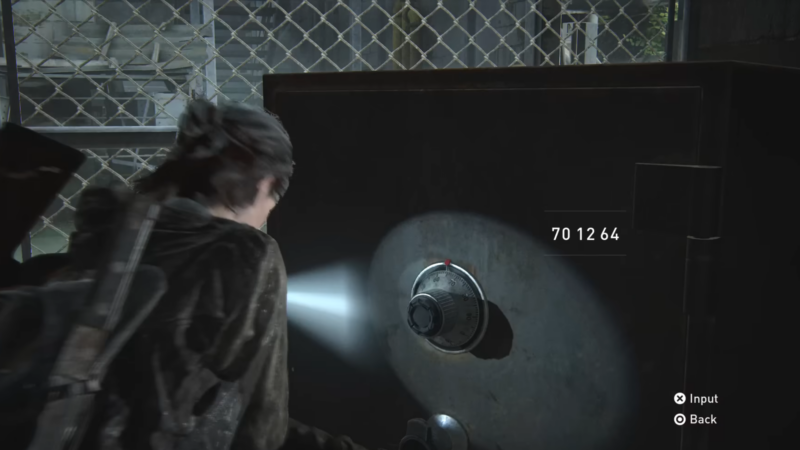
| Seattle Day 3 | The Flooded City | 70-12-64 |
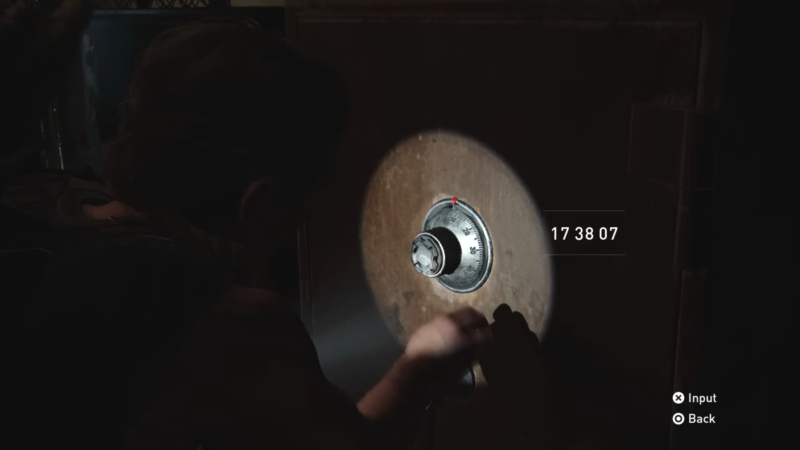
| Seattle Day 1 | On Foot | 17-38-07 |
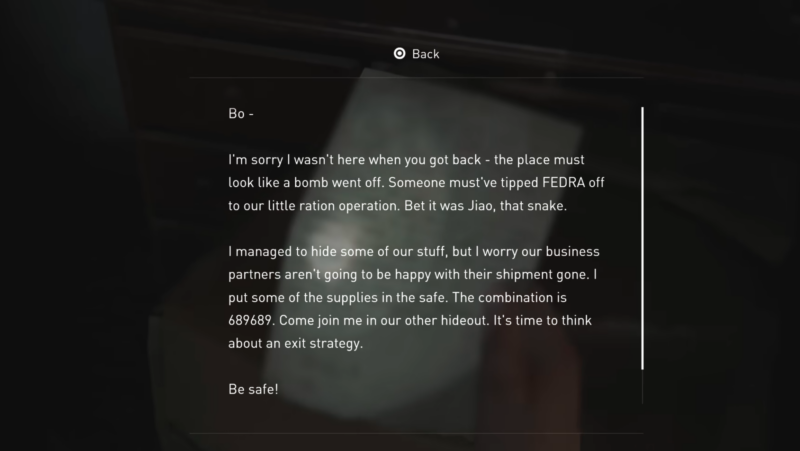
| Seattle Day 1 | Hostile Territory | 68-96-89 |
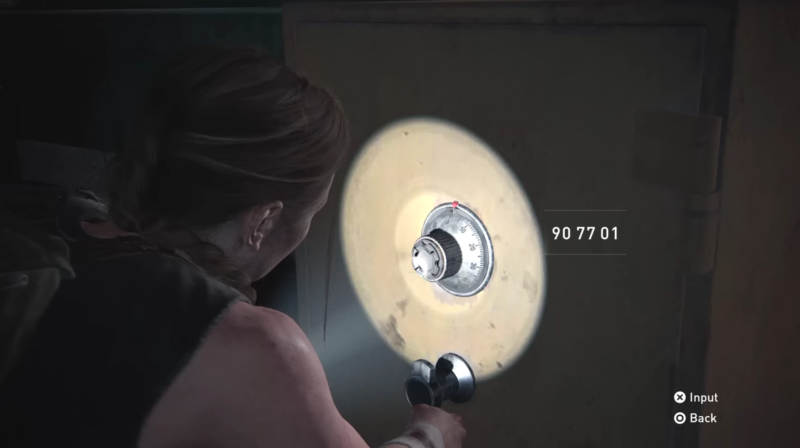
| Seattle Day 1 | The Coast | 90-77-01 |
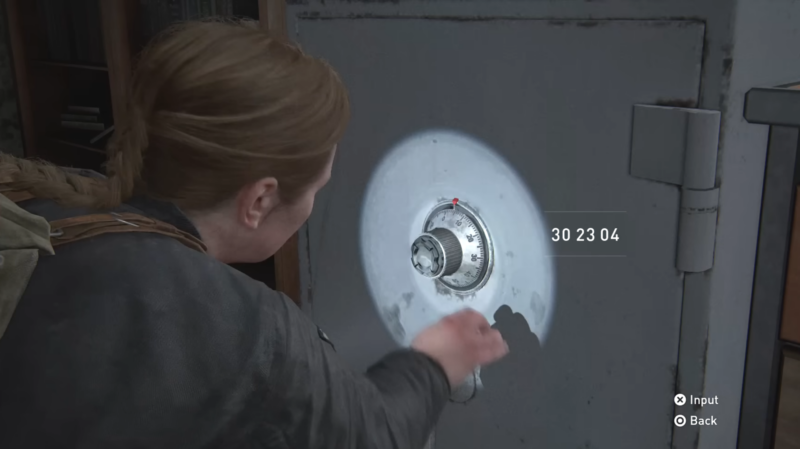
| Seattle Day 2 | The Shortcut | 30-23-04 |
| Seattle Day 2 | The Descent | 12-18-79 |
Chapter 1: Jackson
Patrol: Safe Location and Combination
Note: All images are a property of Naughty Dog/Sony Interactive Entertainment
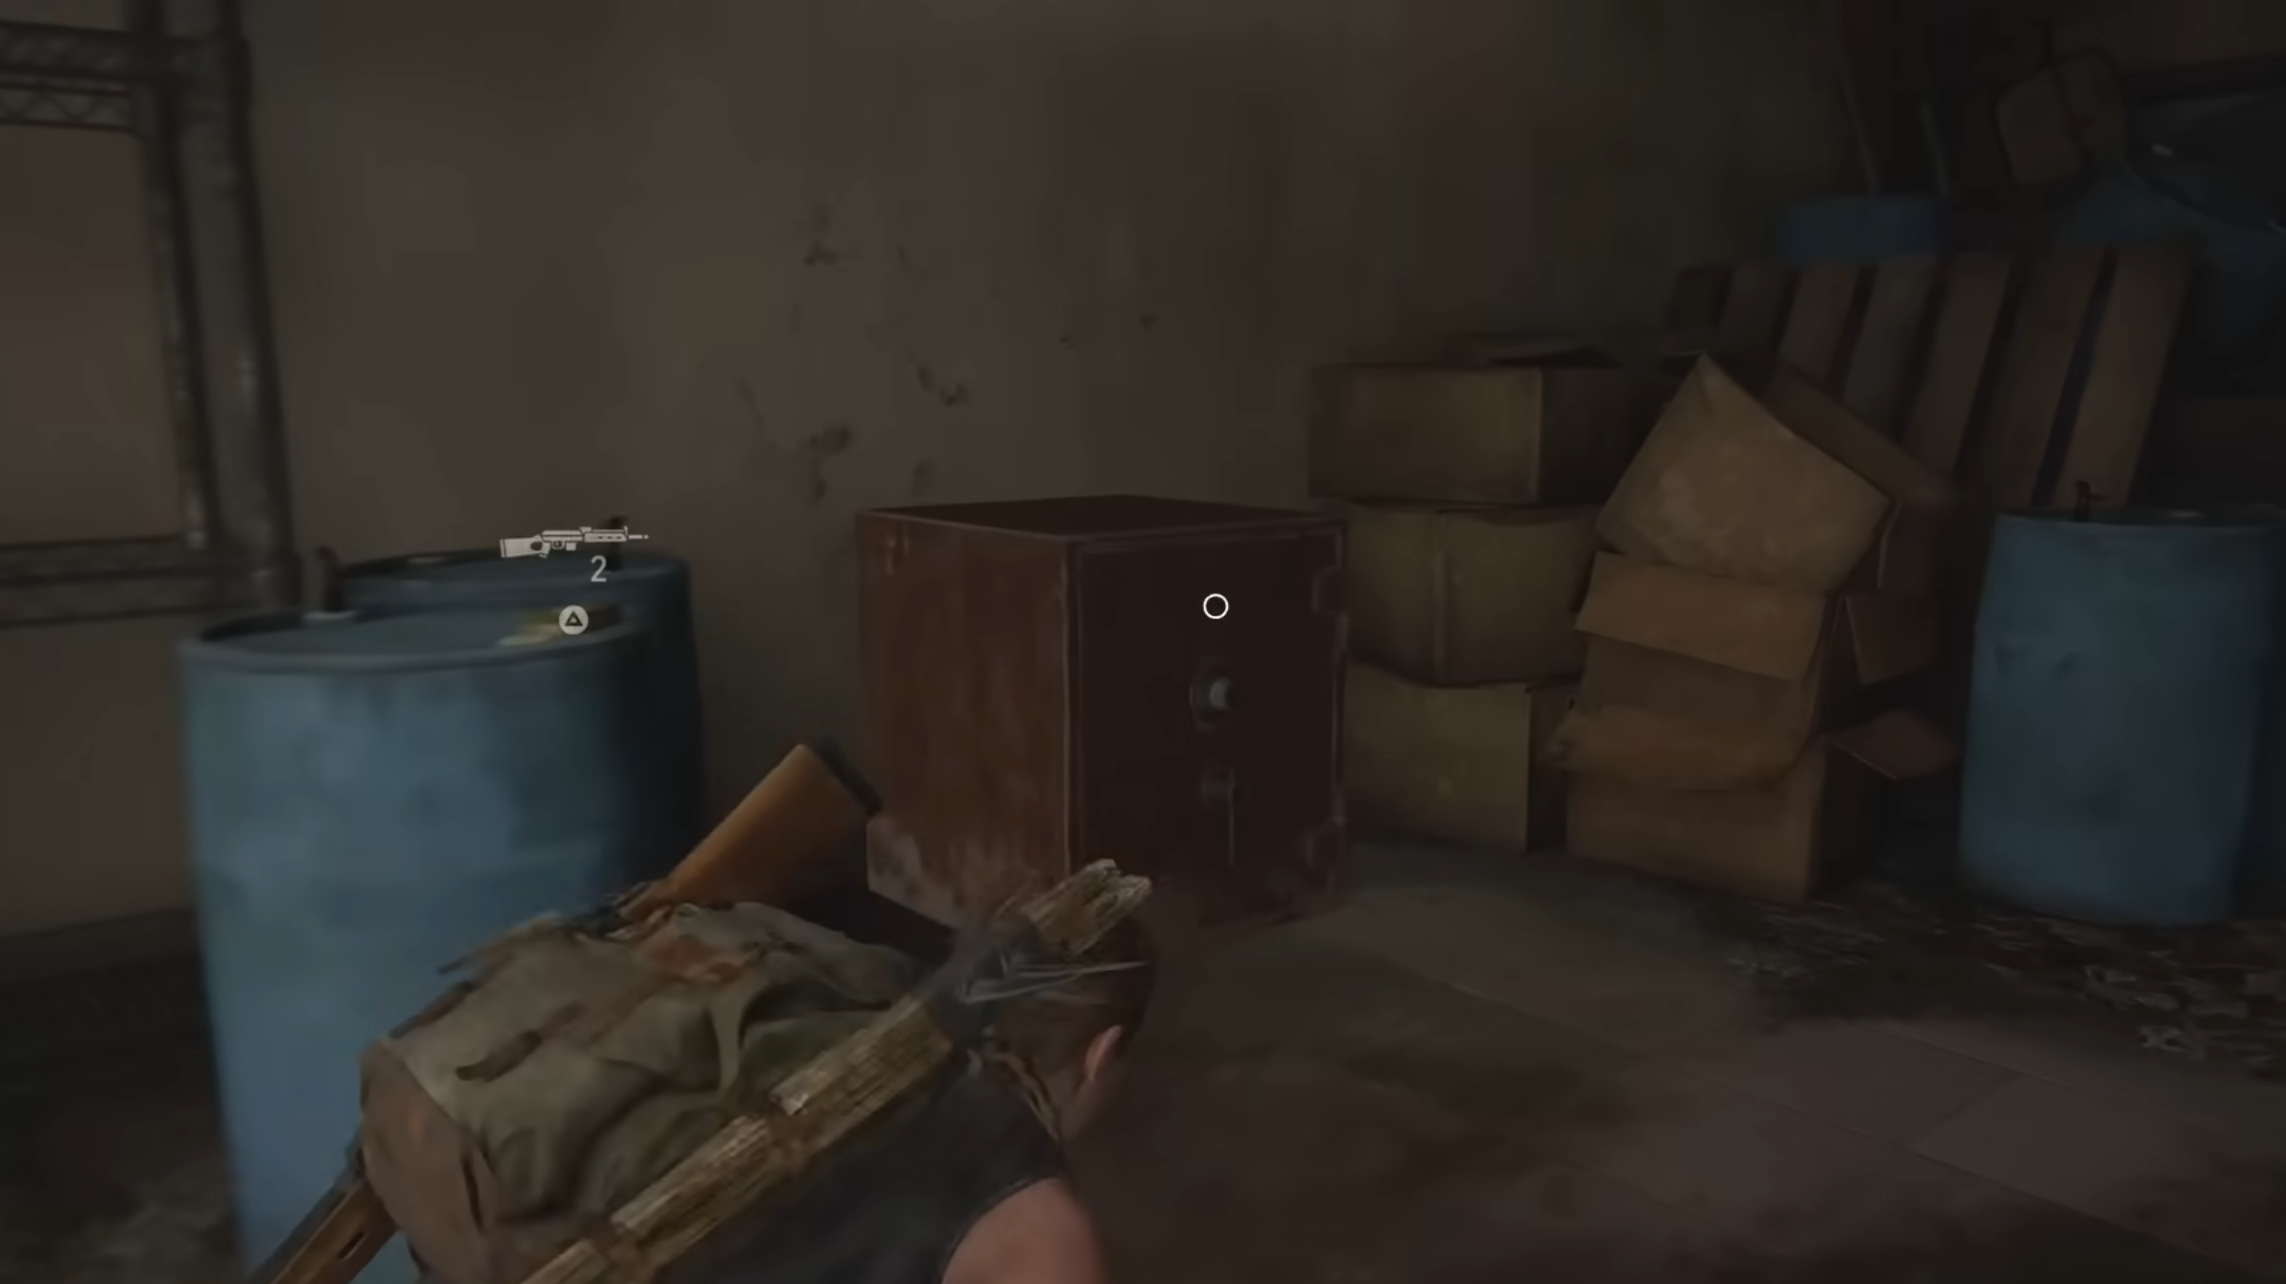
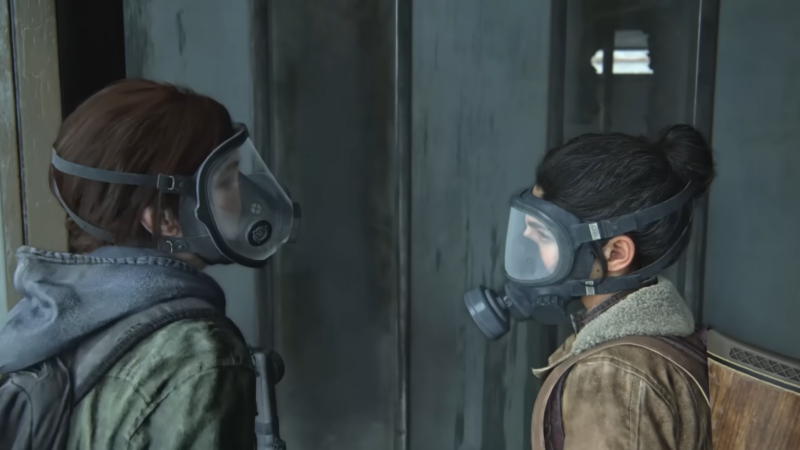
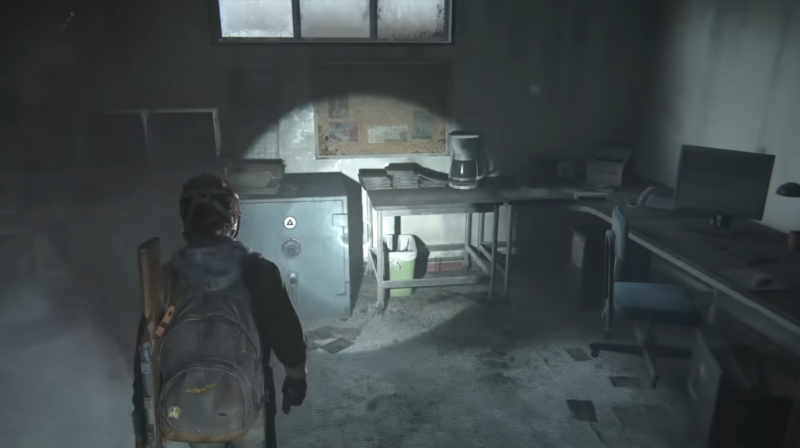
In the first chapter, you will find just one safe. This will be found during the patrol section. After popping on your mask, head through the open door and take a right. You will see a steel shelf leaning against the wall. To its right, there is a thin gap through the wall. Squeeze your way past and get to the other side, where you will take another right. Approach the closed door and press the prompted button to open and enter it. Right in front of you will be the safe. On the table beside it, you will find a document.
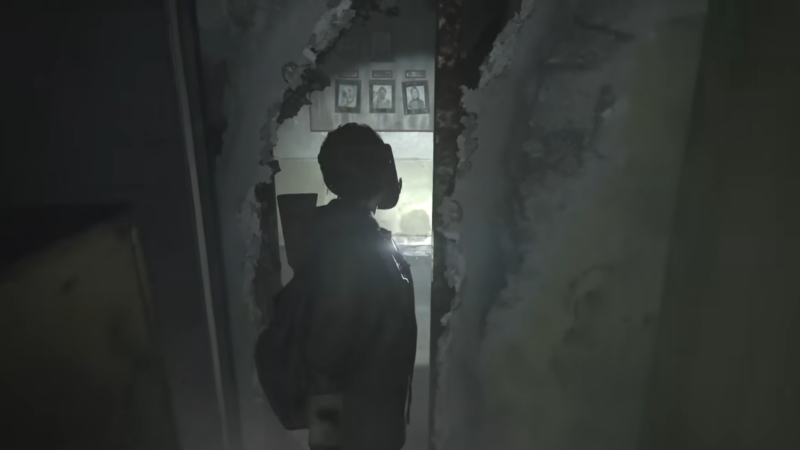
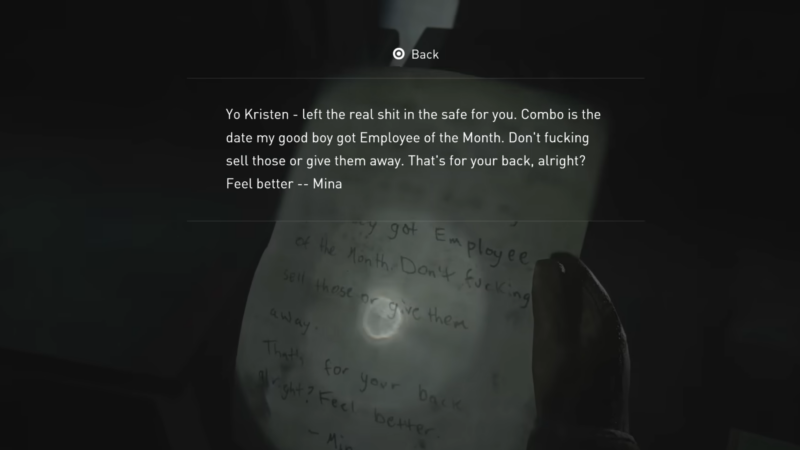
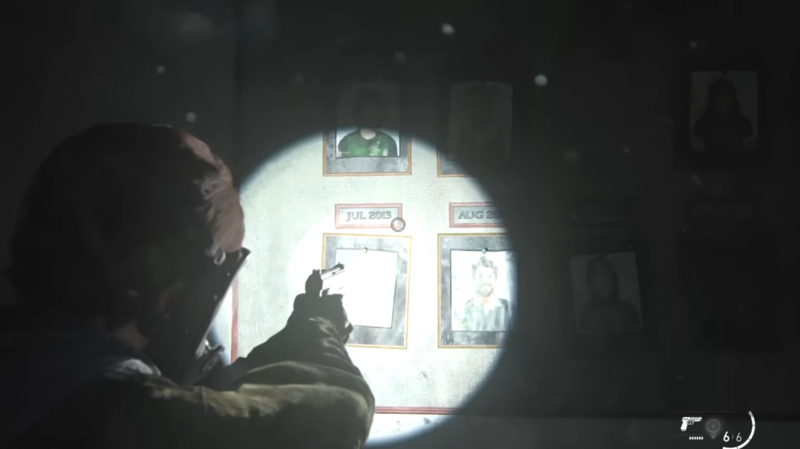
The document is called Good Boy Combo, which will give you a clue about where you can find the code. Head back out the door towards the crack you squeezed through. Right opposite the crack on the wall is an employee of the month board. Look at the first photo on the second row, and the date is the code. Go back to the safe, add the code, and the safe will open.
Chapter 2: Seattle Day 1
Downton: Safe Location and Combination (1/3)

Note: All images are a property of Naughty Dog/Sony Interactive Entertainment
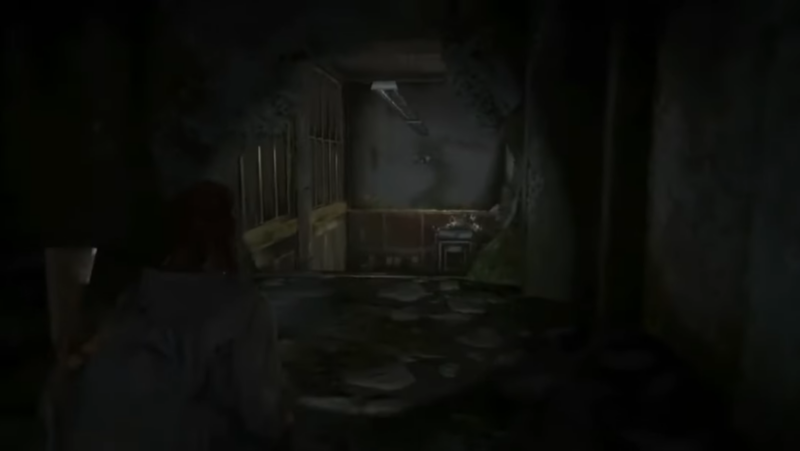
After riding to the ruins of the City Hall, follow the path that will lead you to the bank. You can enter the bank through a gap under the portion of the building that is leaning. Follow the path with drops and climbs till you reach a part where you can jump onto the floor of an intact portion of the building. Enter the room from the left and clear the clickers.
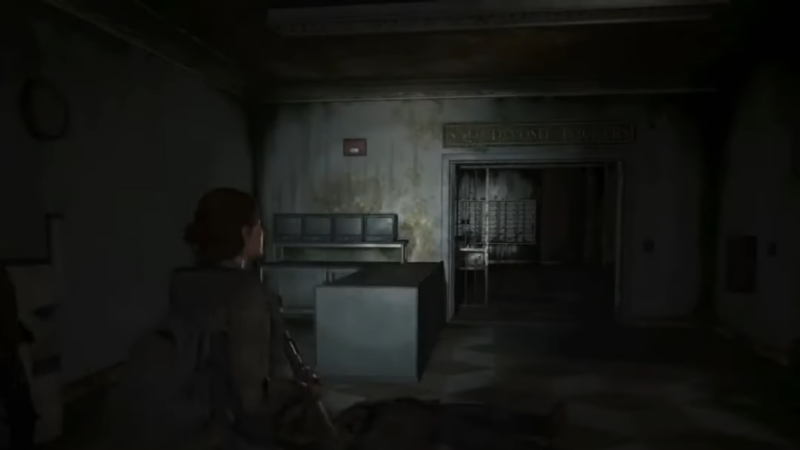
After that, to the left side of the room, enter through the door that reads ‘SAFE DEPOSIT LOCKERS. ‘ Inside this room, you will find the Bank Heist Plans document on the floor inside a backpack. The code to open the safe is written on this document itself, saving you from another goose chase. Take the code and approach the safe door to your left side. Input the code, and the safe will open.
Downtown: Safe Location and Combination (2/3)
Note: All images are a property of Naughty Dog/Sony Interactive Entertainment
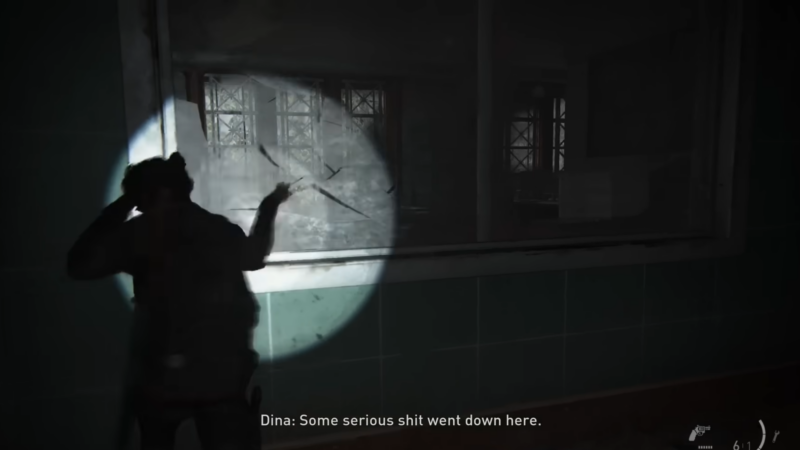
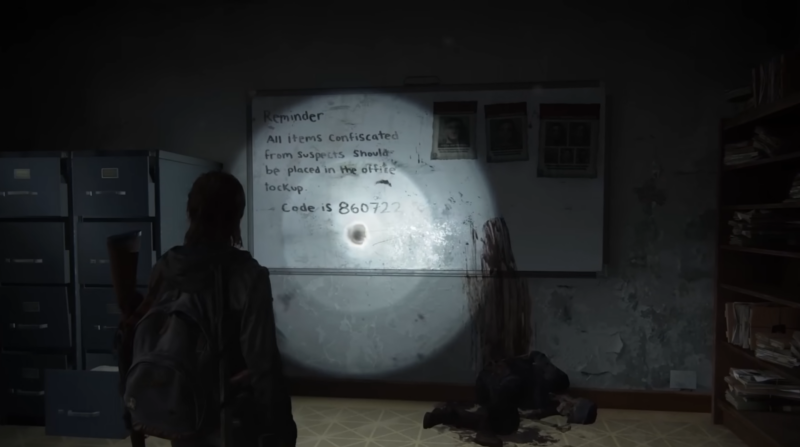
On your quest, you will be on the lookout for gas. Head forward until you reach the courthouse. You can enter using the window with aid from Dina. Once inside, move across the rows of wooden walls and enter the door to your right.
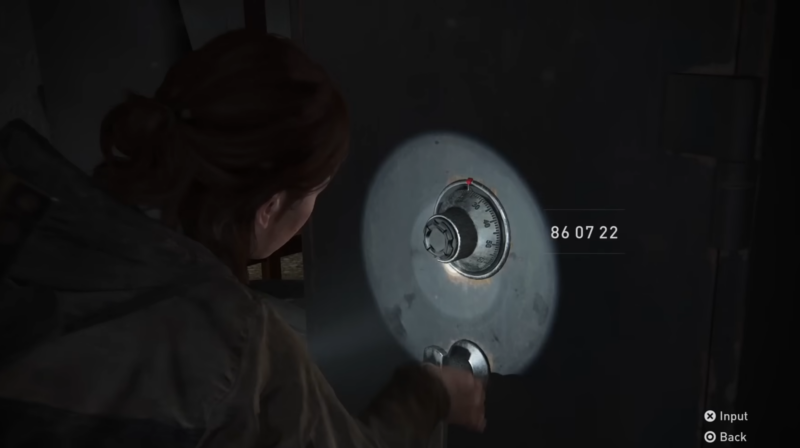
Keep going forward and go through the doors in the next room. Once past, you will find a window to your left side just before the turn. Break it and jump through. To your right is the safe code written on the wall. The safe is right under the window that you broke through.
Downtown: Safe Location and Combination (3/3)

Note: All images are a property of Naughty Dog/Sony Interactive Entertainment
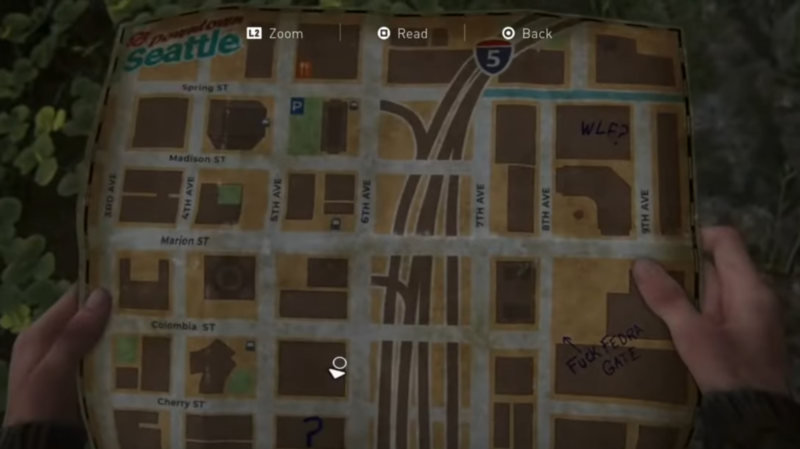
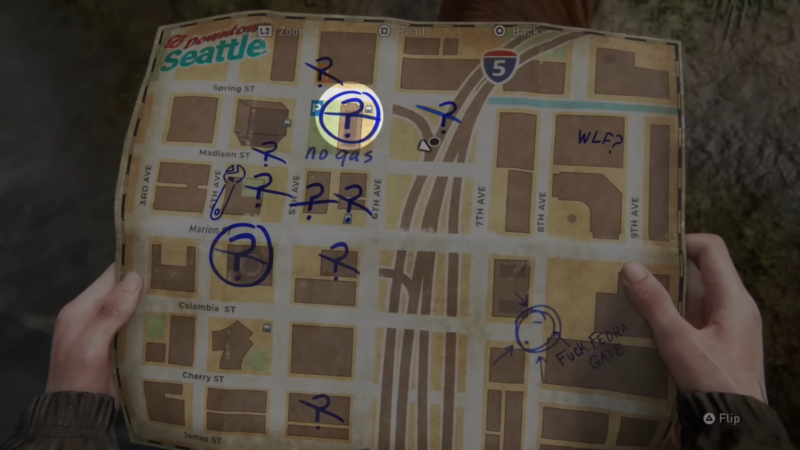
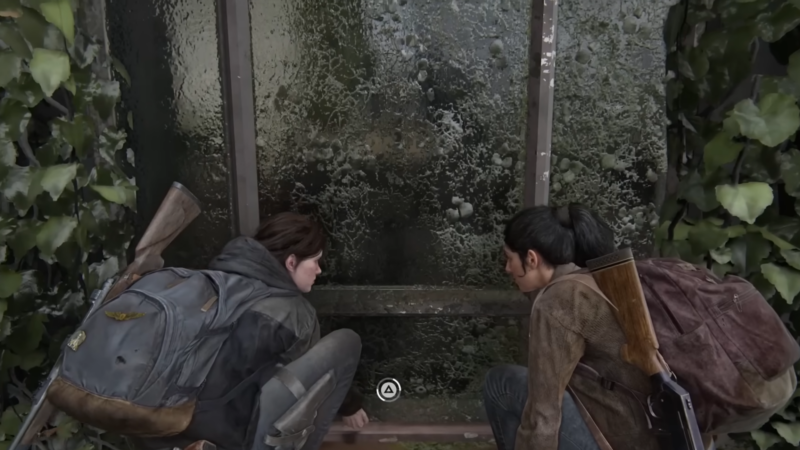
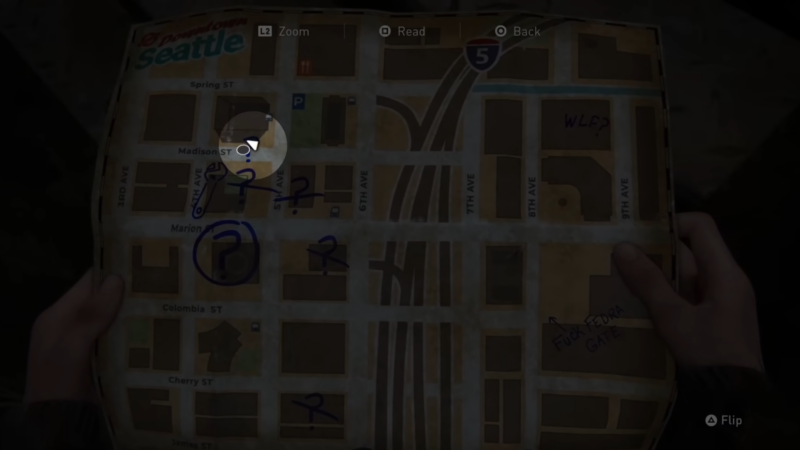
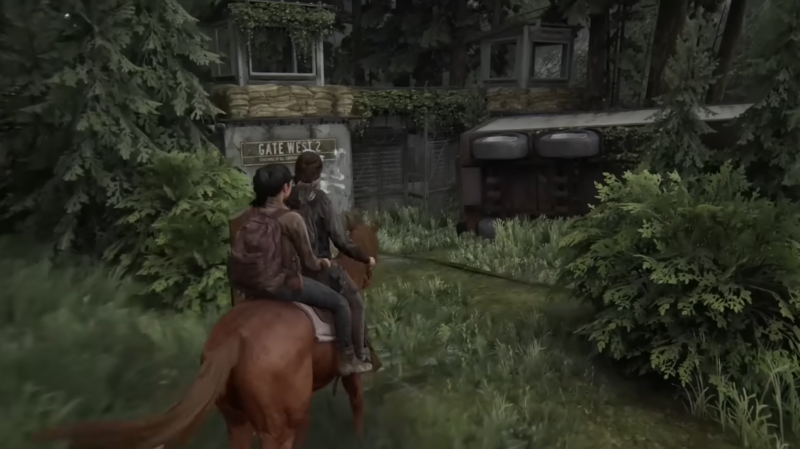
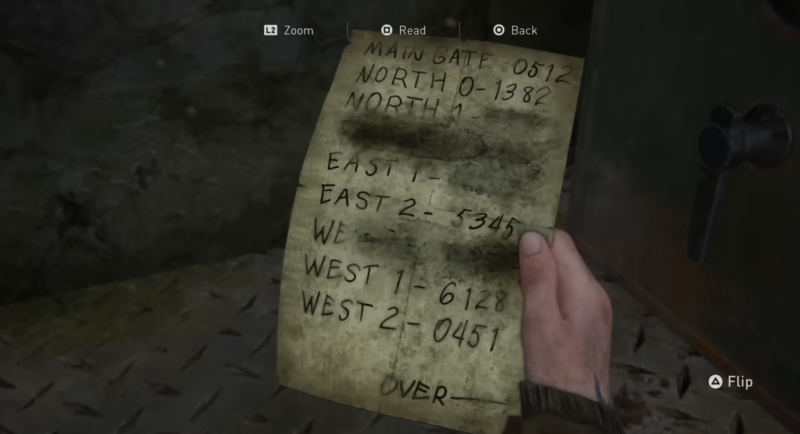
This sage can be found at the West 2 gate. Once you proceed further into downtown, head to the intersection between Madison Street and 6th Avenue. Once there, walk up the set of stairs, and at the top, turn around from the left side to see a satchel lying on the floor beside a green box. Collect the ‘Community Supply Chest Note’ document.
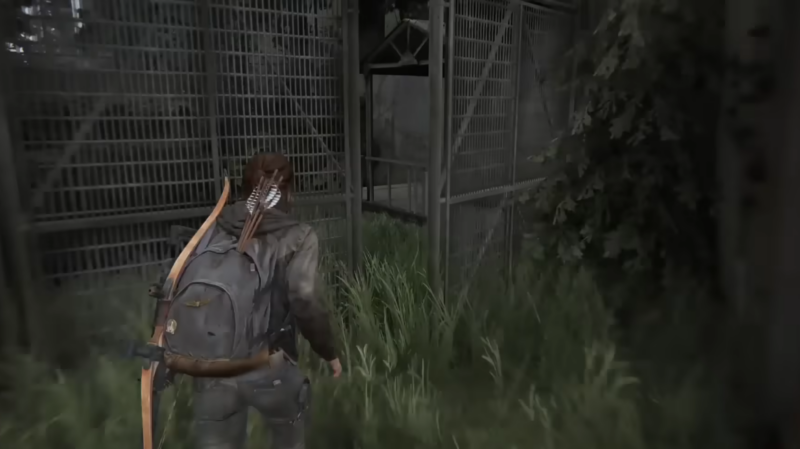
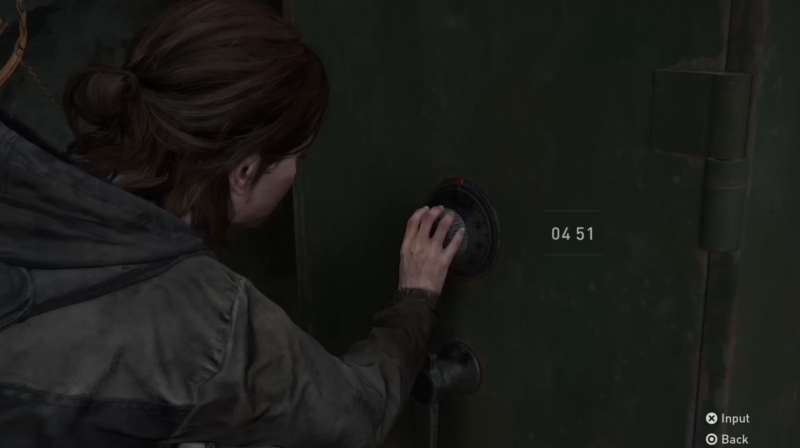
Now, from here, head to Southwest Street, right across the block. Once there, you will see the sign ‘GATE WEST 2,’ and to the right, a gate with a small opening to squeeze through. Head inside and to the left, and you will find a small set of stairs. Over there, you will see the safe, which you can use your code to open.
Capitol Hill: Safe Location and Combination
Note: All images are a property of Naughty Dog/Sony Interactive Entertainment
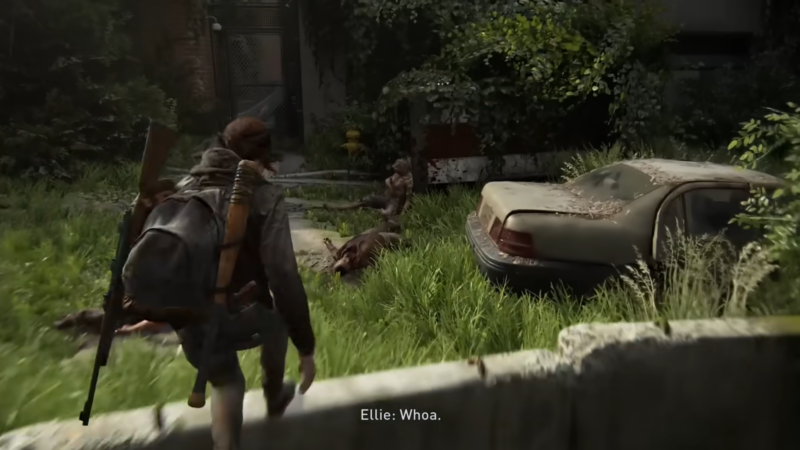
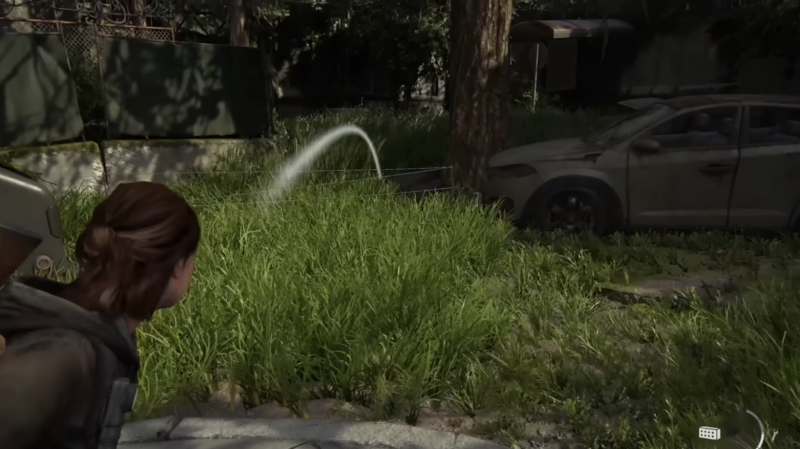
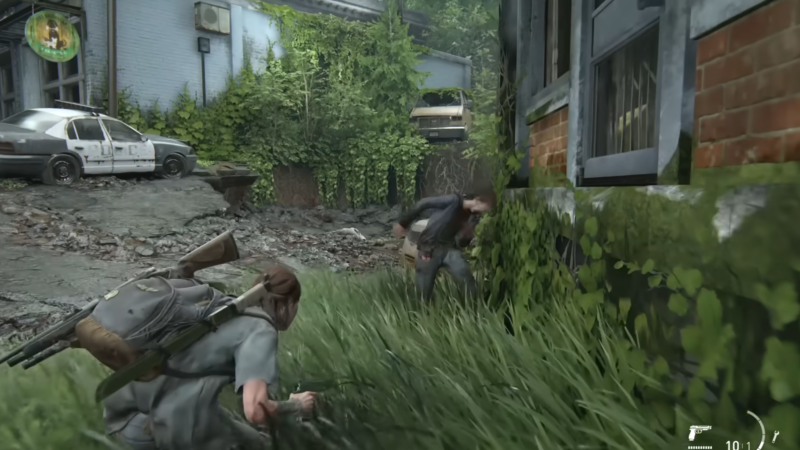
Once you are done with Downtown, you will enter the Capitol Hill area as part of your next quest. The clue, the code, and the safe will all be inside a thrift store. Enter the compound over a short wall. Now take a left and move between the cars. A small hut with the icon of a pig will be in front of you. To the right of this hut, you can see a tripmine waiting for you to take the wrong step. Throw a brick to disarm it. Now, walk past it.
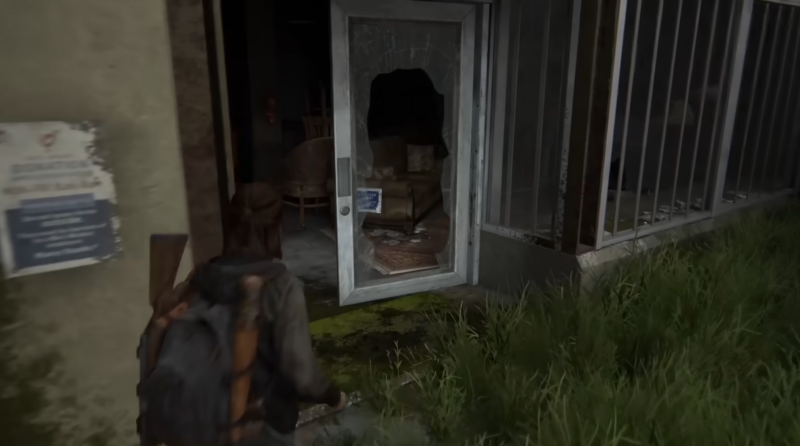
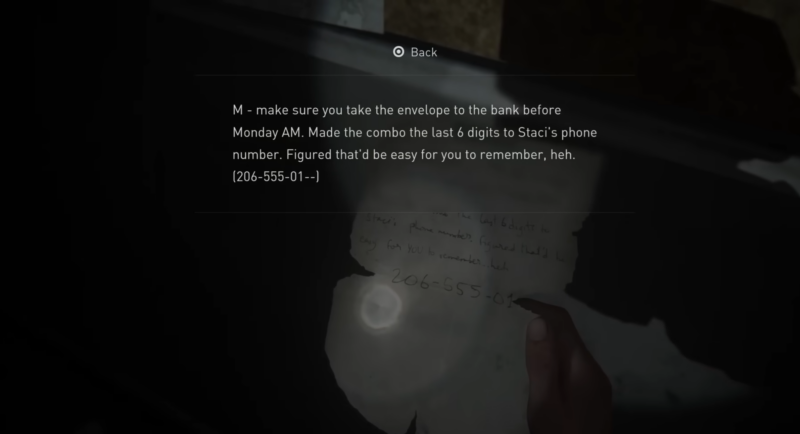
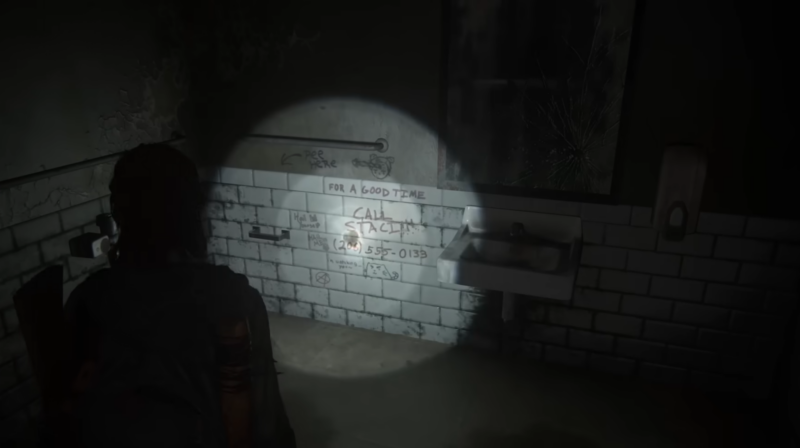
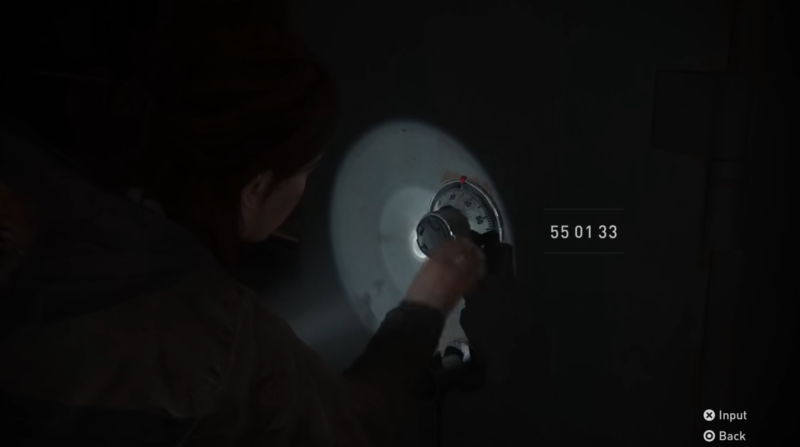
There would be some more trip mines for you to disarm. Look for a yellow cab. To its side, you will find the thrift store called Wellwishers. Enter the store and go to the door in the far right corner of the room. Keep an eye out for clickers. From this point, the door to your left holds the safe, the door in front of you is the bathroom with the code, and to your right is the clue. First, take a right and go to the bulletin board. Take the document, and you will get a clue for the code. Now, open the door to your left and look at Stacy’s phone number on the wall. Remember the last 6 digits. Now, open the last door once you exit the bathroom to your right. Over here, you will find the safe.
Chapter 3: Seattle Day 2
Hillcrest: Safe Location and Combination
Note: All images are a property of Naughty Dog/Sony Interactive Entertainment
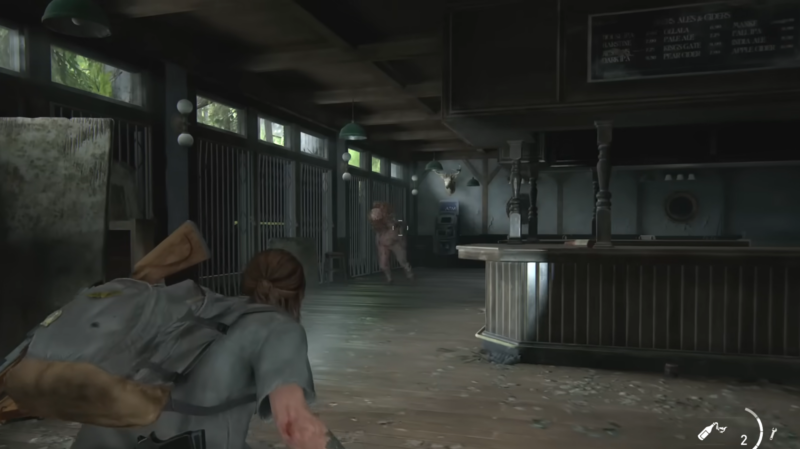
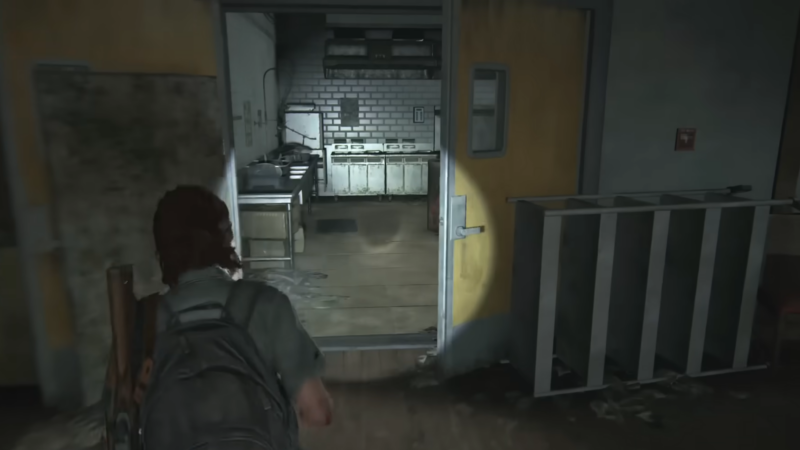
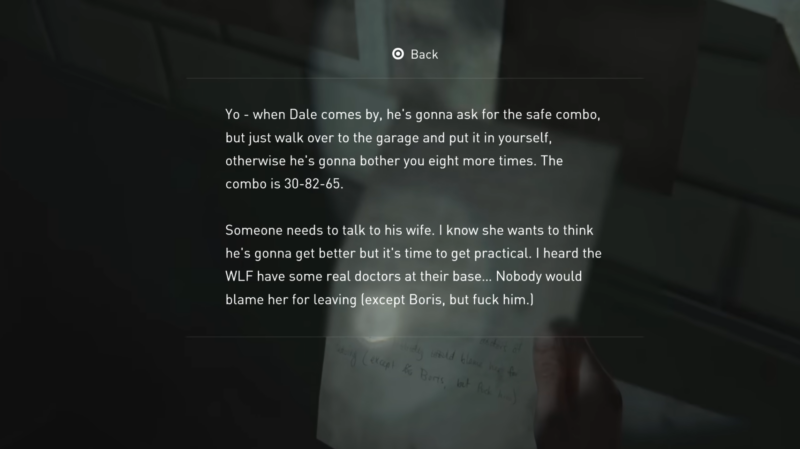
On the second day of Ellie’s journey in Seattle, there will come a point where you will jump outside a window beside a dumpster truck. Take a right, and you will see a pet store. Enter the pet store and exit through the hole connected to the bar. Run across the bar till you reach the door to the far right corner. Once inside the door, to the right, you will see a bulletin board with some papers. Open the ‘Dale’s Combo’ document, and you will find the code.
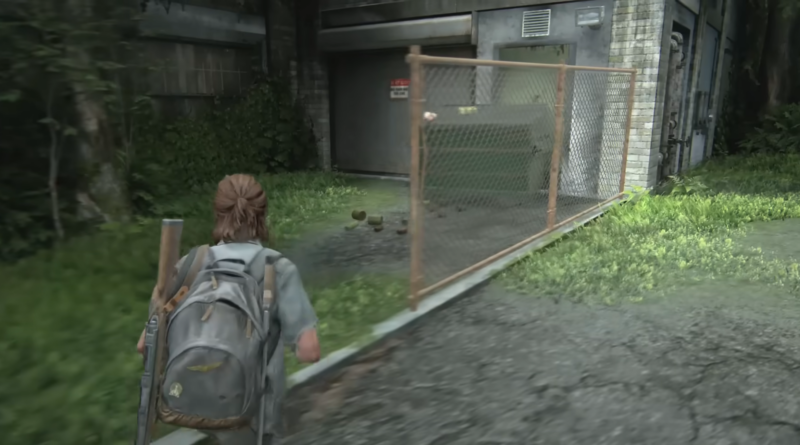
Now leave the bar and run past the shops until you reach the auto parts and repairs shop. You will see another dumpster now blocking a door. Move it aside and enter the door. Be prepared for an attack by a small army of clickers. Once you clear them, you will find the safe to your right.
The Seraphites: Safe Location and Combination (1/2)
Note: All images are a property of Naughty Dog/Sony Interactive Entertainment
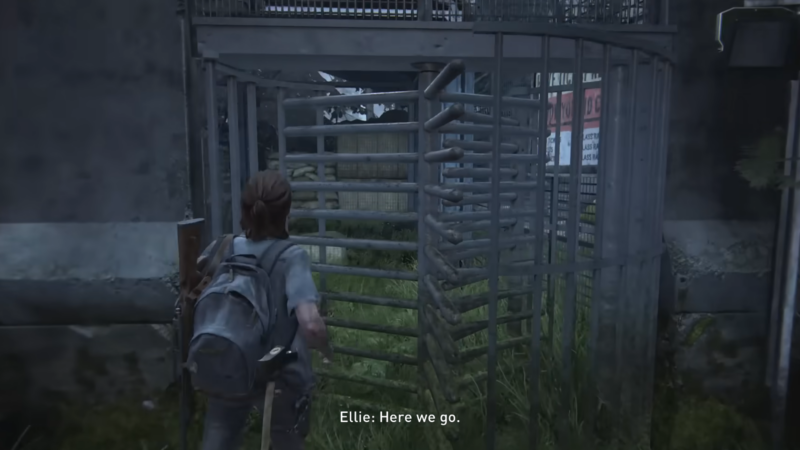
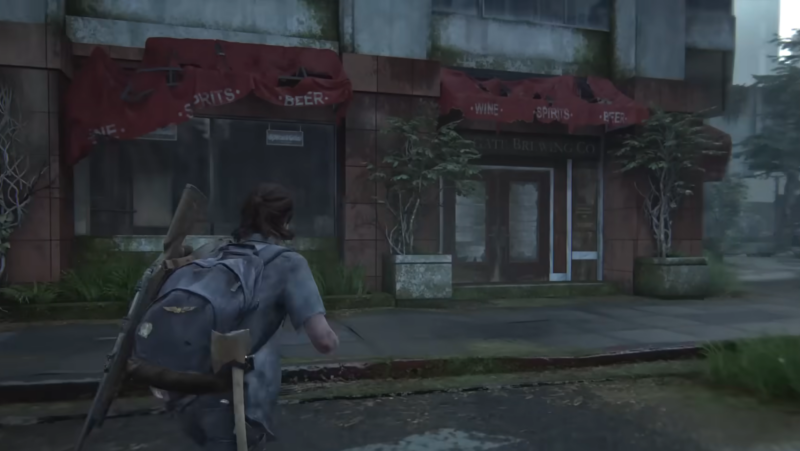
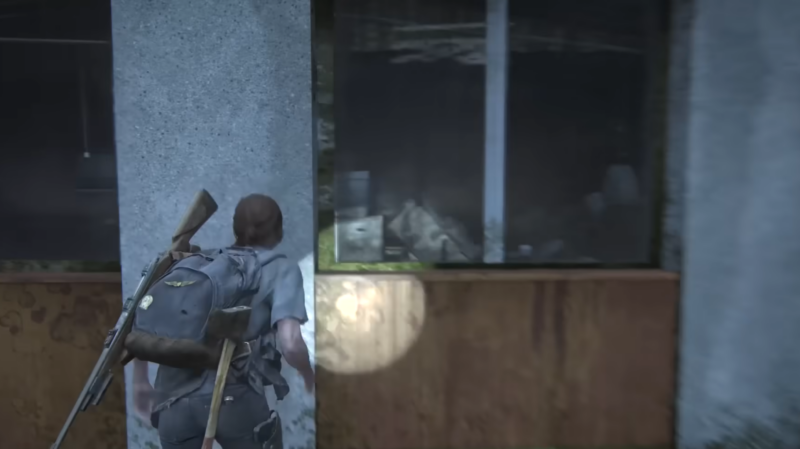
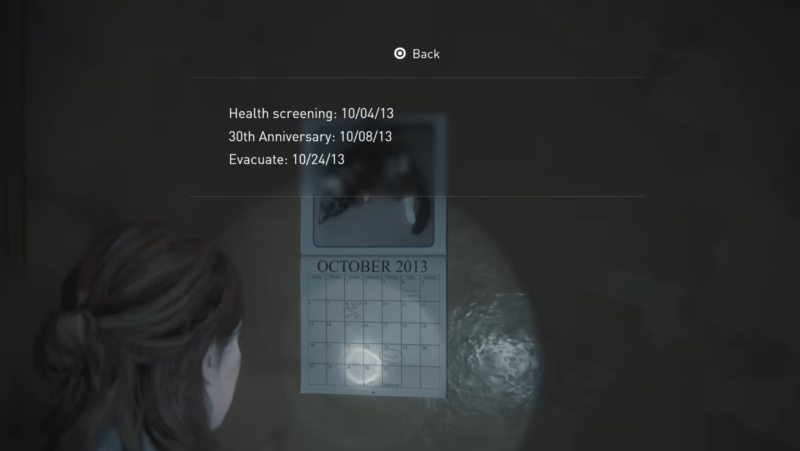
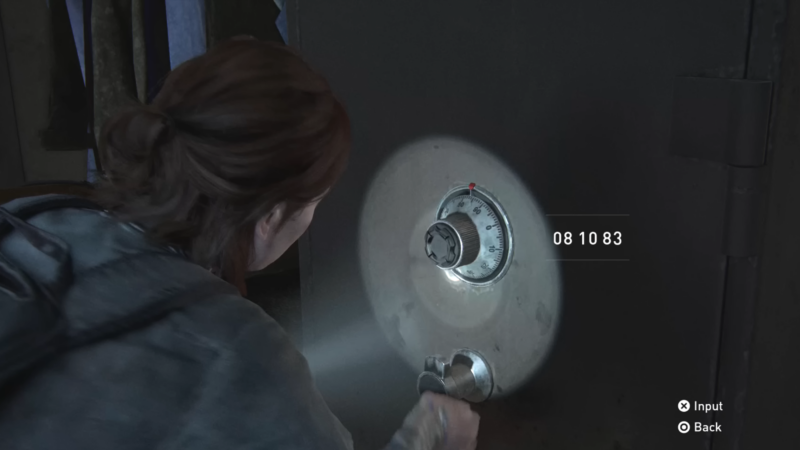
Push yourself past the gate once you leave the theater. As you move forward, you will enter a massive street. Run forward till you see a store to your left just before the turn. It has a red roof. To the side, you can use the truck to scale the heights and enter through the window on the floor above. Once in, you will find a note on the table.
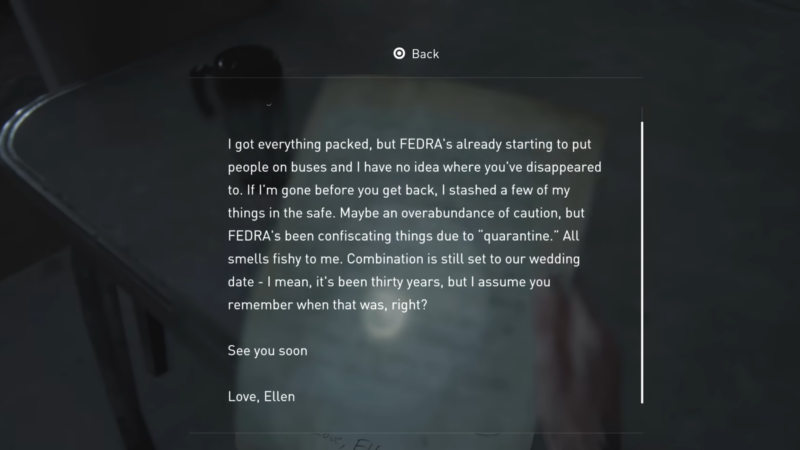
Pick up the note to get a clue about the code. The hint suggests the wedding date is the code. Look for a calendar in the room and calculate the date as per what the hint says. The date is October 08th, 1983. Look for the safe in the room and use the code to open it.
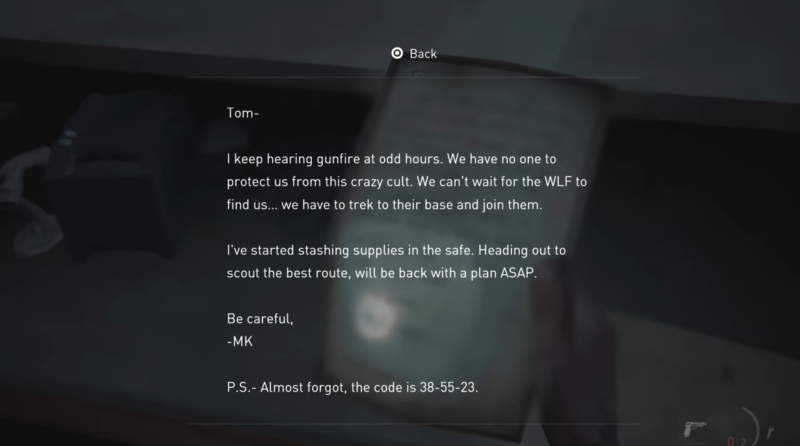
The Seraphites: Safe Location and Combination (2/2)

Note: All images are a property of Naughty Dog/Sony Interactive Entertainment
After defeating the Seraphites, you can exit the area through the roof and jump down. Over there, you will find a set of stairs, which you will ascend to reach the floor above. Proceed forward under the sign of Weston’s and jump to the gap to your left. From there, enter the shop from the right. You will see a table. Jump across, and on the other side, you will find a note containing the code.
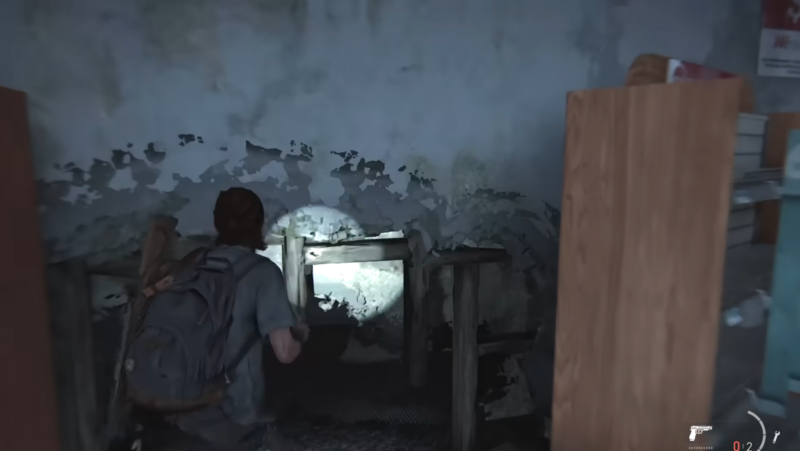
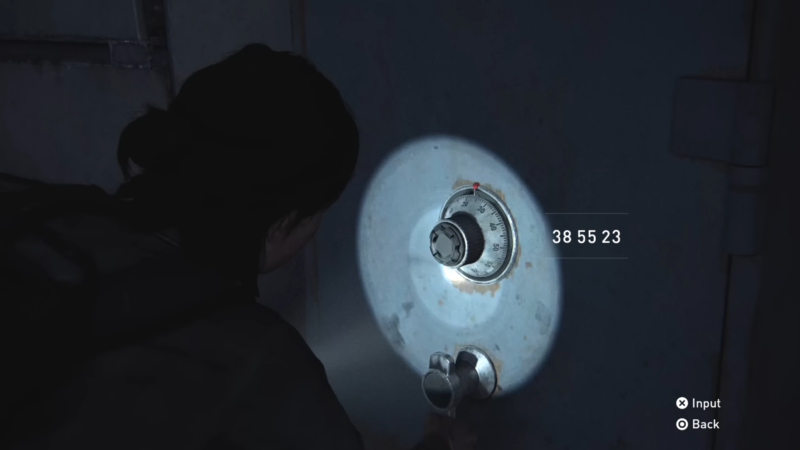
Now move ahead from the exit of the table, and between two shelves, there is a gap beneath the wall. Enter through and you will find a safe at the far left corner of the room. Use the code and open the safe.
Chapter 4: Seattle Day 3
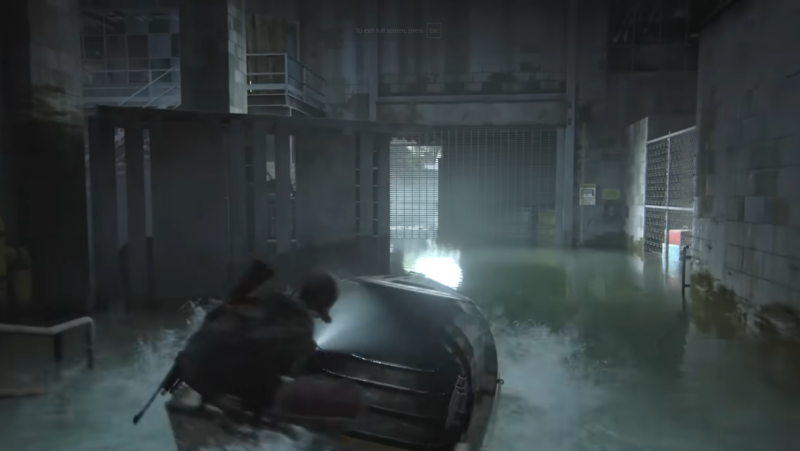
The Flooded City: Safe Location and Combination
Note: All images are a property of Naughty Dog/Sony Interactive Entertainment
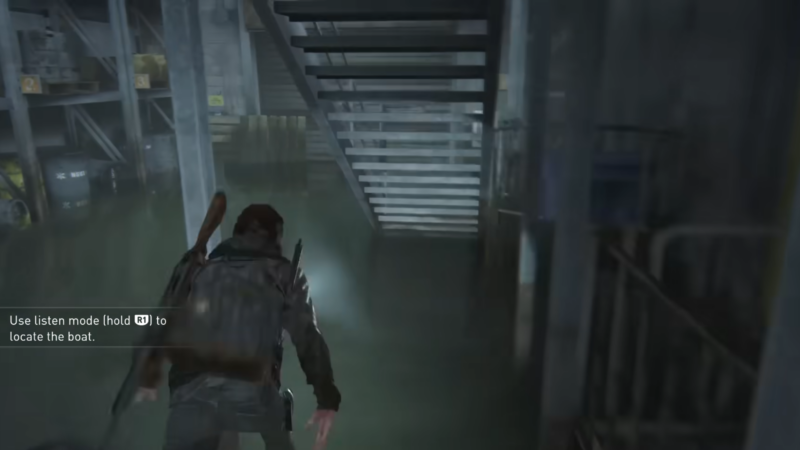
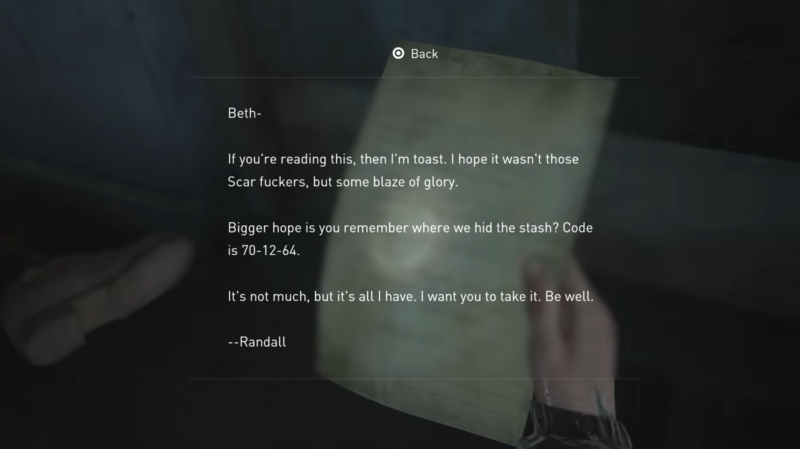
When you reach the boat section of the mission, reach the dead end in the form of a gate. Now, exit the boat, and to your left side, you will see stairs. Climb the stairs until you reach a person lying dead by a door. By his legs is a note with a clue for the code.
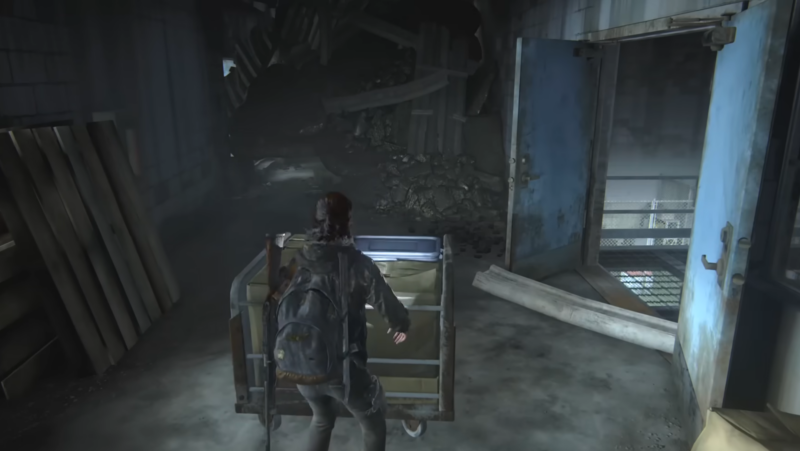
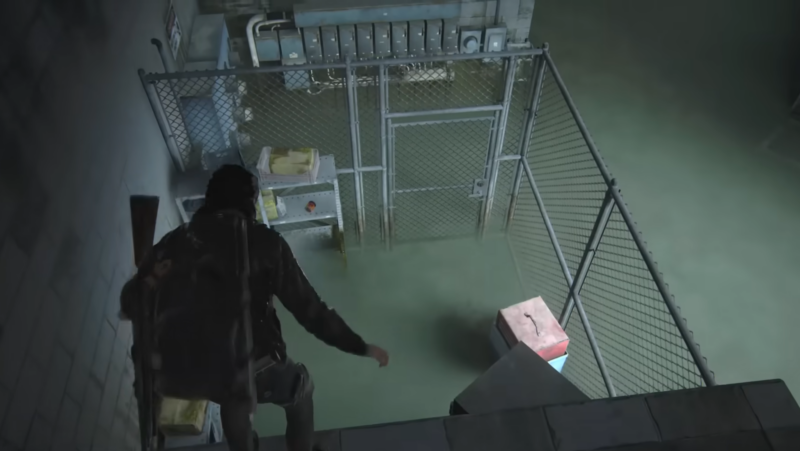
On the opposite side of the room, you will see an interactive object. Move it aside to then enter the crevice under the rubble. Once you reach the other side, jump across the wall and down to the floor. Right beside you is the safe. Use the code and open it.
Chapter 6: Seattle Day 1
On Foot: Safe Location and Combination
Note: All images are a property of Naughty Dog/Sony Interactive Entertainment
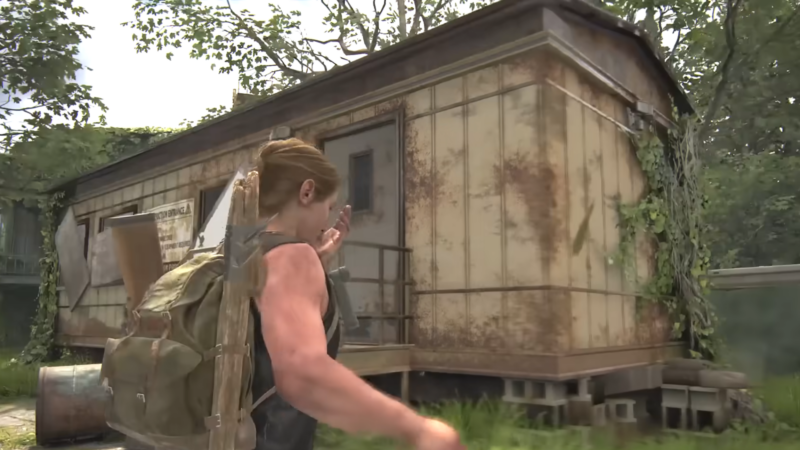
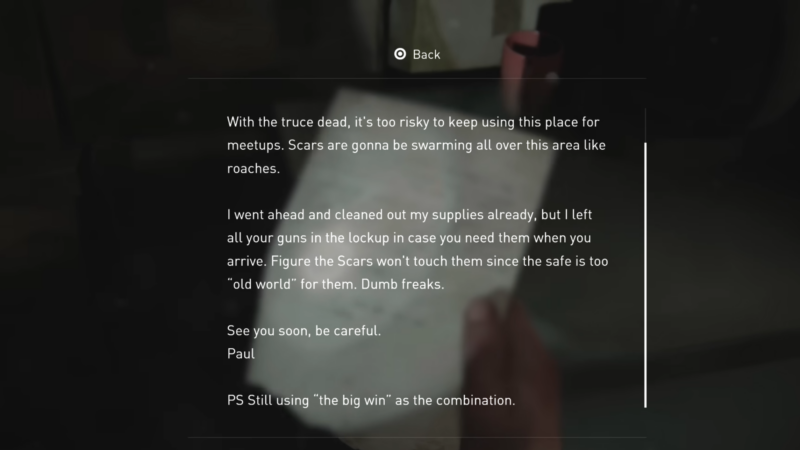
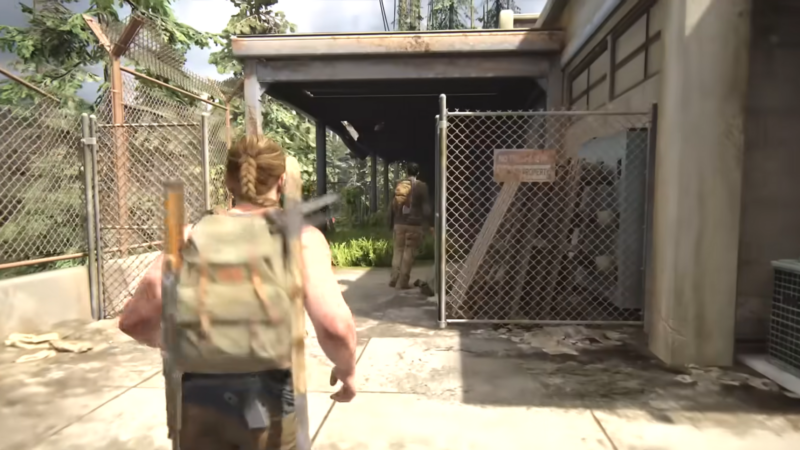
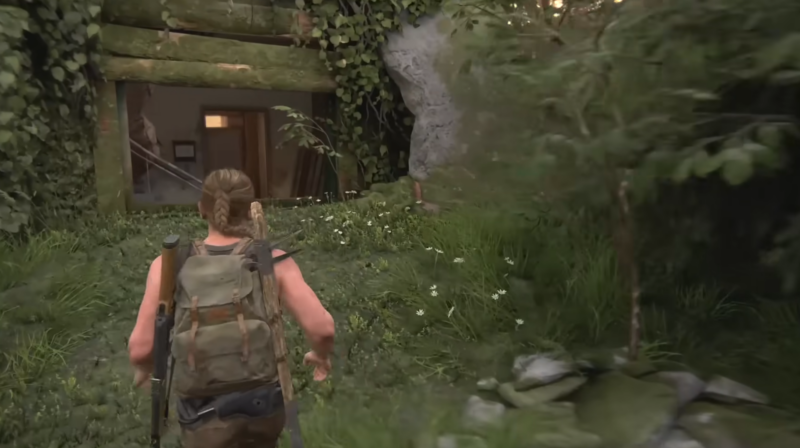
As you are playing Seattle Day 1 with Abby, leave the building with Mel. From there, you will proceed toward the train carts. You will see two houses, one smaller than the other. From the back side of the smaller house, break the window and enter it. You will find a note with a clue hinting at ‘the big win’ to be linked to the combination.
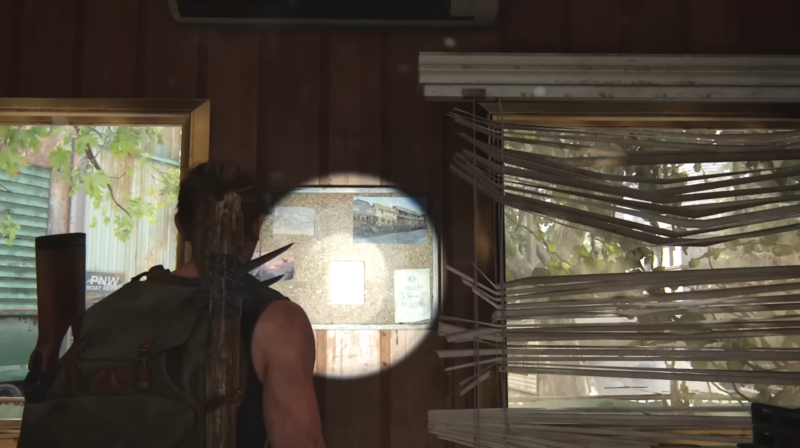
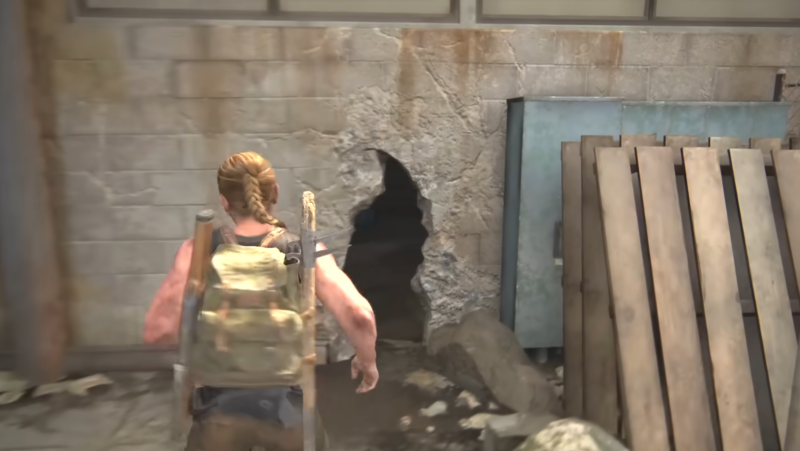
Look for the bulletin board in the room and angle yourself right to find the clue. You won’t be able to open the note. Once you get the clue, leave the small house from the same window and take a right. Take another right, and you will see a gate beside the bigger house. Pass through, and to the right, you will see a crevice between the wall beside the wood planks. Enter the gap, and to the left will be the safe. Use the code and open it.
Hostile Territory: Safe Location and Combination
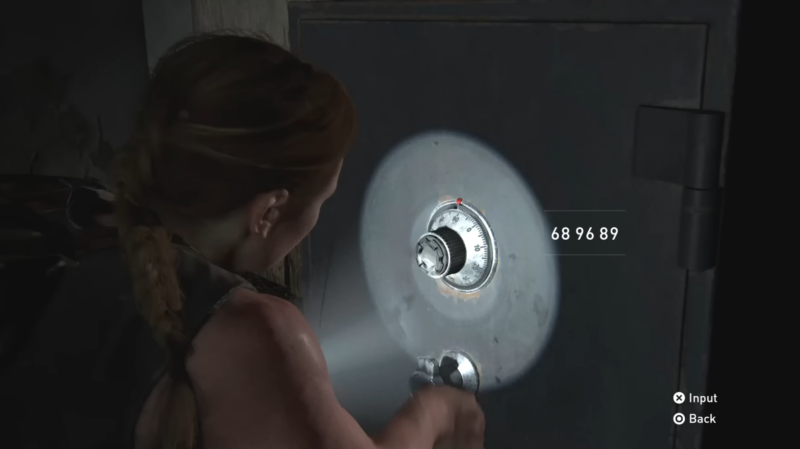
Note: All images are a property of Naughty Dog/Sony Interactive Entertainment
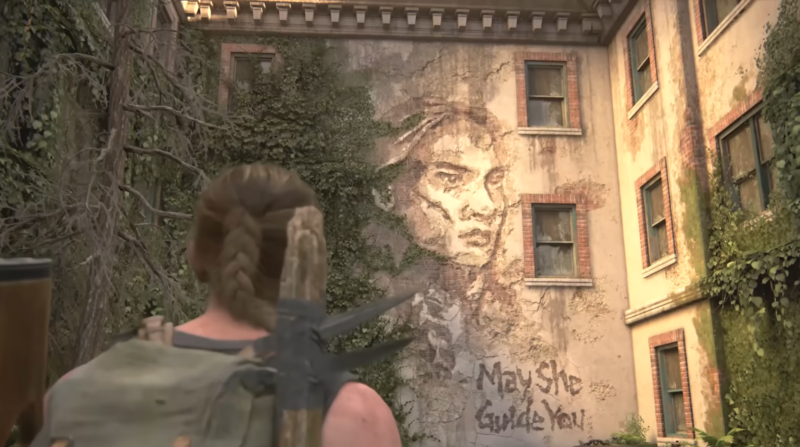
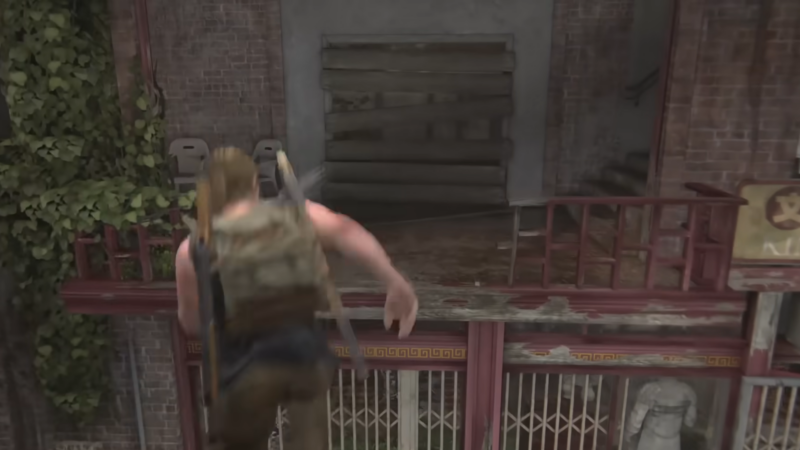
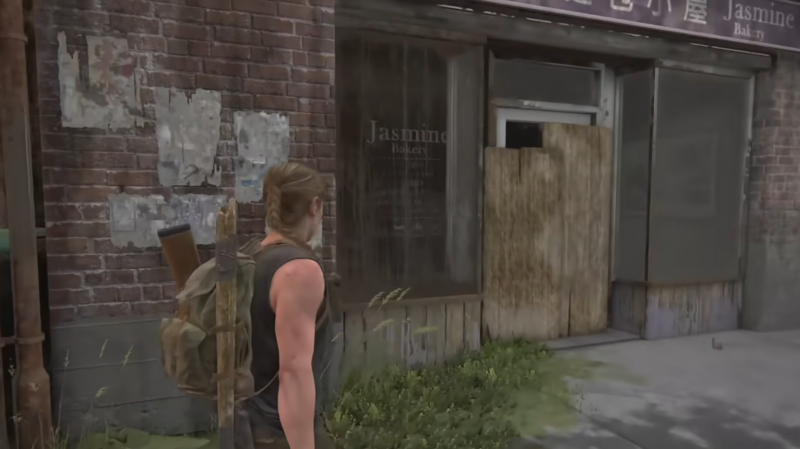
At a point in the Hostile Territory section of the mission, you will reach an area with a huge painting on the wall. To the right, jump across the wall and outside the building till you reach a street. Run past the first two houses and enter the third shop to your right. Once in, take a right and enter through the door. Make your way ahead, and fight the infected in your path till you reach an opening from where you have to jump across to the shop on the other side. From here, take a left, and you will find a document with the clue to the right beside the door on some boxes.
Now go back the way you came from till you reach the street. Take a right and skip the first shop. Enter the second shop by breaking the window and jumping in. Look for the safe and use the code to open it.
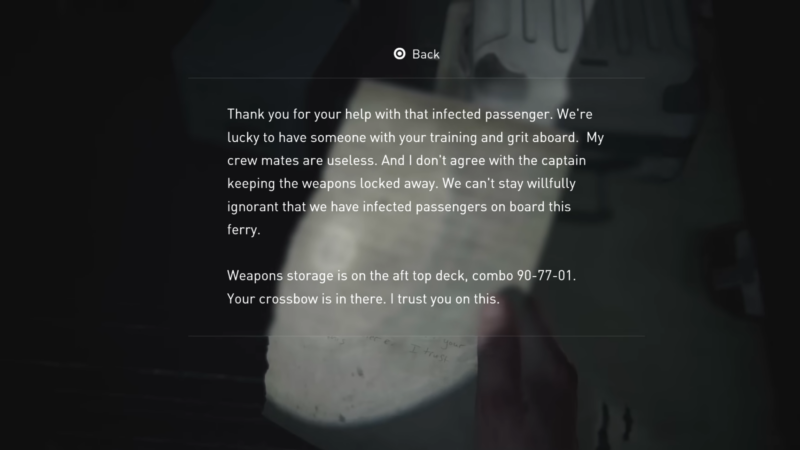
The Coast: Safe Location and Combination
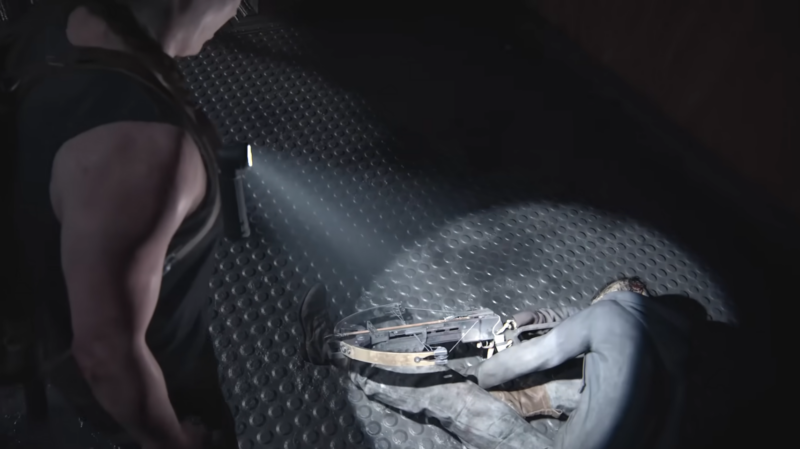
Note: All images are a property of Naughty Dog/Sony Interactive Entertainment
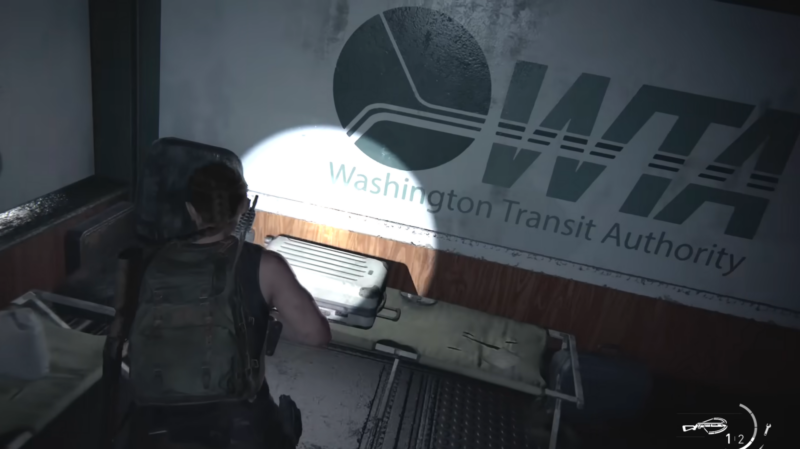
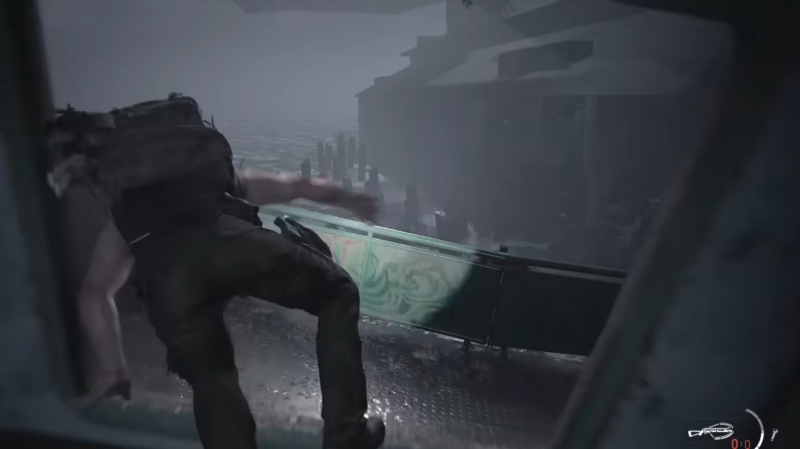
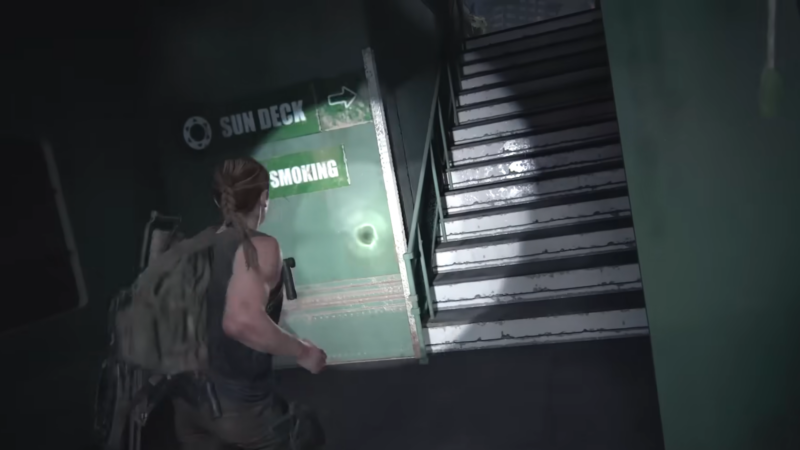
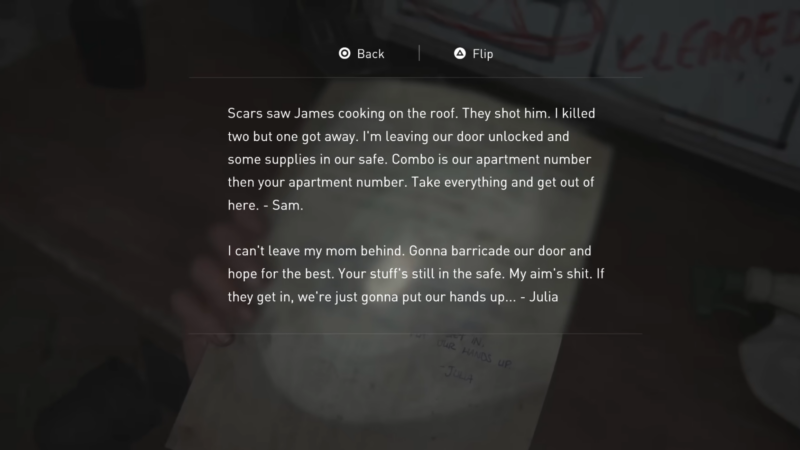
Once on the ship in the coast part of the mission, enter the door and pick up the crossbow to your right. Run across the room to the other side to the end. On the desk, you will find a clue with the code in it. Now head back to the other side and use the stairs to your left to climb up. Once you’re up, take the first right, and at the end, take another left. Keep running straight and take another left. You will see a door on the right side. Enter it and jump across the window to your right
Now run left, through the next door, and jump outside using the next window. To your left, you will see a flight of stairs leading up to the captain’s room. As soon as you reach the top, turn around and enter the room from the left side. The locker is right ahead of you. Use the code and unlock it.
Chapter 7: Seattle Day 2
The Shortcut: Safe Location and Combination

Note: All images are a property of Naughty Dog/Sony Interactive Entertainment
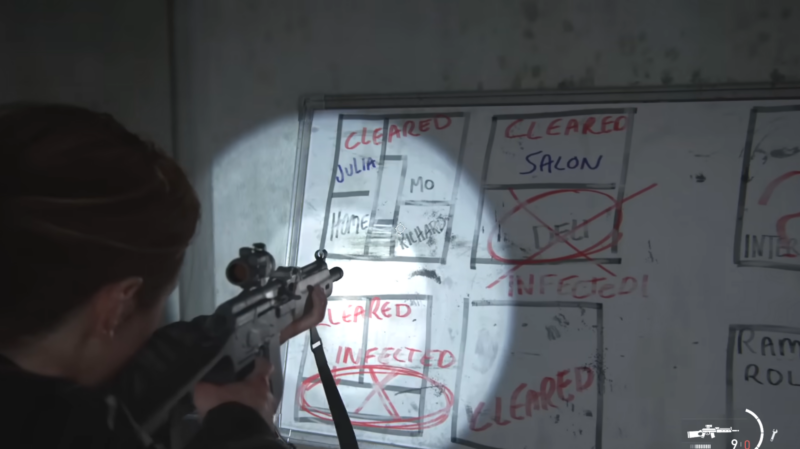
During the Shortcut mission, you will reach a waterfall area. Just before the gap, to your left, you can jump into the house. Once in, take a right and go to the whiteboard. On the table in front of it is a document with the code. Pick it up and read the hint suggesting the house number of two people. Look at the whiteboard next to get an idea of the layouts of the house and who stays where.
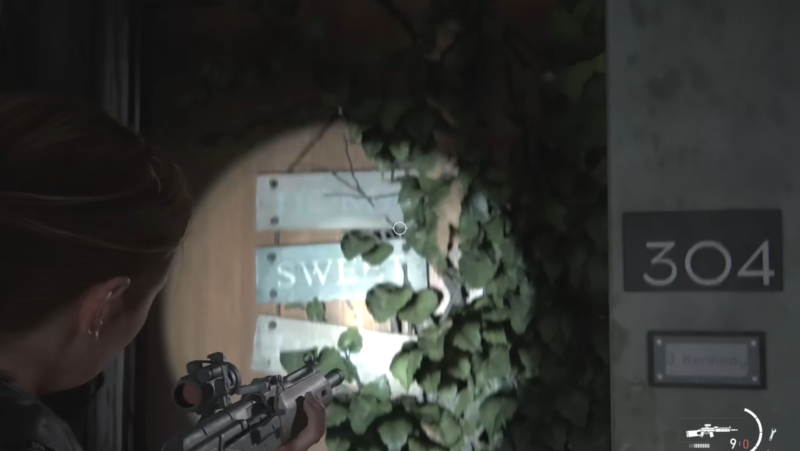
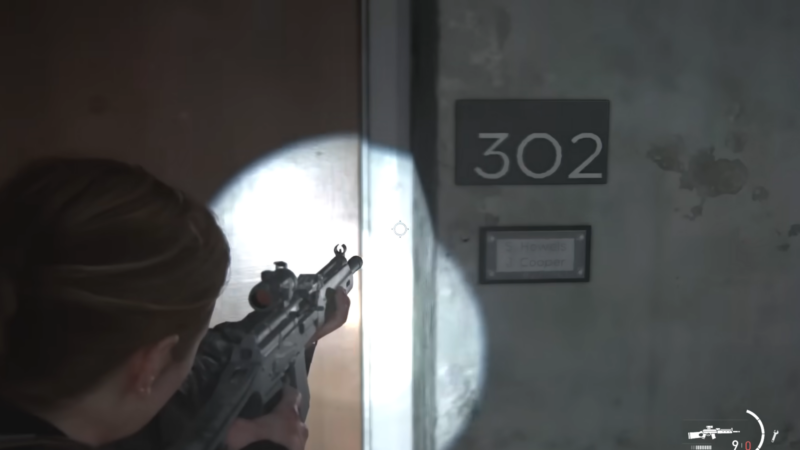
Leave the house from the main entrance, and you will see the house numbers of those two people. The numbers are 302 and 304. Go back inside and enter the room to your left. You will find the safe here. Enter the code and open the safe.
The Descent: Safe Location and Combination
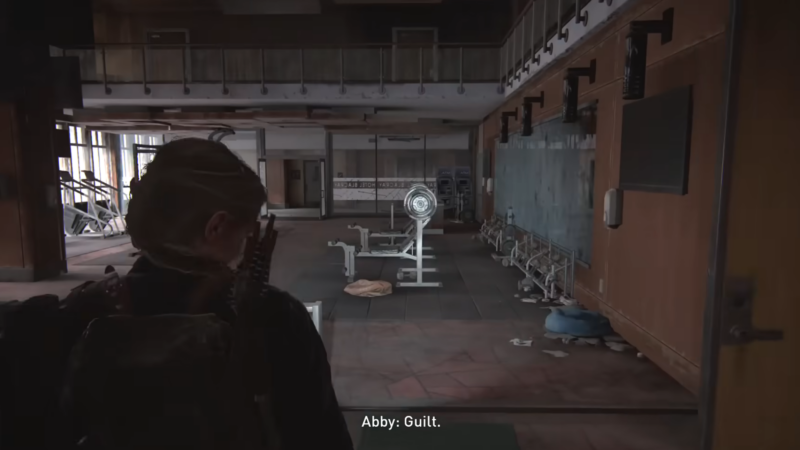


Note: All images are a property of Naughty Dog/Sony Interactive Entertainment
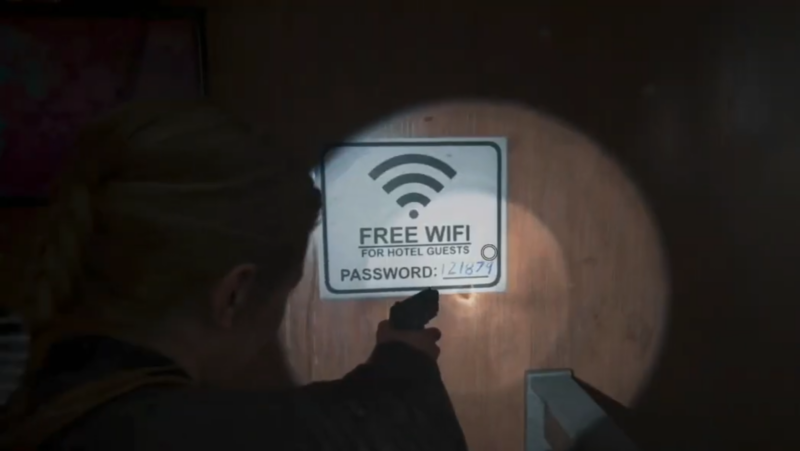
During this mission, there is a point in time where you will reach a gym. Enter the gym, and right in front of you will be a WIFI password. Take note of it. Now take a right and run across the room to the other side. Over here, you will see two rooms. Take the one on the left.
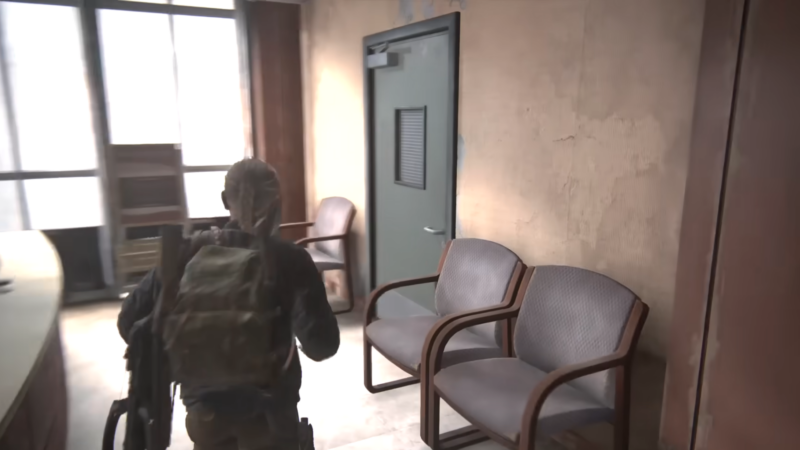
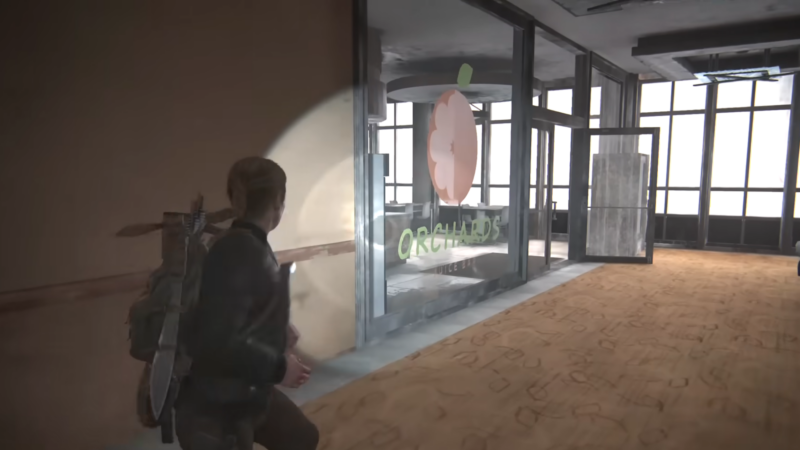
Once in, you will see the safe to your right. Skip it for now and turn left out of the next room. Run across the path until you reach a juice bar. Enter the bar, and in the kitchen, you will find a note on the bulletin board giving you a hint. The hint suggests the code is the WIFI password. Now that you already know the password, head back to the safe and open it. These are all the Safe Locations and combinations in The Last of Us 2
Looking For More?
Thank you for reading the article. We provide the latest news and create guides for Baldur’s Gate 3, Starfield, ARK Survival Ascended, and more. Also, watch Deltia play games on Twitch or visit his YouTube channel!