Facebook
 Reddit
 Email
Email
Take on the SHroom Swarm Boss Battle in Ball X Pit by studying its attack patterns and ending the Fungal Forest level.

There are a total of eight boss fights in Ball X Pit, each appearing at the end of their respective levels. The Shroom Swarm is the final boss of the fourth level, The Fungal Forest. You can unlock this stage by collecting two gears from Liminal Desert. From the Fungal Forest onwards, the number of characters required to complete each stage will begin to increase.
In this article, we will look at how to complete the Shroom Swarm Boss Fight
How To Defeat Shroom Swarm in Ball X Pit
Unlike the other bosses you will face in Ball X Pit, Shroom Swarm is slightly different and may actually be the easiest to defeat. There is no single boss; instead, you’ll face a swarm of mini-enemies. They constantly rotate, changing positions and forming defensive barriers, sometimes compressing and sometimes expanding. However, there are a few attack patterns to keep in mind to survive and defeat them.
Bullet Spray (Formation 1)
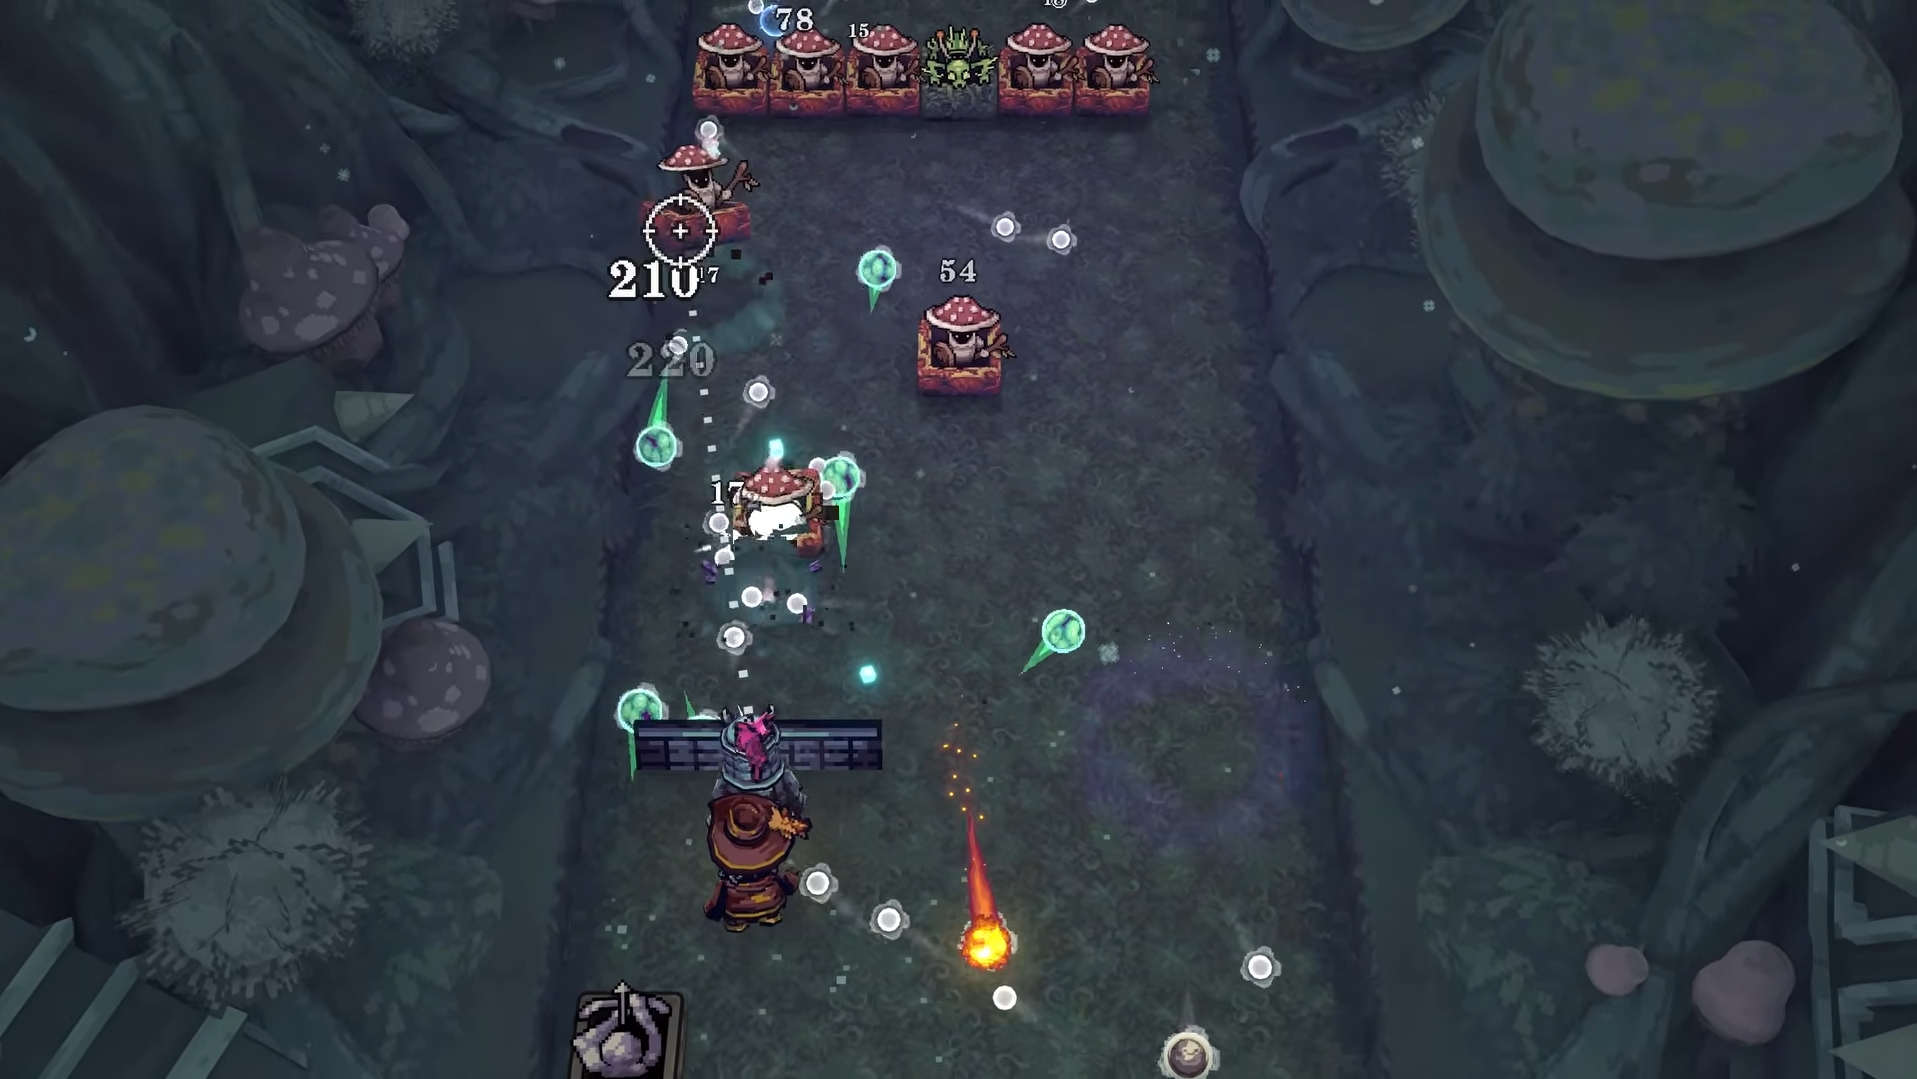
The Shroom Swarm uses two different formations, each with its own attack pattern. In the first formation, the shrooms gather toward the center of the grid in a square shape. From there, they begin spraying bullets in random directions. These are easy to dodge by keeping your distance and staying on your side of the grid. Keep firing rebound shots at the walls to increase your range and hit multiple enemies.
Grouped Bullets (Formation 1)

In this formation, the Shroom Swarm will also use another pattern. Similar to the first random bullet spray, this time it shoots bullets in groups of three, two, or four. Between each group is a small gap you can use to maneuver and avoid damage.
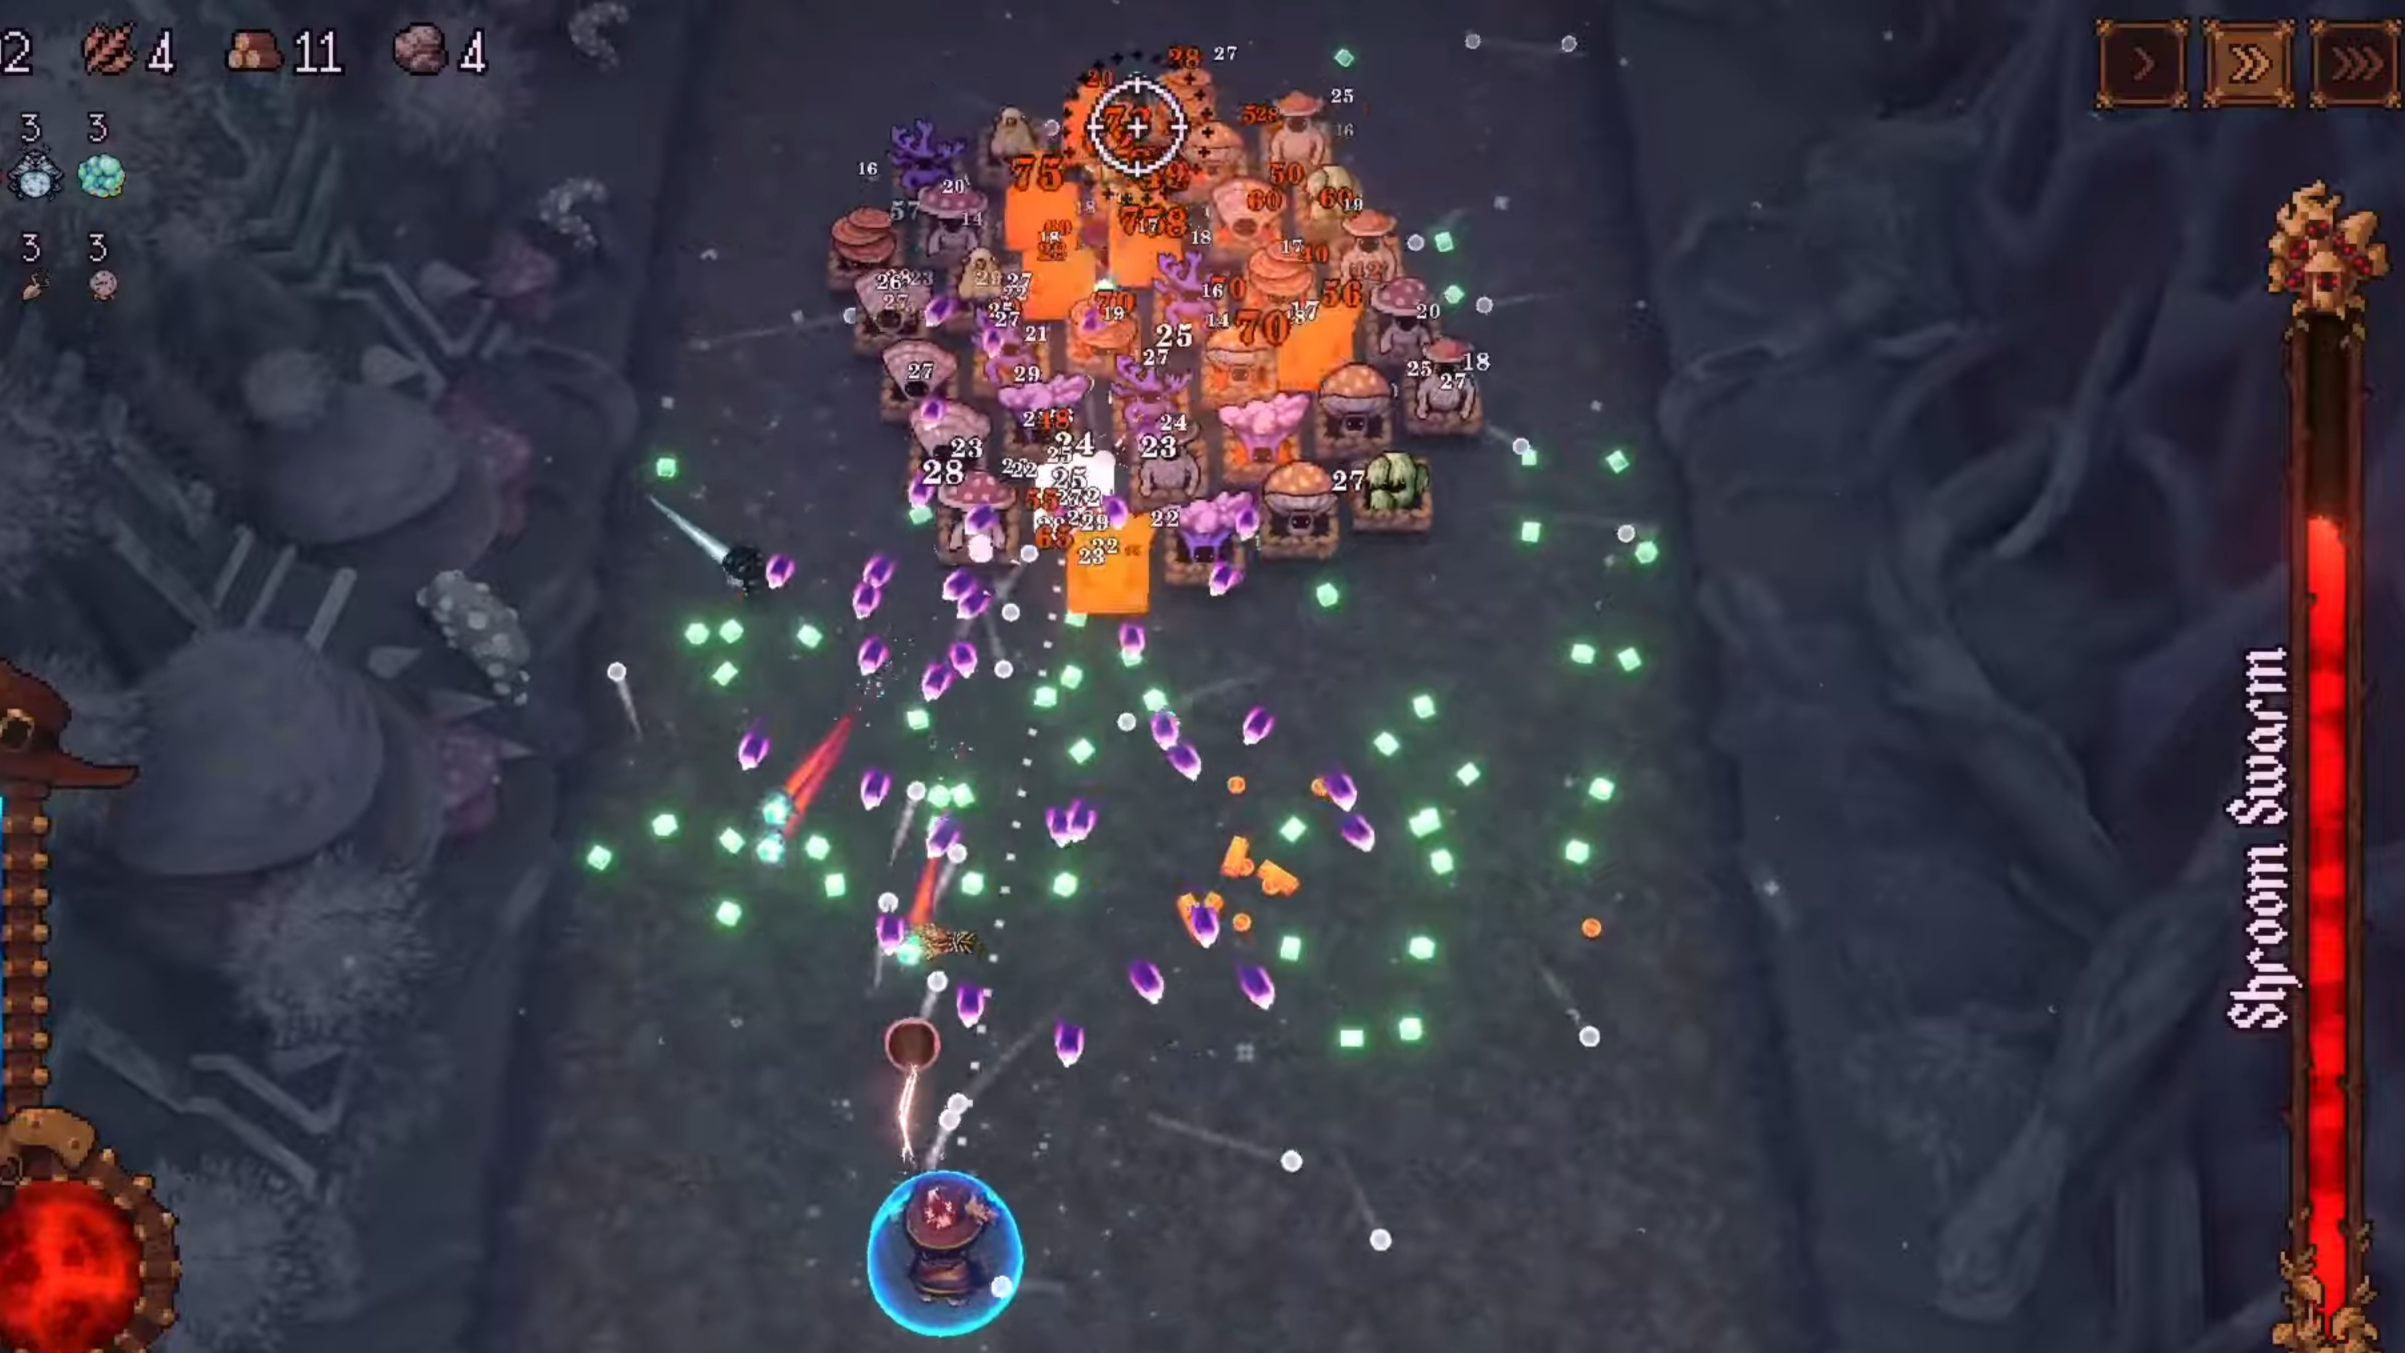
Enemy Spawn (Formation 2)

In the second formation, the swarm retreats to its side of the grid and forms two rows. This stance is more defensive, as more mini-enemies begin to spawn ahead of them. These include all enemy types, including shrooms that push forward faster. The best strategy is to use rebound shots to clear the enemies efficiently. Since there is no single boss to target, the spread shot tactic works best. After you clear all the enemies, the swarm reverts to the first formation.
To learn how to take on the Skeleton King in Ball X Pit, you can refer to the link below.
Also read: Ball X Pit: Skeleton King Boss Guide

We provide the latest news and create guides for Ball X Pit. Meanwhile, you can check out the following articles or catch us playing games on YouTube: