Facebook
 Reddit
 Email
Email
Players will accompany the Wildcat and help her destroy the Moonfall Site in Borderland 4’s Crystak Brawl mission. Here are the details.
The Crystal Brawl is the 12th mission in Borderlands 4, which takes place after the Shadow of the Mountain. During this mission, players will meet Wildcat, aka Amara, for the first time and help her infiltrate the Moonfall Site and destroy some Refinery processors and a Refinery core while taking on many enemies. In this guide, we will walk you through the entirety of the mission and the optional objective that comes with it.
Borderlands 4: Crystal Brawl Walkthrough
Players will get to do a lot of destruction in Borderlands 4‘s Crystal Brawl. You will meet Defiant Calder in this mission again, and he will ask you to meet Amara, as we mentioned briefly already. Then, the mission follows a similar structure to its predecessor and sends you to do some objectives, such as breaching the moonfall site, destroying the power generator, refinery processor, and the refinery core.
Part 1: Find Wildcat

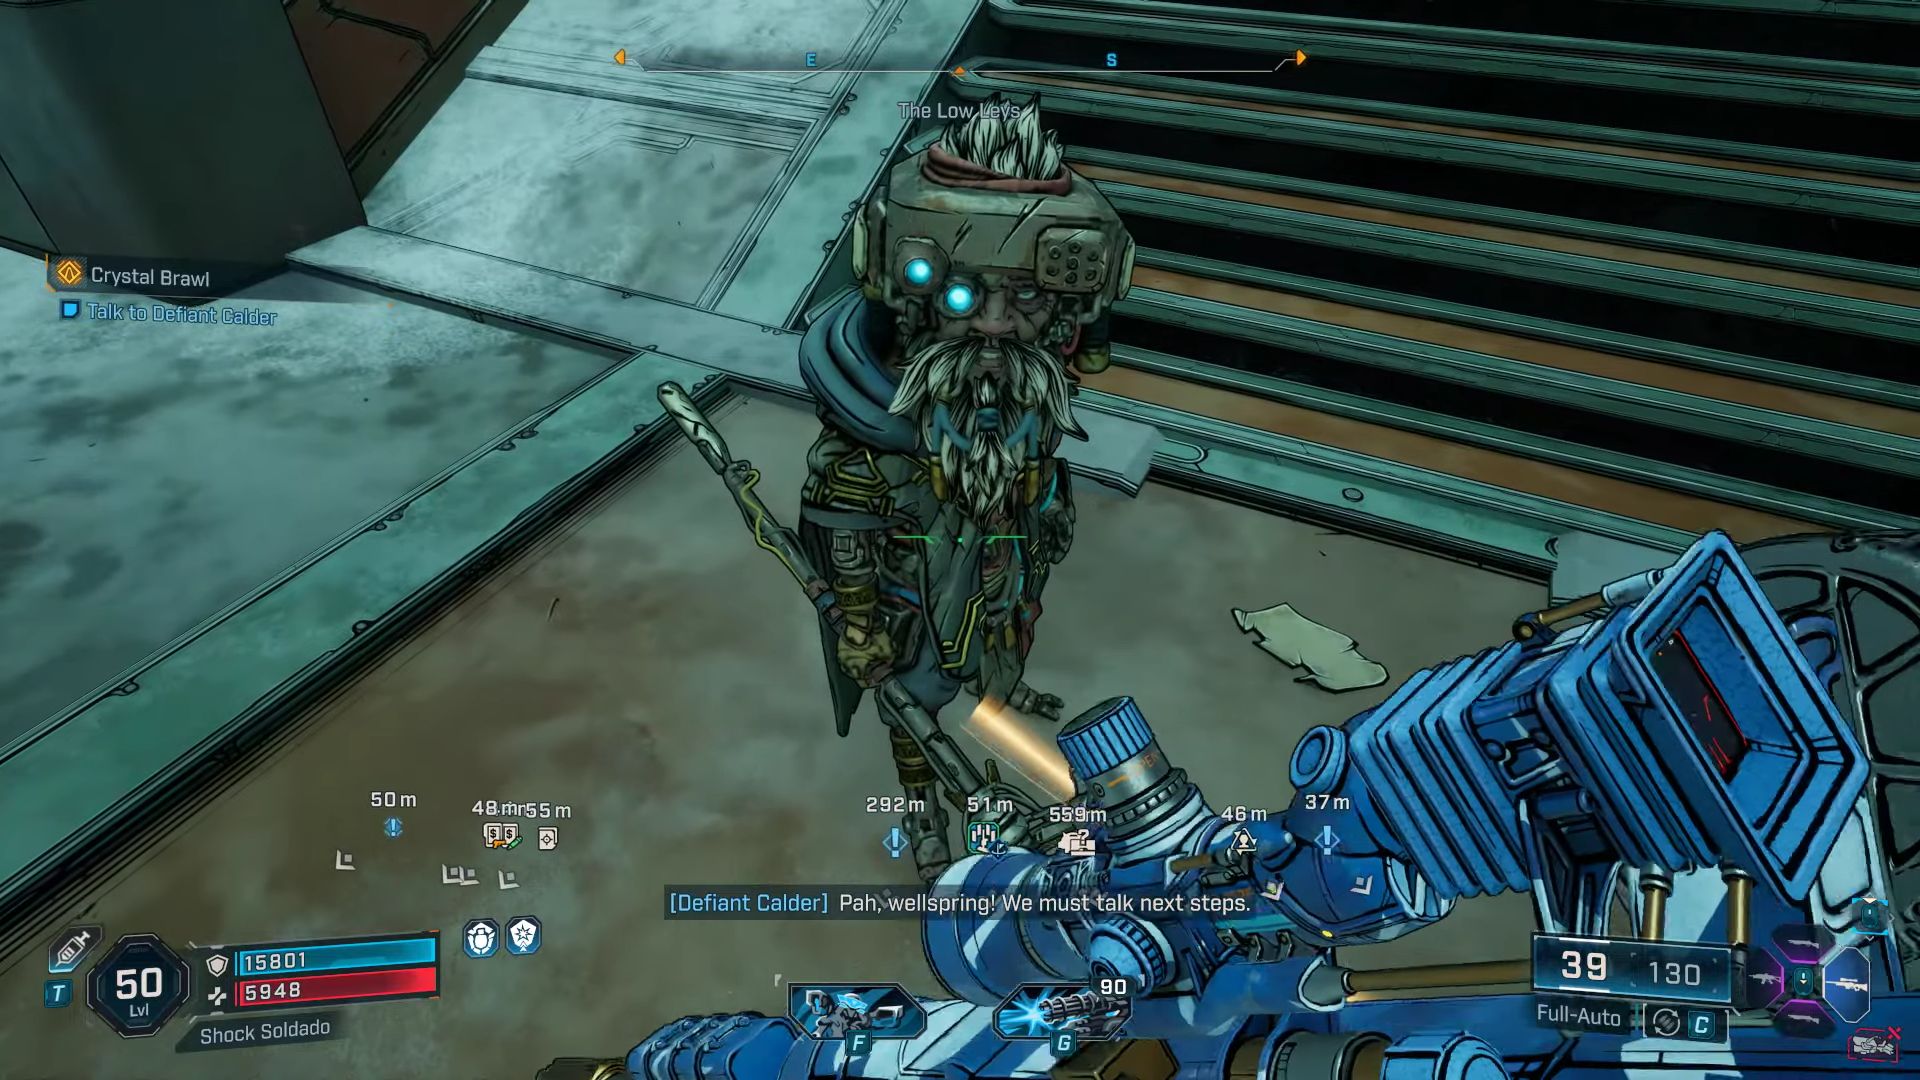
Players will have to speak to Defiant Calder at the beginning of the Crystal Brawl quest to kickstart the mission. He will then send you to find Wildcat and warn you against her claws. Her location will be marked on your map, so take your vehicle and drive to the specified location. The road will be a long one, and you can take a shortcut by fast traveling to the Heritage Opus Safehouse. You will find a Lost Capsule near it as well.
Once you move deeper into the Heart of the Mountain, you will face off against Creeps and Kratches. Use the various grappling points to reach the other side of the mountain. There will be a crashed ship there. Once you are out in the open again, make a left turn, climb over the rocks there to find a hole you can crawl through. After that, climb the wall and look for an ECHO Log behind the small bar there. You will also find a Vault Hunter logo behind the blue trash bin.
Collect them and resume your journey on the main mission path. Jump over some small cliffs, climb over some more walls, and keep walking to eventually reach the location of Wildcat. Once you get near Amara, a cutscene will be triggered, but do not worry, she won’t attack you. After it is over, follow her to the interior of her spaceship. You can earn 100 XP by interacting with the bobblehead on the dashboard.
Also Read: Borderlands 4: September 18 Update Patch Notes
Part 2: Meet Amara Near The Moonfall Site
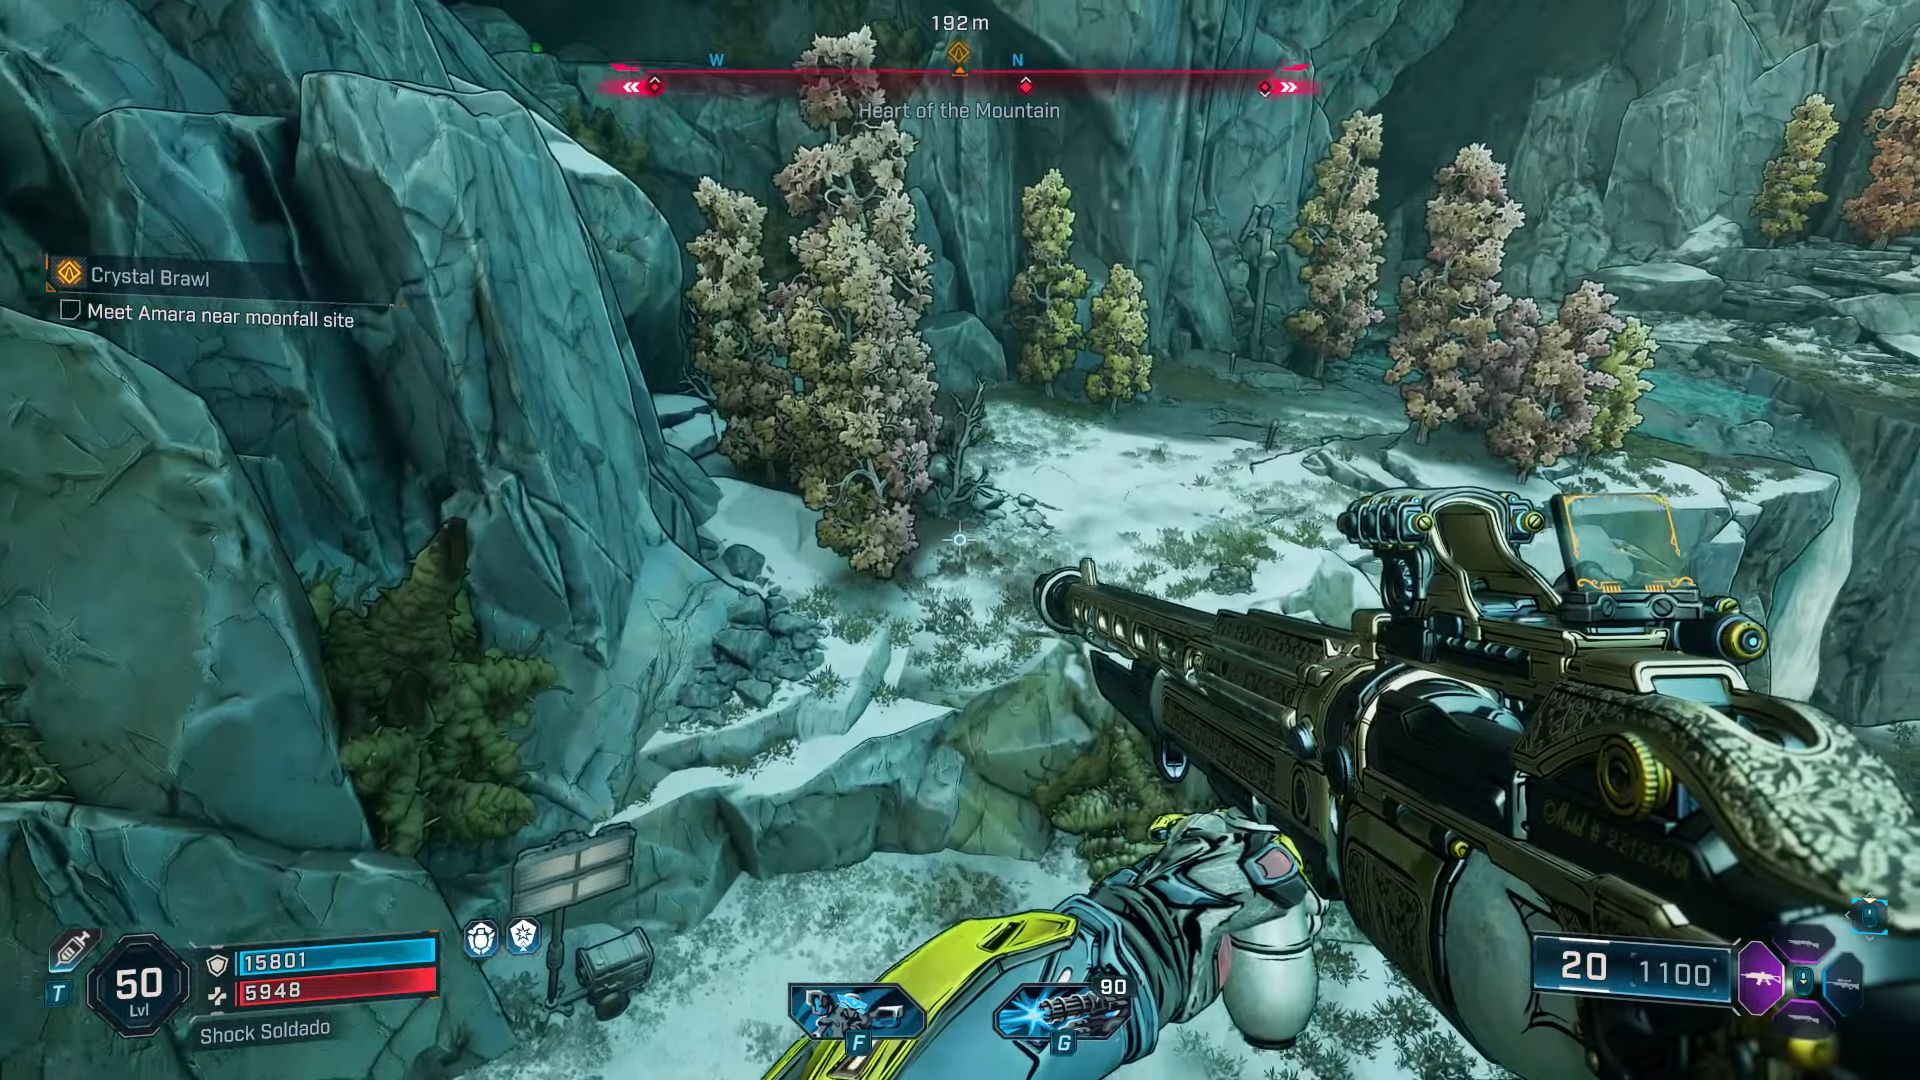
To meet Amara and progress the mission further, you will have to drive to the Moonfall site. Again, you can fast travel to Heritage Opus to make the path shorter. In addition to that, you can also fight to the Checkpoint Taupe and find an ECHO Log at the Vestal Garrison. You can unlock The Nightcap safehouse too. All three locations lie on the path to the objective.
Furthermore, there will always be an option to find a Propaganda Speaker. After reaching the objective, you will be thrown into a fight against the Orde forces with Amara. Go all out in this fight because you will have the aid of Wildcat with you, and she will revive you if you fall.
Part 3: Breach the Moonfall Site and Reach the Dig Site

Inside the site, you will find more enemies to kill, especially Badass Watchmen and a Badass Dominion Engine, among other hindrances. This segment of the mission is just combat and waves of foes. Keep defeating them and move deeper into the place to find the dig site. At the end of the path, you will find a Hammerhead.
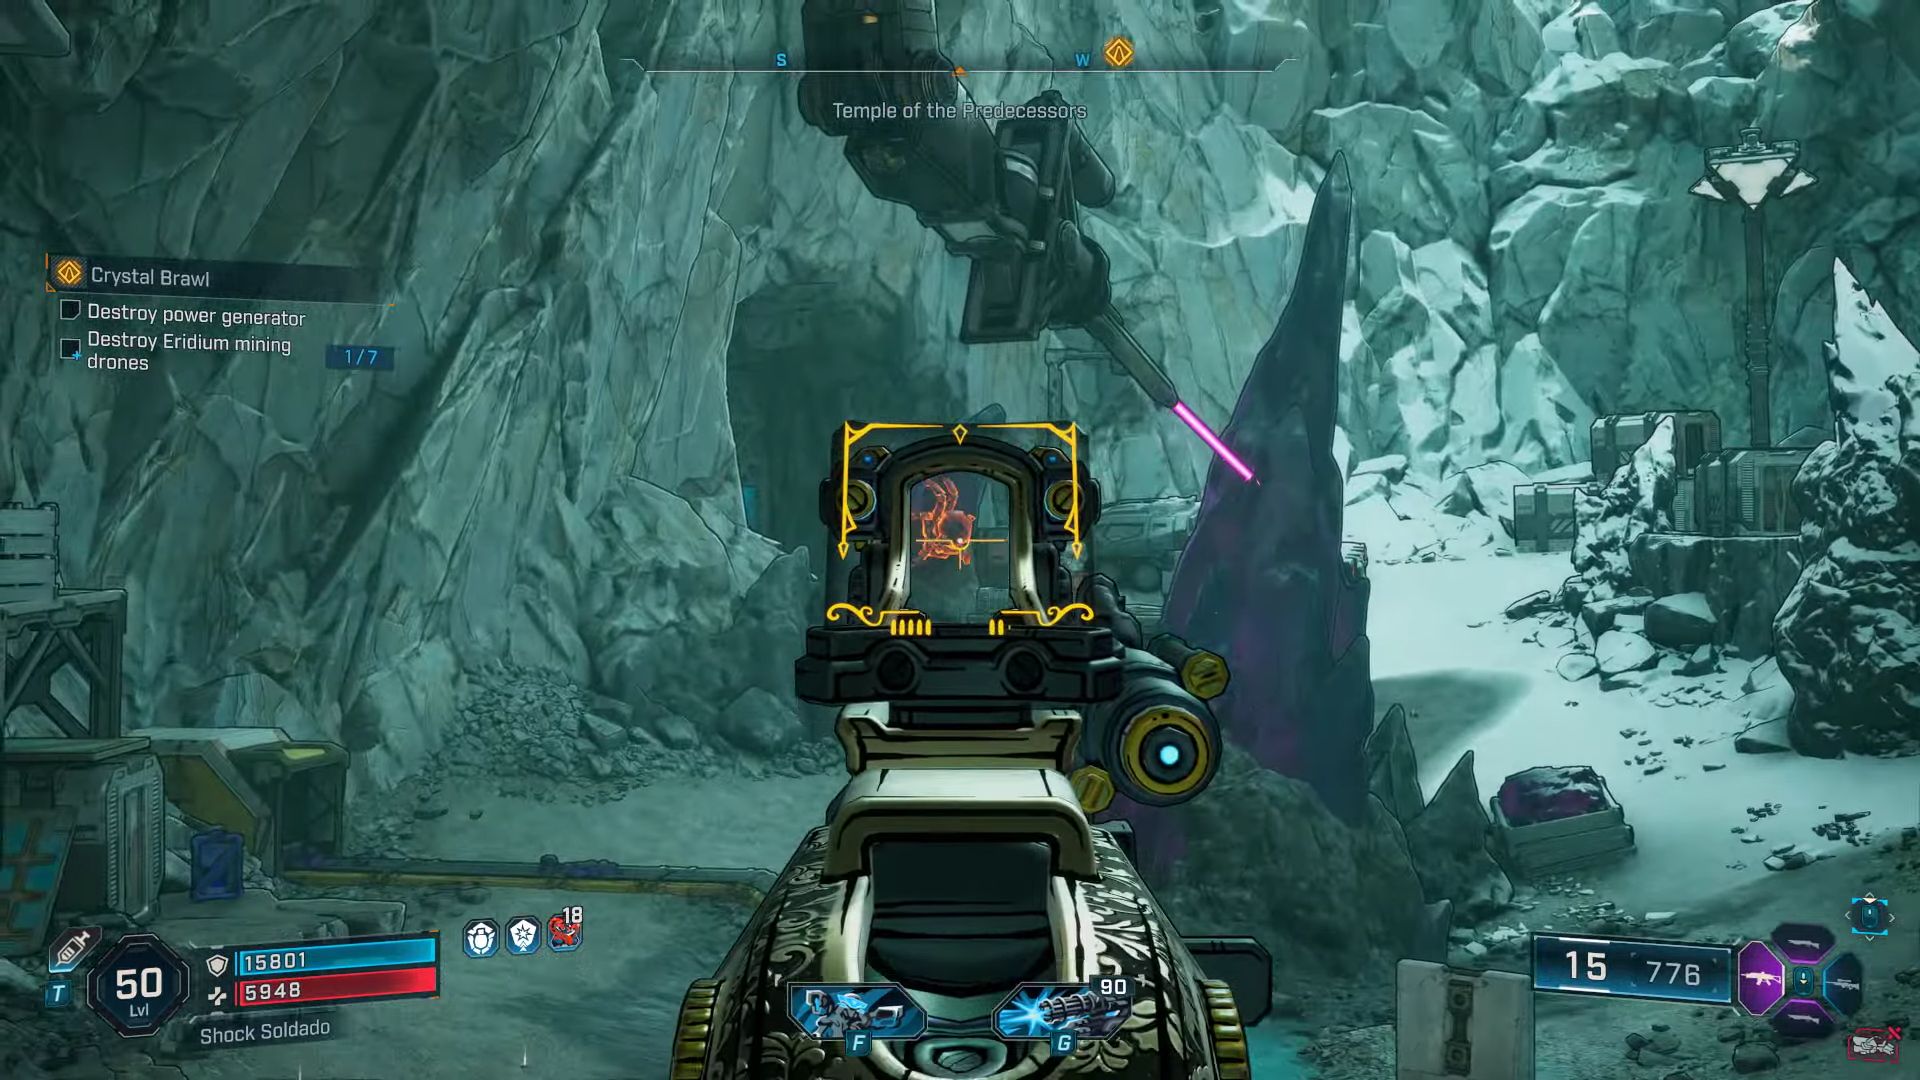
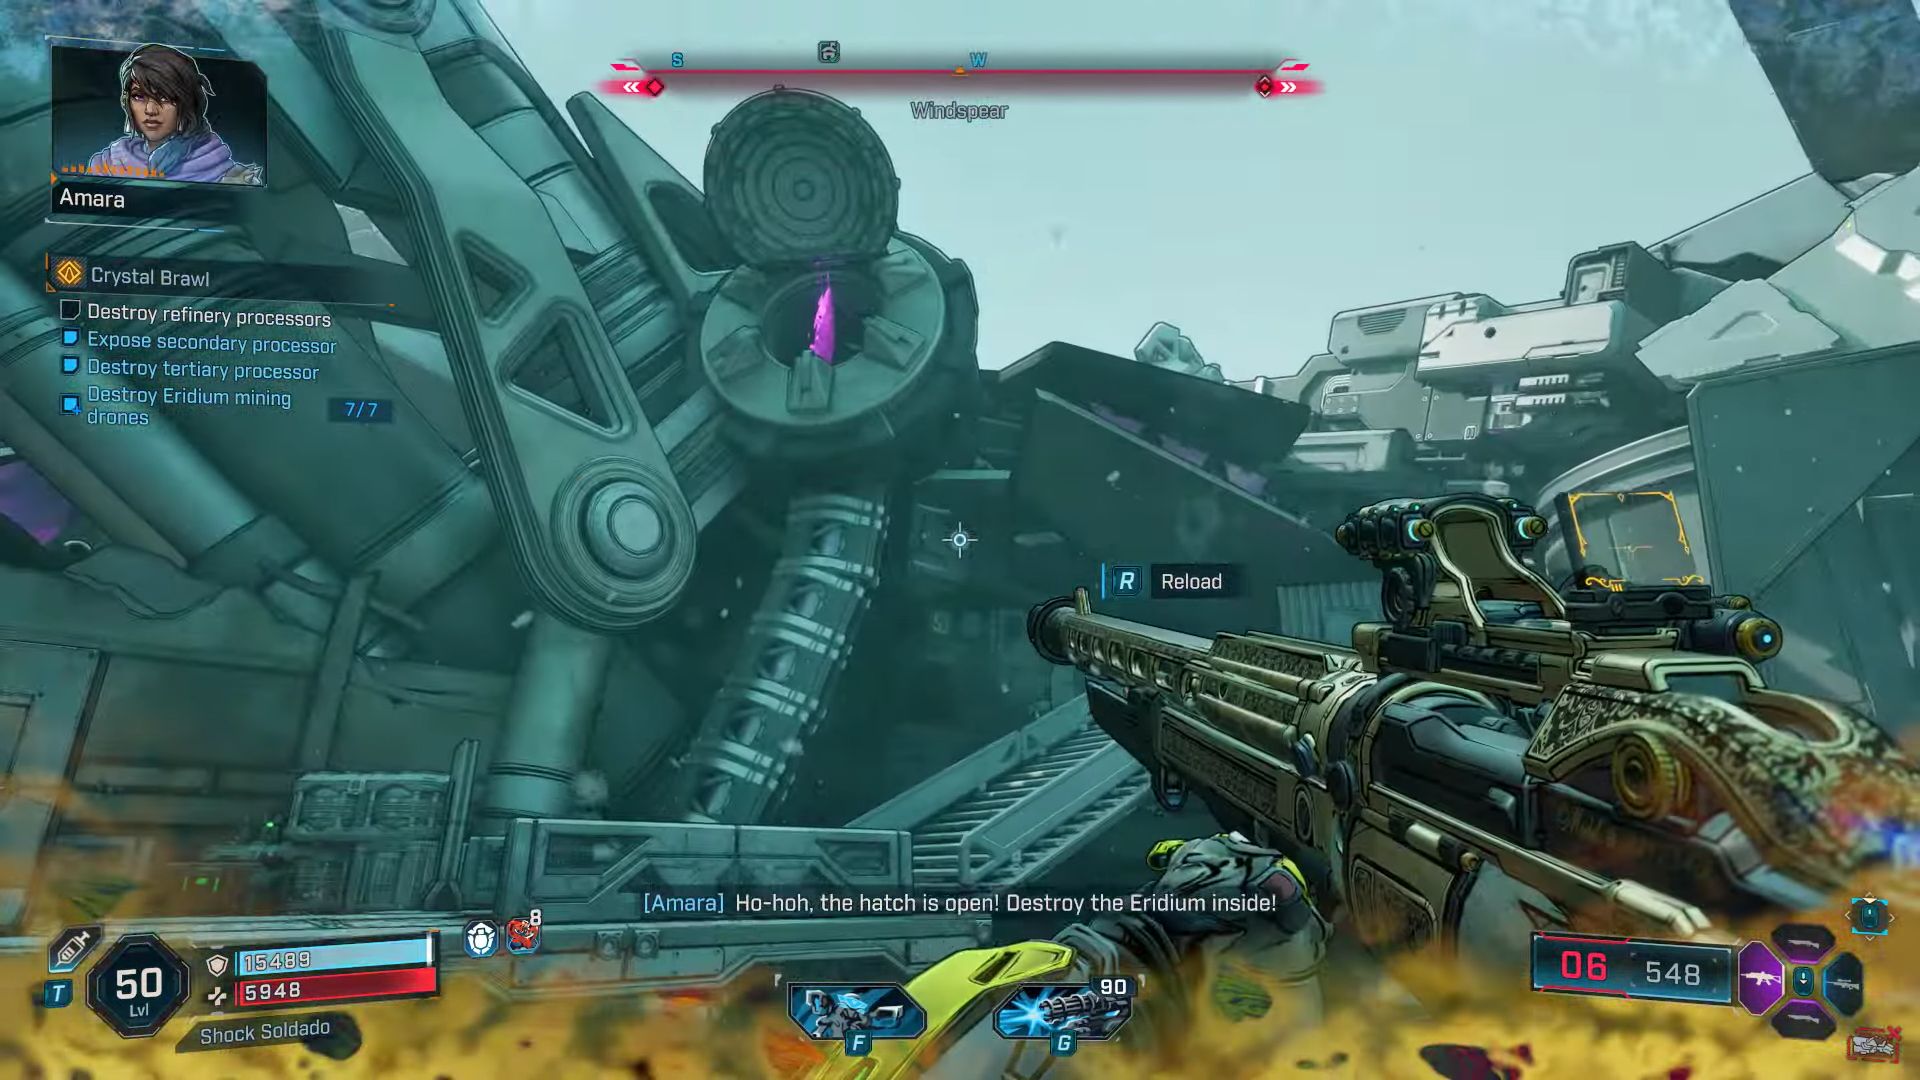
Once you reach the Dig Site, you will have to take care of more hordes of monsters and then destroy the power generator. On your way, you will also get an optional objective: destroy Eridium Mining Drones. There will be seven of them along your path. You can easily identify them by their glowing orange spider-bot-like appearance.
This area is quite challenging as it is filled with enemies to the brink, such as Badass Bulkhead, Wardens, and Synths, among many more. You will find the first three Mining Drones in that area. After dealing with all of them, keep moving forward until you come across a purple generator. It is the Power Generator. Blow it up and move on to the next dig site.
Part 4: Destroy the Eridium Mining Drones
After the Power Generator, a force field will be blocking your way. But do not worry, Amara will simply make a way through another door. You will be able to find the fourth drone on the left side before you proceed. The fifth drone, however, will also be on the left side, but after you go past the said door. Then, climb the first set of stairs and look to the left yet again to find the sixth Eridium Mining Drone. Right from there will be the seventh and last drone.
After collecting all the drones, follow the path and kill everything you see on site. Once you have purged the area completely, go to the objective marker and destroy another purple crystal. Then, head back to the central chamber for the main task at hand.
Read More: Borderlands 4: Vex Dead Ringer Build Guide
Part 5: Destroy the Refinery Processor
Back in the Central Chamber, Amara will now take the force field down and open a new area to explore. Again, there will be more enemies in true Borderlands fashion. This time around, the purple crystal for the Refinery Processor will be right in the middle of the area. Of course, you can get rid of the foes first, but going straight for the processor also works.
As for the secondary and tertiary processors, you will find them on the left and right sides of the room, respectively. However, before you can destroy them, you will have to double jump and slam down on two orange pads on both ends of the room to make the purple crystals come out. Shoot and destroy them when they do.
Part 6: Destroy the Refinery Core
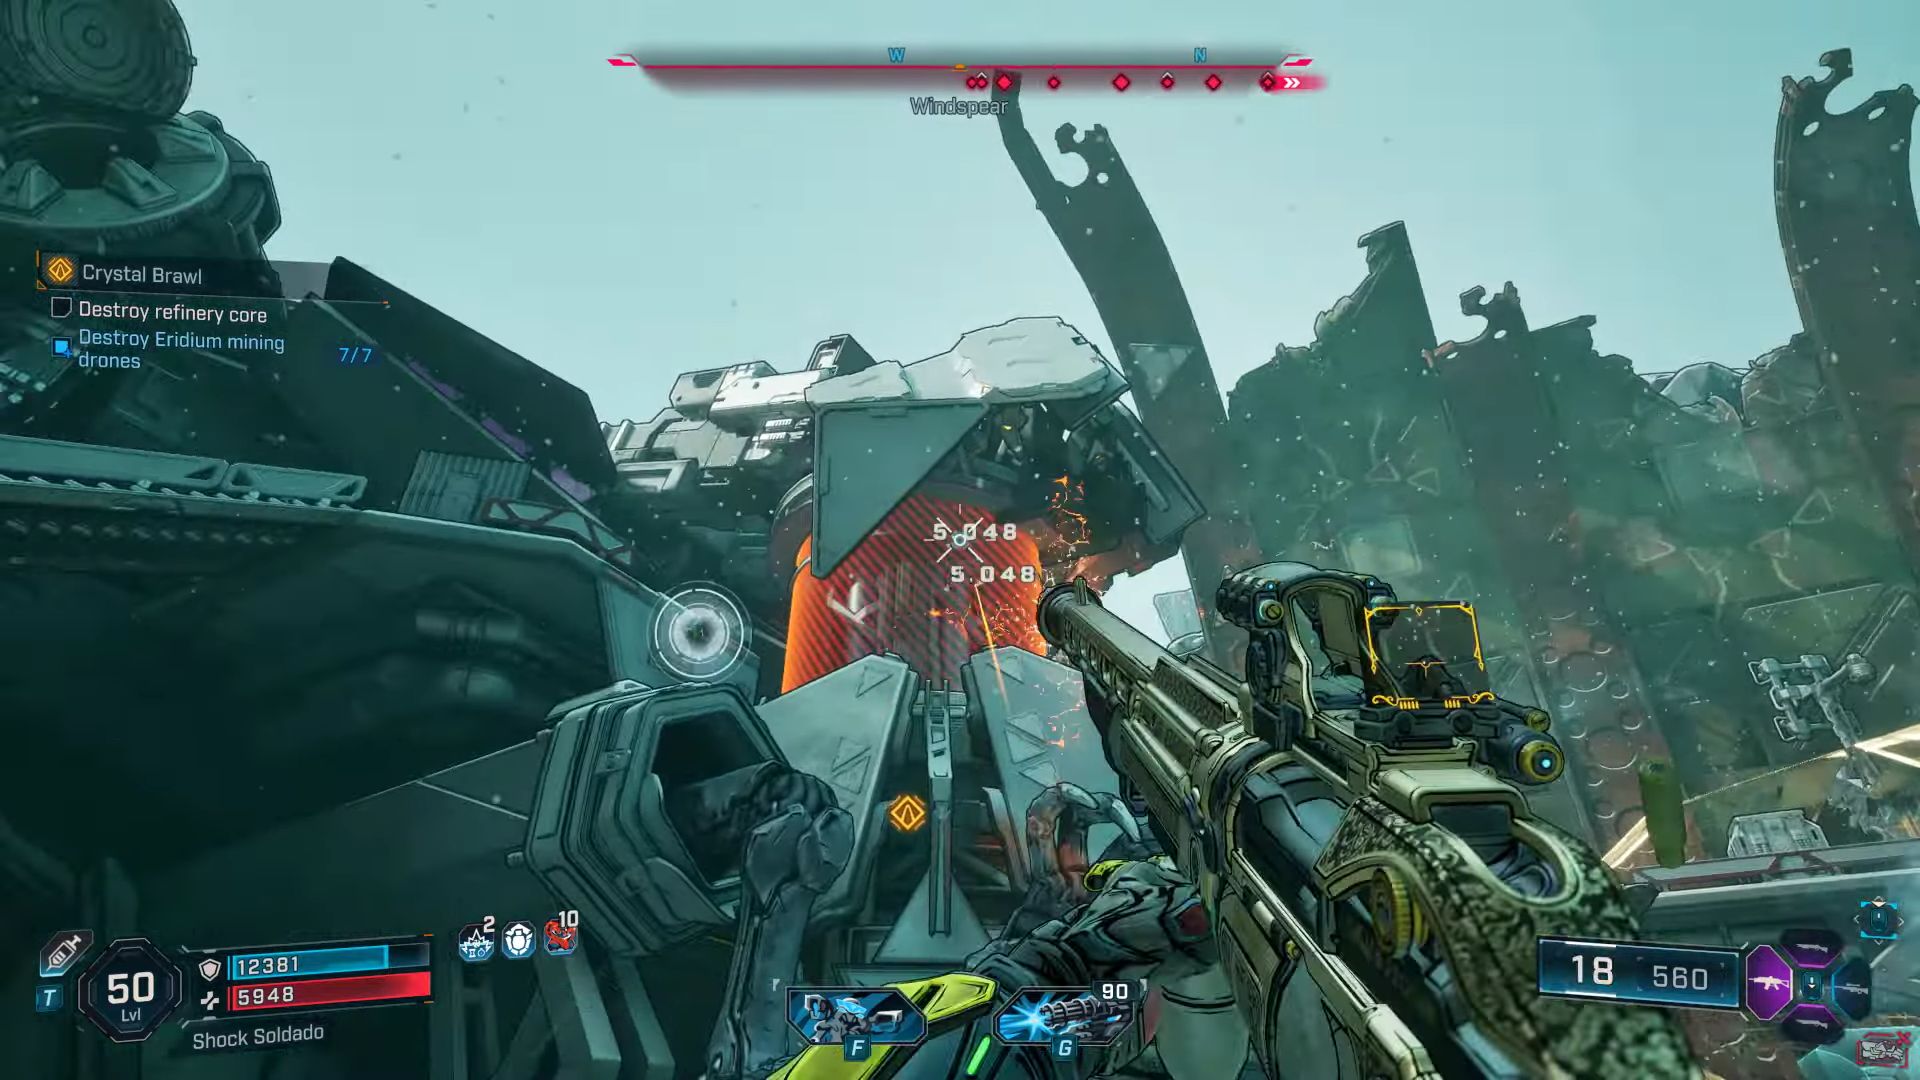
Once you have destroyed all three Refinery Processors, you will notice a big power core with red barriers in front of it at the end of the room you are in. Again, a lot of enemies will attack you at this point, on top of the constant waves. You can take them all on and clear the area before you proceed, or you can avoid them.
Either way, get to the big Refinery Core and shoot at it to destroy it. Once it is done, the objective is complete, and you can either defeat the remaining foes or make an exit. After getting out of the area, you will get the pop-up saying that the Crystal Brawl quest in Borderlands 4 is complete. As a reward, you will get some XP, Eridium, Cash, the Augered Reality Vault Hunter Style, and a shield. Then, you can proceed to the next Dark Subject mission.

We provide the latest news and create guides for Borderlands 4. Meanwhile, you can check out the following articles or catch us playing games on YouTube: