Facebook
 Reddit
 Email
Email
Infiltrate the Sol Fortress and defeat Idolator Sol in a boss fight in Rush the Gate in Borderlands 4 with the help of this article.
Rush the Gate is the sixth main mission in 2K’s latest Borderlands 4, and naturally, it takes place after the One Fell Swoop questline. This one follows the well-known Borderlands formula, where you have to complete certain objectives, help your allies, such as Rush, kill many enemies, and grab some loot along the way. However, the mission ends with a boss fight against Idolator Sol, which is a highlight. In this article, we will walk you through all of it.
Borderlands 4: Rush the Gate Walkthrough
As we mentioned, Borderlands 4‘s sixth mission, Rush the Gate, picks up the story from the previous questline. After sabotaging the Sol’s Production Facility and taking down the airship, it is time to plan a counterattack and get some revenge. Follow the steps given below to infiltrate Idolator Sol’s ship and take him down.
Part 1: Salvage the Locust Missiles
After completing the One Fell Swoop mission, you will have to go back to the airship crashsite, south of the Outbounder’s HQ. There, you will get to know about Outbounders trying to salvage the locust missiles from the fallen vessel. However, they are getting hindered by some Rippers, so you must help them out.
Take out the Rippers and the Badass Psycho in the area with your Vault Hunter. Since your enemies do not have a shield, unlike the Bio-Bulkhead you encountered in the fifth mission, use fire damage to kill them quickly. Once you are done, go and speak to Rhodes near the shipwreck. You will have to collect one of the Locust Missiles that others cannot reach.
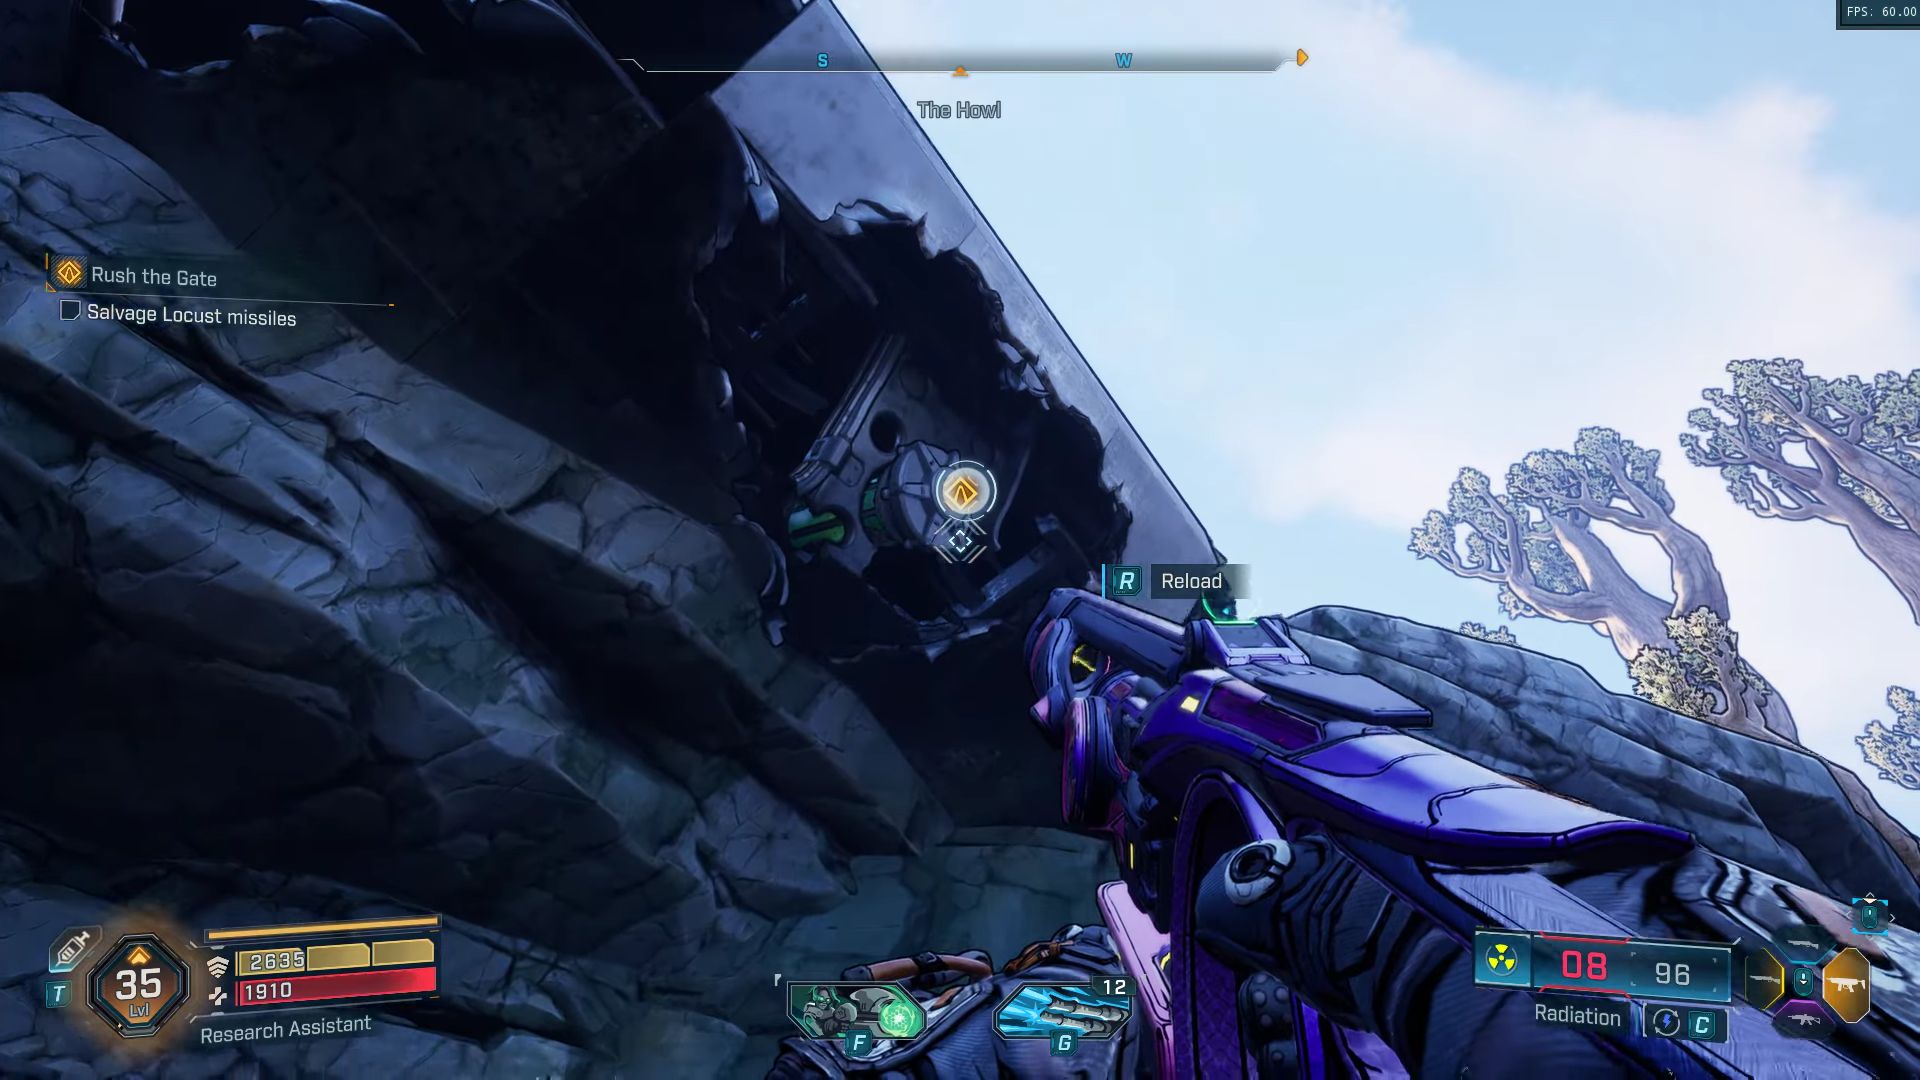
For that, approach the missile and then stand on top of the debris right beneath it. Double jump and use your grappling hook to grab it. After picking it up, report back to the Outbounders for your next objective. To meet Rush and the other Outbounders, you can either go straight to them with your vehicle to the Idolator’s Noose area or simply fast travel to Someday Rise safehouse near them, only if you have unlocked it.
Also read: Borderlands 4: 5 Best SSD Upgrades To Reduce Loading Stutters
Part 2: Advance to Idolator Sol’s Fortress
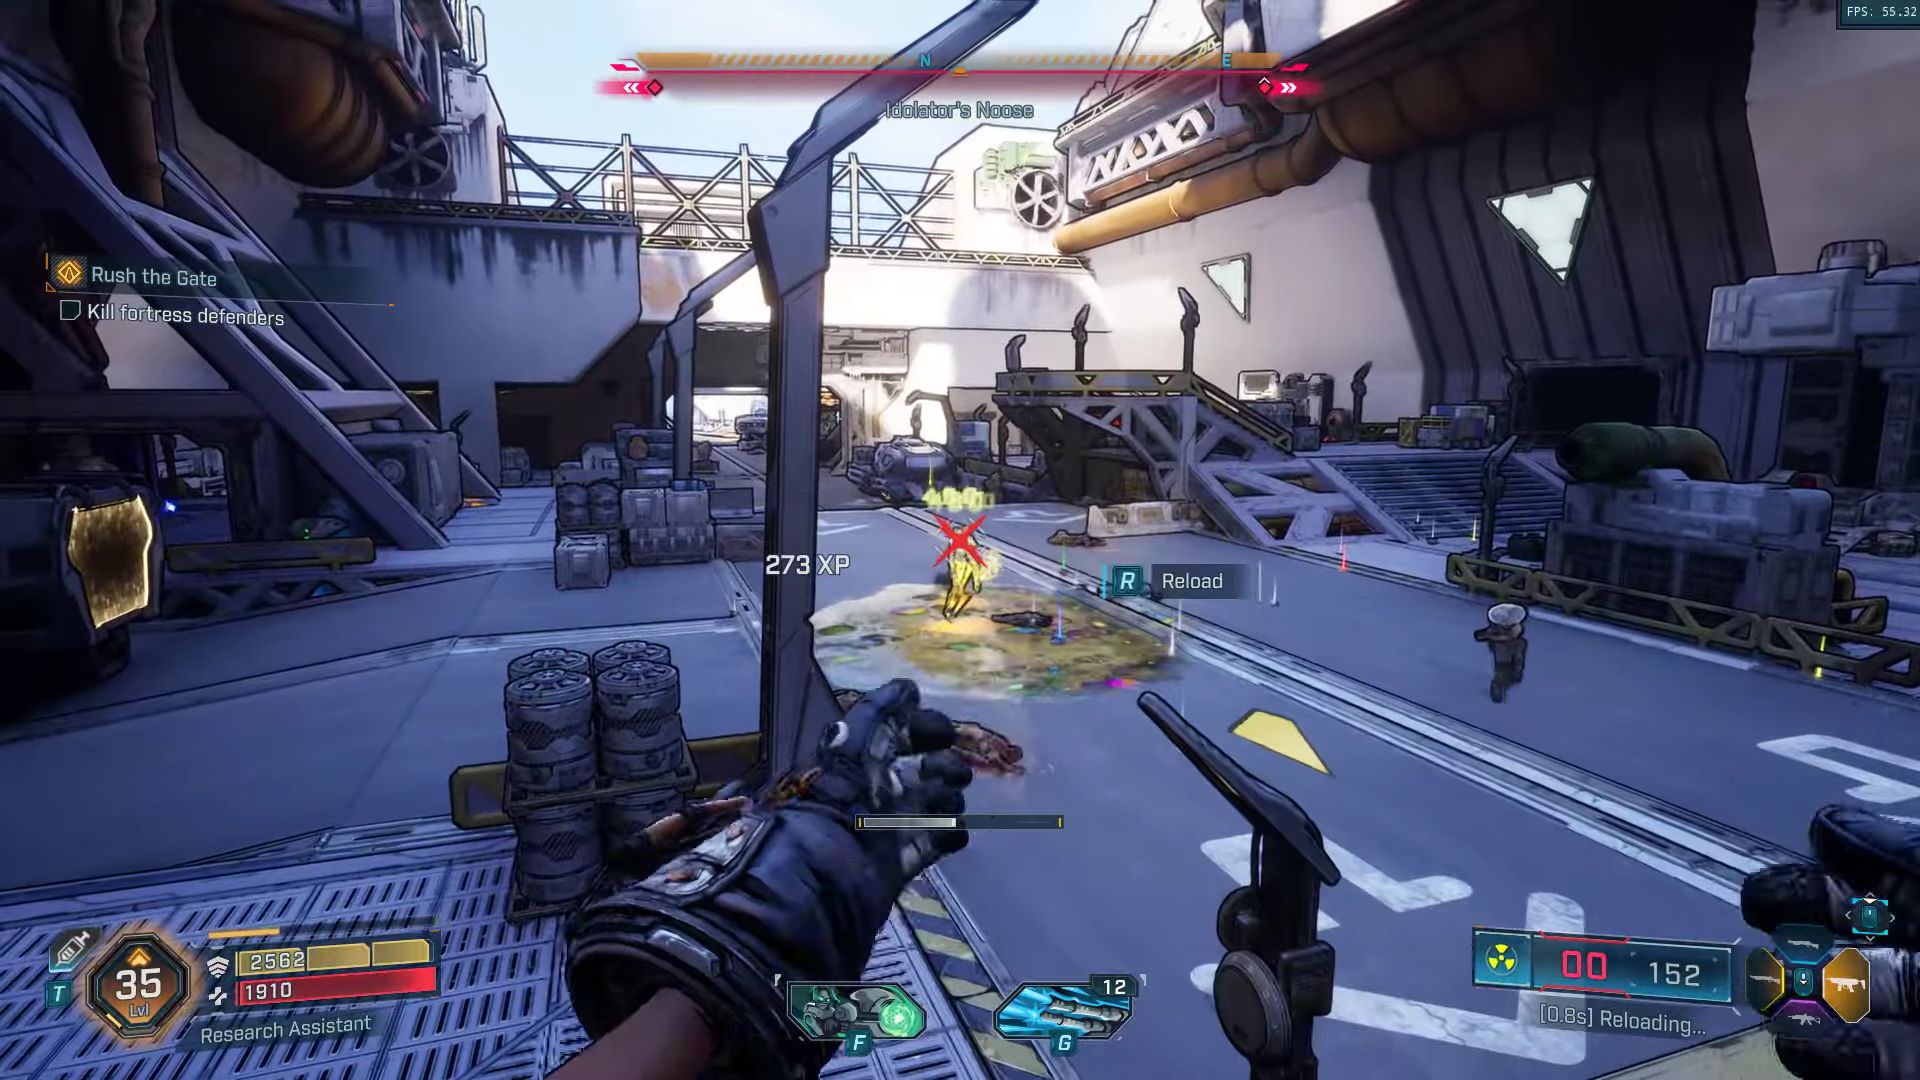
Once you do so, you will have to help your allies get the Locus Missiles to Idolator Sol’s Fortress. For that, you must slowly follow it as it moves forward and kill every enemy along the way.
Eventually, you will reach a bio-armored gate. Throw some Locust Canisters to destroy it and progress further into the mission. After crossing that point, you will confront a Watchman and a Badass Engine. However, you won’t be alone, and your allies can revive you, so go nuts and come back to them whenever you are low on health.
Soon, a ship will send a new kind of enemy your way, named the Warhead. Remember the Bio-Bulkhead in the previous quest? The Warhead is bigger and worse. Additionally, it has armor as well as a shield, so use a combination of shock, corrosive damage, and the locust canisters to make it vulnerable and take it down.
After every enemy is dead in your path, you will meet Conway. Then, take Rush with you to the elevator at the end of the path and use the lever to make it go up. This area will be similar to the one you just encountered; kill every foe as the missile moves forward.
However, the fact that this time it will only be you and Rush and the absence of other Outbounders makes it harder. Keep taking cover behind the missiles and use the canisters to make it out alive. After the dust settles, make sure that Rush is okay.
Part 3: Enter the Idolator’s Fortress

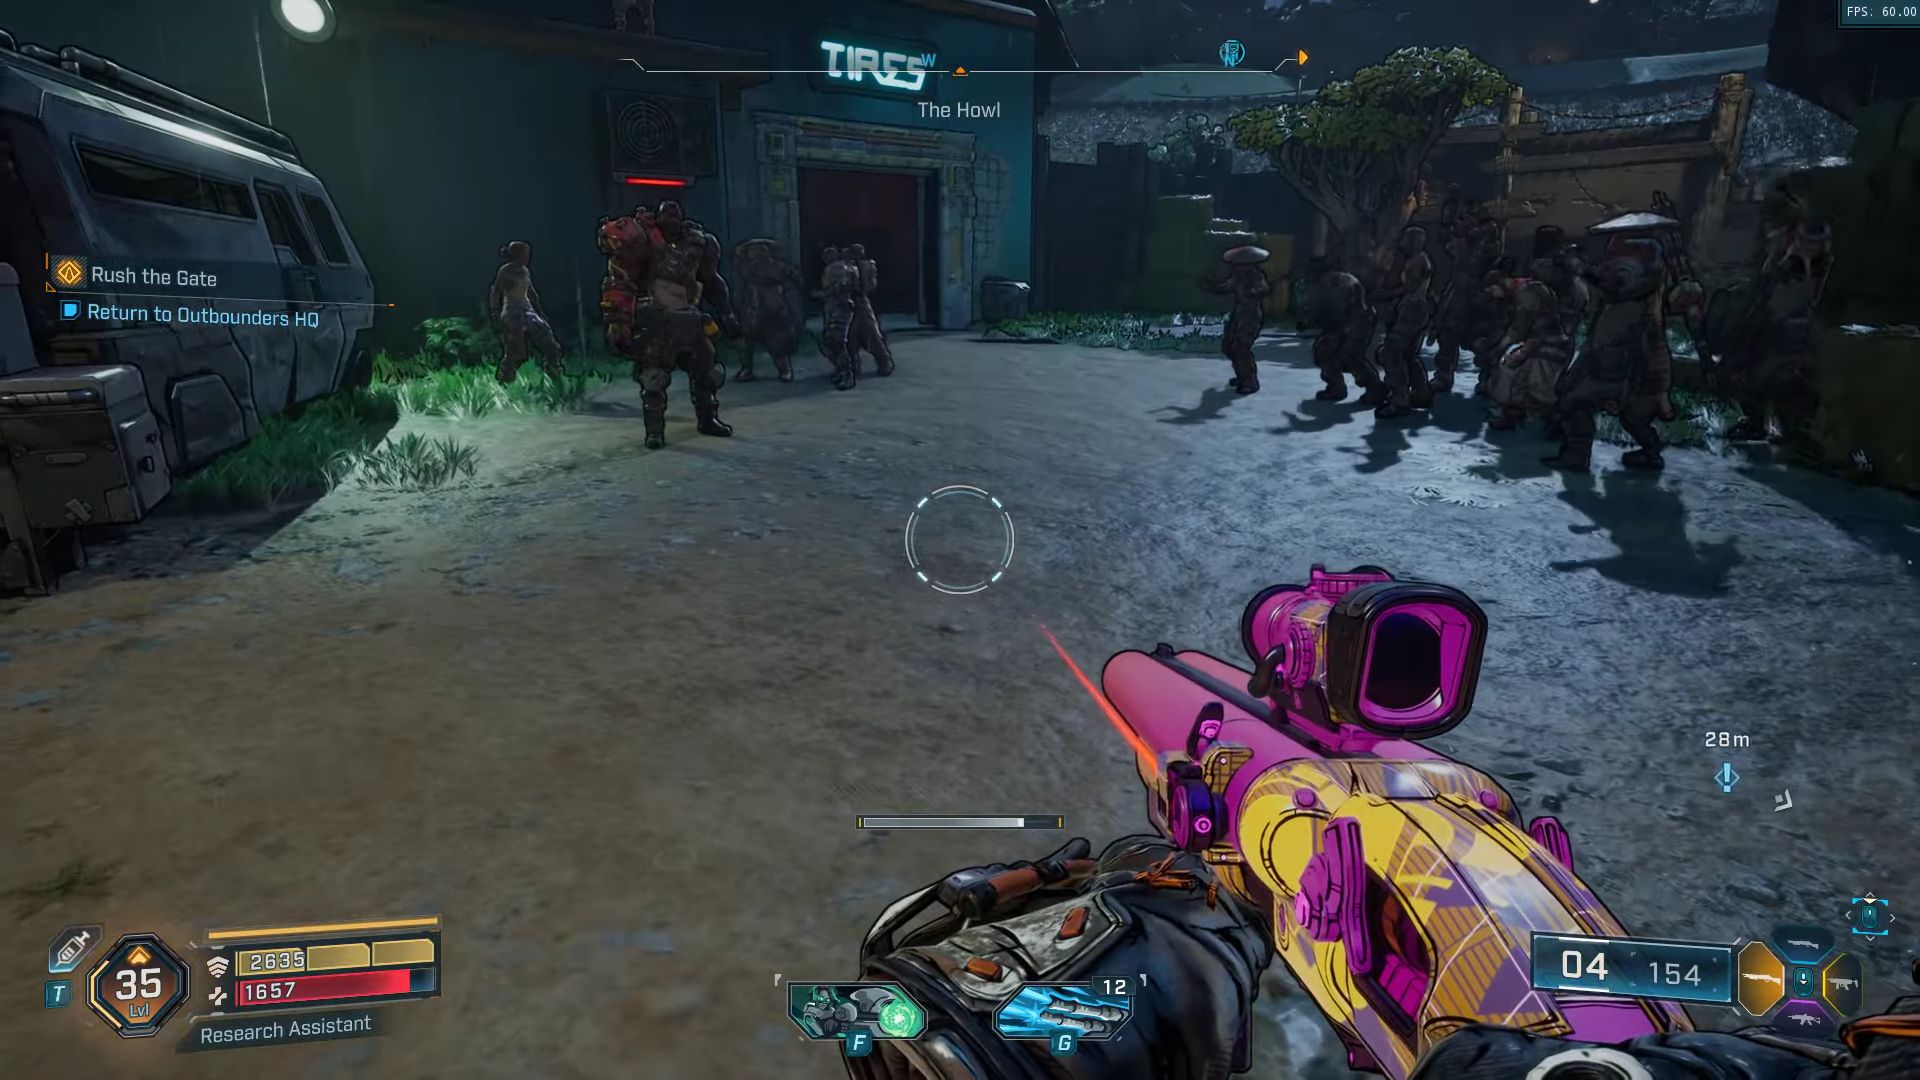
Once you have cleared out the area, wait for Rush to detonate the missile and blow open the main gate of the fortress. From this point forward, you will be on your own. Restock your ammo from the vending machines to your left, and then take on the enemies in the new area. Don’t worry, they will be the same types you encountered prior.
Past the wide hallway, you will enter a big room. Remember that it, a Badass Armature and a Badass Bulkhead, roam the new area as well as other enemies such as Wardens and Watchmen. Thankfully, there will be various ammo crates and other canisters in the room to help you out. After you are done, head towards the large gate at the end of the area. As you approach it, Zadra will tell you that you are getting close to the hangar.
Simply follow the quest marker, make it past the Do-Over Station, and you will find Idolator Sol’s airship. You know the drill by now: defeat the enemies in the area and then activate the refueling platform. That way, you will be able to get close to the ship. Now, let’s shift our focus to the Echo Log in the area.
Get onto the newly available platform, and then turn around and use ECHO-4; you will notice a hidden grappling hook above you on the right. Make a double jump, then glide, and then grapple up to get to the ECHO Log and a red chest.
Now it is time to get back to the clamps. The first two are easy enough to find; they will be on the left and right sides of the airship, respectively. To find the last one, you must go to the front of said ship. The airship will be destroyed after that.
Part 4: Fortress Indomita Vault Symbol 1 and 2
Once you are done, simply follow the ECHO location line and exit the room. After that, soon you will come across another Do-Over Station. As soon as you see it, stop there and look up to find the removable vent. Pull it down, and then jump into it to reach the room beyond. You will find the first Vault Symbol there.
Now, go back to the main path. Walk linearly, and eventually, you will come across a room with a circular elevator. There will also be a glowing console in the middle of it. Interact with it to progress further. On the upper floor, turn around and collect the second ECHO Log of the mission, near the Do-Over Checkpoint. After that, you can focus on the enemies there.
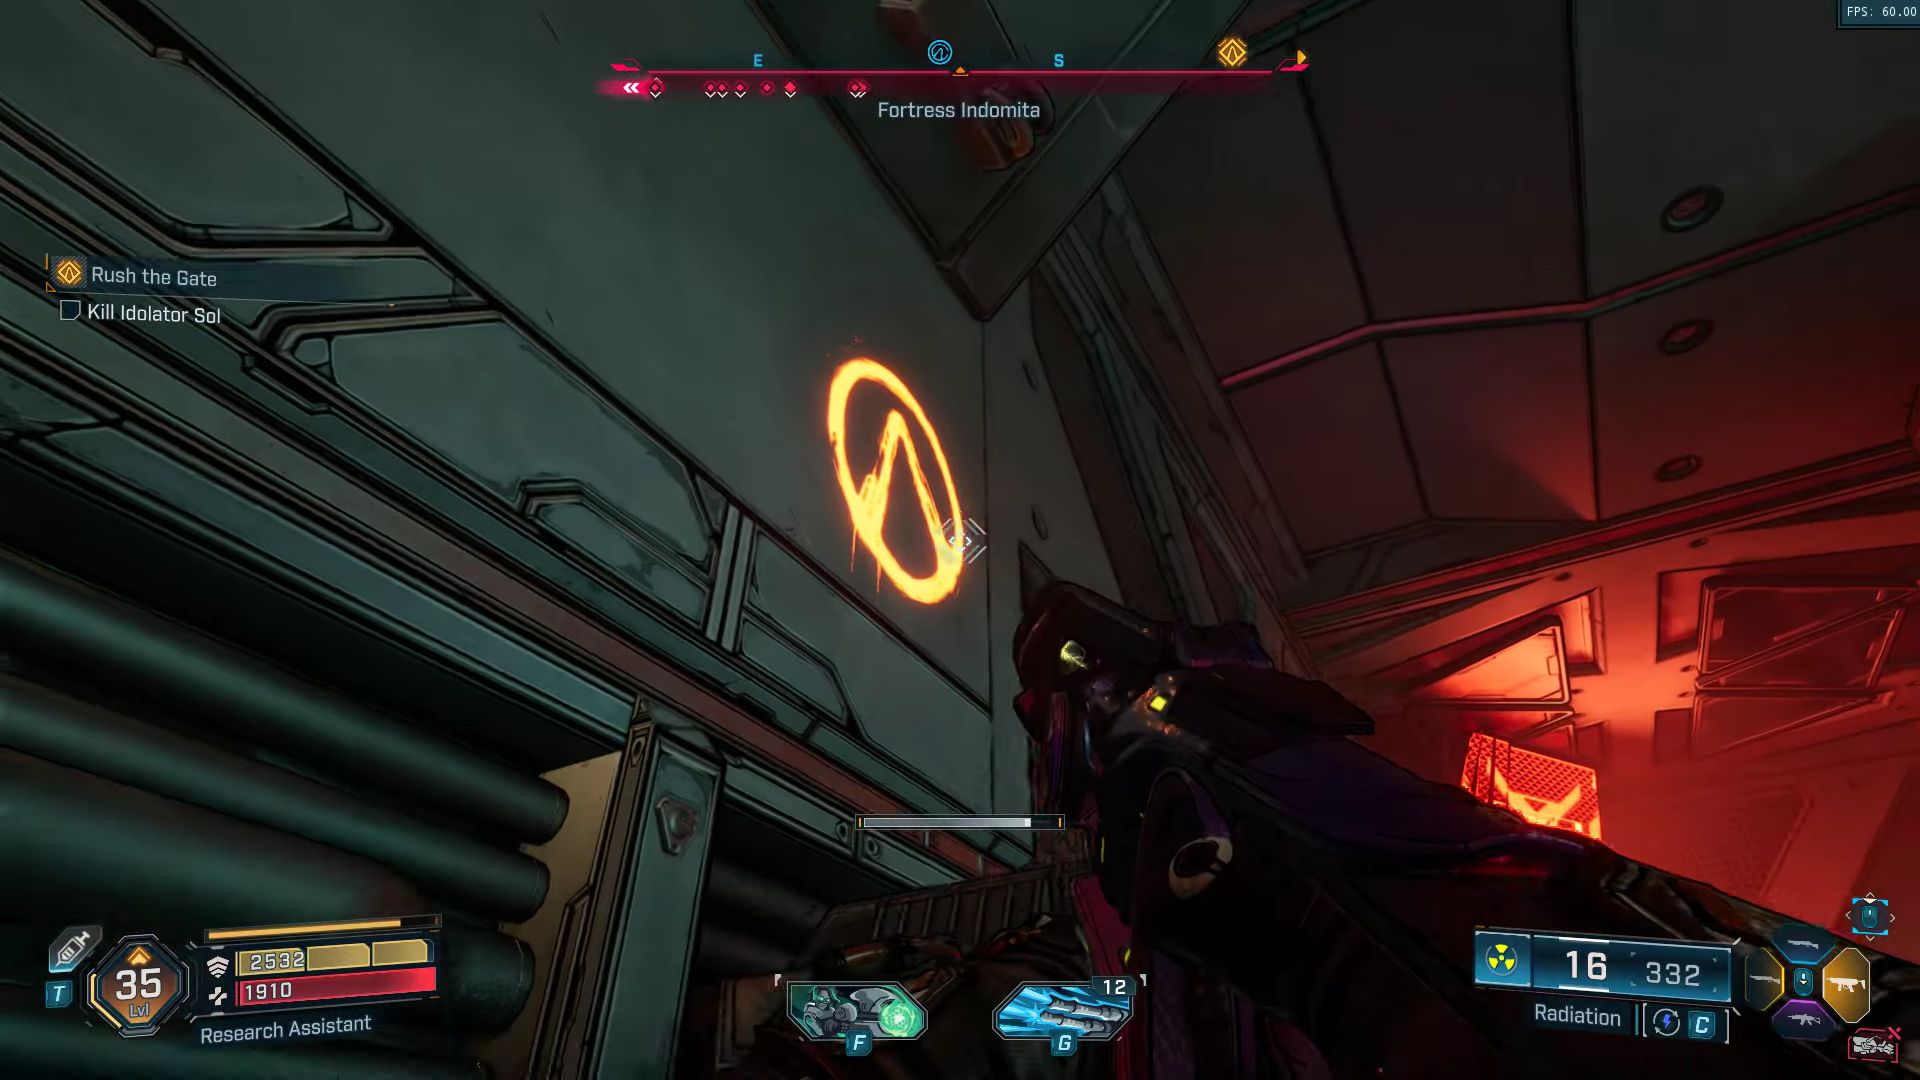
Take out the Wardens and then the Badass Bulkhead, along with the other enemies. Then, move on to the next room to fight some more foes and an elemental Badass Armature with two shields. Use shock to defeat it and then grapple towards the third floor to find the next ECHO Log.
After that, if you look carefully, you will see light behind some plants. Jump towards it and you will start hearing the second Vault Symbol’s sound. Collect it and move on. Once you are done, it is time for the boss battle.
Read more: Borderlands 4: Best Settings For Low-End GPUs
Part 5: Kill Idolator Sol Phase One

Go up the broken walkway, follow the objective marker, and go down the hole to find Idolator Sol. He will have the same bio-armor that you have encountered before against the bio-bulkhead. You know what to do: use the locusts you have on him to destroy the armor and then use fire damage. This particular boss has the following moves:
- Armor Toss Projectile
- Energy Laser
- Locust Rod
- Running Shield Dash
- Spinning Sword Slash
The Locust Rod is not just your enemy’s weapon; it is yours, too. Wait for Sol to attack you with it. The various red and green rods will get stuck to the ground. Then, use the grappling hook to throw the green ones back at him and eat away at his armor. Once you do that, his three normal health bars will appear. Again, use fire damage to chip his health as quickly as possible. Go for the head for some critical hits.
You must repeat this process until the boss has only one health bar left. Remember that it will take time because he regrows his armor by consuming his minions.
Part 6: Idolator Sol Boss Fight Phase Two

Once you successfully deplete two of Sol’s health bars, the second phase of the boss fight begins. This time, your enemy comes with some new moves that you must be aware of.
- Locust Bio-Weapon rain
- Ground-shattering slams
- Multiple waves of locust rods
- Modifies old moves, such as adding a slam after the end of the sword spin
We highly recommend maintaining your distance from Idolator Sol because of his AoE attacks in this new phase. However, despite the new attacks and a more aggressive boss, you must stick to your original plan of attack. Grapple the locust rods and throw them at him. Then, continue using fire damage as discussed to defeat him quickly.
After Idolator Sol is dead, take your loot, including Idolator Sol’s bolt, and then open the red chest on the stairs outside of the boss arena. Take a trip back to the Outbounders HQ and listen to Rush’s Speech to end the Rush the Gate Main Mission in Borderlands 4.

We provide the latest news and create guides for Borderlands 4. Meanwhile, you can check out the following articles or catch us playing games on YouTube: