Facebook
 Reddit
 Email
Email
Find the Purple Relic and Defeat the Skyspanner Kratch in the Shadow of the Mountain mission in Borderlands 4 with this guide.

The Shadow of the Mountain mission is the eleventh quest in Borderlands 4, which takes place after the Her Falming Mission. The objectives here are fairly simple. Players have to find Defiant Calder and follow his orders to complete the quest, with a boss fight at the end. However, the labyrinths of the mines and the locations of the computer terminals in this mission can be confusing. Here is a comprehensive walkthrough of it.
Borderlands 4: Shadow of the Mountain Walkthrough
The Shadow of the Mountain in Borderlands 4 follows the typical Borderlands formula. You have certain objectives that are simple and easy to understand, and they work as a way to get you into combat situations where you fight hordes of enemies. This time, you will be taking a trip to the Lambent Mines, where you must reach the office of Defiant Calder to retrieve a relic. So, fire up your Vault Hunter and follow the steps below.
Part 1: Find Defiant Calder

Finding Defiant Calder is the first mission objective you will get in the Shadow of the Mountain main mission in Borderlands 4. For that, you must travel to Belton’s Bore, which is situated in the southern area of The Low Keys. Once you arrive at the location, you will have to help the Augers kill some Order Forces there.
Once you have cleared the area of enemies, go and speak to Joyless Stellan. He is one of the Auger leaders and should be nearby. He will then give you information on how you can find Defiant Calder. After that, use your vehicle to travel to the eastern part of the Cuspid Climb, towards the Lambent Mines.
Go inside the Lambent Mines to find some Order Forces trying to attack Defiant Calder. Help him kill all the enemies and then speak to him once the dust settles. Follow him to a force field, which he will disable. Walk to Clavehome and head toward Calder’s Office.
Also Read: Borderlands 4: Lost Capsules, Explained
Part 2: Reach the Defiant Calder’s Office

After reaching the next area, approach the north force field, listen to him carefully, and hack the computer terminal nearby to take the obstacle down. Inside will be more enemies for you to kill. Calder will then tell you to go toward the right side of the first area with the signal beacons. There, set them up with the power sources on the middle bridge, from where you can see the next force field.
Take it down and keep following the new path until you come across an area with red lights. You will find a circular platform right above you. Use the grappling hook to climb it, as well as the area after it, and you will soon see the next force field. Place the next signal beacon on your left side, near the staircase. Then, take the door on the left, walk straight, and take the right exit to reach the room behind the red force field.
The moment you step foot into the room, a Pinhead will appear. Interact with the red door, hack the terminal, and proceed to the new area beyond the blue force field. Follow the objective marker to get to a switch and a control panel. Use it to gain access to the dig chamber. Then, take the door on the right and head southwest, past the dig chamber. There, you will have to use your grappling hook to climb onto a platform to the right and hack the beacon there.
Head further down the path and hack another terminal. It will open the blue force field on its right side. Go inside the newly opened door to find some vending machines. This is a preparation area for the Skyspanner Kratch boss fight.
Part 3: Defeat Skyspanner Kratch
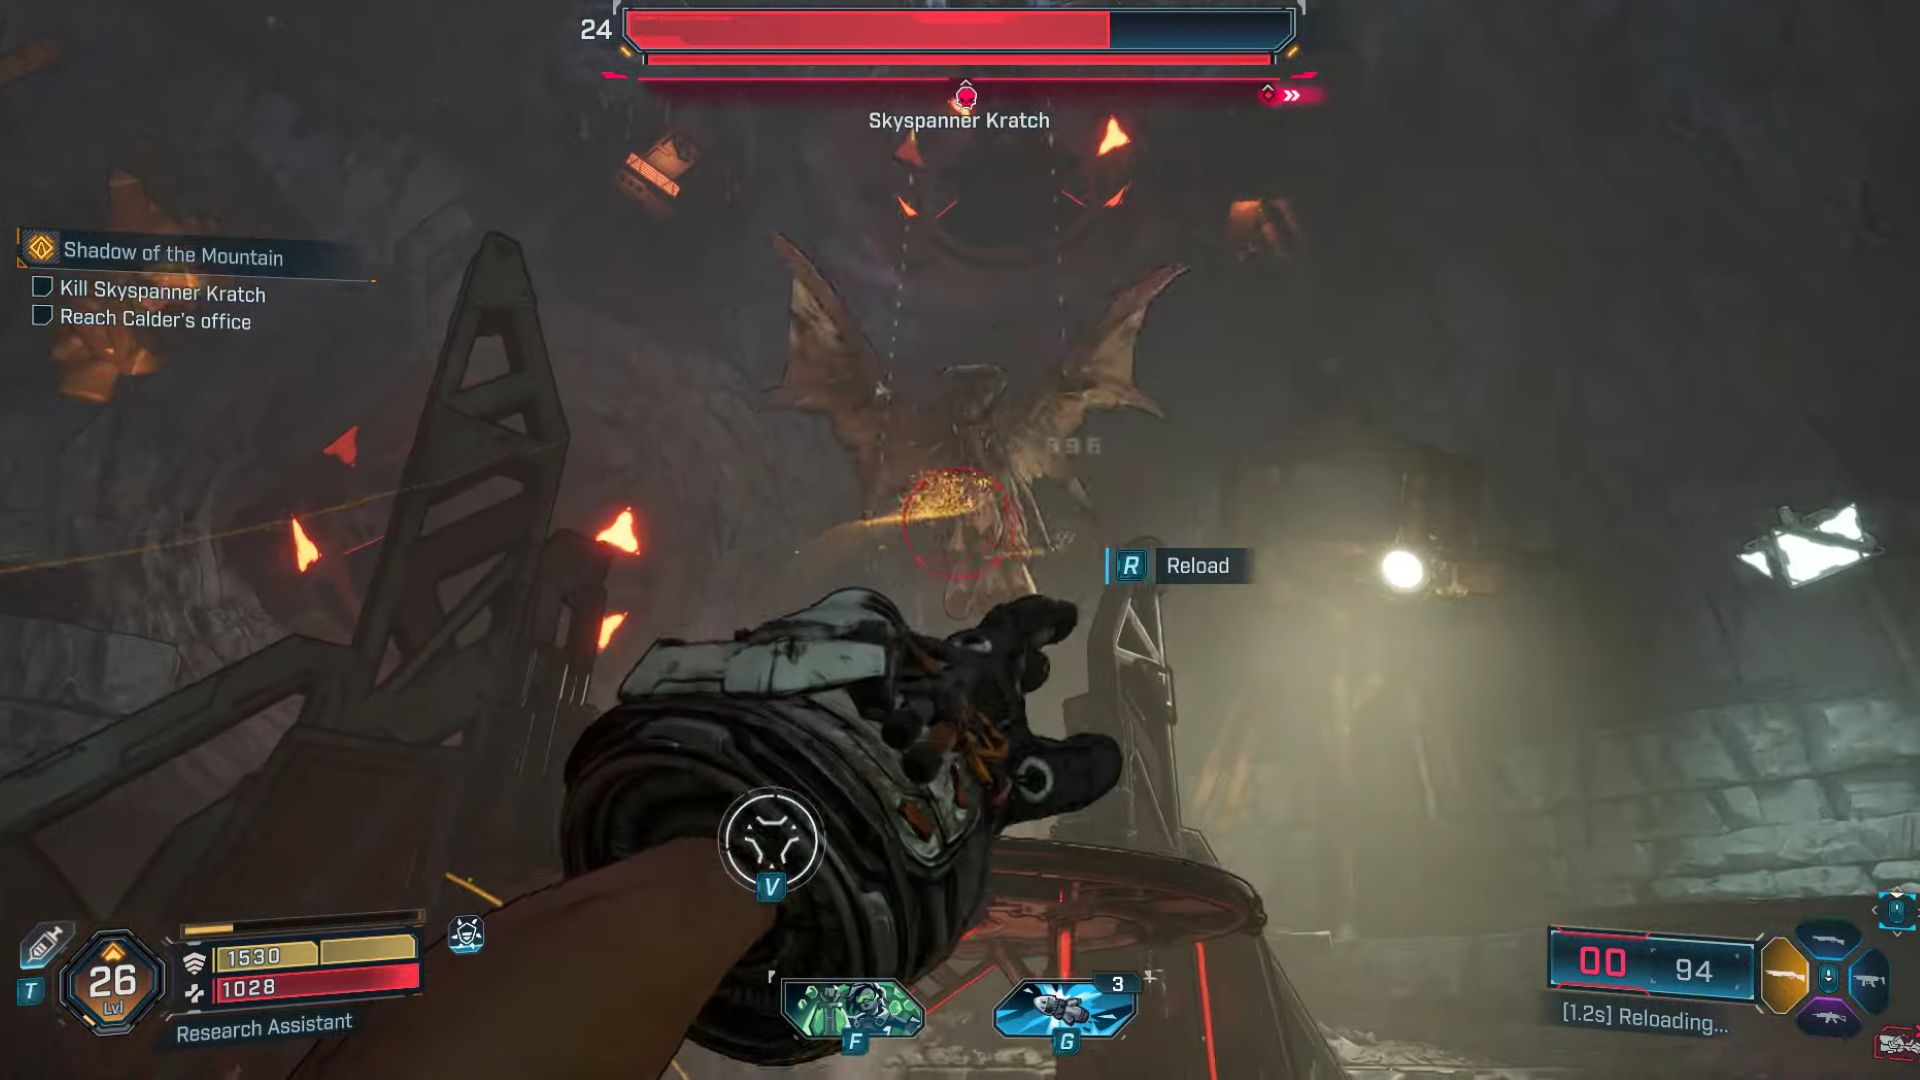
Once you have prepared yourself, follow the path toward the Skyspanner Kratch boss arena. The flying monster will appear as you approach the area. Since it does not have any shield or armor and its only advantage over you is the ability to fly, you won’t have much trouble defeating this boss.
The two primary attacks of the Skyspanner Kratch are throwing red balloon bombs at you, which explode on impact, and conjuring smaller versions of itself that hunt you down. Always stay on the move to avoid taking damage, and take out the little monsters before moving on to the bigger threat. Other than that, the fight is fairly simple. Keep damaging the boss’s health bar until it hits zero. It does not take much time if you have a good build and weapons.
Once Skyspanner Kratch is dead, follow the objective marker to the door of Defiant Calder’s office. To open it, you will have to hack the panel above it. After that, take the bright purple relic from the room and go back to Calder at Belton’s Bore. Wait at the entrance gate for it to open. Then, follow the NPC to the halls of Belton’s Bore to trigger a cutscene. This will mark the end of the Shadow of the Mountain mission in Borderlands 4.
Read More: Borderlands 4: Best Graphics Settings For Maximum Visuals and Optimal Performance

We provide the latest news and create guides for Borderlands 4. Meanwhile, you can check out the following articles or catch us playing games on YouTube: