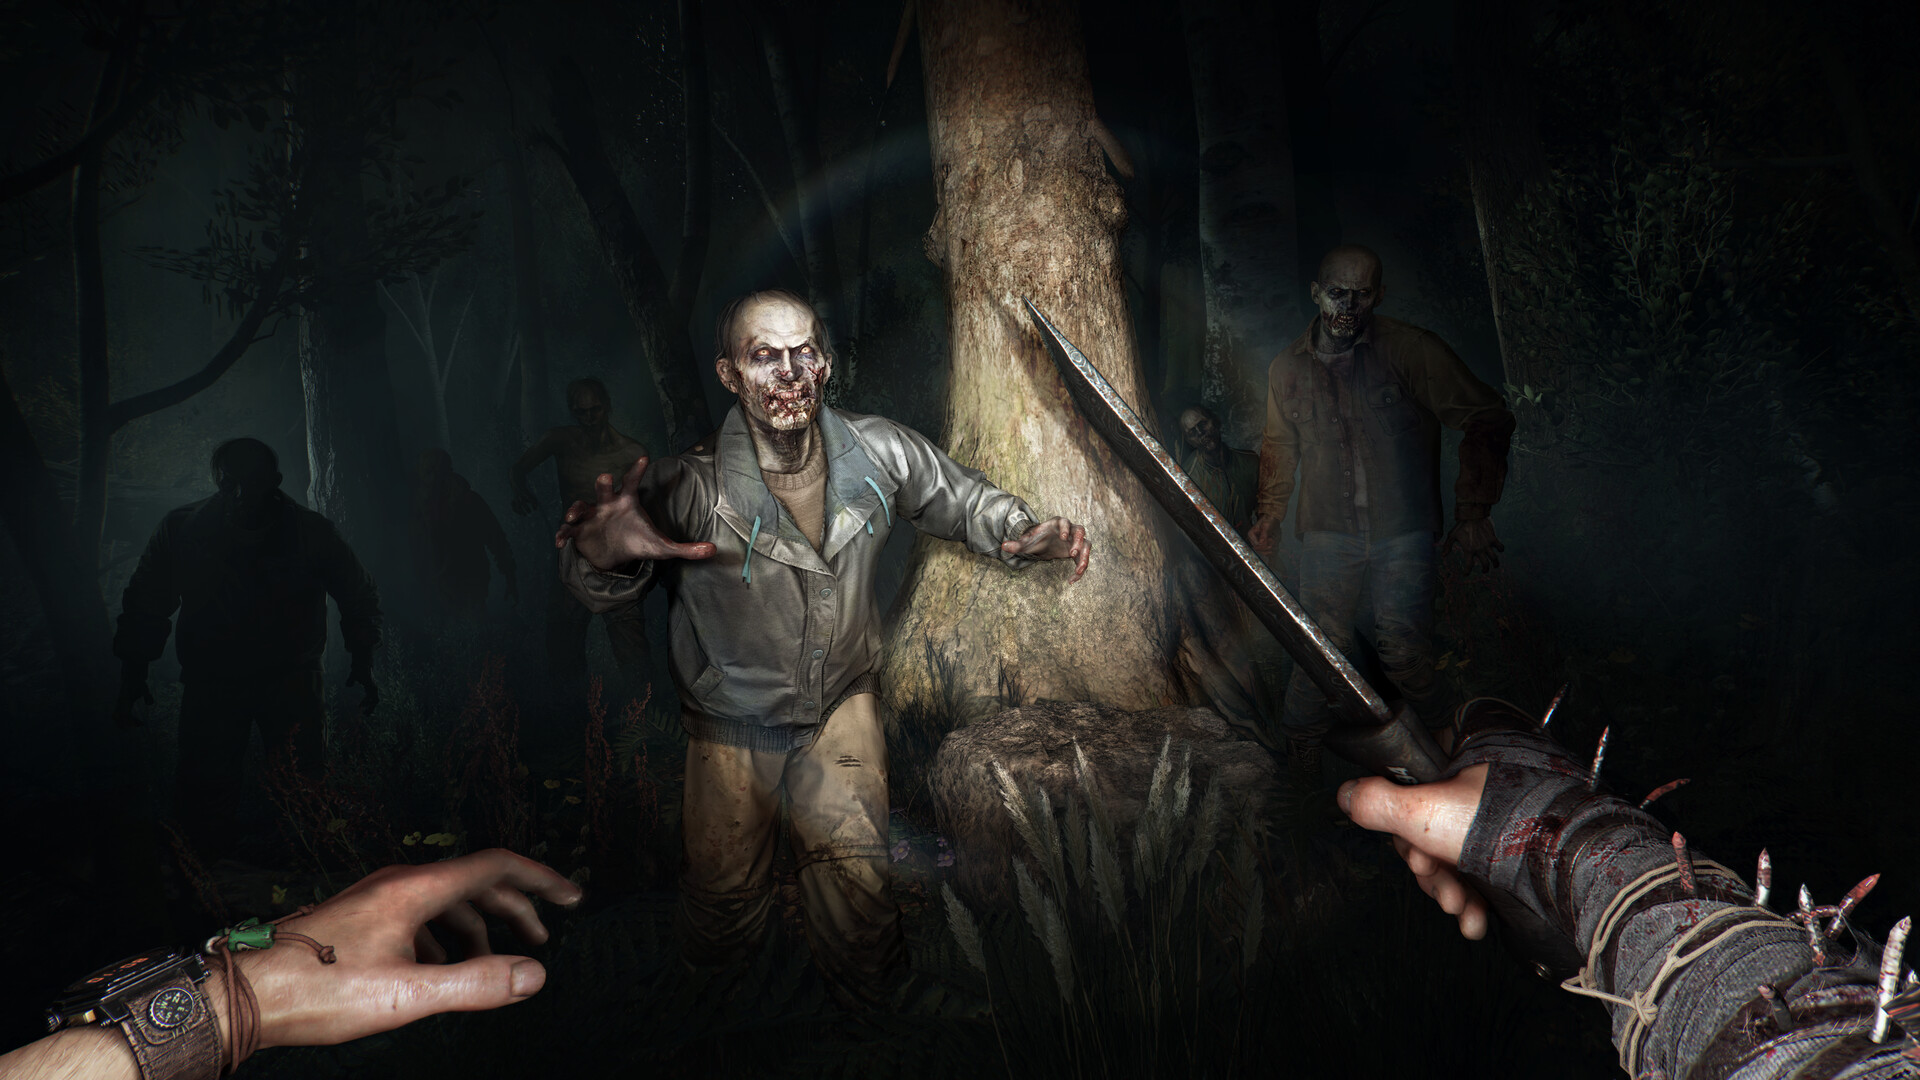
In this extensive guide, we’ll help you locate all of the Armor sets in Dying Light The Beast and explore the stat boosts from each set.
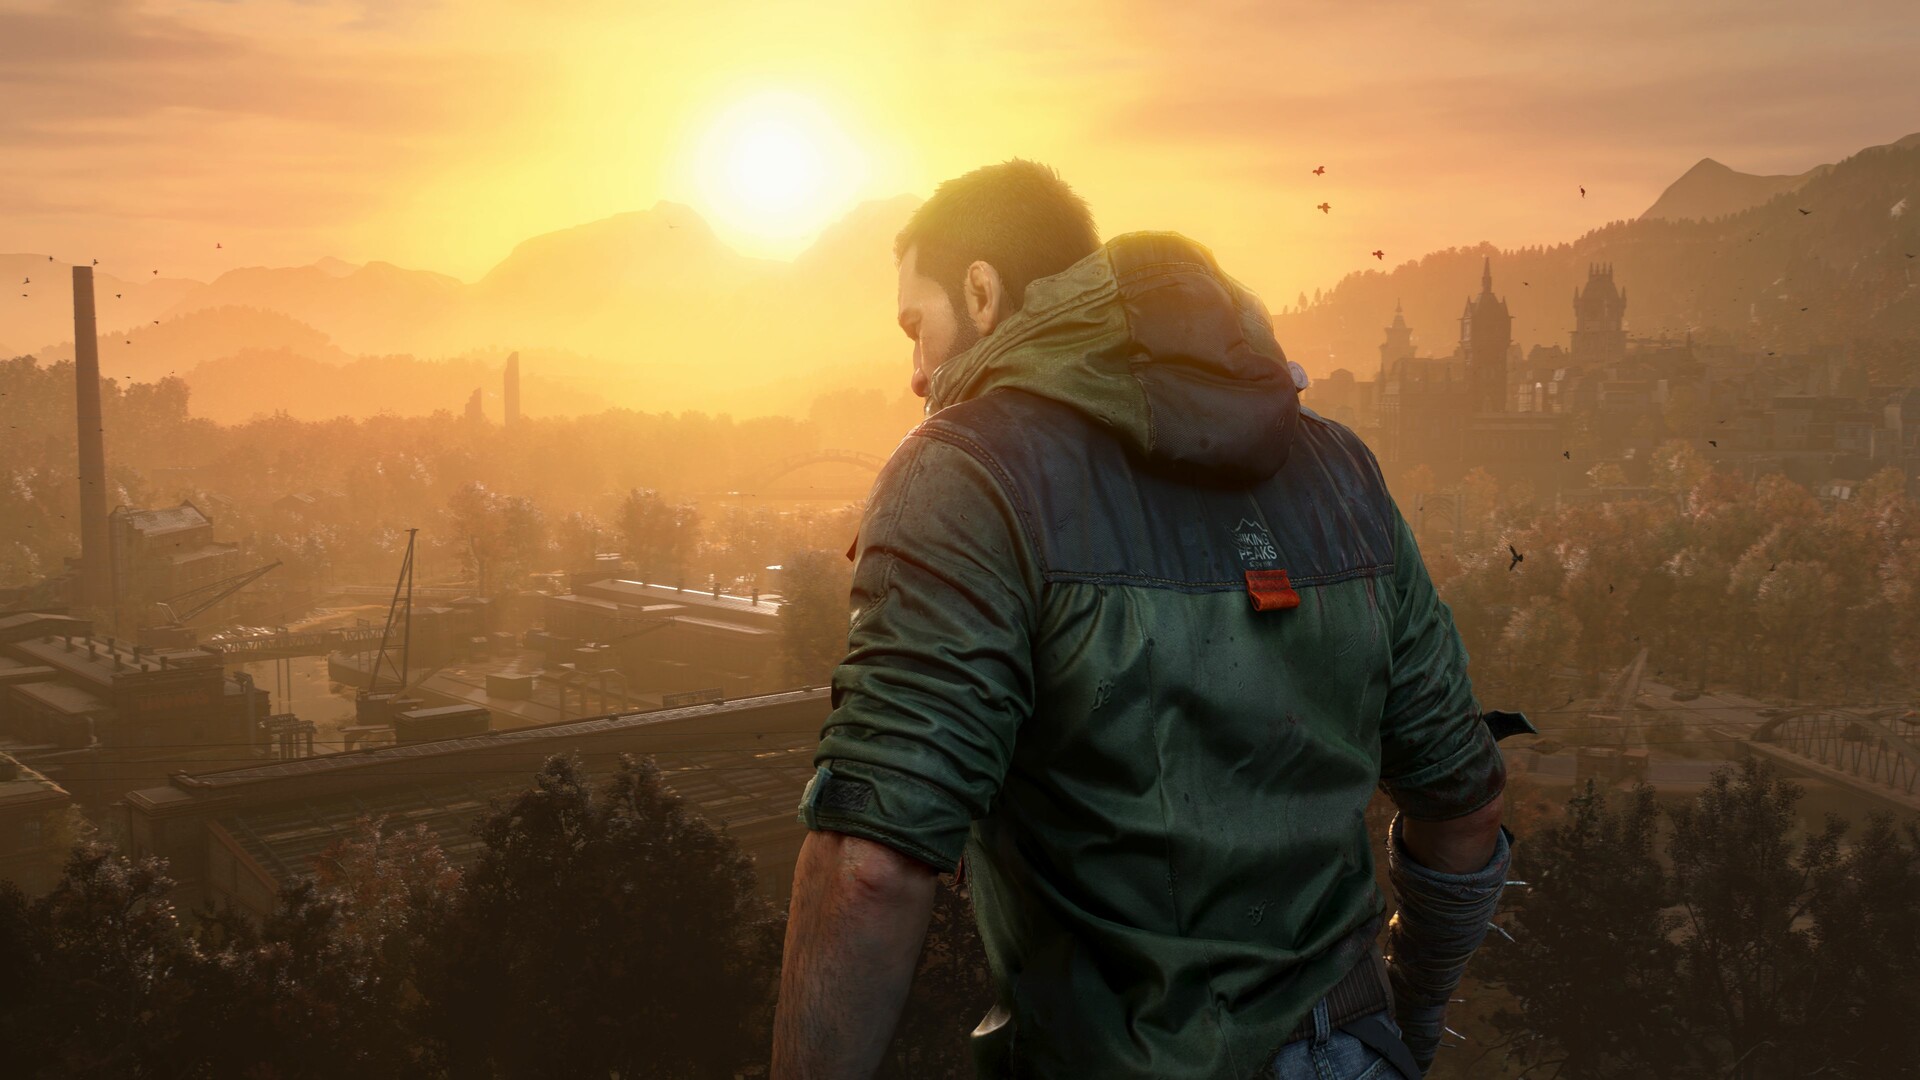
You’ll need to explore the Castor Woods map thoroughly if you want to locate all of the armor sets in Dying Light The Beast. The game offers nine distinct sets for Kyle to collect, excluding the DLC armor set. Each of those nine sets is made up of six parts each. So, it’ll be quite a while before you have all 54 parts to complete your armor set collection here.
In the following guide, we’ll help point you to the location of all these parts to make this task feel less tedious. We also outline what type of stat boost you can expect by equipping each set.
All Armor Sets in Dying Light The Beast
The following are the nine armor sets that you can get in the game.
- Scavenger Armor Set
- Heavy Armor Set
- Bruiser Armor Set
- Explorer Armor Set
- Parkourist Armor Set
- Survivor Armor Set
- Soldier Armor Set
- Merc Armor Set
- Rogue Armor Set
Now, let’s dive into more info about these sets, including the location of each of their parts.
Scavenger Armor Set
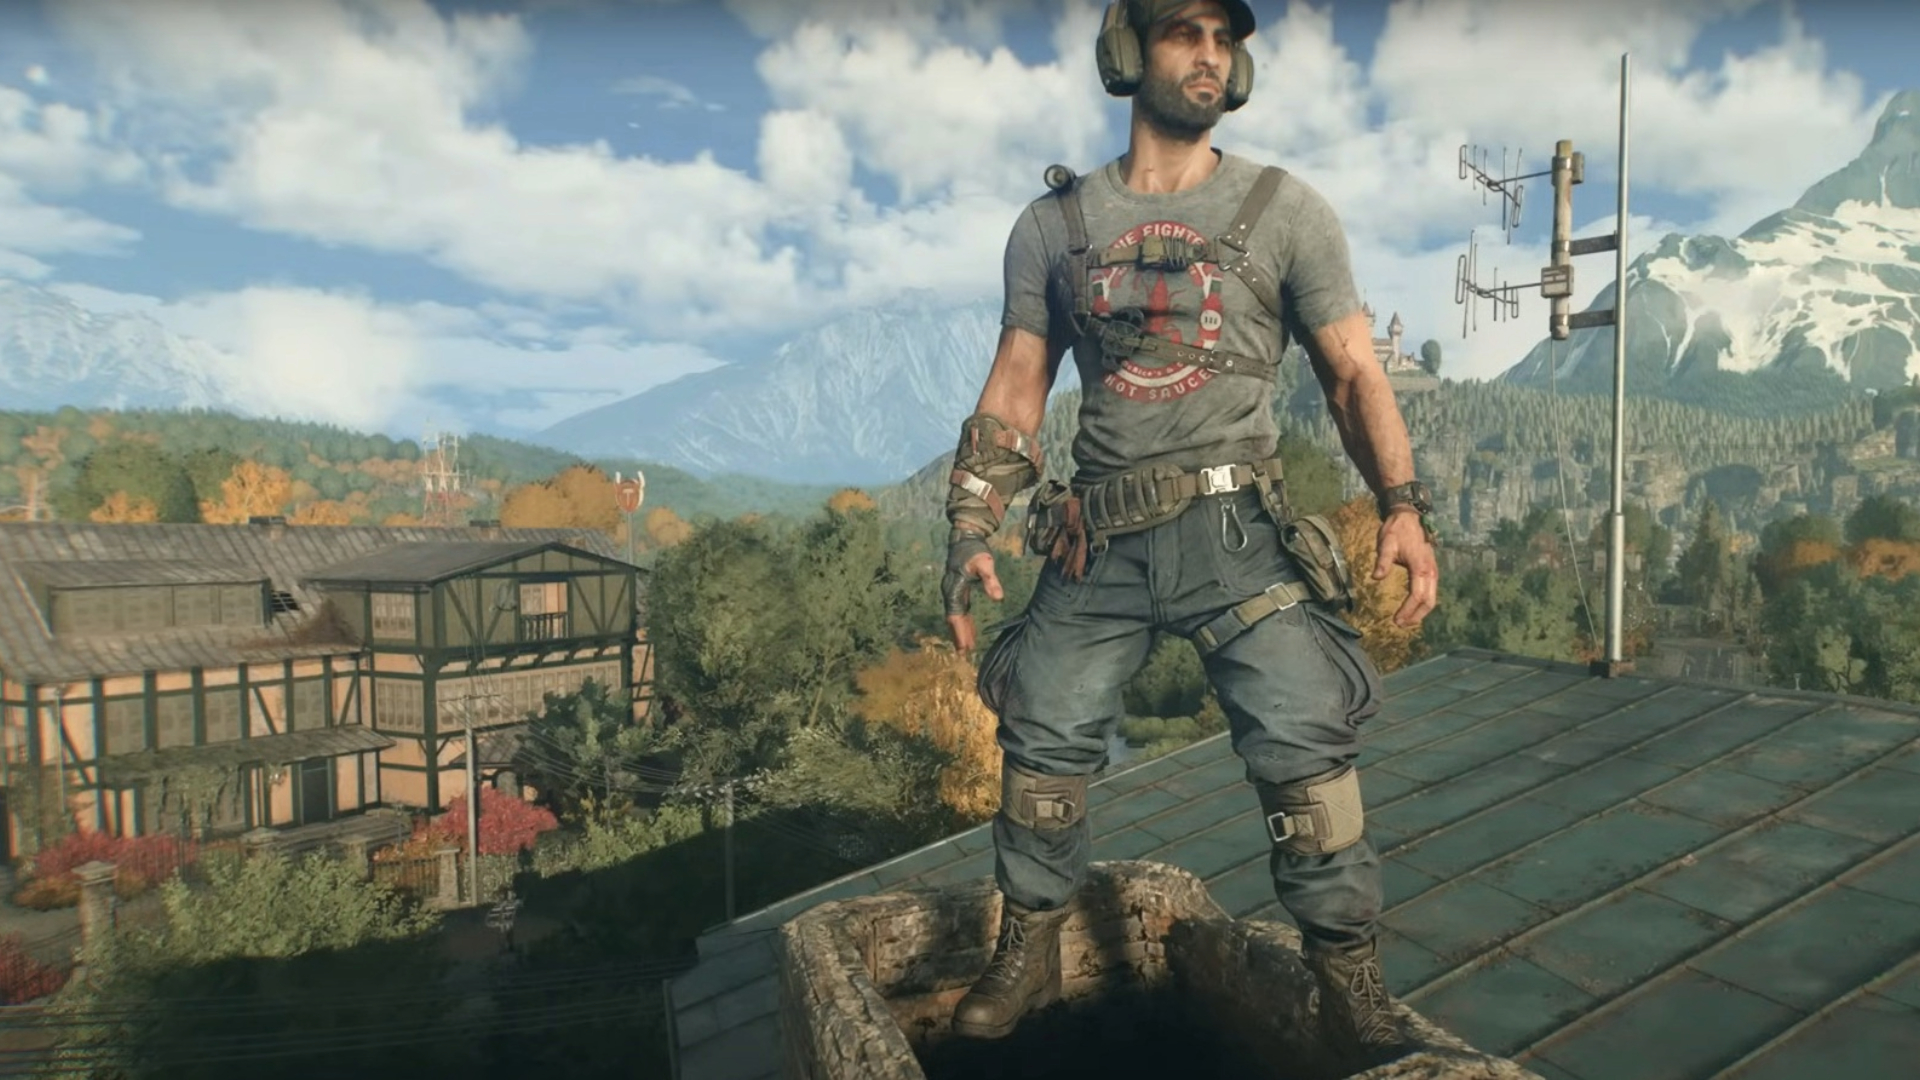
- 6% Common Craftparts Loot from every piece (max 36%)
- 3% Uncommon Craftparts Loot from every piece (max 18%)
- 4% Damage (Accessories) from every piece (max 24%)
It’s a great armor set to equip if you want some damage resistance while also increasing how many resources you find on your outings. Here’s where you can locate all of its pieces.
- Locate the Scavenger Headpiece just north of the Town Hall, inside the Nate Market Dark Zone.
- You’ll find the Scavenger Pants inside the Vanity Store close to the Town Hall.
- Head to the Taurus Megastore Dark Zone on Recreation Island to find the Boots.
- For the Bracers, head to the Nate Market Dark Zone that’s across the Industrial Zone bridge.
- You’ll find the Chestpiece at the Golden Pines’ Vanity Store.
- Look for the Gloves inside the Nate Market in the Farmlands region.
Heavy Armor Set
- Added armor rating from each piece (max 51)
If you’re only looking for additional defense, make sure you equip all pieces of this set. However, keep in mind that it doesn’t provide any additional stat boosts. Here are the locations of each of its pieces.
- Go to the Station Sq. Apartment Dark Zone in Old Town to locate the Chestpiece.
- You will find the Pants inside the Library Sq. Apartment, which is near the Library Tower safe zone.
- Head to the Gallery Sq. Apartment just below the Town Hall to locate the Mask.
- For the Boots, you’ll have to head to the Warehouse Dark Zone in the Industrial Park.
- The Gloves are at the Factory Offices.
- Lastly, the Bracers are inside the School Dark Zone in the Villa region.
Bruiser Armor Set
- 1.5% Damage Resistance against Infected from each piece (max 9%)
- 3% Damage for two-handed weapons from each piece (max 18%)
- 3% Damage for Power Attacks from each piece (max 18%)
As you might have guessed, this should be your go-to armor set if you’re playing a two-handed build. The following are the locations where you can grab all armor pieces for this set.
- Complete the Trouble in Paradise optional quest to get the Cap.
- Complete the Good Vibrations quest to get the Pants.
- Complete the Hydro Puzzle quest to get the Bracers.
- Complete the Killing Streak quest to get the Boots.
- Complete the main campaign to get the Gloves inside the Town Hall.
- Grab the Chestpiece from a building that’s opposite to the Nate Market Dark Zone in Pembroke.
Explorer Armor Set
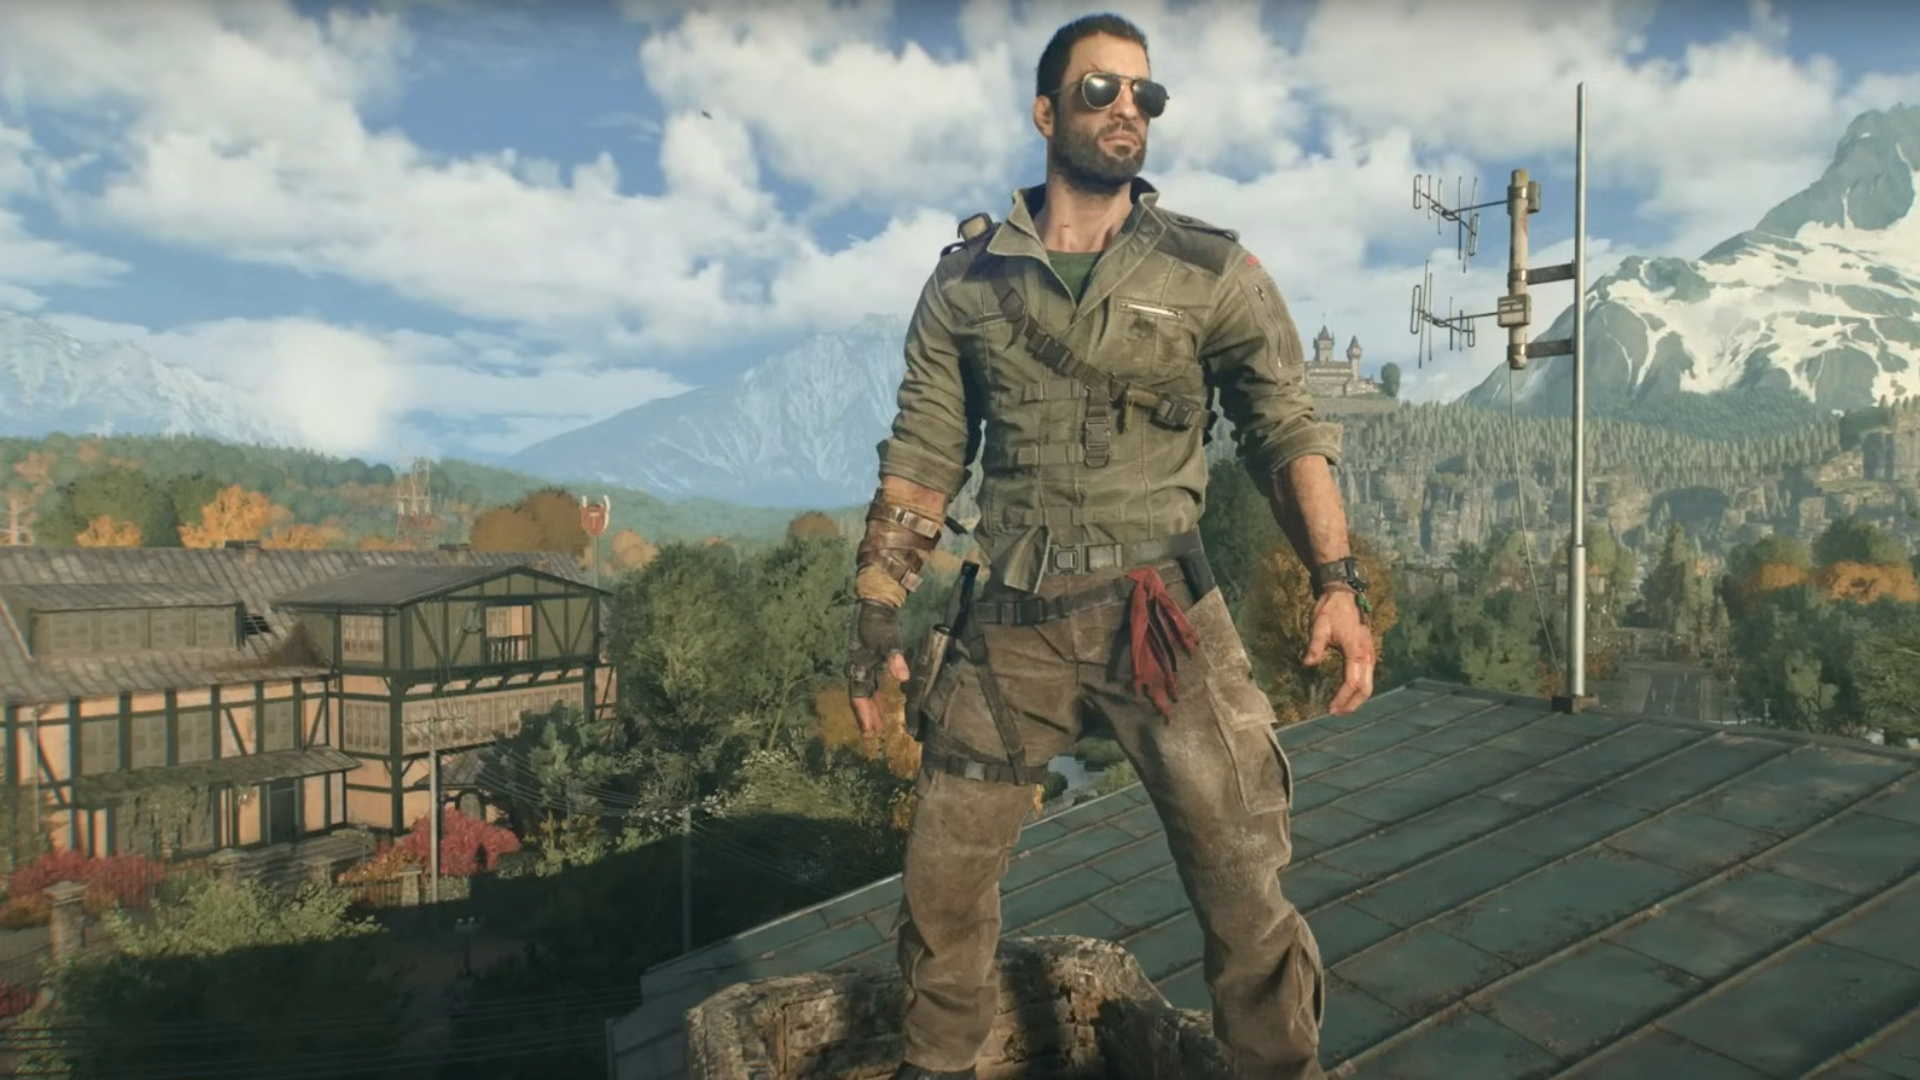
- 2% EXP gained from each piece (max 12%).
This outfit only speeds up your leveling in the game but doesn’t provide much protection. So, we recommend using it during the early portions of the game, where the dangers are less severe. You can simply buy all of the pieces for this set from Doug at the Town Hall. You’ll need to pay him with Old World Money.
Parkourist Armor Set
- +7% Damage for Parkour attacks from each piece (max 42%)
- +4% Damage for melee weapon throws from each piece (max 24%)
- -3% Stamina cost for using melee weapons from each piece (max -18%)
As you can see, this is the best among all of the armor sets in Dying Light The Beast if you are playing a melee build. You can also rely on Parkour attacks to deal significant damage when you have all pieces equipped. To get the armor set, simply head into the Exiles’ Cave and buy it from the vendor you find here.
Survivor Armor Set
- -3% Stamina cost for using melee weapons, from each piece (max -18%)
- +2% Damage when using melee weapons, from each piece (max 12%)
- +3% HP restoration when using healing items, from each piece (max 18%)
This is another great option when mostly relying on melee weapons. The stamina cost goes down, while melee damage increases. The improved HP recovery from Medkits is just the cherry on top. Here’s how you can get all the pieces.
- Grab the Boots by completing the Vengeance is Mine story quest.
- Complete the Some Like It Dark quest to get the Gloves.
- Complete One Flew Over The Volatiles’ Nest quest to get the Headpiece.
- Complete the Power Gambit quest to receive the Pants.
- Complete A New Strain quest to get the Chestpiece.
- Complete the Requiem For A Scream quest to get the Bracers.
Soldier Armor Set
- +3% Damage from firearms for each piece equipped (max 18%)
- -3% Recoil for firearms for each piece you have equipped (max -18%)
- +1.5% Damage to humans for each piece equipped (max 9%)
The stats boost supports a build where you rely mostly on guns to get through, especially when it comes to dealing with human enemies. Here’s how you can grab all of the pieces:
- Complete the Killing Streak: Volume One quest to get the Boots.
- During the Killing Streak: Volume One quest, search a small bench close to the Convoy to locate the Bracers.
- During Killing Streak: Volume Two, you can grab the Gloves from inside the Church.
- During Killing Streak: Volume Four, you can find the Headpiece on the dining table of an abandoned house.
- You will then find the Pants during Killing Streak: Final Chapter.
- Complete Killing Streak: Final Chapter to get the Chestpiece.
Merc Armor Set
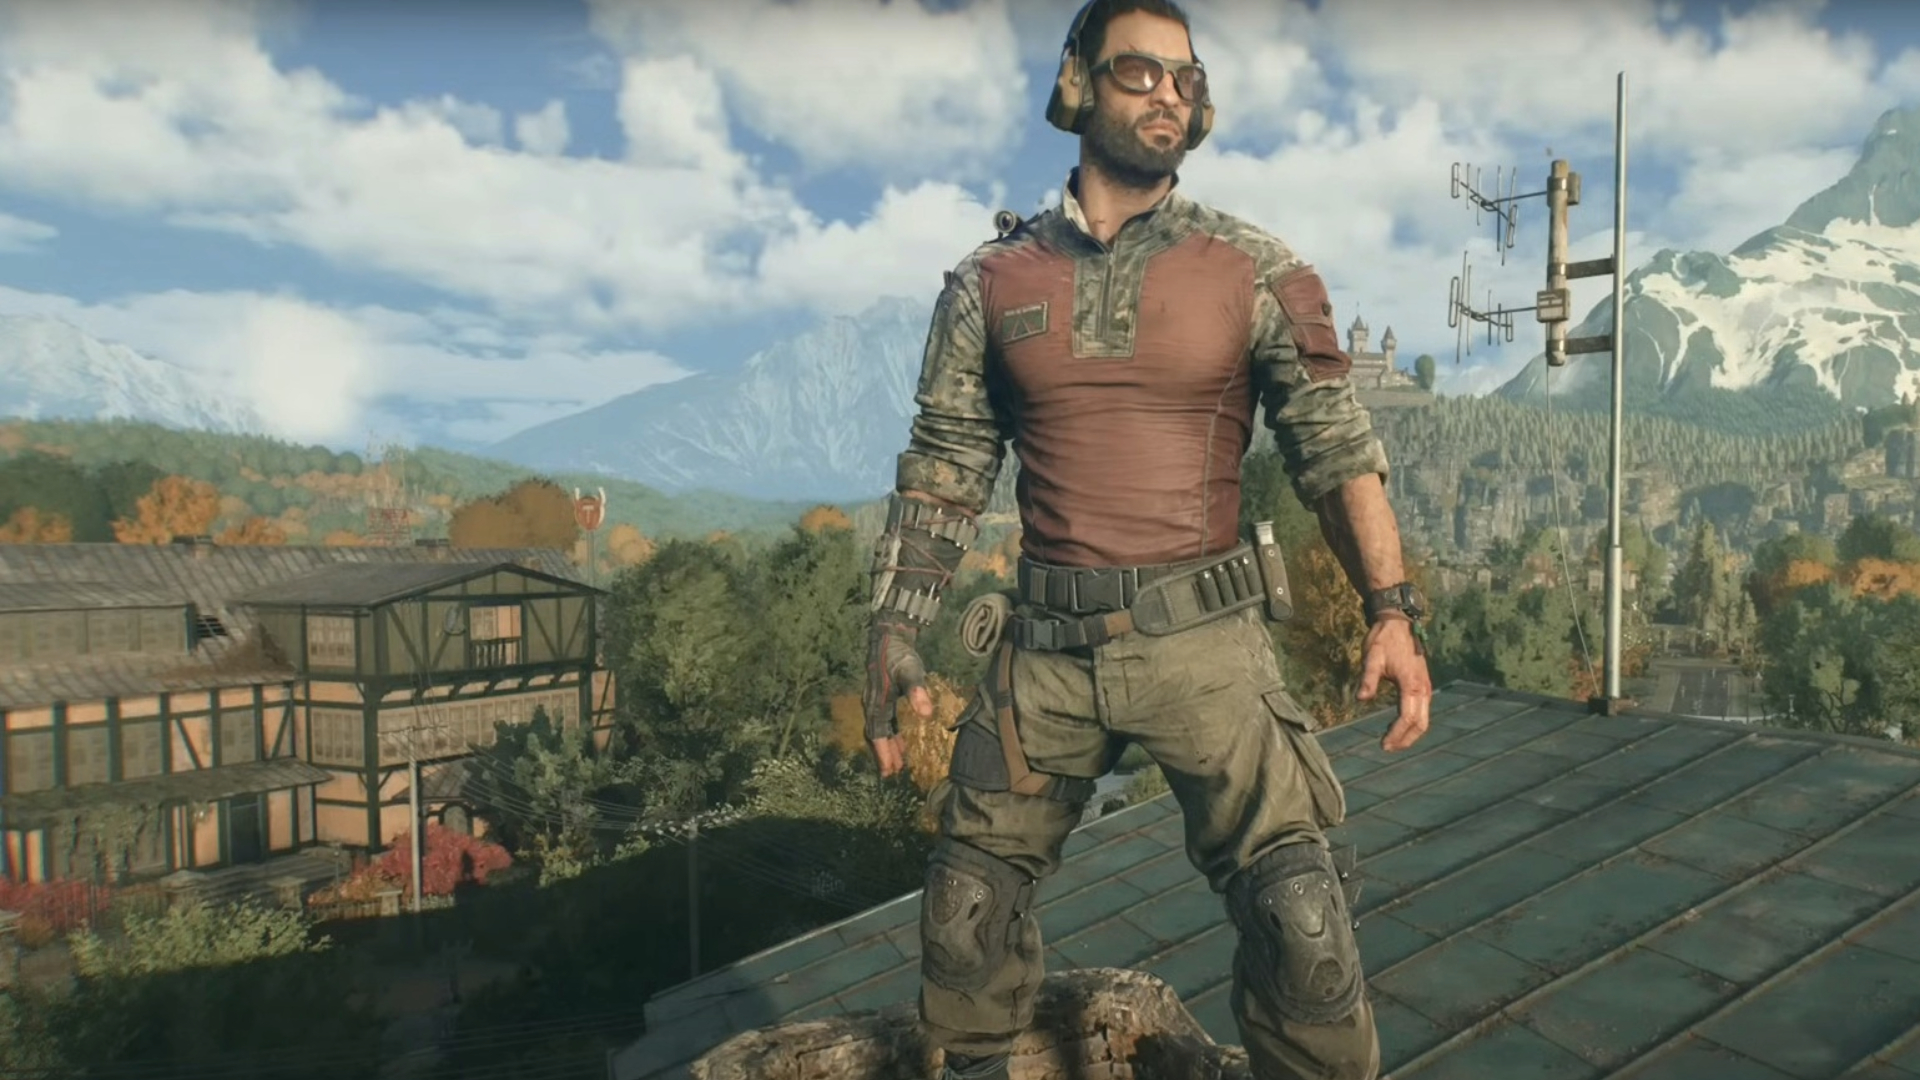
- 1.5% Damage Resistance from Infected attacks for each piece equipped (max 9%)
- 3% Damage from Headstrike or Headshot for each piece equipped (max 18%)
- -6% Firearms Recoil from each piece (max -36%)
The following are the locations you’ll need to visit to grab the armor set pieces:
- Get to the Fishermen Island Tower Safe Spot to get the Chestpiece.
- You’ll find the Boots when exploring the Highway Tower Safe Spot.
- Grab the Pants from the Chimney’s Tower Safe Spot.
- Recreation Island Tower Safe Spot hides the Gloves.
- Visit the Village Tower Safe Spot to grab the Bracers.
- Head to the Mountain Shelter Tower Safe Spot to find the Headpiece.
Rogue Armor Set
- +3% Recognition Time for all enemies from each piece (max 18%)
- +6% Stamina Damage from each piece (max 36%)
- +3% Backstab Damage from each piece (max 18%)
You might have some trouble tracking down all the pieces for this set. However, if you want to dominate the stealth sections of the game, we suggest making the effort to grab every piece. Here’s where you’ll find them.
- Head southwest of Old Town and find the Chestpiece inside an unnamed bunker in the hills there.
- Reach the house southwest from the Hardware Store Dark Zone to find the Gloves.
- Grab the Pants from the A2 treasure map reward area, close to the Chimney’s Tower Safe Spot.
- Get the Mask from a safe inside the Green House in Old Town. The safe code is 14-11-20.
- Find a house just across from the Pharmacy in Golden Pines. Just behind a painting in this house are the Bracers.
- Just around the Pharmacy in Golden Pines is another house marked by the peace sign. Enter it and reach its basement to locate the Boots.

We provide the latest news and create guides for Dying Light The Beast. Meanwhile, you can check out the following articles or catch us playing games on YouTube:
 Reddit
 Email
Email
