Facebook
 Reddit
 Email
Email
In this guide, we shall walk you through the Safe Haven quest in Dying Light The Beast, the second main story quest in the game.
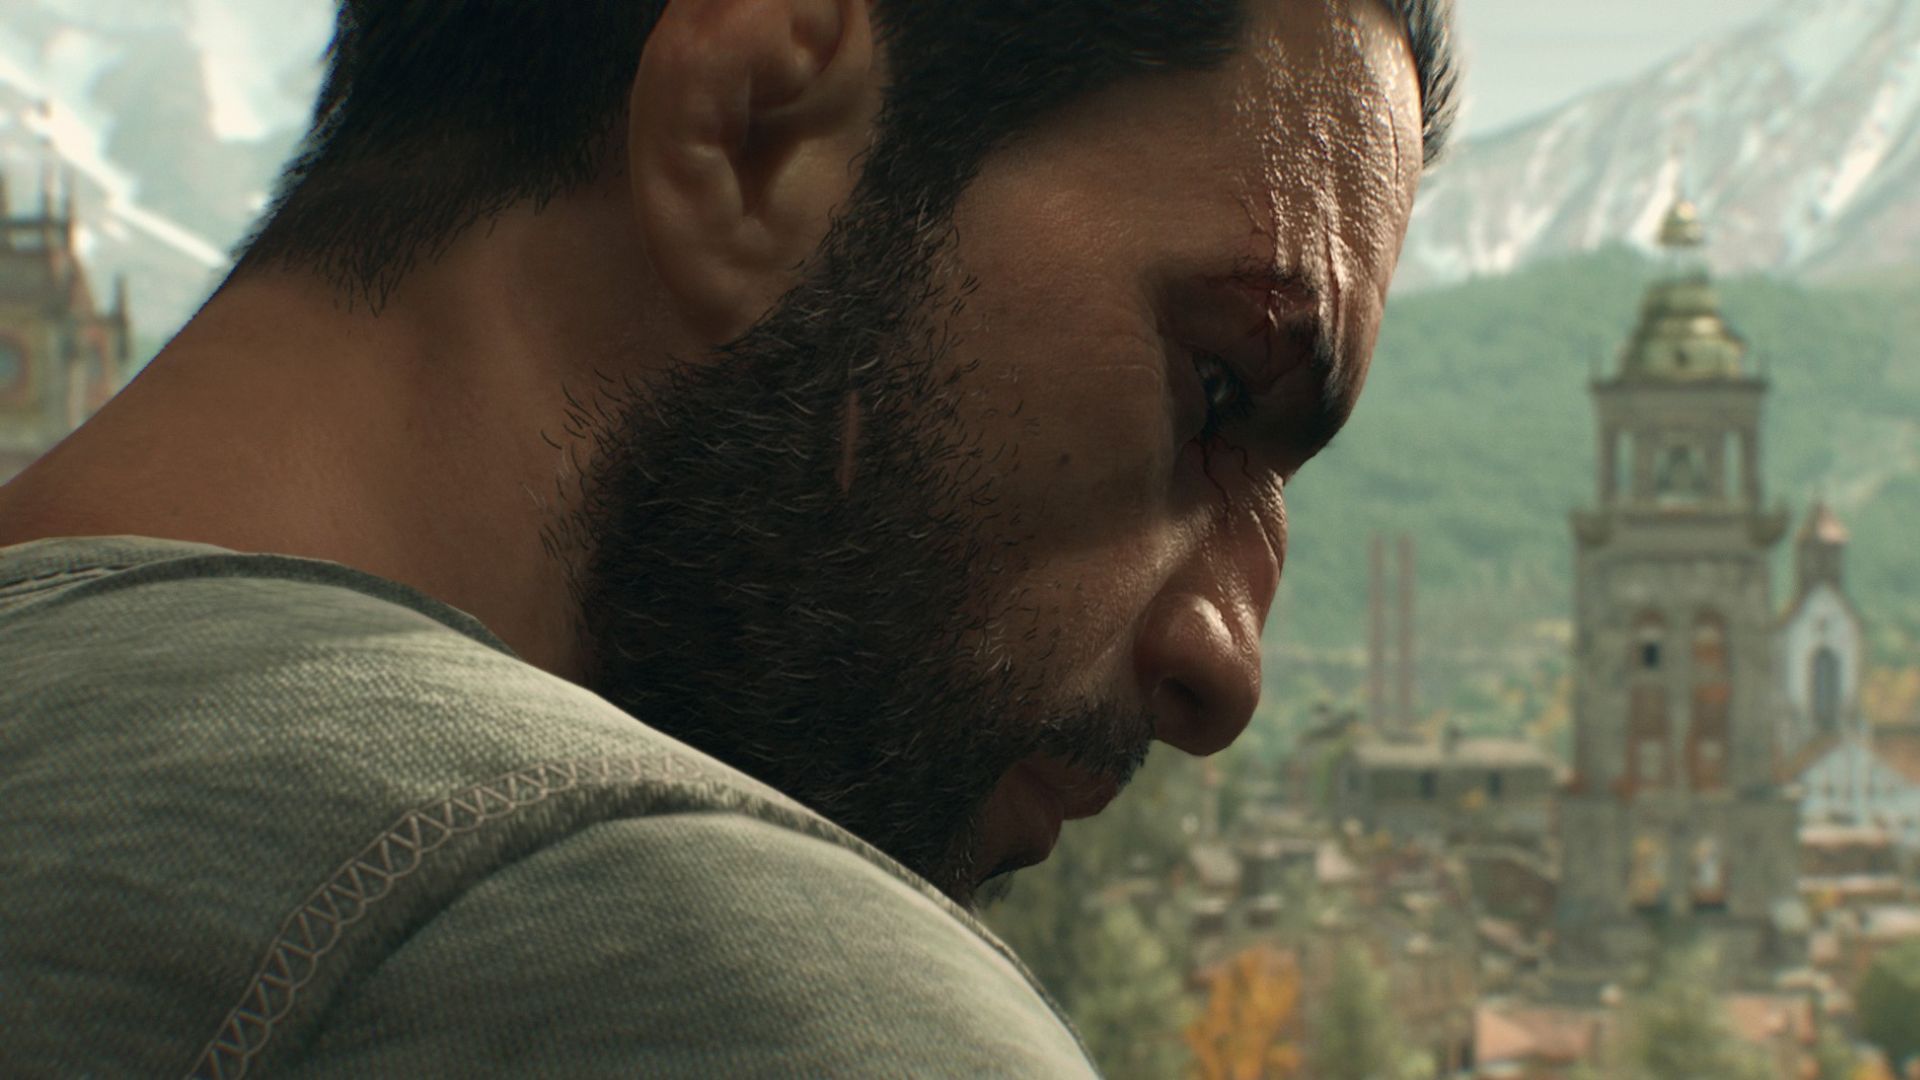
Following a daring escape from the Baron’s labs, you venture out into the wilderness of Castor Woods, kicking off the Safe Haven quest in Dying Light The Beast. In this quest, you have to follow Olivia’s instructions and find a safe haven in the monastery nearby.
While the task seems simple, you’ll find countless undead along the way, each looking to make a bite-sized hole in your neck. This quest is quite a challenging one, especially if you’re on one of the higher difficulties. Towards the end of the Safe Haven quest, you also have your first boss fight in the game.
If you’re on this quest and struggling with getting to the monastery and clearing it out, this guide is for you.
How To Complete the Safe Haven Quest in Dying Light The Beast
Completing the Safe Haven quest in Dying Light The Beast requires you to complete the following tasks:
- Get to the monastery.
- Find a way inside the monastery.
- Power up the generator.
- Clear the zombies.
- Close the entrance door.
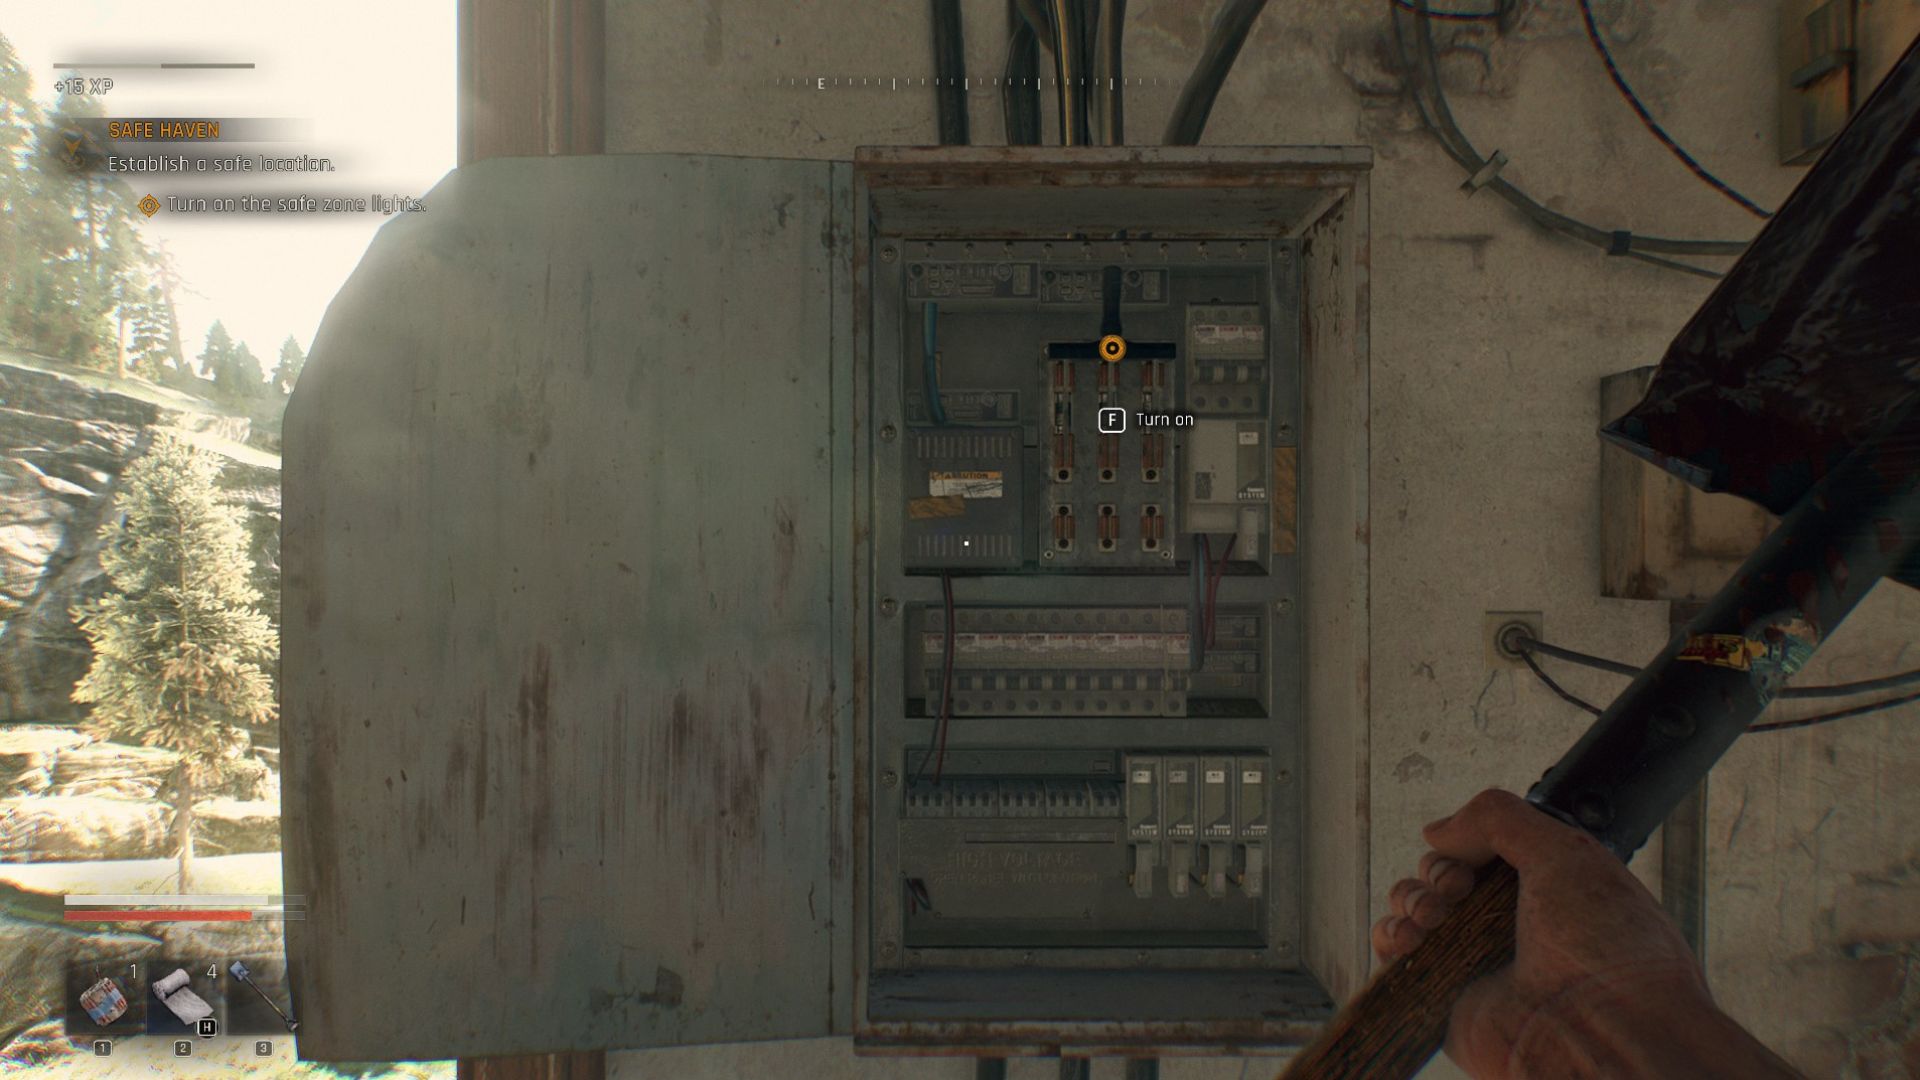
- Turn on the safe zone lights.
- Defeat the Reaper.
- Talk to Olivia, check your stash, and use the Workbench (crafting tutorial).
Related: Dying Light The Beast: How To Get Kyle Crane Legacy Skin
How To Get To the Monastery in the Safe Haven Quest in Dying Light The Beast
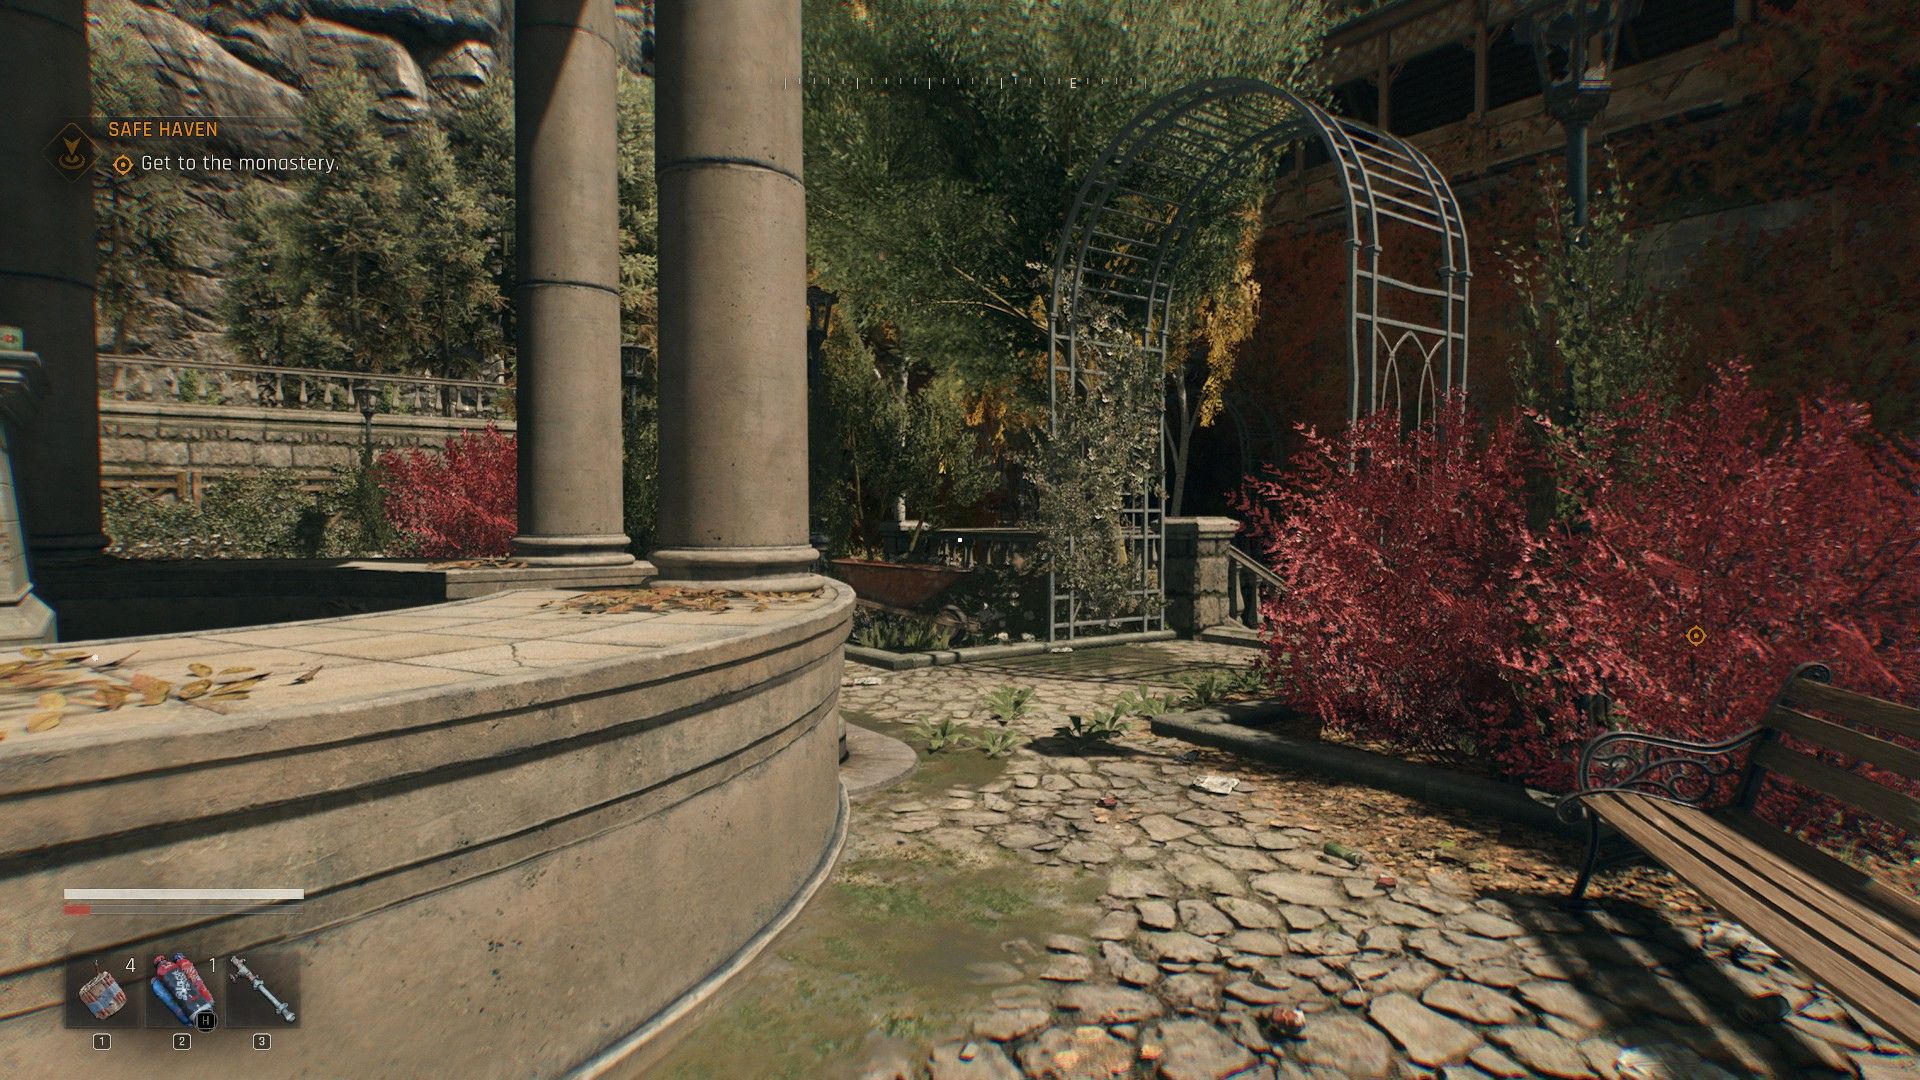
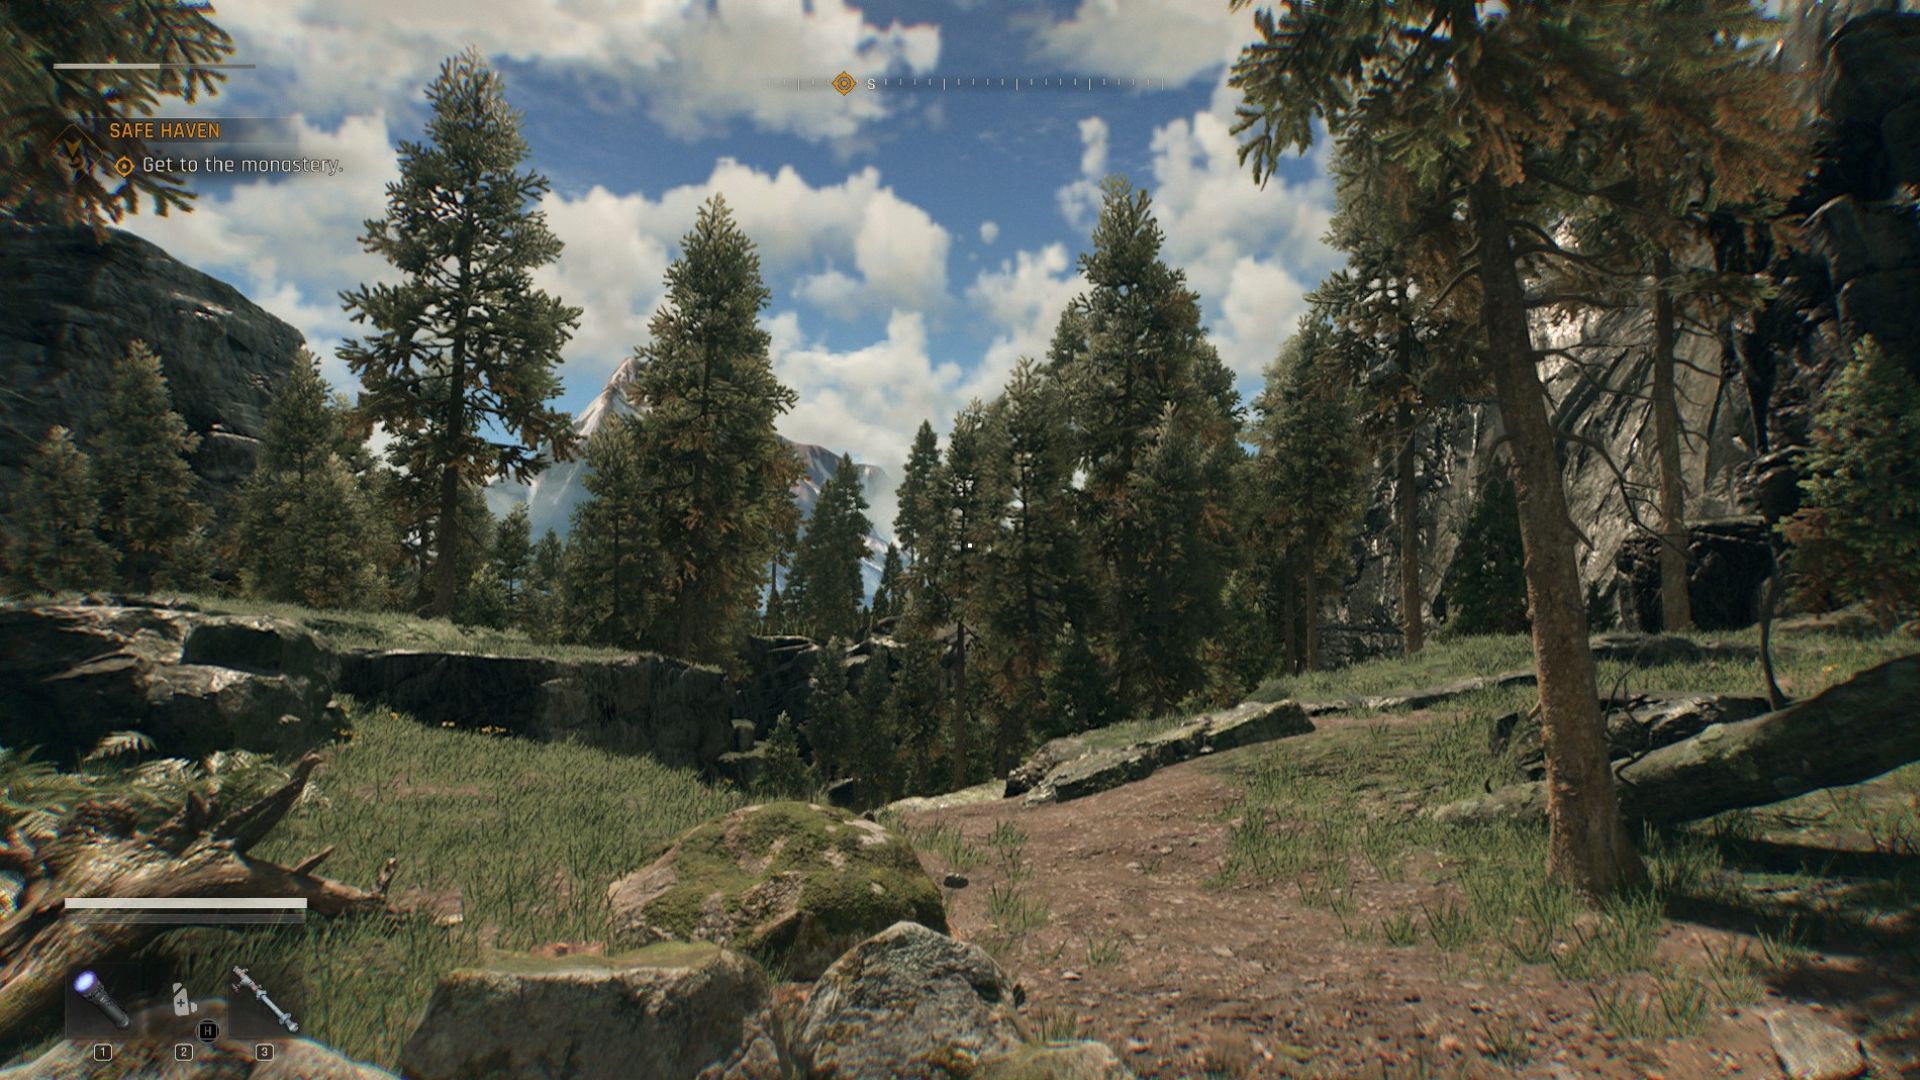
The Safe Haven quest picks up right where you left off at the end of the Rise and Shine quest. You’re out in the woods, and Olivia wants to meet you at a nearby monastery. The path to the monastery is pretty simple, and you simply have to follow the linear trail to get there.
Head downhill along the trail and you’ll find a sightseeing spot overlooking Castor Woods. Kill the zombie by the bench and then loot the corpse by the notice board to acquire your first two-handed weapon. Equip this weapon right away, and then head down the trail on your right. You’ll then be given a brief tutorial on parkour, and the path will lead you to the monastery gate.
The monastery gate is locked, so you’ll have to hop the fence from the left. Head to the monastery gate and you’ll find four zombies here. While the game encourages you to sneak past them, we recommend fighting them as it will help you level up.
Use the decoy tool to split the zombies up, and then pick them off one to two at a time. Once that’s done, interact with the monastery door. This door, too, is locked, and Kyle will remark that you need to find another way.
To get into the monastery, you’ll have to scale the wall to your right. Use the ledges jutting out of the wall to scale up, and then the wooden boards to go all the way into the monastery balcony. Olivia will then task you with powering up the monastery and turning it into a safe haven.
Also Read: Will Dying Light The Beast Have Crossplay?
How To Turn the Monastery into a Safe Zone in Dying Light The Beast
Now that you’re inside, it’s time to turn the monastery into a safe haven. Drop down into the monastery courtyard and head indoors. You’ll have to face off against five zombies here. Kill them all and turn the generator on. Make sure to loot the soldier’s body by the generator to acquire a one-handed weapon.
Next, head out the door in front of the generator and kill the zombies outside. Once that’s done, head back inside and shut the door by interacting with it.
Now, your only objective is to clear out the zombies. Head upstairs and clear out the zombies on each floor. Once that’s done, go all the way up and kick the zombie off the tower. Interact with the power circuit on this floor to turn the power on and turn the monastery into a safe zone.
Once that’s done, you’ll then have a cutscene which will lead into a boss fight with the Reaper. Defeat the Reaper, after which Crane will get knocked out. Once he’s back up, you’ll then need to run through a bunch of dialogs with Olivia. Exhaust all possible dialog options, after which you’ll be given a brief tutorial on crafting and upgrading items. Pass through this to complete the Safe Haven quest.
Thank you for reading the article. We provide the latest news and create guides for new and old titles, including Death Stranding 2, Baldur’s Gate 3, Roblox, Destiny 2, and more.