Facebook
 Reddit
 Email
Email
Discover everything you need to know about Dynasty Warriors: Origins Beginner Guide and best tips and tricks to help you progress.
Our Dynasty Warrior Beginner guide is to help you whether you’re new to the hack-and-slash series or a veteran player. We got you covered with major combat and battle mechanics in the new campaign. From acquiring weapons, types of attacks, and gathering resources, our tips and tricks will help players jump into missions.
Tactics in Dynasty Warriors: Origins are the strategic commands that allow you to direct your allies during battles to perform specific actions. These actions include advancing or executing a cavalry charge. Some specific tactics can achieve “Dramatic Success,” significantly influencing the battle’s result. The game also introduces the concept of “Grand Tactics,” which are large-scale maneuvers involving big troops known as a “Large Force.” Shift the battle with intense group assaults by activating the Grand Tactics. It is important to execute your side’s Grand Tactics while preventing the enemy from taking effect. In this guide, we’ll discuss all the tactics in Dynasty Warriors: Origins how they function, and how to use them.
Dynasty Warriors Beginner Guide Overview
DWO can be complex as the world map has to offer different activities. In our Dynasty Warrior Origins Beginner guide we have covered all major activities available to help you out. This will simplify what to choose depending on whether you like optional battles or story battles.
Tactics in DWO become available in Chapter 2 – Battle of Sishui Gate. Once you unlock the tactics, the Volley is the only tactic available to you. Battle Preparation under the Squad tab is the only method to equip weapons. You can equip a maximum of three tactics in the game. Press the designated key to the action to bring up the wheel. After that, choose from the three Tactics you’ve chosen to use tactics. Depending on the console, the tactics action has a default button.
You can manually assign it in the Controls menu under the System tab in the settings. Keep in mind that mastering the use of tactics and grand tactics is essential for commanding your forces effectively. It allows you to achieve victory in the large-scale battle characteristic of Dynasty Warriors: Origins. They allow you to command your allies, execute special maneuvers, achieve dramatic success, and counter enemy strategies. Tactics increase our ability to control the battlefield, make strategic decisions, and lead our forces to victory.
Dynasty Warriors: Origins Beginner Guide Tips and Tricks
Here are all the Tips and Tricks for our beginner guide one must know before playing Dynasty Warriors: Origins.
- Basic Control (Actions)- Use WASD for Movement / Rotate mouse for Camera / R for Lock On / LMB for Normal Attack / F for Strong Attack / Space for Jump / L for Musou Attack / RMB for Block / V for Evade.
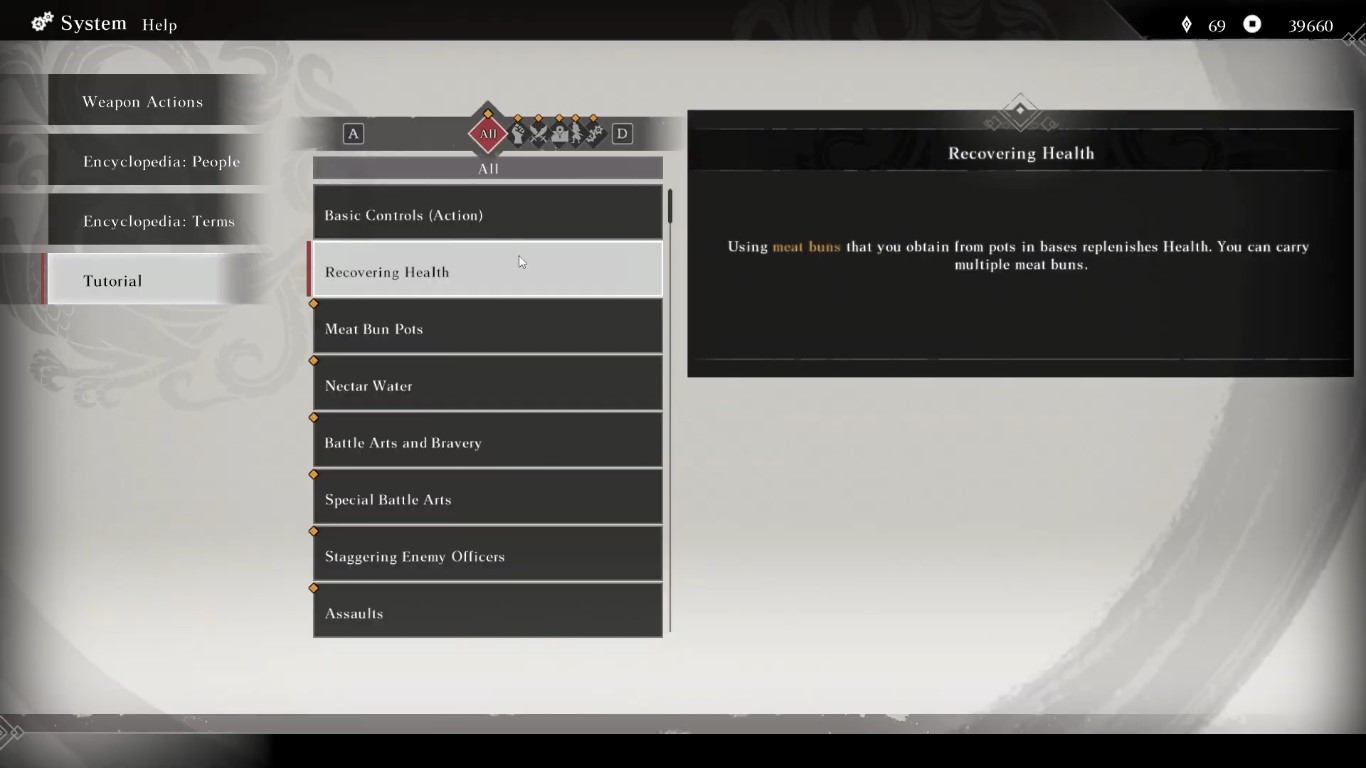
- Recovering Health- Using meat buns that you obtain from pots on bases replenishes health. You can carry multiple meat buns.
- Meat Buns Pots- You can find Meat Buns inside pots, which are located in bases. If you ever need to heal yourself, it’s best to search bases for any pots.
- Nectar Water- Defeated enemies sometimes drop containers of Nectar Water. Picking these up will increase your Bravery.
- Battle Arts and Bravery- Activate the assigned Battle Arts with Ctrl / LMB / RMB / Wheel Button / Space.
- Special Battle Arts- Some Battle Arts possess Special Art effects. These Special Arts can stop attacks with flashing indicators.
- Staggering Enemy Officers- Completely depleting an enemy’s Fortitude will stagger them and provide an opportunity for you to attack.
- Assaults- Enemies who have lost all Fortitude and have a Stagger status can be hit with an F assault. Assaults inflict heavy damage, making them good finishing moves.
- Blocking and Evading- Instead of ceaselessly attacking the enemy, utilize RMB blocking and V evading to prevent them from dealing damage to you.
- Parrying- Perform a well-timed RMB block to parry the enemy attack and unleash a counterattack. A successful parry will greatly stagger the enemy.
- Perfect Evade- V Evading an attack right before it hits will result in a perfect evade. This also grants Bravery.
- Musou Attacks- Dealing and taking damage fills the Musou Gauge. Pressing L when the gauge is full will activate powerful Musou Attacks.
- War God Rage- When the Musou Gauge accumulates to its second level, I activate War God Rage.
- Extreme Musou Attacks- Extreme Musou Attacks are very powerful techniques that you can perform with your companions. You can activate this by pressing L near your companion when the Swap Gauge has accumulated to a certain threshold.
- Enemies in Rage Mode- If an enemy in Rage mode fills their Musou Gauge, they will unleash an Ultimate Musou Attack. You can prevent these attacks by completely reducing their Fortitude.
- Dangerous Attacks- These attacks are not blockable. Evade these attacks or use Special Battle Arts to counter them.
- Dangerous Attacks and Red Indicators- Attacks with red glowing indicators are not stoppable even with Special Arts. Do everything you can to evade them.
- Mounted Combat- You can call your horse with X. The following actions are available after mounting. Press LMB for Mounted Attack / F for Assault / RMB for Block / V for Jump / X for Dismount. Ctrl allows you to perform a mounted charge, where you dash at high speeds in exchange for expanding Endurance. Endurance replenishes over time. While mounted, you will be a prime target for archers. Be wary of your surroundings as you tear across the Battlefield.
- Tactics- Give the order to perform the assigned Tactic with the Q + LMB / RMB / Mouse wheel button. With Tactics, you can order nearby allies to perform special coordinated actions. These may include anything from group charges at the enemy to bestowing power-ups upon all allied soldiers. Tactics can result in a highly effective Dramatic success if activated at a certain height or distance. A Dramatic Success can also reduce enemies’ Courage, making it well worth the attempt. Some Tactics can is good to destroy enemy weapons and towers. This is effective when you want them destroyed right away.
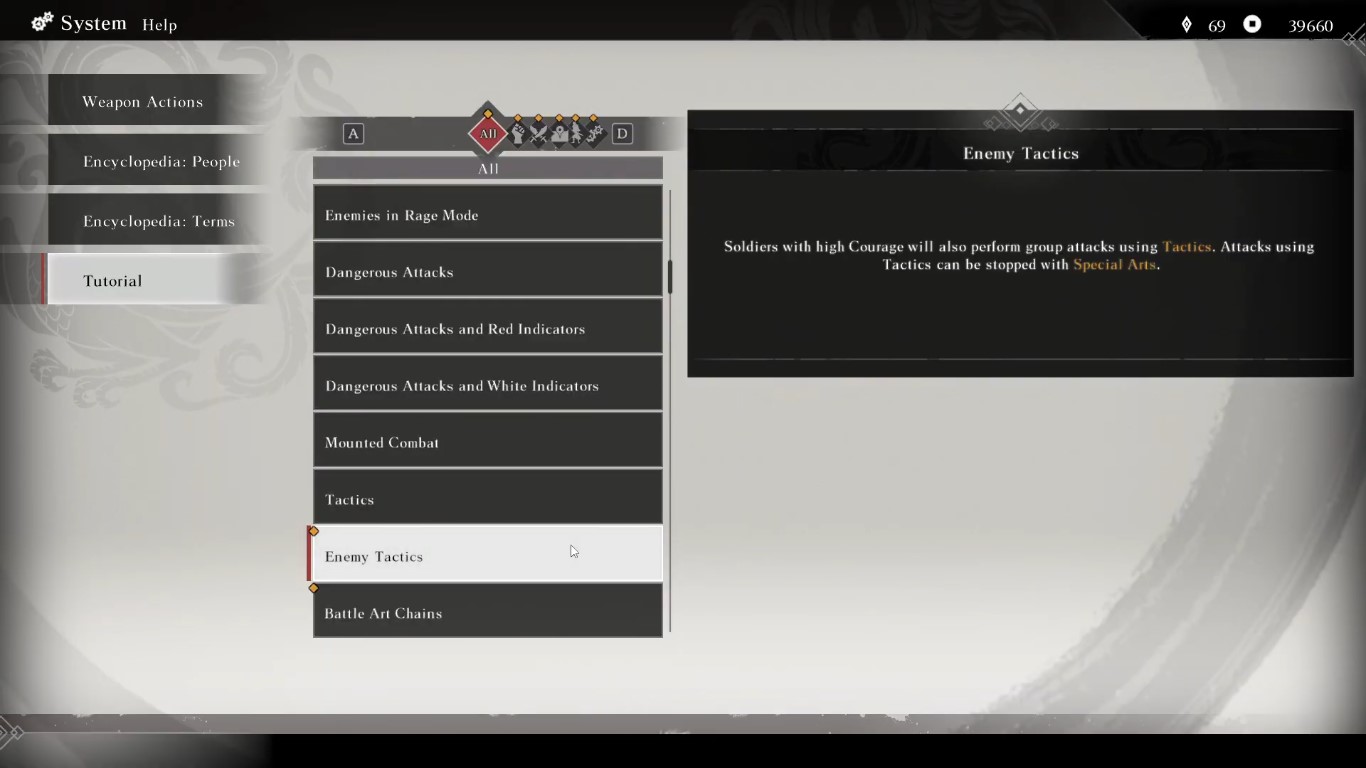
- Enemy Tactics- Soldiers with high Courage will also perform group attacks using Tactics. Attacks using Tactics can end with Special Arts.
- Battle Art Chains- Once you’ve earned an allied officer’s recognition, a Battle Art Chain will be activated. This involves the officer unleashing a follow-up attack after you perform Battle Arts. To earn recognition, you must perform actions that draw your allies’ attention, such as successfully evading, blocking, or parrying attacks.
- Greatshield Soldiers- Soldiers with massive person-sized shields are resilient against frontal attacks. Strike from behind to render them defenseless.
- Cavalry- When soldiers on horseback are attacked by cavalry, they are knocked from their horses.
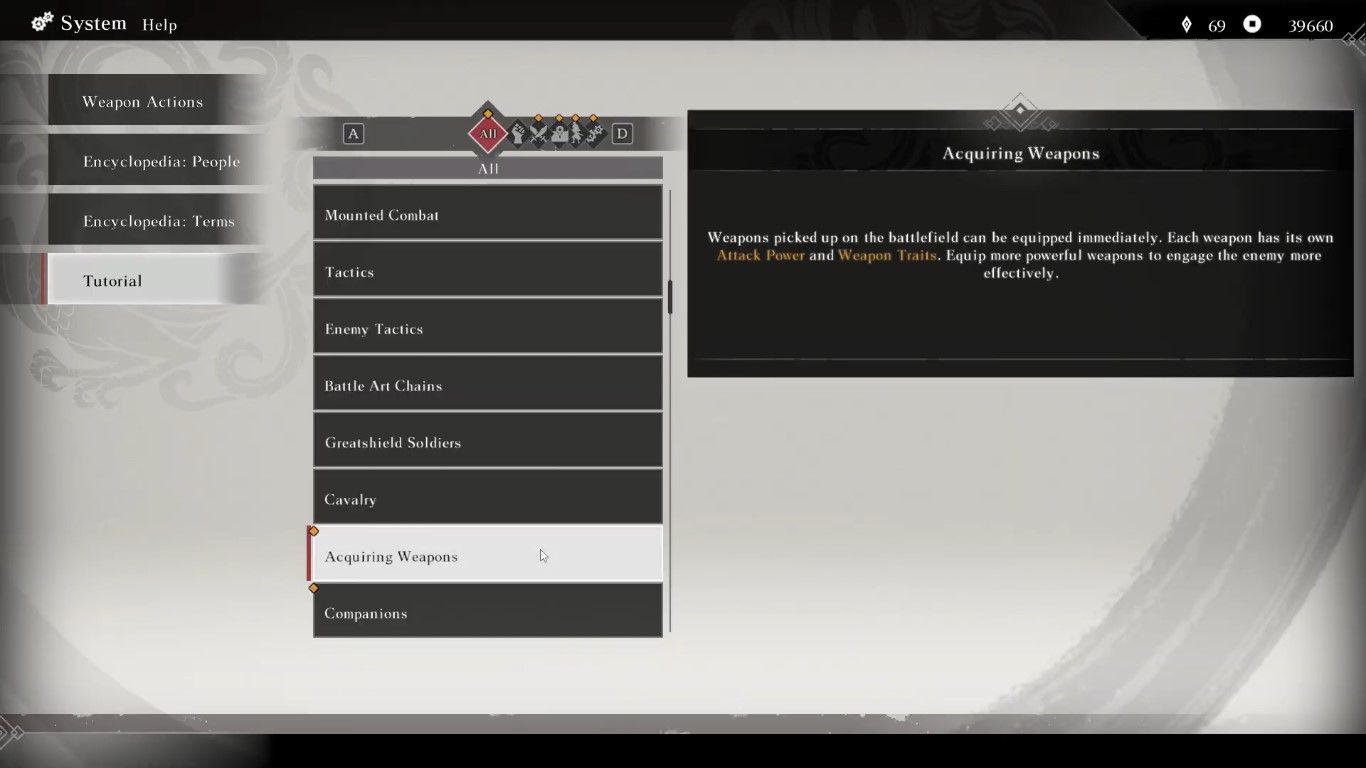
- Acquiring Weapons- Weapons picked up on the battlefield, you can equip them immediately. Each weapon has its own Attack Power and Weapon Traits. Equip more powerful weapons to engage the enemy more effectively.
- Companions- You can select officers to fight by your side as companions. If you select an officer as your companion, you will start the battle near their position. When the Swap Gauge for you and your companion is full, holding Z will allow you to control them in battle. Companions are very powerful, but you can only control them temporarily, so it is best to wait for the right moment.
- Eyes of the Sacred Bird- Use your Eyes of the Sacred Bird by pressing Q. This is a special power that allows you to see things that are not visible otherwise. With your Eyes of the Sacred Bird, you can see through sorcery and perceive useful information on the battlefield, such as the Health and locations of officers or the status of gates and weaponry. Selecting a battle area allows you to view a list of officers fighting there. This ability is good on the world map to find cold coins and a path to your destination.
- Battlefield Menu- Press Esc to open the menu. The Battlefield Information screen displays useful information like enemy and ally troop formations and officer details. Change Selection Method allows you to either move the cursor freely over battle areas or cycle through them to check their status. Selecting places like an officer’s location or a base will allow you to view a path to those locations, along with other detailed information. You can look at previously read messages via History. You can withdraw from battle by opening the System tab and selecting Withdraw. Anything you get on that battlefield, you will lose and you will return to your pre-battle state.
- Morale- The battle between large armies relies on Morale. Your side’s Morale will improve by defeating enemy officers, capturing bases, and successfully executing plans. The greater your own forces’ Morale, the better against enemy forces. You will not always win battles through your strength alone. Perform feats that improve Morale and lead your forces to victory.
- Battle Areas- When enemy and allied forces clash, that location appears as a battle area. Battle areas where your allies are winning have a blue icon, while those where they are losing are in red. Allies in red battle areas will die if left on their own. You must either go and help them or encourage them through feats in battle.
- Rescuing Allies- Allies are in trouble, you can save them by approaching them. A successful assist will restore their Health. Note that you can only assist allies whose Health is in yellow.
- Be Aware of Defeat Conditions- Take note of the defeat conditions, such as your commander being forced to flee. Remain aware of the situation through information gathered using your Eyes of the Sacred Bird, the map, and battle areas. If you feel you may overlook messages about battlefield updates, try using Battle Assistance. You can enable this via System and then Configuration in the Esc menu.
- Recreate Battlefield- After a defeat in battle, you can select Recreate Battlefield. This lets you take another look at how the battle progressed and identify the causes of your defeat. You can also restart from a specific point in time. Doing so will send you back to that point, and anything you acquire after that point you will lose.
- Focus with High Courage- Focus with High Courage and excel in offense and defense. Officers with high Courage also possess greater Fortitude, making them a force to stop. A massive gathering of enemy soldiers can sometimes form a large force.
- Large Forces- Officers and soldiers of these forces will have high Courage and will act as a cohesive unit, posing a grave threat. To bring down a large force, you must defeat its officers and soldiers, reducing its fighting strength and causing it to collapse. After a large force collapses, troops will lose Courage, greatly weakening them.
- The Threat of Large Forces- Officers and soldiers in large forces have high Courage and perform hard-hitting combined attacks, making it very dangerous to charge at them alone. The best solution is to work with your allies to whittle them down.
- Enemy Grand Tactics- Large enemy forces will sometimes execute Grand Tactics. Grand Tactics are very powerful group attacks that use the combined strength of many officers and soldiers. You can stop Enemy Grand Tactics by meeting certain conditions. Successfully stopping them will increase allied Morale and reduce enemies’ Courage. Failing to do so, however, will greatly increase enemy Morale.
- Ally Grand Tactics- Allies may at times begin preparing a Grand Tactic. You can only execute it when specific conditions are there but can deliver a heavy blow to a large enemy force.
- Charging it with Allies- At critical points in battle, such as during a clash between large forces, allies will sometimes form up and perform a charge. The Charge will begin once you approach an allied officer or after a certain amount of time passes.
- Ambushes- You can commence an ambush by approaching allies who are ready to attack. A successful ambush will temporarily lower the target enemy’s Courage and Morale.
- Bases- Depleting the Base Gauge completely and defeating all of the officers there will allow you to claim the territory for your side. Bases contain pots with meat buns in them. If you’re low on Health, you can head to bases to obtain these buns.
- Gates- You can attack the gates with battering rams by giving orders with F. You can also open the gates by having a single individual remove the drawbar on the other side. You cannot give orders for rams in an attack if there are no allies nearby. Enemies in the vicinity will also interfere with the attack. Be sure to drive the enemy away and advance together with your fellow soldiers.
- Ladders- Climb ladders with Space. You can check the locations of ladders on the Esc menu.
- Crossing Rivers- You can cross shallow rivers. However, you will be vulnerable while crossing. Eliminate any nearby enemies and make sure the area is safe before you try.
- Enemy Weapons- You can destroy a enemy weapon by approaching it and ordering your allies to demolish it with F. Note that you must have allies nearby when giving the order. Whatever method you use, the enemy will do everything in their power to thwart your plans. Eliminating nearby threats should be your priority.
- Duels- In combat, you may be able to engage in duels. Duels will be fought under a special set of rules. A gauge shows how the duel is progressing between you and the opponent. You can claim victory by filling up your side of the gauge and deleting theirs. This gauge uses Morale. You will start the duel with your gauge at an advantage if your forces are winning, and at a disadvantage if they are losing. Winning duels will greatly increase allies’ Morale and temporarily decrease the Courage of nearby enemies. Losing a duel will inflict heavy damage on you and lower allies’ Morale.
- Your Squads and Tactics- You can command guards as members of your squad. They advance by your side and aid you in combat in various ways, such as opening gates and destroying enemy weapons. If any of your guards are defeated, they will return to battle when you go to an allied base. You can order your squad to employ Tactics, which result in powerful group attacks. Your squad grows as there are new guards, which may lead to new Tactics being acquired. You can swap the Tactics via Squid in the Esc menu.
- Support from Guards- As word of your exploits spreads, people will request to join your squad. Completing missions further increases your renown and may draw in more people who wish to join. These interested parties will join as guards. The number of people who wish to join is available in each mission’s reward information.
- World Map- You can move around on the world map and travel to battlefields and towns, or speak with people who have information. Use the world map to head to destinations and win battles, thereby progressing the story. After fortifying yourself with new items and interacting with heroes in town, battle head once more to quell the chaos across the land.
- Weapon Traits- Each weapon has its own Attack Power and Weapon Traits. Consider the Attack Power and Traits of weapons when deciding which one is right for you.
- Letters- The Inn acts as a base during your travels. Letters may arrive there from time to time. Reading letters allows you to learn what is going on in the world, and can sometimes advance the story.
- Locations in the City- In cities, there are weapons, shops, inns, and other locations for you to make use of.
- Skirmishes- Skirmishes are small-scale battles against enemy remnants and bandits. Unlike larger battles, these can be concluded in a short period. Skirmishes make for great practice, and defeating the enemies also restores peace to the area, so it is best to join the fight whenever you get the chance.
- Thieves- Thieves will sometimes appear in Skirmishes. Defeating them will yield gold and pyroxene.
- Missions- Missions are optional medium-scale battles. Winning these battles will earn you special rewards.
- Pyroxene- You will be able to use the Pyroxene you have collected at various inns.
- Old Coins- Old Coins possess unique value. You can collect them on the world map or as rewards. Each time you collect a certain amount, you can receive a gift at the Shui Jing Retreat.
- Eyes of the Sacred Bird on the World Map- Using your Q Eyes of the Sacred Bird on the world map helps you find old coins and a path to your destination.
- Waymarks- You can travel to unlocked waymarks via the map in the Esc menu.
- Map Menu- In addition to allowing you to instantly travel to waymarks, the map also displays objectives, cities, and officer locations. J Toggle Information gives you access to more precise location information. Use it to find the subject of your objectives or to help with navigation in general.
- Level of Peace- Winning a battle and quelling the chaos in an area will increase the province’s level of Peace. Raising Peace to a high enough level brings many benefits.
- Requests- Officers will sometimes make requests. You can get rewards for completing their requests and reporting back to them.
- Gifts- Once Peace reaches a certain level, the people of the province will leave you gifts of gratitude at waymarks.
- Searching for Items- The locations of requested items are marked on the Objective screen.
- The Shop- A shop’s depleted stock will be replenished after a certain period.
- Portable Items- Portable items are items like meat buns that you can carry into battle. They have a diverse range of effects, such as replenishing Health or raising Attack Power. As portable items are single-use, it is best to save them for the right moment.
- Gems- A gem is a special accessory, and only one can be equipped at a time. While equipped, it will grant special effects to any attacks you perform with a weapon. You can only get Gems by using pyroxene to create them.
- Creating Gems- One pyroxene can be used to create one gem. Five possible types of gems can be created. If you obtain another gem of the same type, the gem will be upgraded.
- Satisfying Results- When making gems, you may achieve Satisfying Results, which grant you a greater than usual yield of gems from a single pyroxene.
- Gem Creation – Eyes of the Sacred Bird- While creating gems, you may see potential gems in the pyroxene. If you proceed with gem creation, the only gems created will be those you saw.
- Germ Creation – Using Incense- Incense made from Moongrass can greatly enhance the effects of your Eyes of the Sacred Bird during gem creation. Moongrass can be found on the world map. Using Incense before gem creation can improve your focus, allowing you to see potential gems in the pyroxene. If you proceed with gem creation, the only gems created will be those you saw. Incense only has an effect once. If you use Incense without creating any gems and then use another incense, the first effect will be overwritten, allowing you to discover different potential gems. Any potential gems you saw with your Eyes of the Sacred Bird will no longer appear while an Incense’s effect is applied.
- Horses- Riding a horse allows you to move quickly. You can call upon a house at any time during combat or on the world map with X.
- Bonds- You will meet many heroes throughout your journeys. The strength of your relationships with them will be shown through your bonds. Developing deeper bonds will enable you to interact more intimately. Bonds can be deepened through conversations and by performing tasks and fulfilling requests.
- Shui Jing Retreat- At the Shui Jing Retreat, you can check information about your relationships with officers as well as receive assistance with deepening your bonds.
- Mediation at Shui Jing Retreat- At the Shui Jing Retreat, you can sometimes request meditation. Pay the meditation fee to improve your Bond Lv. with other officers without complete training.
- Proficiency- Defeating enemies increases your Proficiency with the weapon you are using. You can learn new moves and Battle Arts as you become more proficient. Proficiency also acts as the foundation of your stats, as it will increase the Rank lv which in turn increases Health and Attack.
- Ranks- Every time your Proficiency increases, you will also gain a Rank Lv. Each Rank Lv. Gained increases your Health, Attack, and Defense.
- New Weapons- You will use various types of weapons. Your Proficiency with new weapon types will start low but increase relatively quickly. Raising your Proficiency also increases your Rank Lv. Try to use new types of weapons as much as possible to grow stronger more quickly.
- Skill Panels- Reaching new Ranks unlocks more skill panels. New skills can be learned by spending Skill Points. You can access the Esc menu at any time to check the skill panels.
- Skill Points- Performing well in battle will earn you Skill Points, which are used to acquire new skills.
- Training- You will sometimes be offered training from officers you meet on your journey. Completing the training will grant you Skill Points and deepen your relationship with the Officer who trains you. Details about the training you have undergone can be accessed from the Esc menu at any time.
- Stronger Horses- The horses you take into battle become stronger. This increases their speed and may unlock new traits.
- Accessories- Accessories can be equipped to increase various stats. You can select which to equip on the Equipment screen.
- Basic Controls (Events)- Control during events: Press Esc Display Button Guides / If button guides are displayed: Press Esc to Skip J to Show Logs / K to Toggle Automatic / Manual Dialogue Playback / R to Fast Forward.
- Testing Weapons- In the Test Weapon mode, enemies will appear endlessly, giving you plenty of targets for trying out your weapons, skills, and Battle Arts. You can end this mode by selecting Exit in the Esc menu. Be aware that you will not gain Proficiency or Skill Points, nor can you make any progress toward achieving Training goals in this mode.
- Difficulty- Choose a difficulty level that suits you. The difficulty level does not affect the story in any way and can also be changed after starting the game. Historian, for those who wish to enjoy the story. Action sequences are smooth and entertaining. Wayfarer, for those seeking adventure and achievement. Combat will be reasonably challenging. Hero, for those who dare to test their limits. Arduous battle awaits.
- Historian Difficulty- The Historian difficulty is for those who wish to enjoy the story. The action is easier to manage due to the following features. Any attack, including those with glowing indicators, can be blocked. Press F for Strong attacks and Battle Arts stagger the enemy. It is easier to gain Bravery and fill the Musou Gauge. Some enemy attacks will not stagger you.
- Hero Difficulty- The Hero difficulty level is designed for those who are confident in their action game skills. Players will experience challenging battles with the following elements:
- Enemies are more aggressive and have more powerful attacks.
- Blocking enemy attacks depletes Bravery.
- Enemies attack simultaneously more often.
- Skill Points and gold earned in battle are slightly increased.
- The timing for parries and perfect evades must be more precise.
- Battles between armies are decided more quickly.
- Enemies do not drop meat buns.
- Chapter 3 Progress- In Chapter 3, you must decide which hero is most capable of ruling this war-torn realm and join their side.
Enemy Tactics in Dynasty Warriors: Origins
Enemy tactics serve as a critical challenge that players must contend with during battles. These tactics represent strategic maneuvers and actions taken by opposing forces to outmaneuver. Enemy forces will employ tactics such as flanking maneuvers, and ambushes, and inflict significant damage. Enemies can amass large forces to execute powerful coordinated attacks just like your own side’s Grand Tactics. They can even react to your tactics by using countermeasures like defending key positions. Enemies also use unique tactics or skills that can tip the scales of a battle. Identifying these threats early is essential for maintaining control.
FAQs About Dynasty Warriors: Origins Beginner Guide
Can you choose Difficulty in Dynasty Warriors: Origins?
Yes, you can choose from three available options for difficulty in Dynasty Warriors: Origin. You can choose Historian (easy), Wayfarer (normal), and Hero (hard) depending upon your style if you like story or a challenge.
Is there a True Ending in Dynasty Warriors: Origins?
You will need to complete the main story for Dynasty Warriors: Origins Shu’s Story in order to get True ending for the game. Completing one ending for the game will take you about 20 hours.
Looking For More?
Thank you for reading the Dynasty Warriors: Origins Beginner Guide. We provide the latest news and create guides for Baldur’s Gate 3, Starfield, ARK Survival Ascended, and more. Also, watch Deltia play games on Twitch or visit his YouTube channel!