The following guide explores the best Helena build in Fellowship, including the most important abilities and core mechanics.
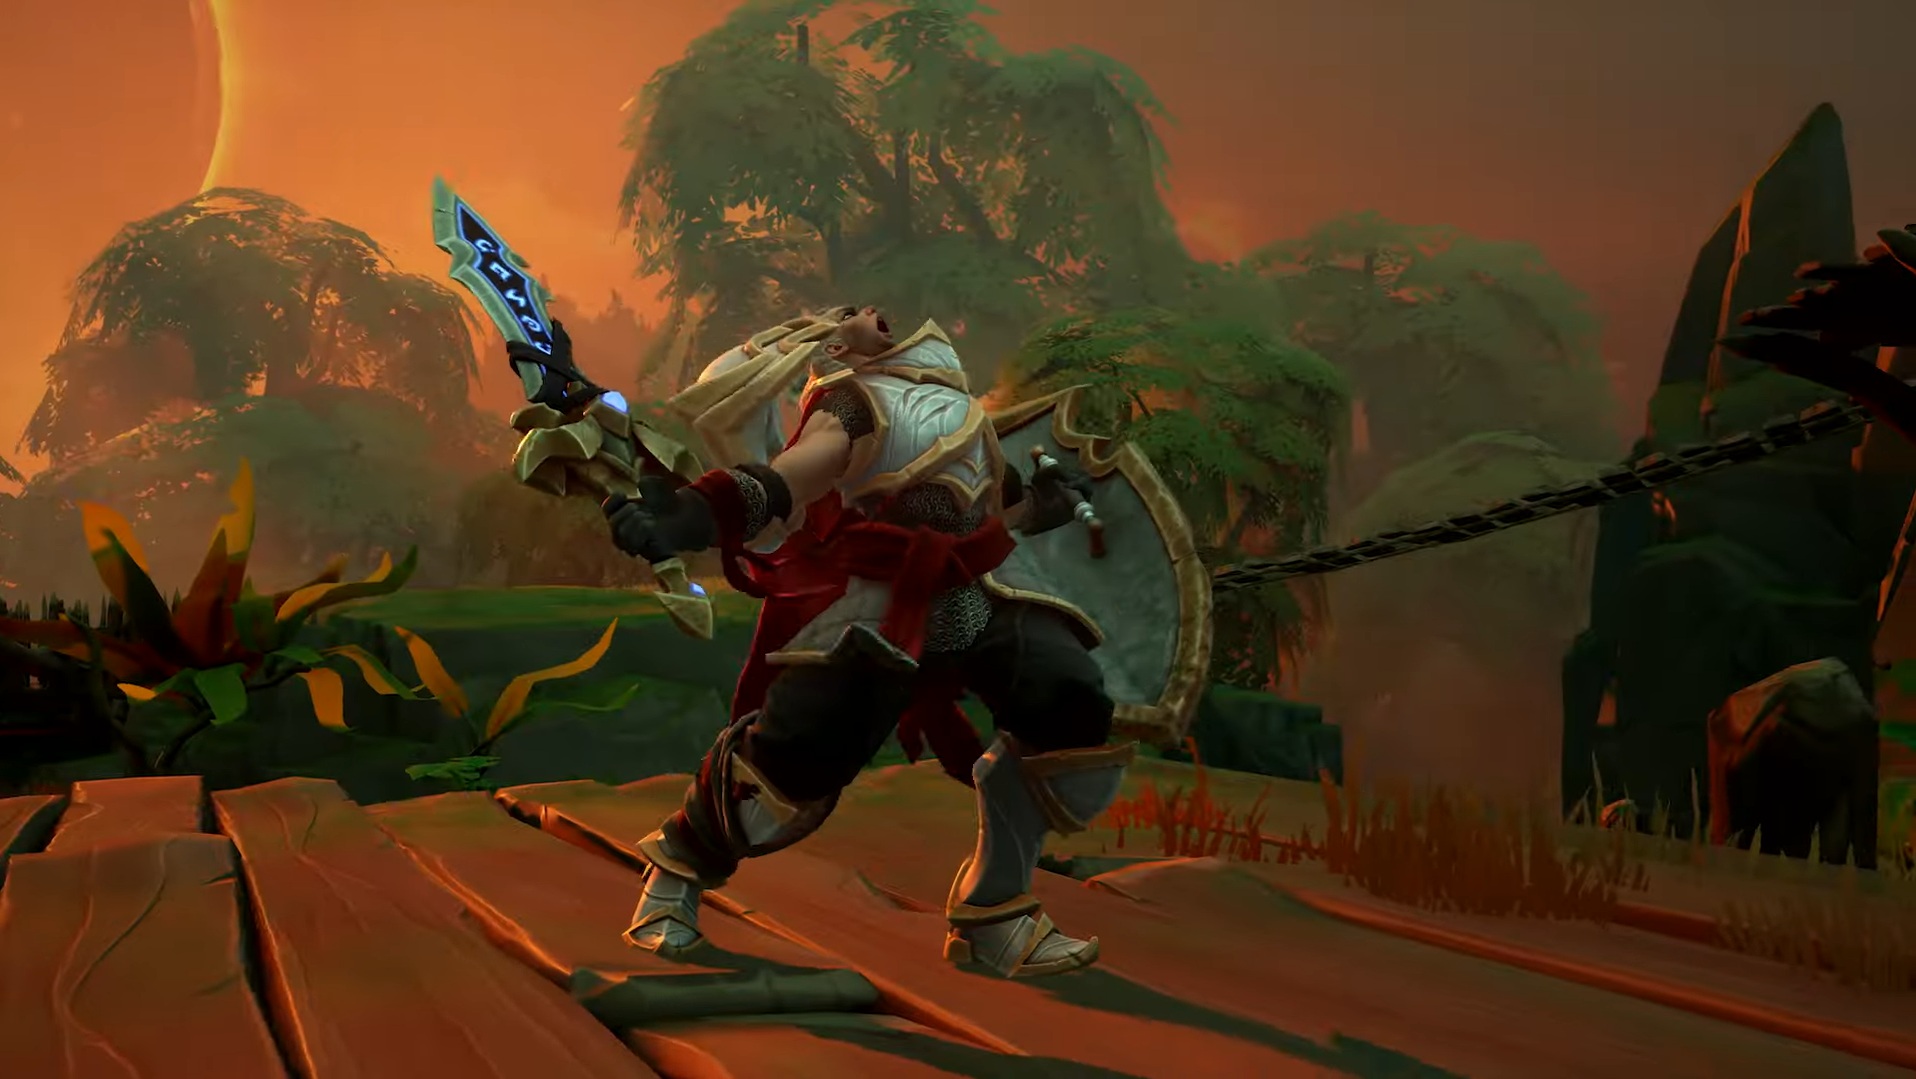
The best Helena build in Fellowship will help you mitigate threats while managing crowds effectively. Helena is a Tank armed with a sword and shield. If you can play her well, she’ll provide damage mitigation for the entire team, while dealing enough damage to thin the enemy herds. In the following guide, we’ll explore just how you can play Helena, leveraging her abilities, skills, and core mechanic to provide the best support to your team.
Best Helena Build in Fellowship: Overview
If you’ve played MMOs before, you shouldn’t have any trouble understanding what Helena does. She has high defense stats and skills, which allow her to draw the fire away from the more vulnerable team members. So, you’ll often run headfirst into mobs and at bosses to generate the toughness and fill up the bar. This defense bar represents just how much damage mitigation Helena can offer. Cycle through your ability cooldowns while the mitigation builds.
This playstyle helps to keep the foes glued to Helena, giving more opportunity to DPS team members to unleash high damage attacks without putting them in the line of danger.
Core Mechanics
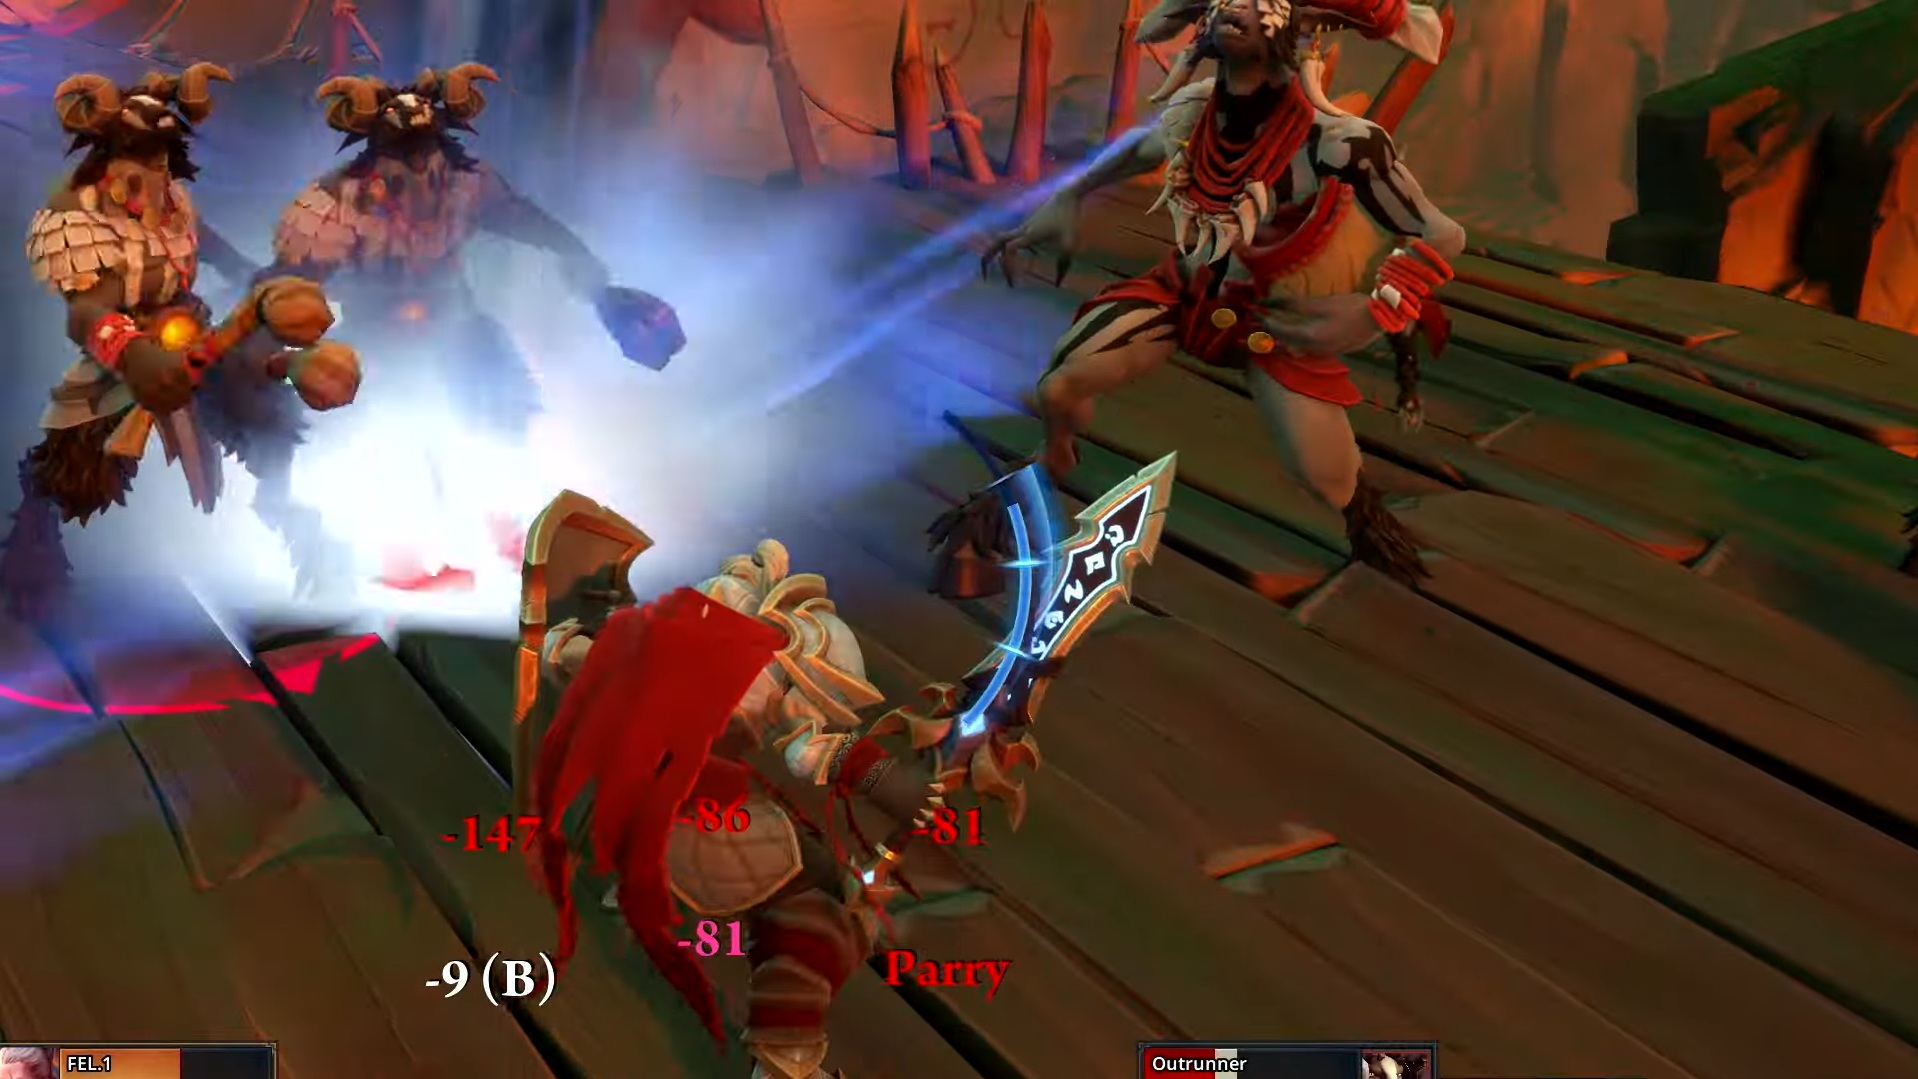
Helena’s mitigation relies on her building up the defensive bar with toughness. For that, you’ll need to use Shields Up to generate shields and improve your damage reduction. When enemies pile on the attack, Shield Block offers even more protection. Alongside that, you’ll need to spam Shield Slam from time to time for toughness generation. It acts as both an offensive and a defensive maneuver.
However, your primary focus should be on maintaining a high enough level of her defensive bar to maximize mitigation and block chances. It’s also important to note that many of Helena’s core attacks will trigger the Veteran of War mechanic, which reduces her defensive ability cooldowns.
Key Abilities
At the beginning of the battle, Shield Throw and Charge abilities are crucial. The former ability causes your shield to bounce off multiple targets and pull them into range. Once that happens and a swarm of foes target Helena, use the Shields Up, Shield Block, and Shield Slam combo to effectively build up the defensive bar.
While you’re doing that, you will notice stragglers losing focus and trying to target other team members. When that happens, quickly use Taunt to get them to shift their focus back on you. However, make sure you keep managing the primary enemy swarm while trying to recapture the attention of stragglers.
After the first group of enemies swarms toward you, you can use the Shield Throw to pull in the other nearby groups. Make sure to recenter them once you’ve grabbed their attention. This will enable you to effectively unleash the cleave attacks.
Important Abilities Against Single Targets
The best Helena build focuses on cooldown-driven rotations. Here’s how you can do that when focusing your attention on single targets, such as elite enemies or bosses:
- Start with Shield Slam to cause damage, while also generating significant toughness for your defensive bar.
- Follow that up with Power Strike, which deals heavy damage to the target. Besides the damage output, the ability also shaves down some of the cooldown time for Shield Slam.
- Meanwhile, if you see Helena’s toughness falling, make sure you use Shields Up. Not only does this ability give her 60% toughness immediately, but it also improves her block chance for 12 seconds.
- Iron Wall is another ability you should use whenever possible, especially against bosses or tougher enemies. It prevents toughness from dropping for 12 seconds. Make sure you use it when Helena’s defensive bar is at a high enough point.
Important AoE Abilities
Here’s how you can proceed when taking on larger mobs with Helena:
- Once again, begin with Shield Slam to gain the attention of the mob, do some AoE damage, and get the toughness meter going.
- Next, you need to use Measured Strike to deal damage to a target foe and others nearby.
- After the mob falls in around you, you need to cast Shockwave for some heavy AoE damage. The ability also slows down enemies for 5 seconds. Shockwave has a long cooldown of 30 seconds. However, you can shorten this window by using Shield Slam again.
So, for multiple enemies, the tactic is to start with Shield Slam, followed by Measured Strike, then Shockwave. Repeat the cycle again, making sure to keep Shield Slam on constant cooldown to fuel shorter Shockwave cooldowns.
Also Read: Fellowship: Best Tariq Build Guide
Key Stats
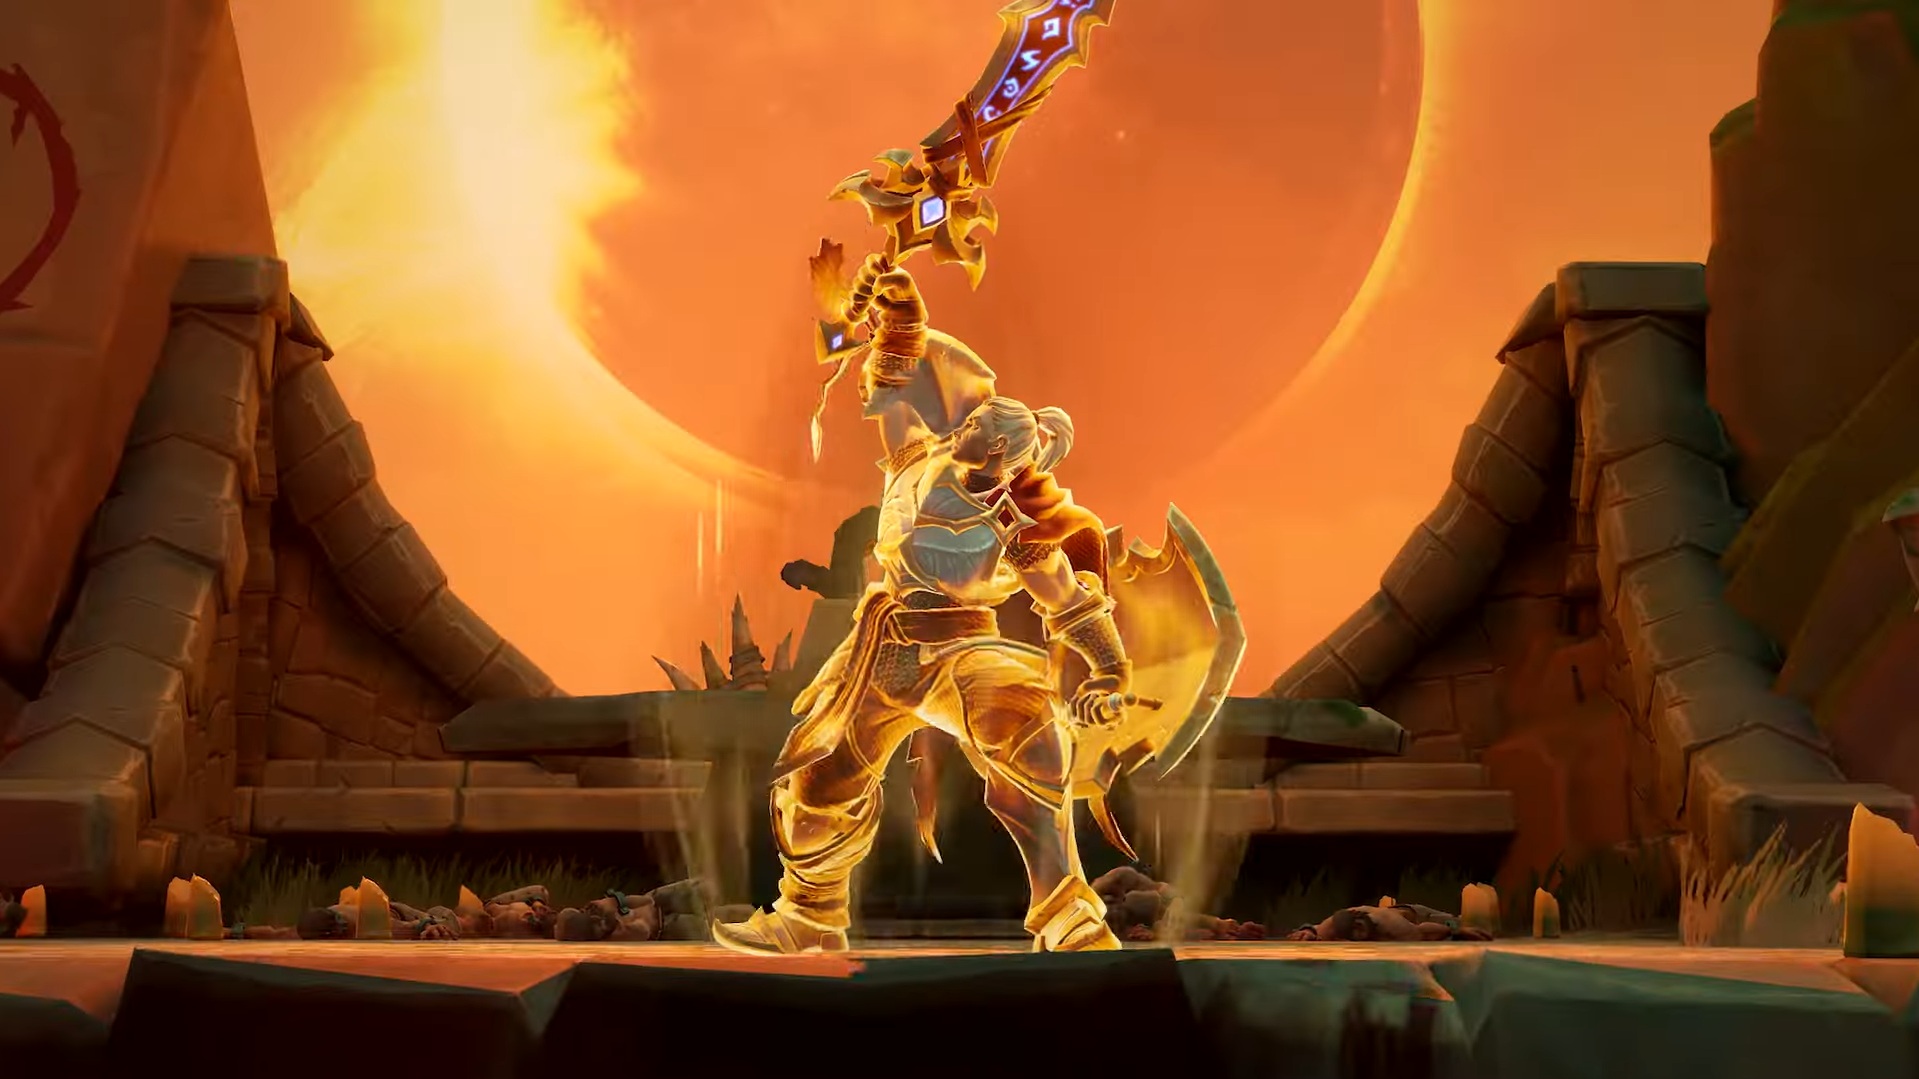
We suggest focusing primarily on the Spirit stat because it’s tied directly to Helena’s ultimate, Siegebreaker. This ability doubles the cooldown reduction effect you get from the Veteran of War mechanic for 20 seconds. At the same time, Siegebreaker improves damage reduction and increases the amount of damage you deal using Shield Slam, Shield Throw, and Shockwave skills. So, you not only get reduced cooldowns on all your abilities, but you’ll also be able to mitigate more incoming damage.
Haste is a secondary stat that you can focus on with this Helena build. A high enough Haste will help minimize cooldowns on all abilities, including Shields Up. Besides that, it makes the Veteran of War mechanic even more impactful and efficient.
Playstyle Tips
Keep the following tips in mind while playing the best Helena build in Fellowship:
- Make sure your toughness never drops below the 40% mark. A great way of doing this is to constantly keep Shields Up in cooldown.
- Between Shields Up cooldowns, you can also rely on Shield Slam for some toughness gain and additional AoE damage.
- If both Shields Up and Shield Slam aren’t available at the moment, use Iron Wall to prevent your toughness from dropping for some time.
- Siegebreaker is your ultimate with a long cooldown. Make sure you save it for phases where you need to deal heavy damage.
- We recommend keeping your toughness above the 75% mark to maximize damage mitigation.
Also Read: Fellowship: Best Ardeos Build Guide
Thank you for reading the article. We provide the latest news and create guides for new and old titles, including Death Stranding 2, Baldur’s Gate 3, Roblox, Destiny 2, and more.
 Reddit
 Email
Email
