Facebook
 Reddit
 Email
Email
Explore the Snackbar Anthill in Grounded 2 to find missing Omninent employees and unearth valuable treasures for the missions ahead.
‘Investigate Snackbar Anthill’ is one of the early-game missions in Grounded 2. It involves searching for missing Omninent employees and finding valuable resources to aid you in the journey ahead. The mission takes you to the “Hatchery Anthill: Southern Entrance” location on the southwest side of the map. Travel northwest of the starting area to reach it quickly. Be sure to bring a torch to light up the dark passageways under the anthill.
Grounded 2: Investigate Snackbar Anthill Guide
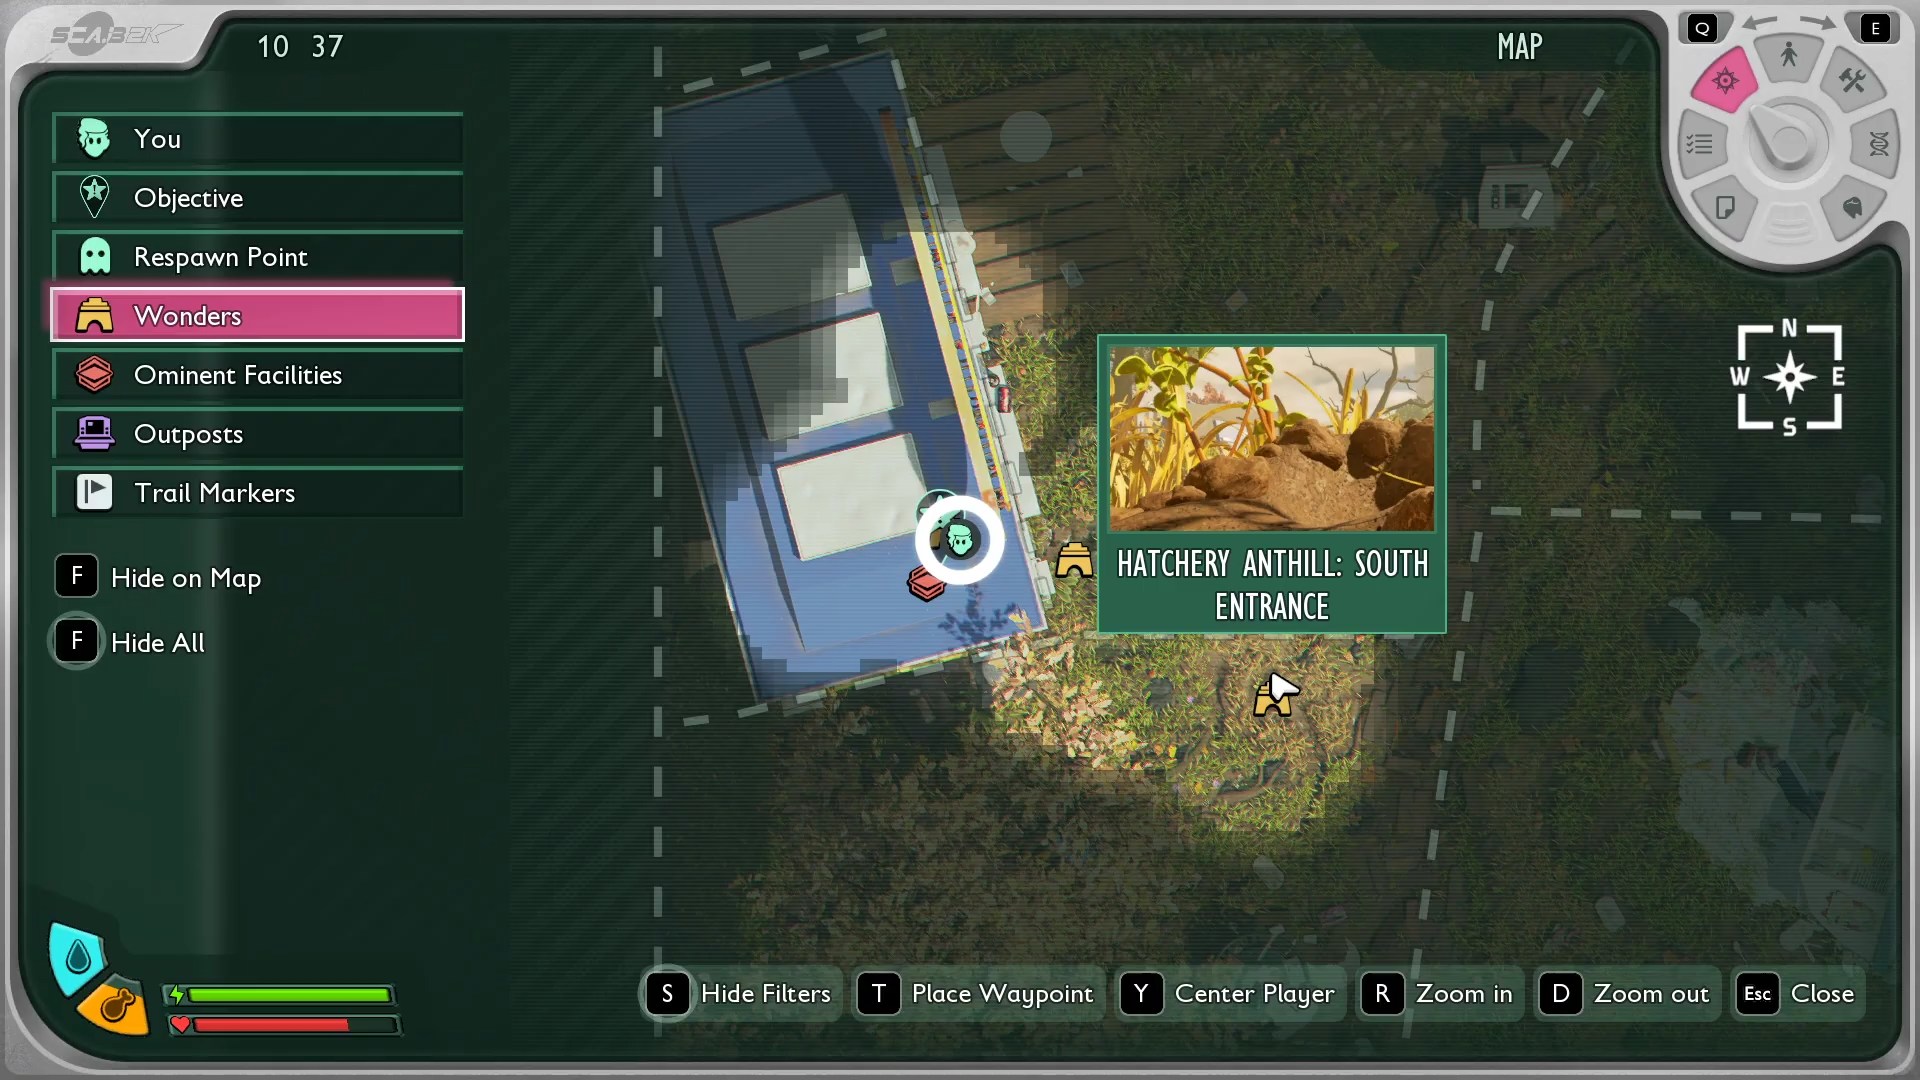
Head underground through the “Hatchery Anthill: Southern Entrance.” Equip a torch in your Weak Hand slot to light the way through the dark network of tunnels. Soon, you will come upon forking paths. The left fork is ultimately blocked by dead root, which cannot be cleared yet.
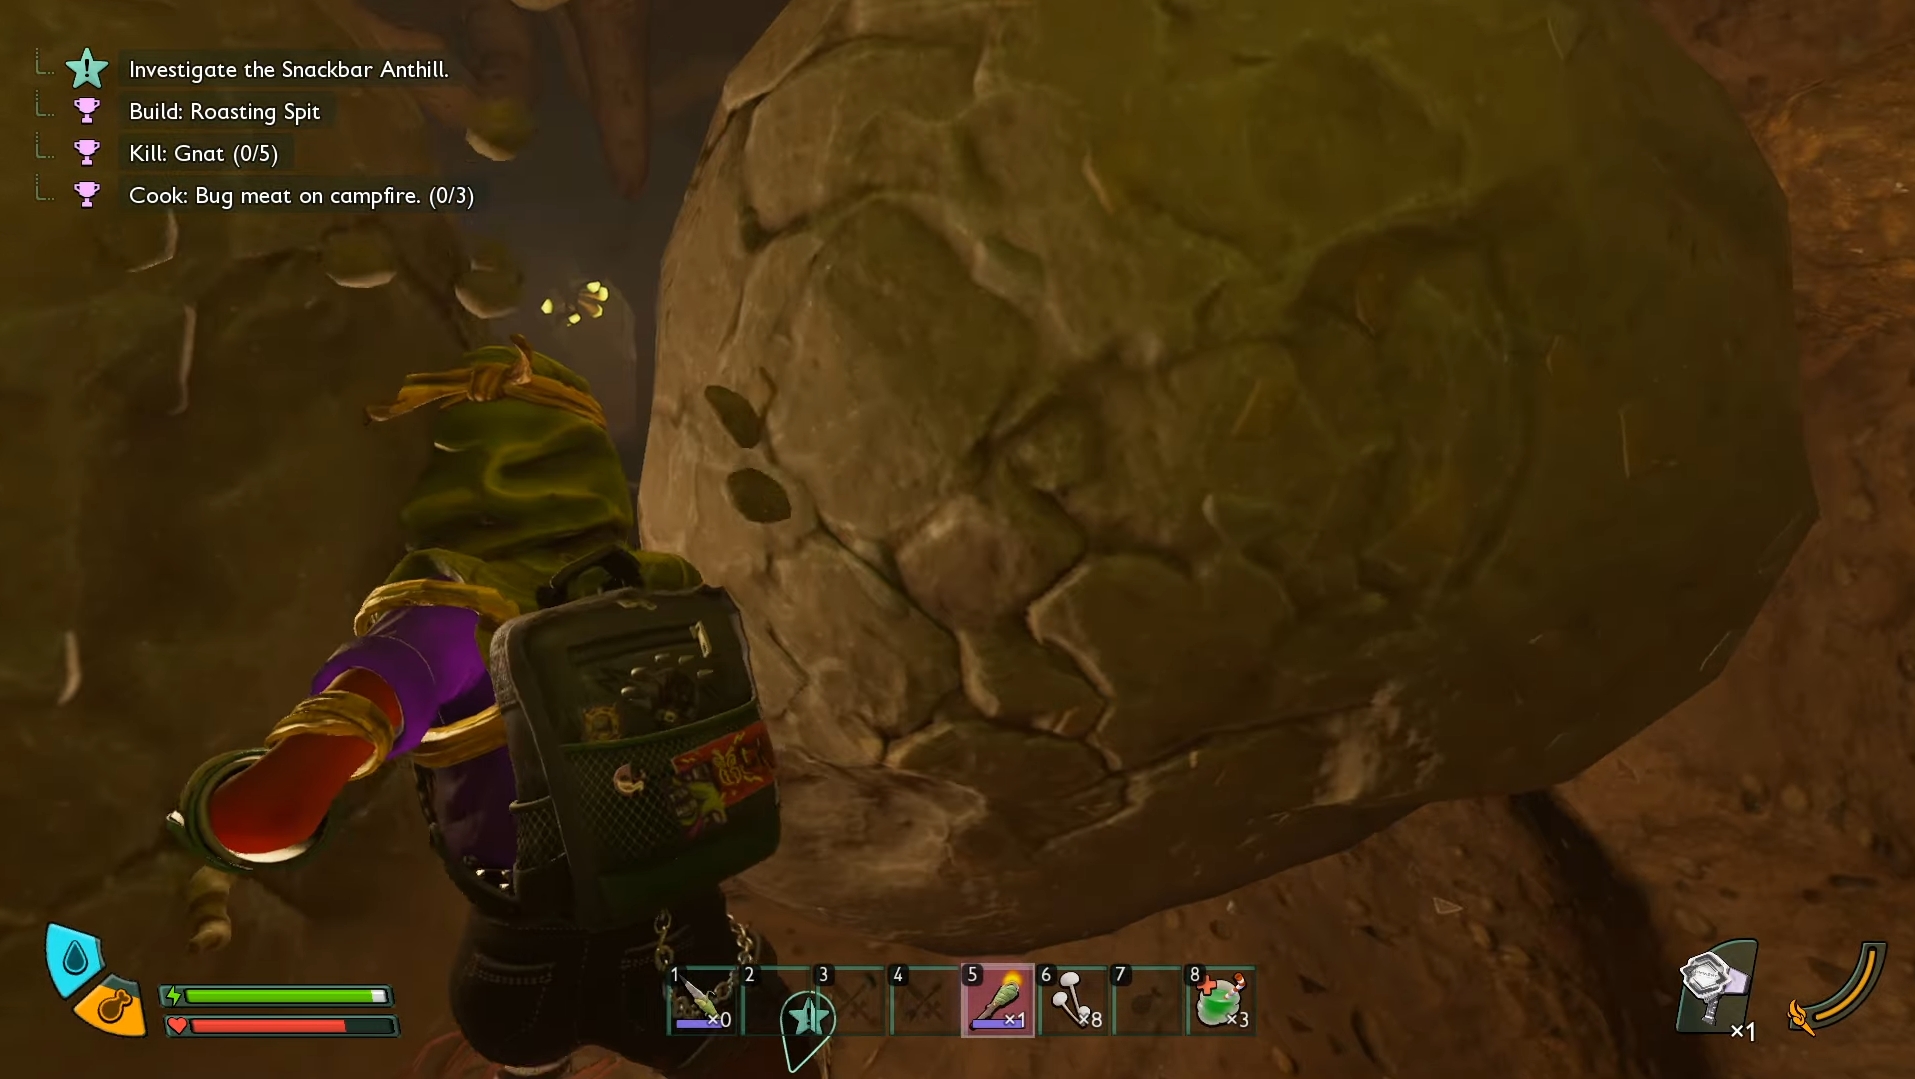
Take the right fork and continue into the tunnel until you find the path ahead blocked by two pebbles. Draw your Omni-tool and attack the pebbles until they crumble.
Also Read: Grounded 2: How Long Is the Campaign in Early Access?
In the next chamber, you will encounter a red soldier ant. Fight the ant head-on with your weapon to defeat it. If you’re struggling with the ant, try crafting a workbench and upgrading your gear beyond the starting Pebblet Spear. Alternatively, you can reduce the game’s difficulty in the settings. After defeating it, loot the red ant for valuable crafting materials, which can be used to craft the Crimson Spear.
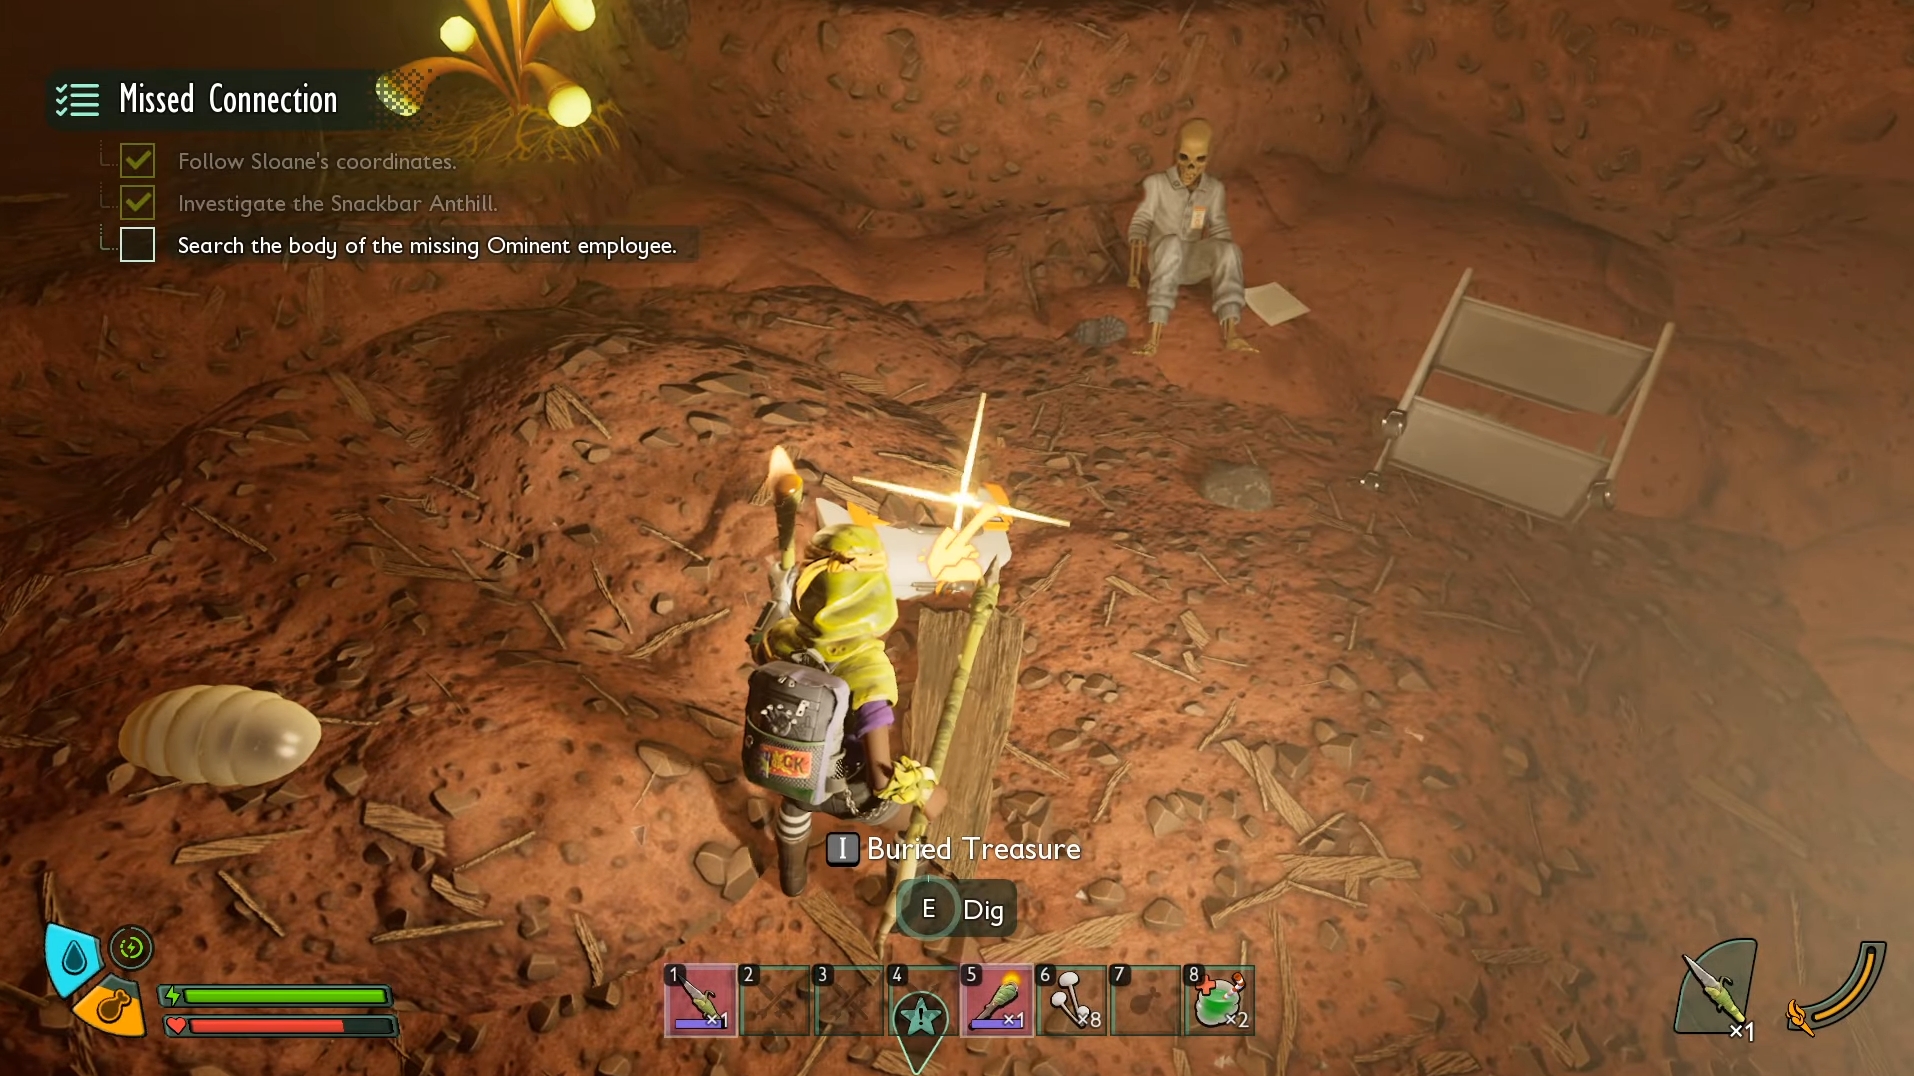
Continuing ahead, you will find a corpse and buried treasure. Interact with the buried treasure to find the ‘Snackbar TURBO Optical Disk’ and ‘Myrmecologist Token.’ Rummage through the body of the Omninent employee to find a new Omni-tool shovel upgrade and the ‘Subterranean Refuge’ cassette tape.
Also Read: Grounded 2: Do You Need To Play Grounded 1 First?
Additional Resources
Before leaving the area, remember to collect the valuable resources around it. There are Red Ant Eggs in front of and to the left of the treasure. There is also a clay deposit that can be mined for additional resources.
Using the Red Ant Eggs and Turbo Optical Disk, you can craft your first mount, the Red Ant Buggy. However, to craft the mount, you’ll also need to collect Weed Stems and gain access to the Hatchery. Once you have the mount, you can return to the Snackbar Anthill and use it to chomp through the dead root on the left fork to find some raw science.
Thank you for reading the article. We provide the latest news and create guides for new and old titles, including Death Stranding 2, Baldur’s Gate 3, Roblox, Destiny 2, and more.