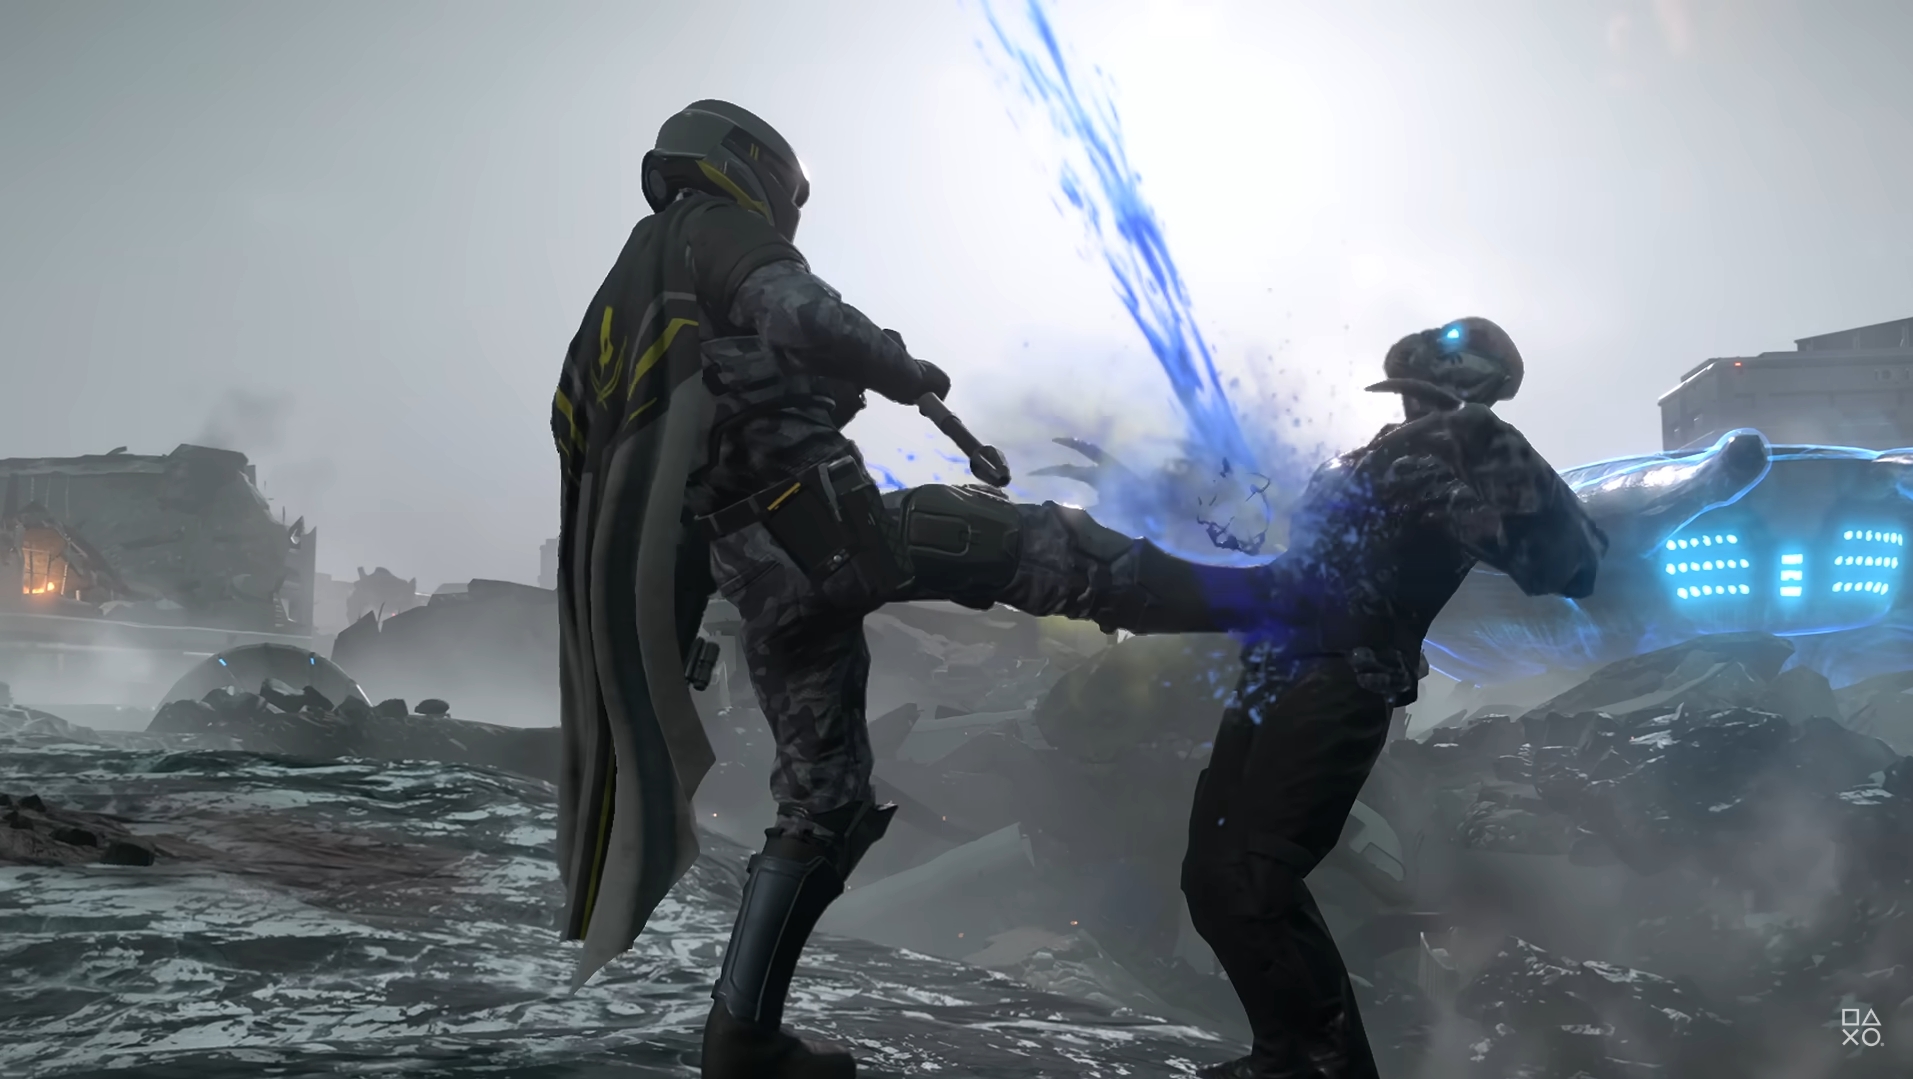
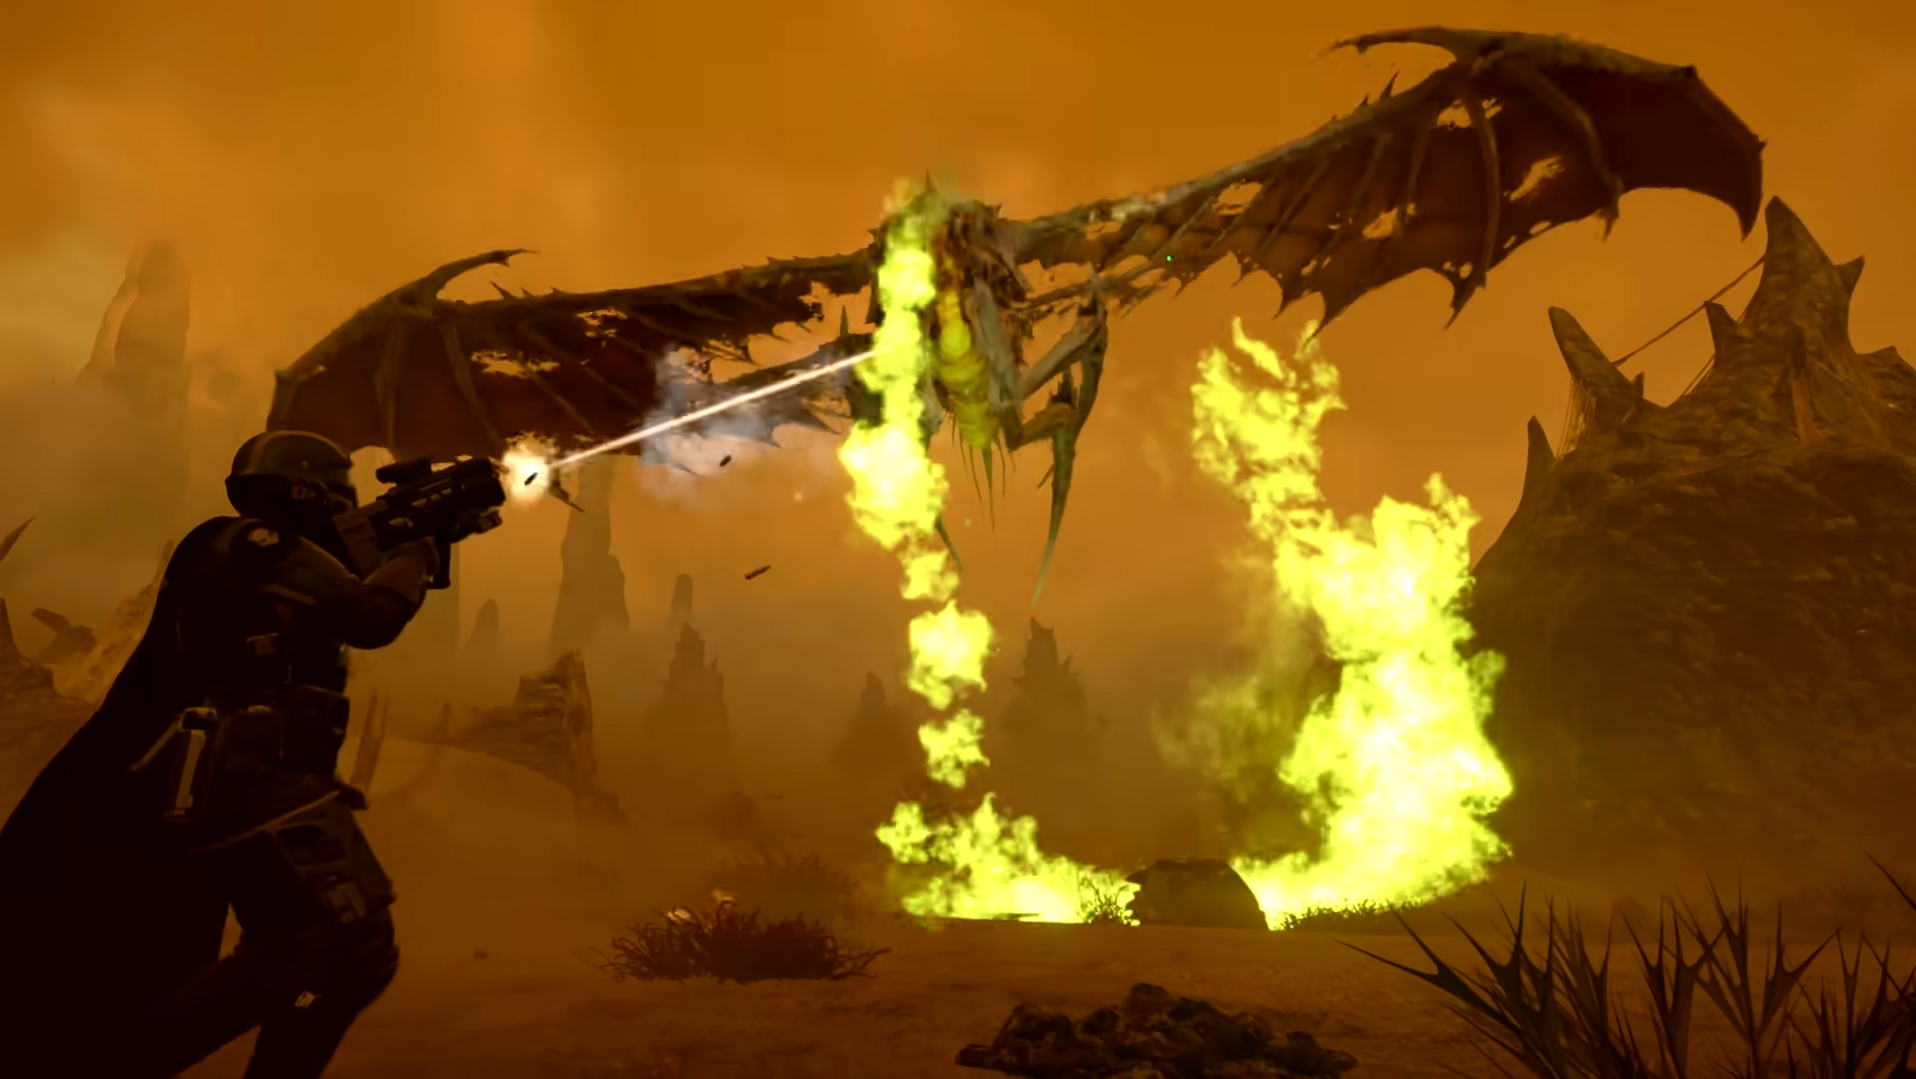
Reference our anti-Terminid build and loadout to eradicate the bugs in Helldivers 2 missions regardless of the difficulty.
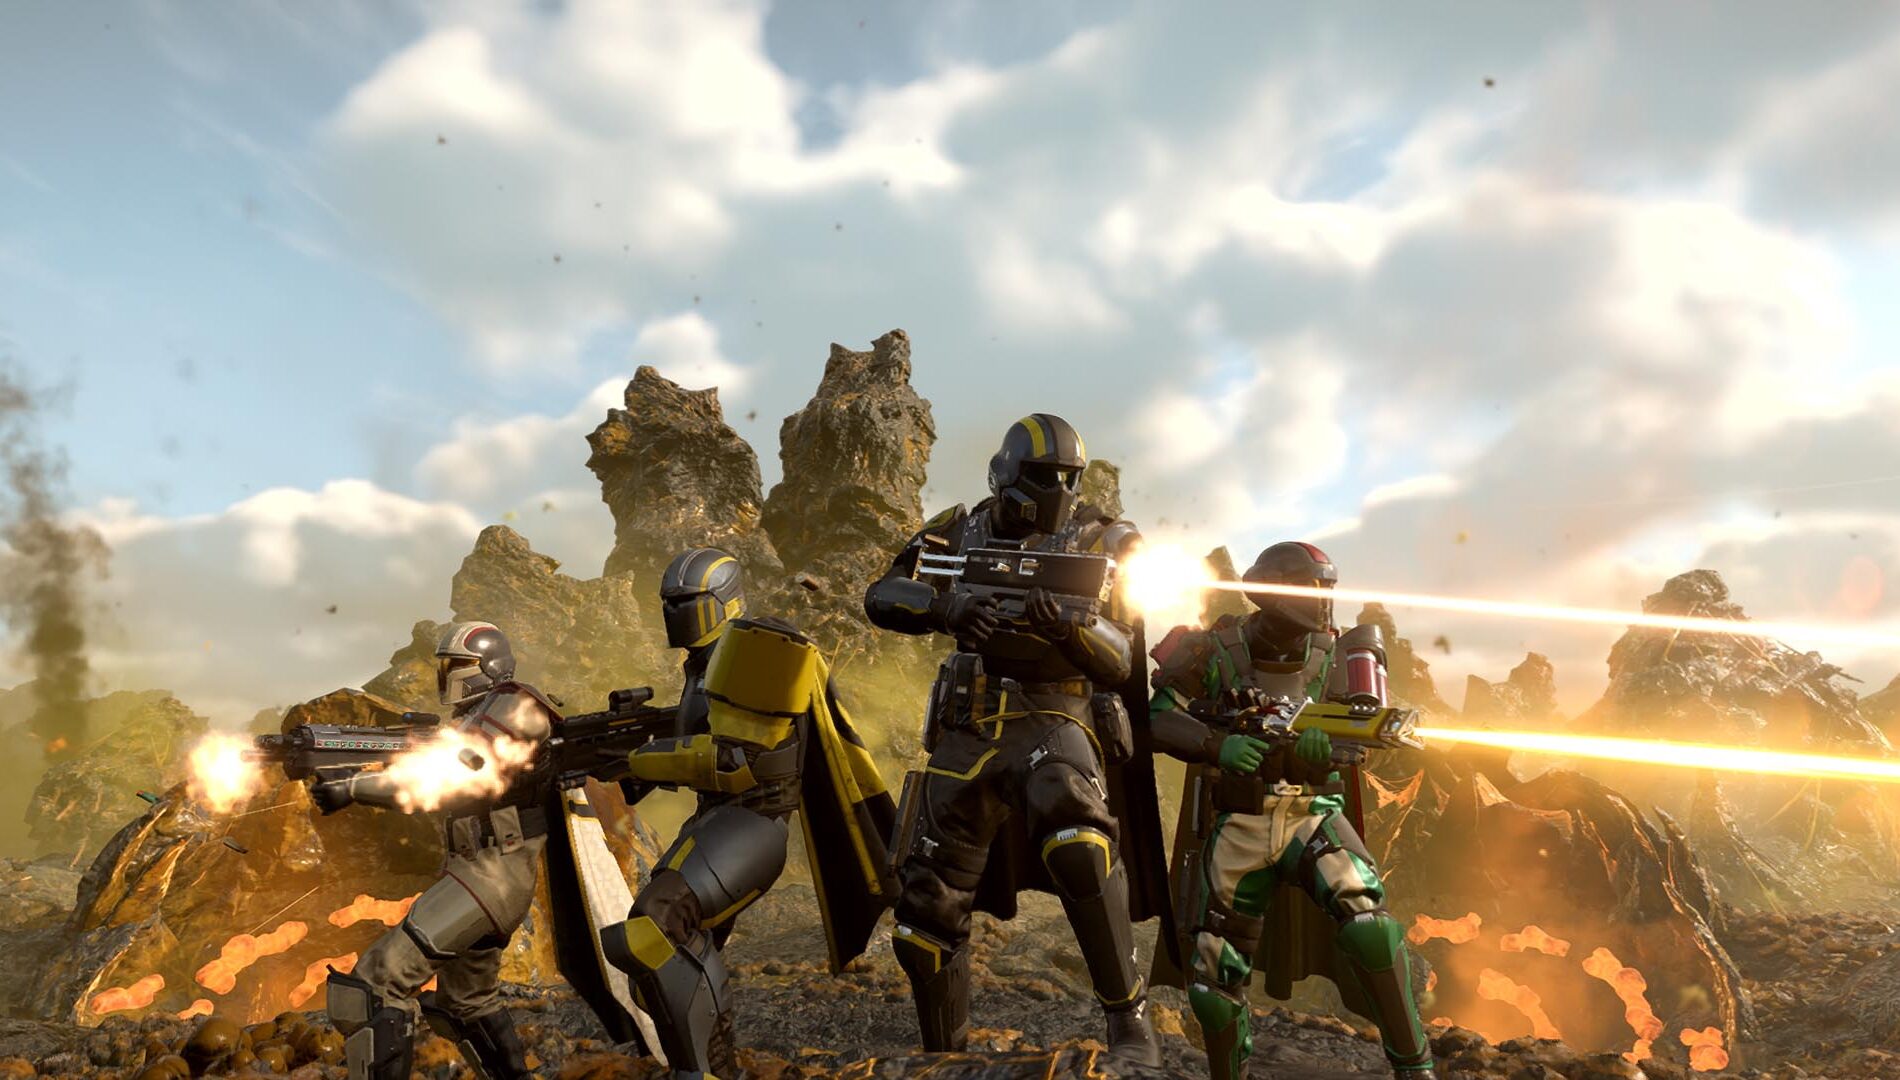
The Terminids are foes with a one-track mind, relentlessly advancing against Managed Democracy, seeking to devour all. However, the illustrious Helldivers possess all the weapons, stratagems, and expendable manpower they could ever ask for to liberate the galaxy from this alien menace. Learn about our Helldivers 2 build refined to eradicate Terminids with extreme prejudice.
Helldivers 2: Terminid Build Guide
Recommended Weapons
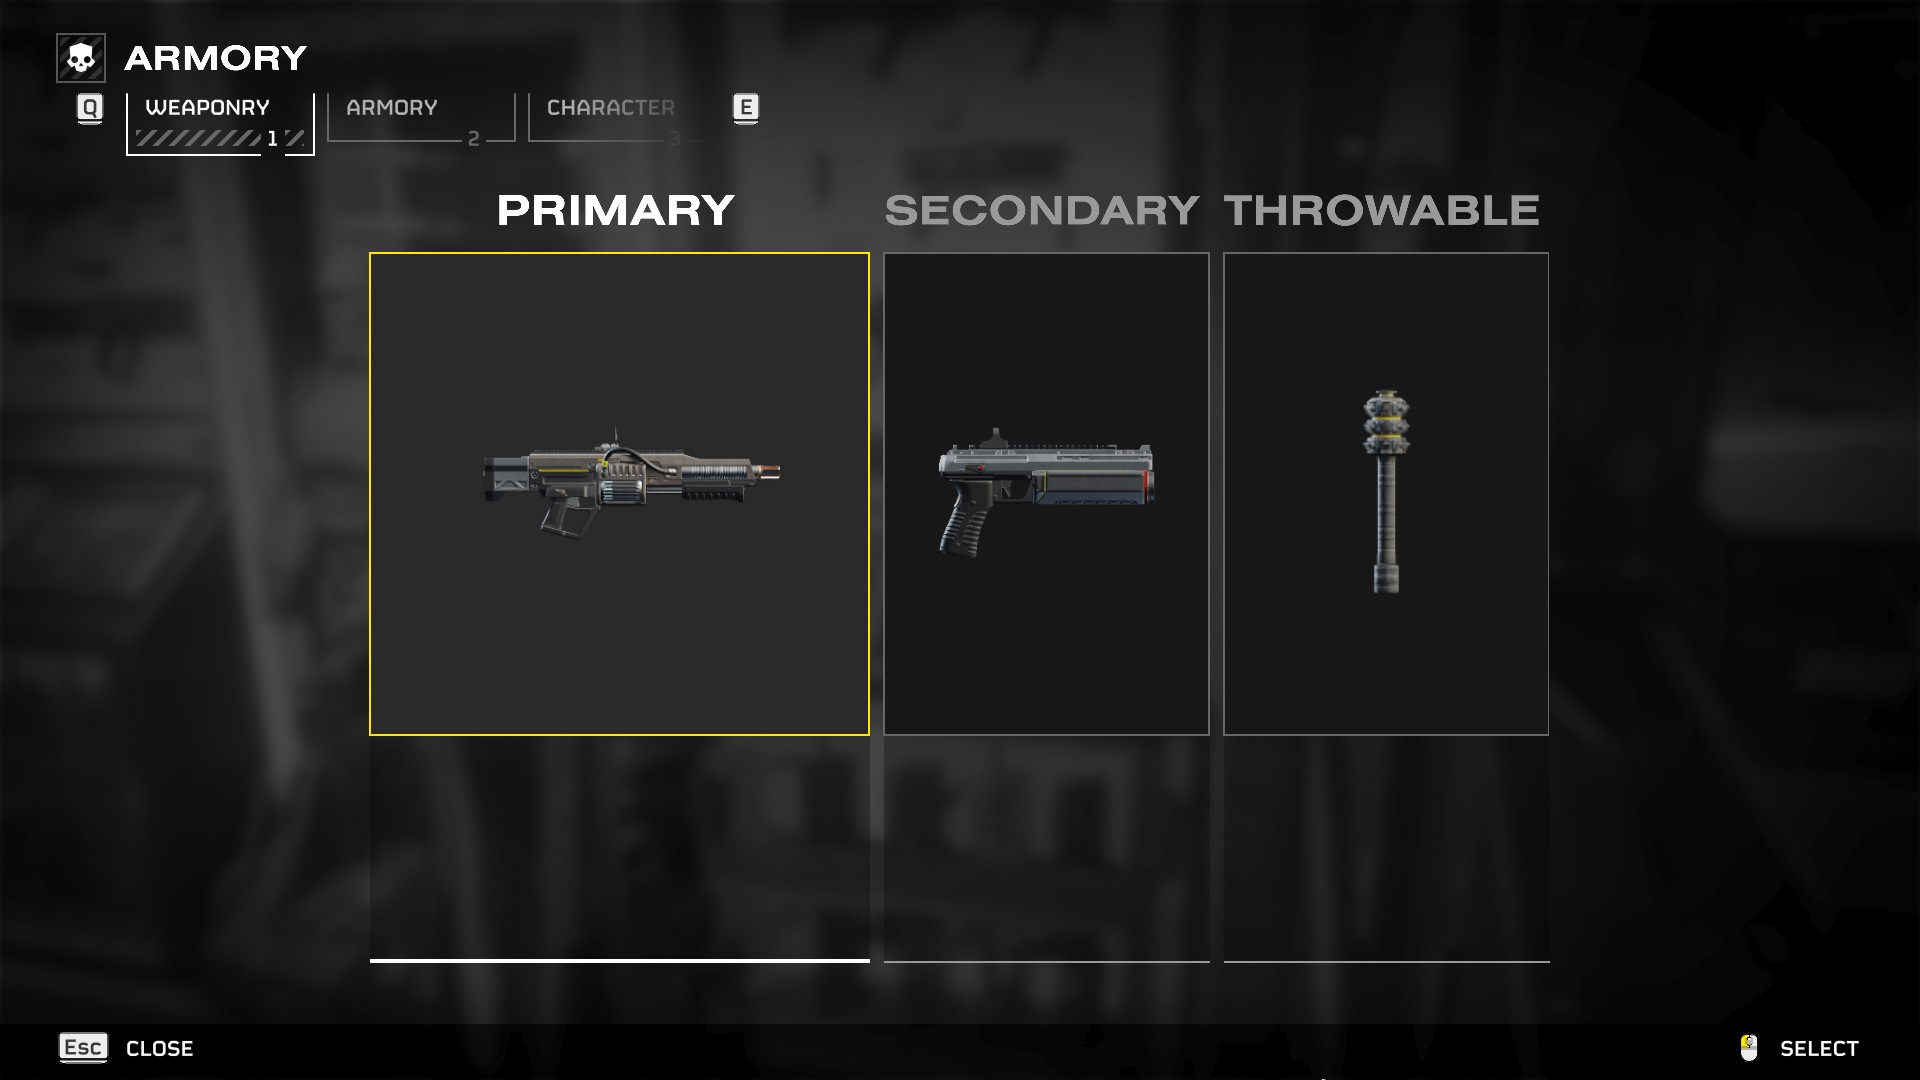
| Type | Loadout 1 | Loadout 2 | Loadout 3 |
|---|---|---|---|
| Primary | Blitzer | Breaker Incendiary | Sickle/Double-Edge Sickle |
| Secondary | Grenade Pistol / Ultimatum | Senator/P-92 Warrant | Senator/P-92 Warrant |
| Throwable | Thermite | Thermite | Impact / Gas |
Loadout 1
The Blitzer is the best primary weapon against the Terminids. It kills everything lighter than Chargers with medium armor penetration, hits multiple targets, doesn’t need to reload, has infinite ammo, and stuns. However, you’ll have to be careful not to hit teammates with its cone of fire.
Thermite grenades make up for the lack of heavy armor penetration, as they can kill Charges with a single grenade. The Grenade Pistol is primarily for closing bug holes and can be replaced with the Ultimatum to obliterate a grouped-up swarm.
Loadout 2
The Breaker Incendiary is ideal for quickly dealing with smaller bugs, wiping out entire swarms with a few spread-out shots as it sets them all on fire. Its main weakness is Stalkers and Bile Sewers, which you will need to dispatch with headshots from the Senator or P-92 Warrant.
Loadout 3
The Sickle or Double-Edge Sickle sets bugs on fire, allowing you to easily dispatch small to medium-sized targets. However, it does not deal burst damage or stun like the Blitzer, which leaves you vulnerable to Stalkers in particular. You’ll have to rely on the Senator or P-92 Warrant to kill them quickly if they close in.
Also Read: Helldivers 2: Best Eagle Build and Loadout
Recommended Strategems
Solo
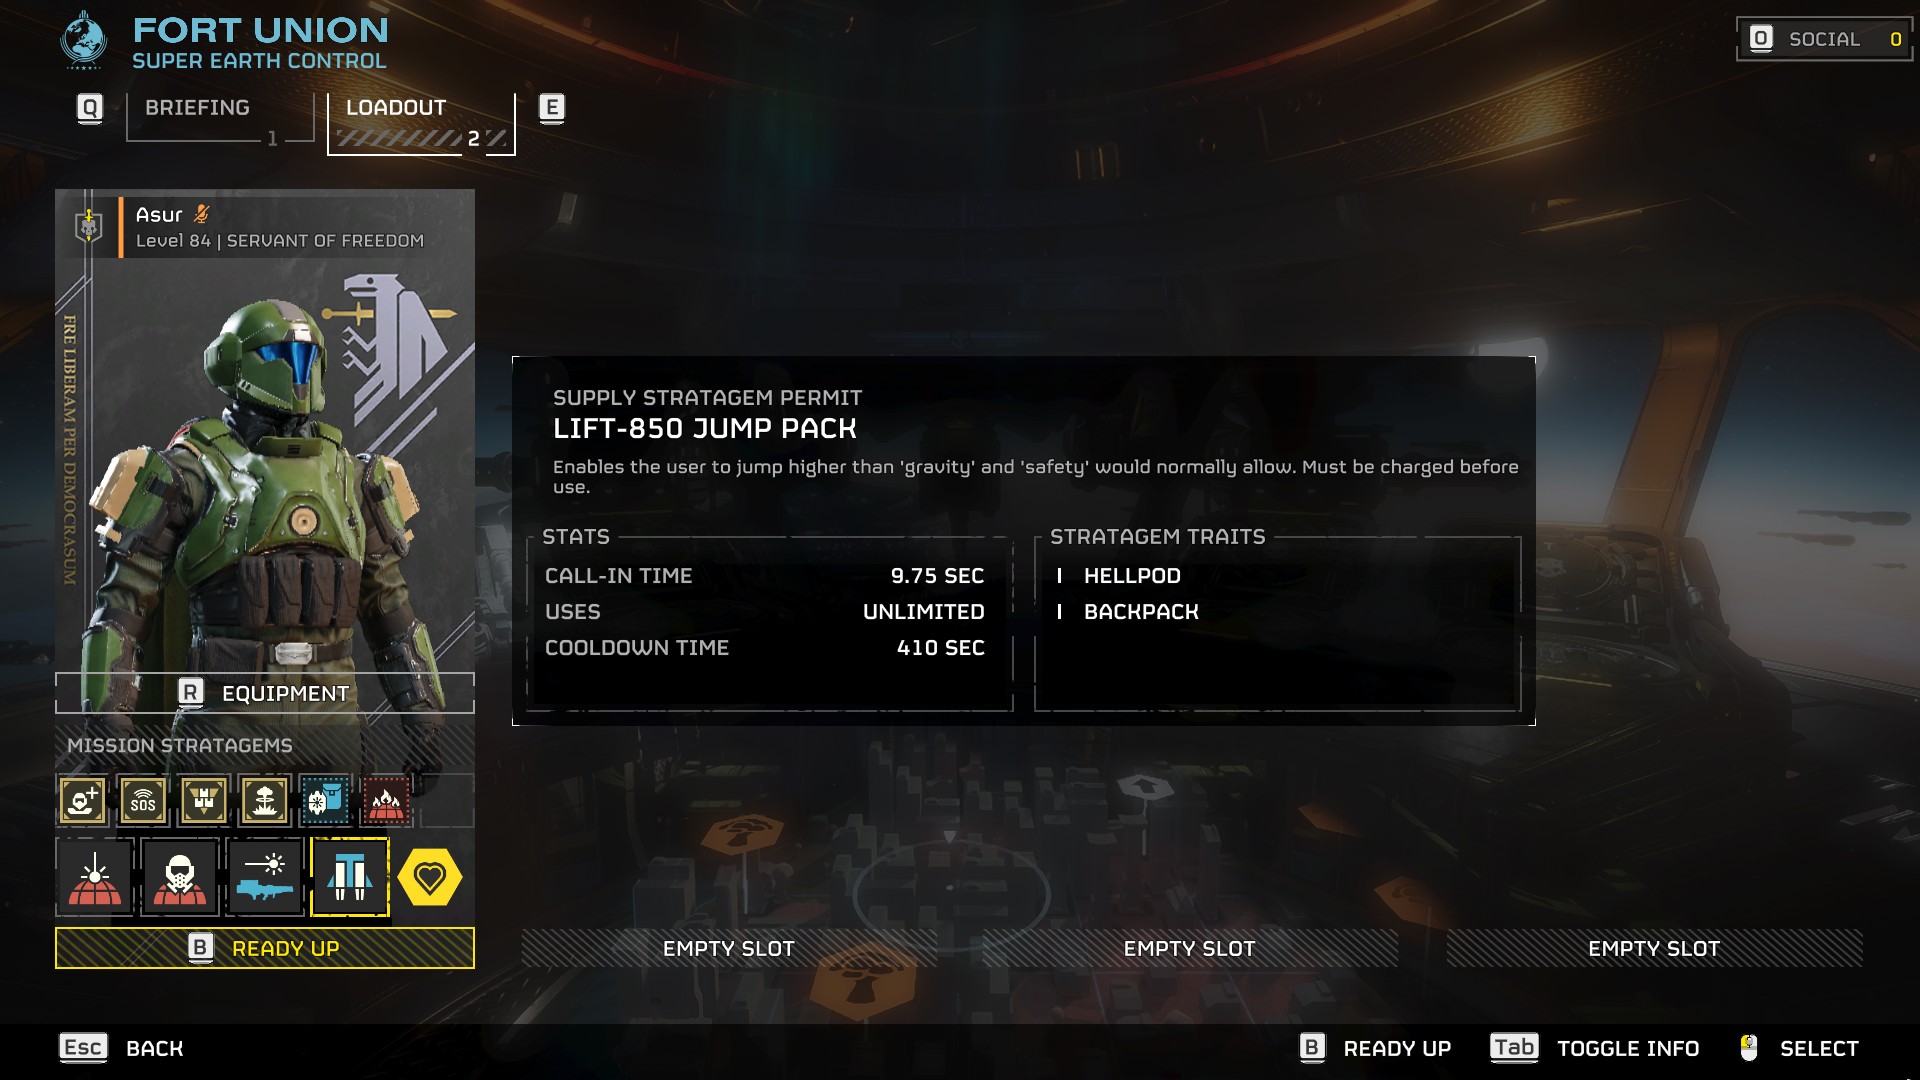
- Orbital Laser
- Cooldown: 257s
- Orbital Gas Strike
- Cooldown: 64s
- Quasar Cannon
- Cooldown: 410s
- Jump Pack / Hover Pack
- Cooldown: 410s
The Orbital Laser is your panic button when there are too many bugs to deal with or you need to take out a large nest. However, you can only use it thrice in one mission.
The Orbital Gas Strike, on the other hand, is your spammable ability, as it will be off cooldown nearly every minute. The best use of the Orbital Gas Strike is to throw it at a bug breach or in choke points to kill off most Terminids passing through it.
The Jump Pack or Hover Pack is almost broken against the Terminids, as you can reach high ground on rocks or buildings where most bugs can’t reach you. It is invaluable in solo play to quickly reach objectives and wrap up the mission in time despite being on your own.
You’ll have little breathing room to rearm yourself with Expendable Anti-Tank call downs constantly in solo play, which is where the Quasar Cannon shines. It can one-shot Chargers and take down Bile Titans after a few headshots.
Also Read: Helldivers 2: Best Support Builds and Loadouts
Multiplayer
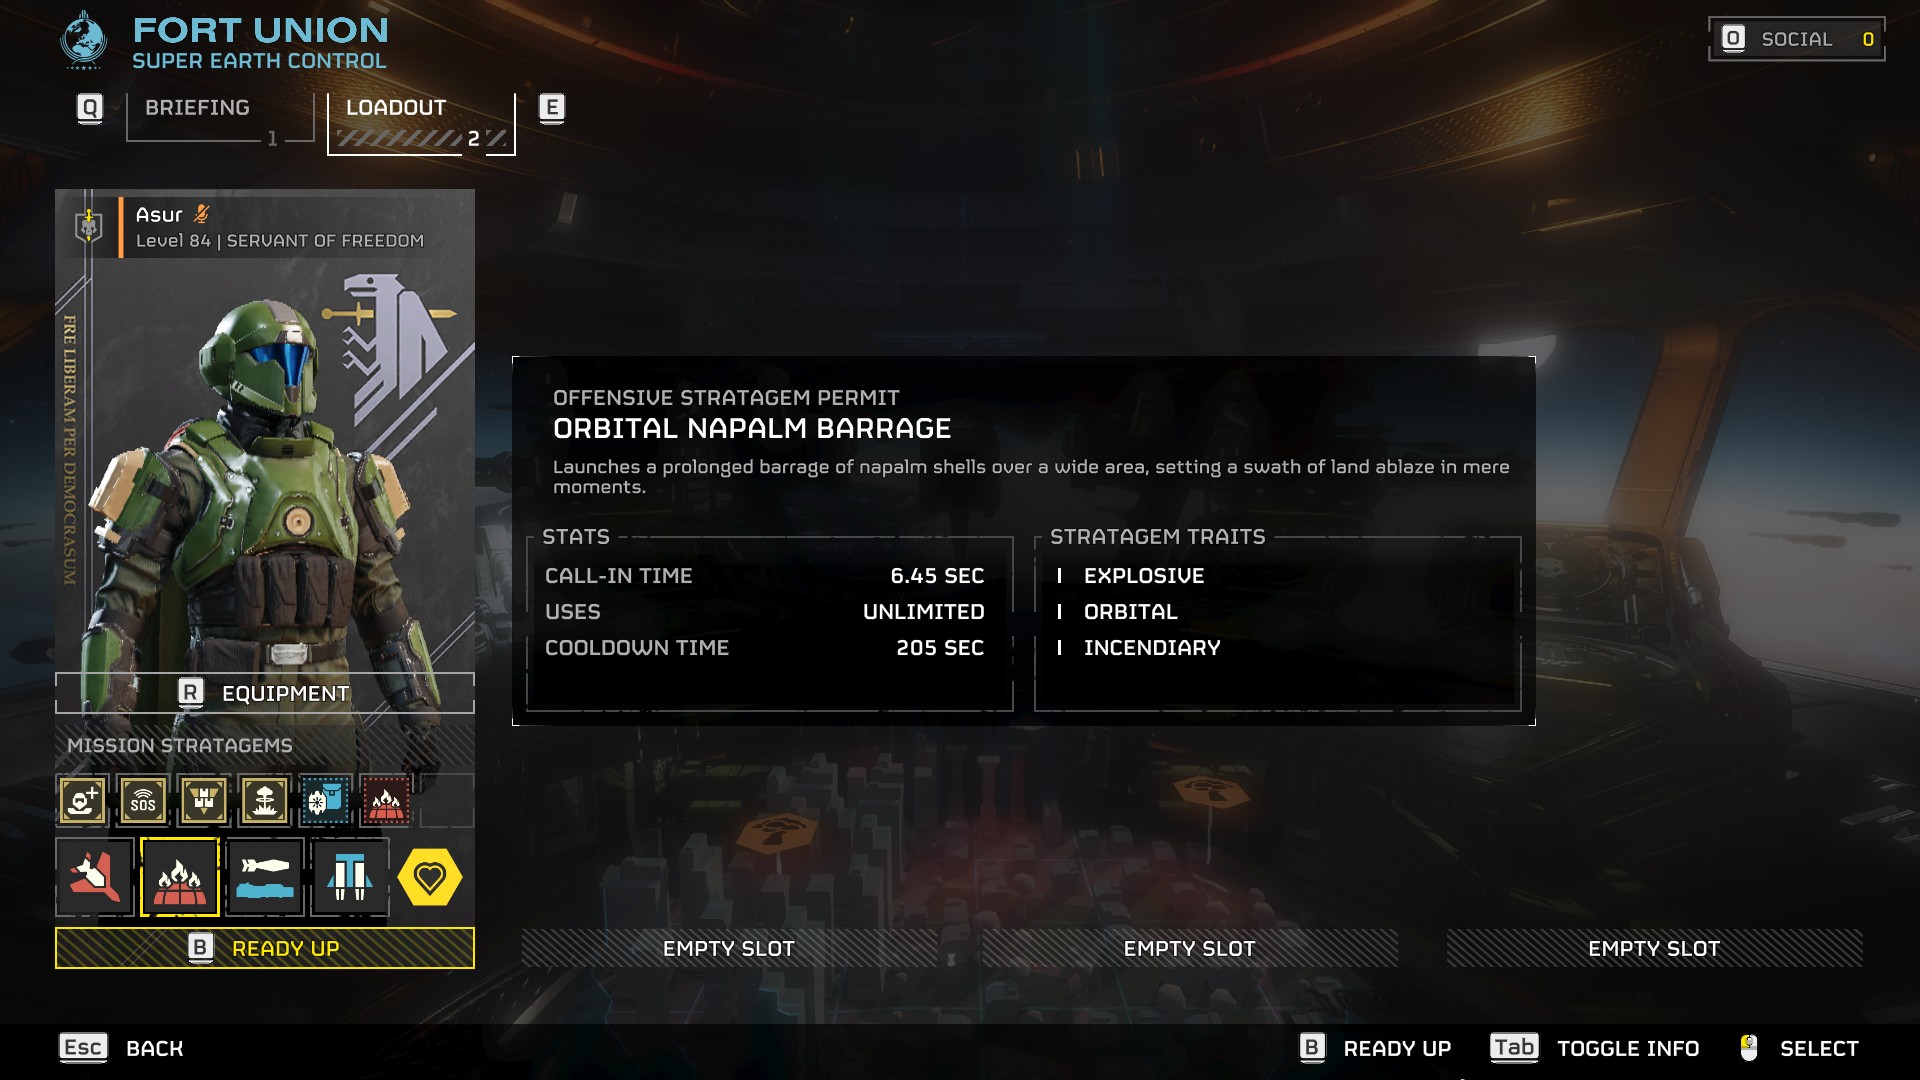
- Eagle 500kg Bomb
- Cooldown: 7s
- Eagle Rearm: 120s
- Orbital Napalm Barrage
- Cooldown: 205s
- Expendable Anti-Tank / Quasar Cannon
- Cooldown: 64s
- Jump Pack / Hover Pack / Warp Pack
- Cooldown: 410s
When playing with fellow Helldivers, the Eagle 500kg Bomb and Orbital Napalm Barrage serve a more specialized purpose compared to the versatility of the Orbital Laser and Orbital Gas Strike.
The Expendable Anti-Tank becomes a viable option to pick up whenever you need to take down large foes. The Expendable Anti-Tank affords flexibility, as you can carry another support weapon picked up during the mission, calling in the former only when the need arises. If you aren’t comfortable with this playstyle, defaulting to the Quasar Cannon makes for a perfectly reliable build.
The Orbital Napalm Barrage turns a vast area around the stratagem into a blazing wasteland, disintegrating most bugs caught within. Use the ability when more than one bug breach opens up, when you’re attacking a large nest, or when you’re defending a point from oncoming waves. Only Chargers, Impalers, and Bile Titans have a chance of scuttling through the stratagem’s inferno alive.
The Eagle 500kg Bomb can be used more frequently than the Orbital Laser, but its damage depends on your throw and judgment. Use it against Bile Titans, large swarms, and to wipe out bug holes and Shrieker Nests.
Tips and Tricks for Helldivers 2 Terminids Build

- While using the Eagle 500kg Bomb, ensure you have the ‘Expanded Weapons Bay’ ship upgrade to call in two bombs before the Eagle has to rearm.
- Wearing the fire-resistant armor from the ‘Freedom’s Flame’ Warbond will largely negate the overheating damage of the Double-Edge Sickle.
- The Enhanced Combustion ship module increases fire damage, enhancing the Orbital Napalm Barrage’s effectiveness.
- Shooting an anti-tank rocket or a Quasar Cannon shot at a Bile Titan’s mouth when it opens to spit acid will kill it instantly.
- The flames of the Orbital Napalm Barrage will continue to burn for a while after the bombardment is over, dealing further damage to enemies coming through the area.
- Using a Jump Pack downhill or while sprinting will launch you much further. Ascend vertically to climb a building or rock by activating the Jump Pack while slowly moving forward. Then, spam the jump button again to ensure that you grab onto a ledge if it is within reach.
- Throw the Thermite grenade at a Charger’s head, and it will stick to the beast’s head, exploding after a short while and killing it. However, the blast can damage you if the Charger is very close.
- Using the Quasar Cannon on planets with ‘Extreme Cold’ will decrease the cooldown time between shots by 2.5 seconds. Wielding it on a planet with ‘Extreme Heat’ increases the cooldown by 2.5 seconds. Normally, the Quasar Cannon takes 15 seconds to cool down between shots.

Thank you for reading the article. We provide the latest news and create guides for Helldivers 2. Also, check out our YouTube channel!
 Reddit
 Email
Email
