Facebook
 Reddit
 Email
Email
In this guide, we shall go over everything you need to know about Act 1 Pharloom in Hollow Knight Silksong.
Hollow Knight Silksong’s Act 1 throws you deep into the depths of Pharloom. You barely escape the bugs that had captured you, and the reason for your capture lies somewhere in this fallen kingdom. Finding that answer, however, is no easy task.
Pharloom is one of the most dangerous locations we’ve seen in the Hollow Knight saga, and a perfect fit for a start to a new chapter. If you’re wondering how to proceed in this act, or simply wish to find all the items in this act, this guide is for you.
We’ll update this article as we discover more of what Hollow Knight Silksong’s Act 1 has to offer.
Stage 1
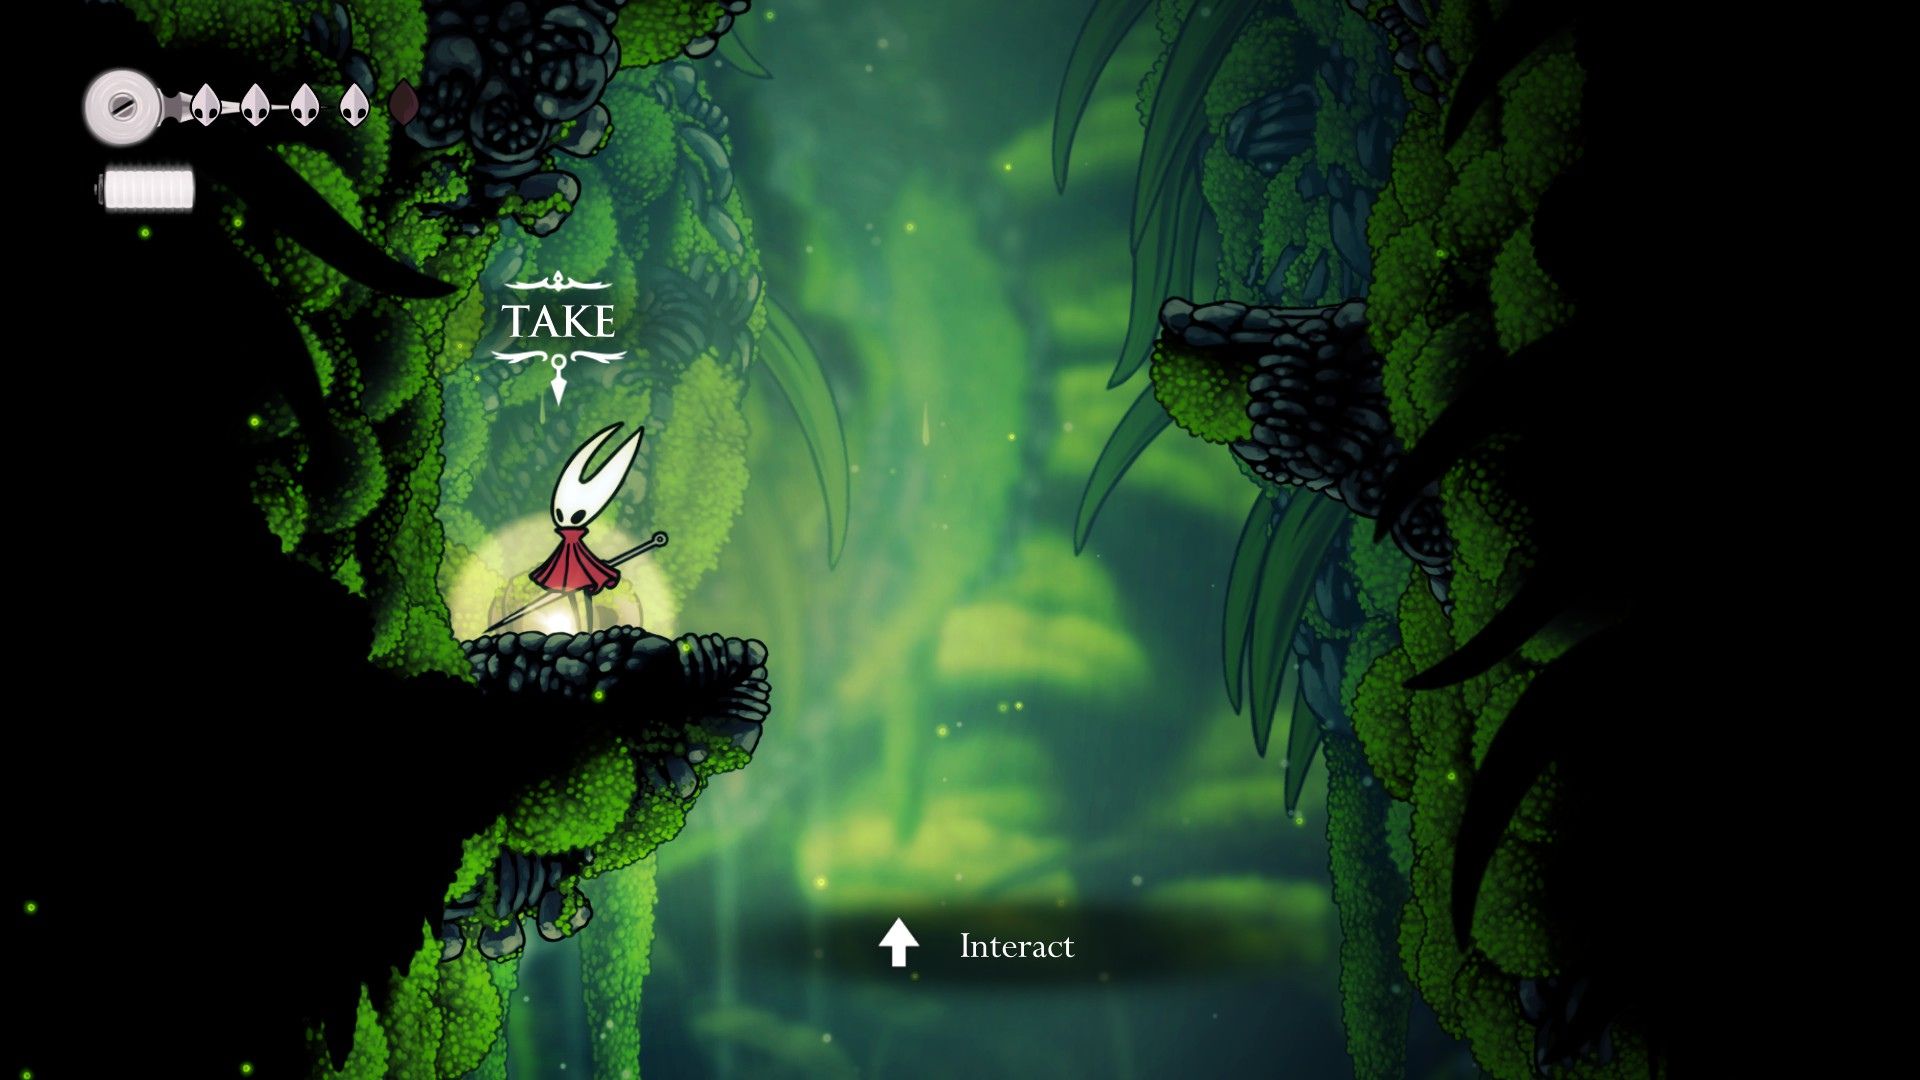
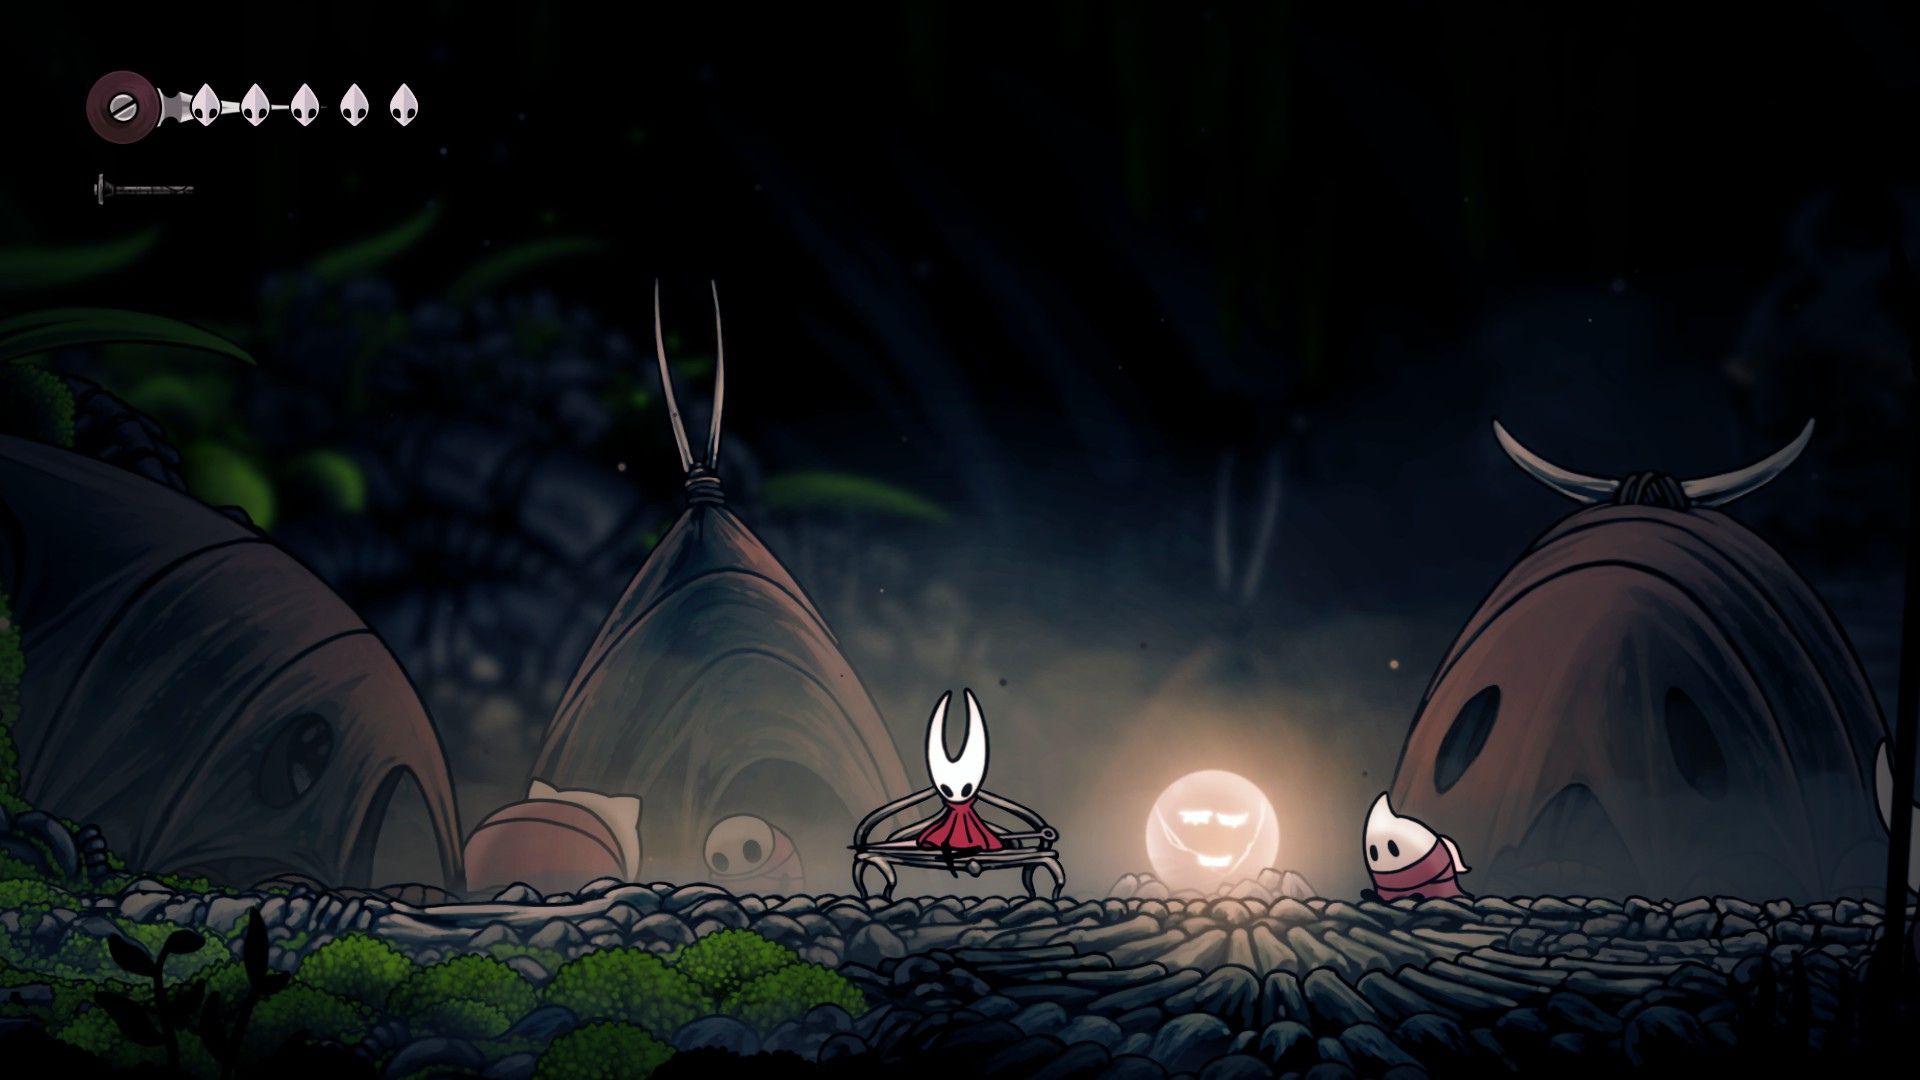
You begin the game by crashing into the forests of Pharloom, waking up beside your cage. From here, you have to head left and break the vines at the end to proceed. From here on, keep heading left, defeating enemies along the way, till you reach a body of water.
Platform across the floating ledges and head up. You’ll find a flying enemy here. Beating it is easy, as its only attack is to vertically crash down on it. Let it crash down and attack it with three hits to kill. Head right after this enemy till you see two split paths. One path goes up while the other goes straight. Take the one heading up and you’ll find a Mossberry at the end. Drop down and continue down the regular path
In the next area, keep heading straight till you find a gap. Press D-pad down to look down, and you’ll find a Frayed Rosary Sting. Collect it and head back up, and the path will then lead you to the next stage.
Related: Hollow Knight Silksong: Best Beginner’s Guide
Stage 2
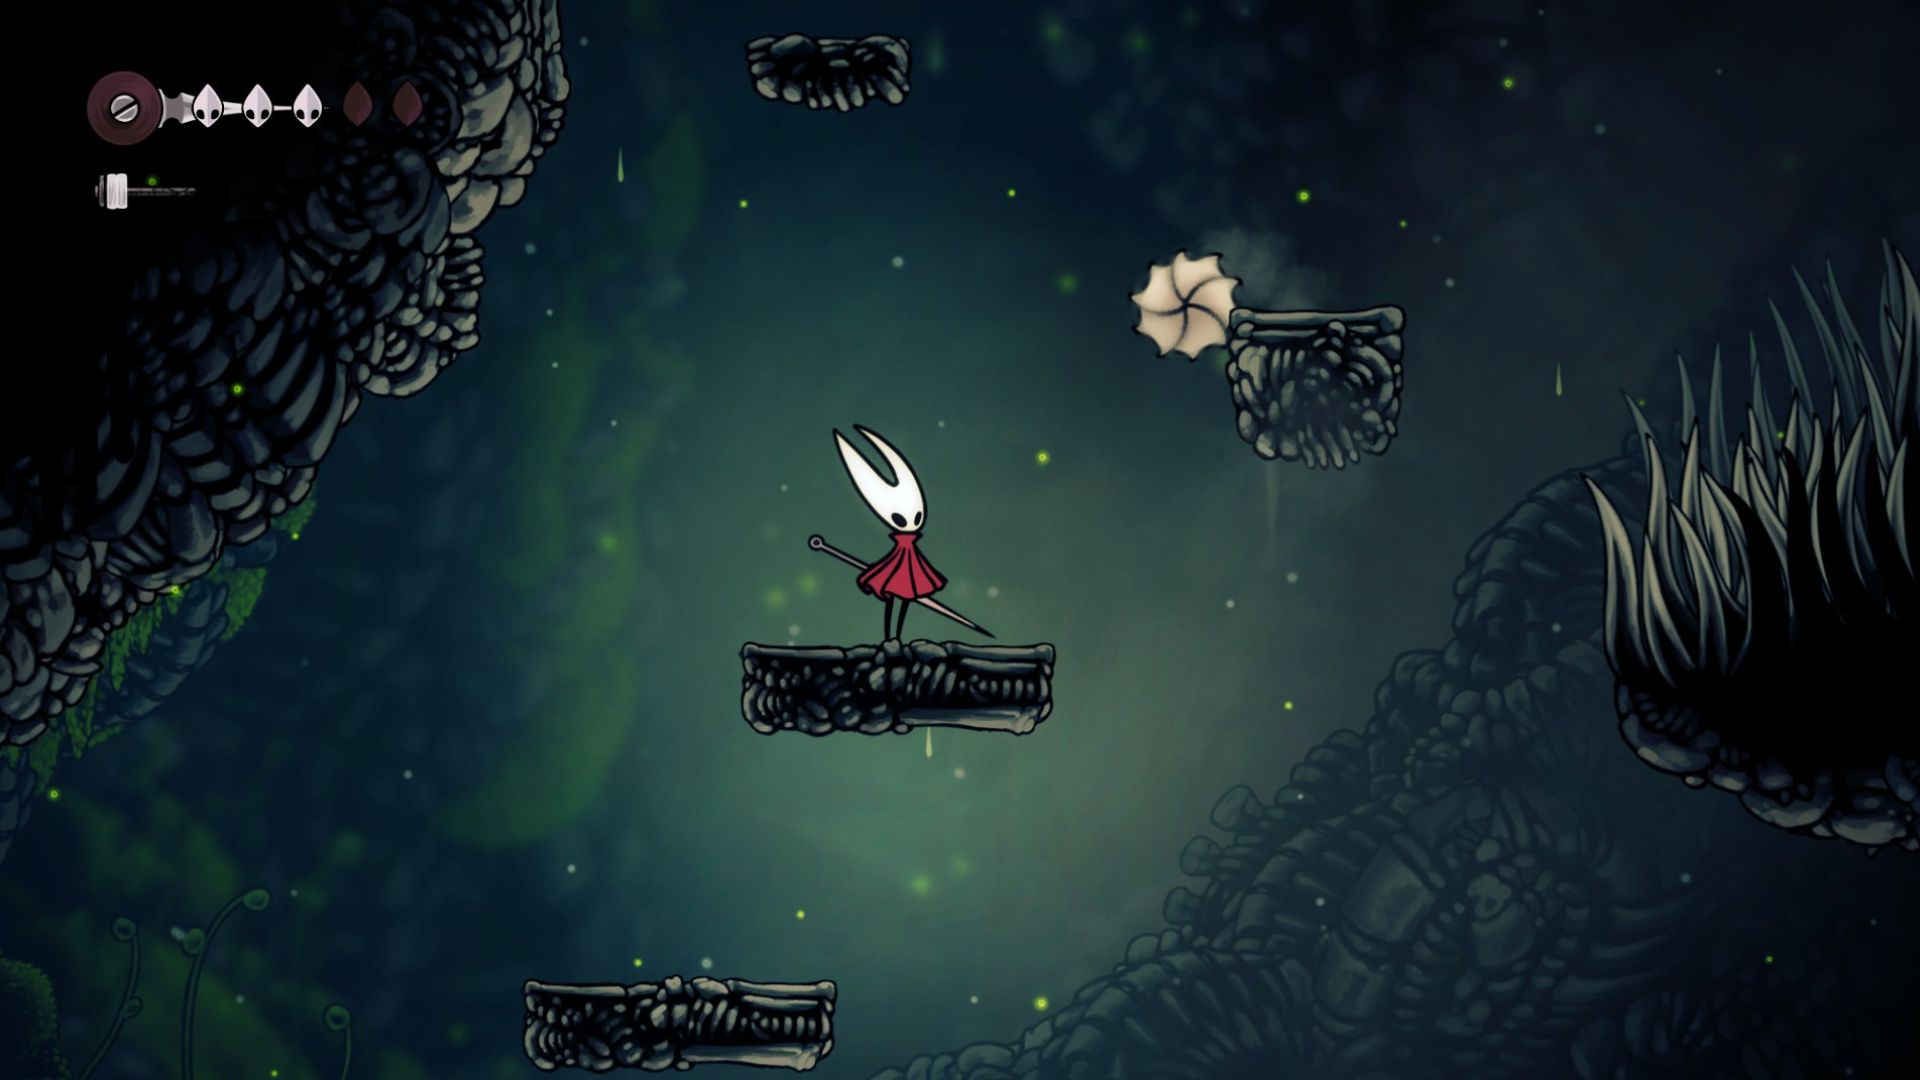
Kiss the green goodbye for now because this stage is dark and full of terrors. There are spikes everywhere, so you have to tread carefully. Before you head up, head right, and you’ll find spikes and ledges with two hedgehog-like bugs ahead. These hedgehog-like bugs spin and circle all across the top and bottom of the platform to hit you.
You have to time your jump and hop onto the platform when they’re in the middle of the spin. Furthermore, you need to get off the platform before they circle back to you. Try it a few times and you’ll get the hang of their timing. Climb the ledges and head up to reach a dead end, and you’ll find Bone Shards here.
Now, get back to the start and climb all the way up. You’ll find a Mossberry here, but you can’t collect it just yet. Ignore it and continue on the path heading left to reach the next area. Keep heading left and avoid the gap in the middle. Falling through this gap will take you to the very start of the level. DO NOT FALL here unless you wish to run all the way back up again. Proceed and break the vines at the end to reach the next stage.
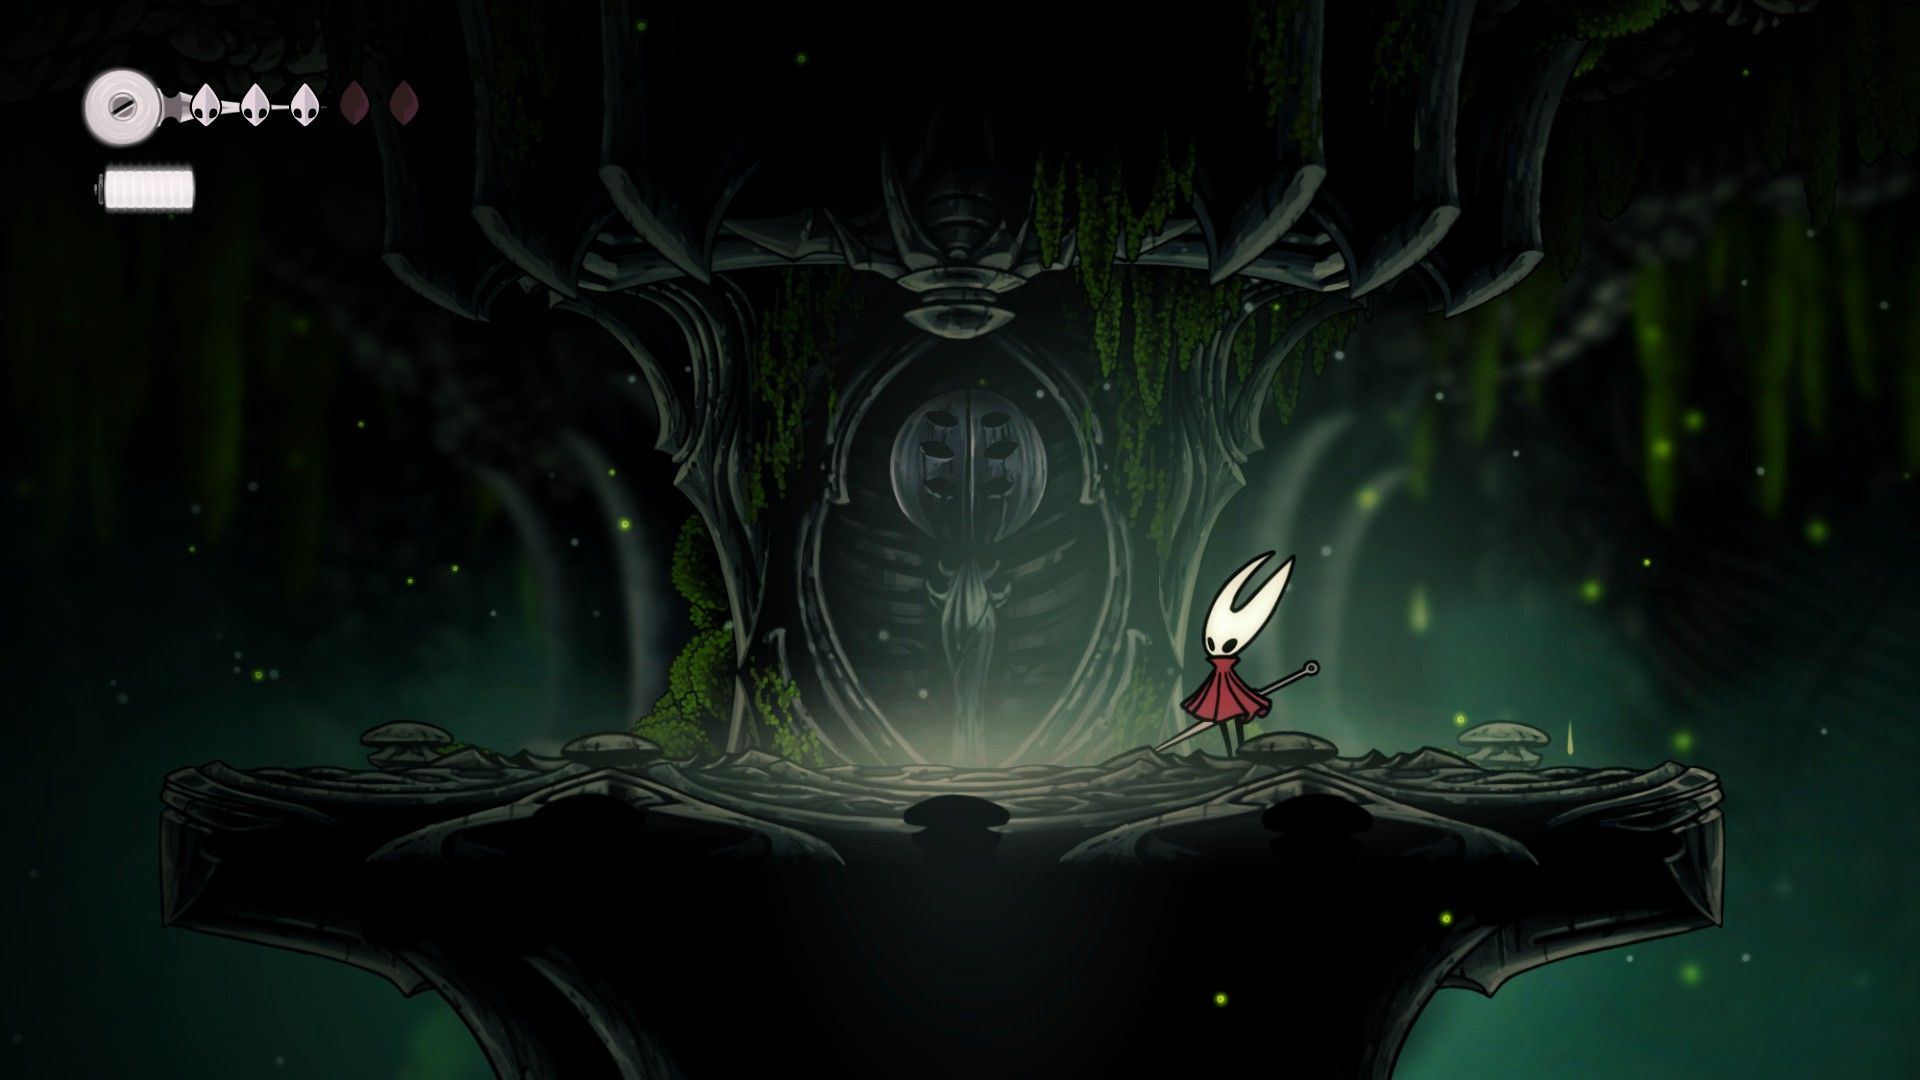
Stage 3 (Ruined Chapel)
The next area is the Ruined Chapel. There’s a bench at the end of the path, which you can use to rest and recover. Once you’re ready, head up and go past the vines at the end, and you’ll enter a boss arena. You have to fight the Moss Mother here.
Defeating the Moss Mother
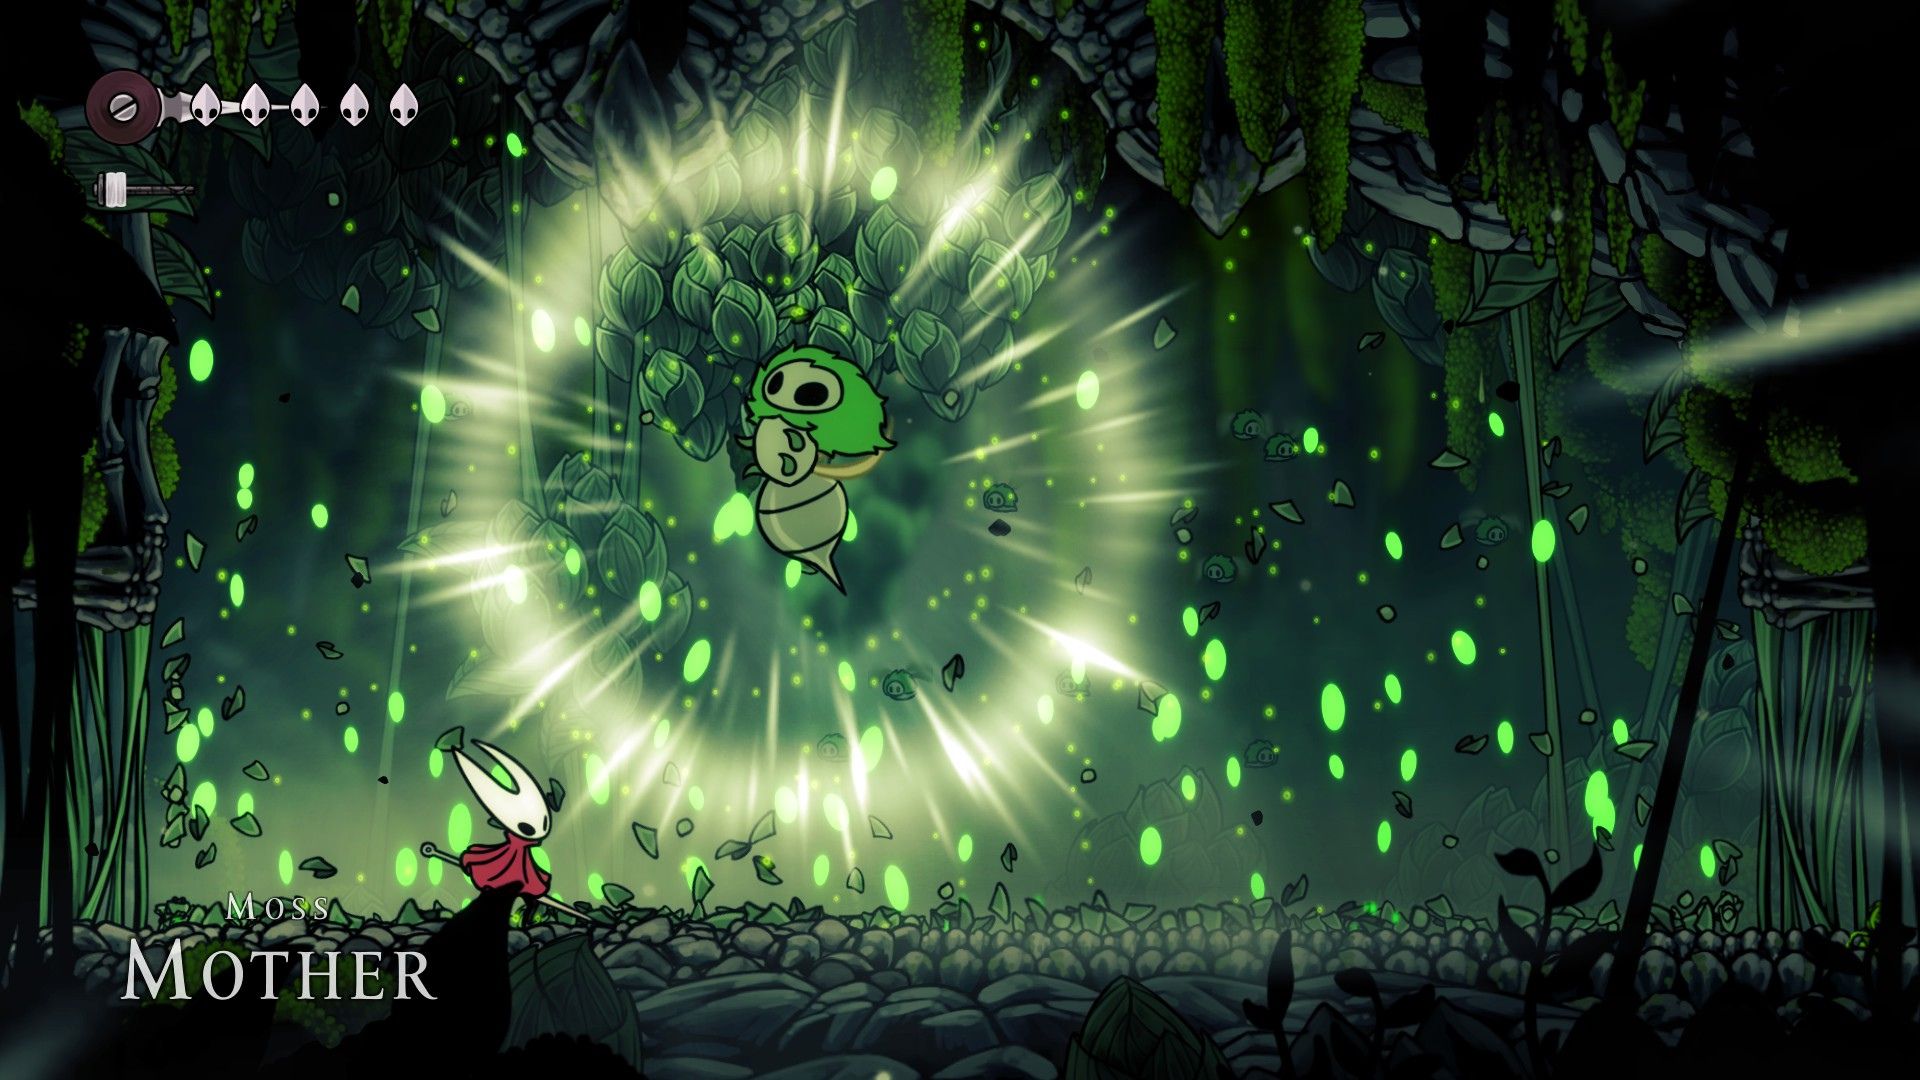
The Moss Mother is the first boss you’ll fight in Hollow Knight Silksong. She is a culmination of all the enemies you’ve faced thus far, and uses tricks you’re familiar with. She begins the fight with a roar and then rushes down at you to sting you. When she does so, jump over her to avoid the sting, and rush up to her to land a few hits. Don’t get too greedy as she can quickly follow it up with another sting attack.
For her next attack, the Moss Mother will smash her body against the wall, leading to the ceiling caving in and rocks falling on you. The rocks have a telegraphed path, so stand clear of this path to be safe. She’ll follow these rocks up with another sting attack.
After a back-and-forth, the Moss Mother will spawn a mini Moss enemy onto the field. This enemy will crawl slowly on the ground and can be a nuisance. Get rid of this enemy as fast as you can and resume the fight as you know it.
After a few minutes into the fight, you’ll stun the Moss Mother. As soon as you see the stun icon over her head, rush up to her and attack to make her explode. She’ll then die, ending the fight and unlocking the path ahead. Continue down this path and use the chain to ascend above.
Read: Hollow Knight Silksong: Crafting Kit Guide
The Chapel Maid
As you ascend, Hornet’s condition will worsen, and she will pass out. You’ll hear an ominous laugh in the area, and the screen will then fade to black. As the screen fades in once again, an old lady will wake you up with her cane. This lady, Chapel Maid, will then talk to you.
She will inquire about who you are, why you’re here, and what you intend to do. Simply exhaust all dialogue options, and you’ll get your first clear objective: Ascend through Pharloom to reach the Citadel at the Kingdom’s peak. Walk past the lady to get to your next area.
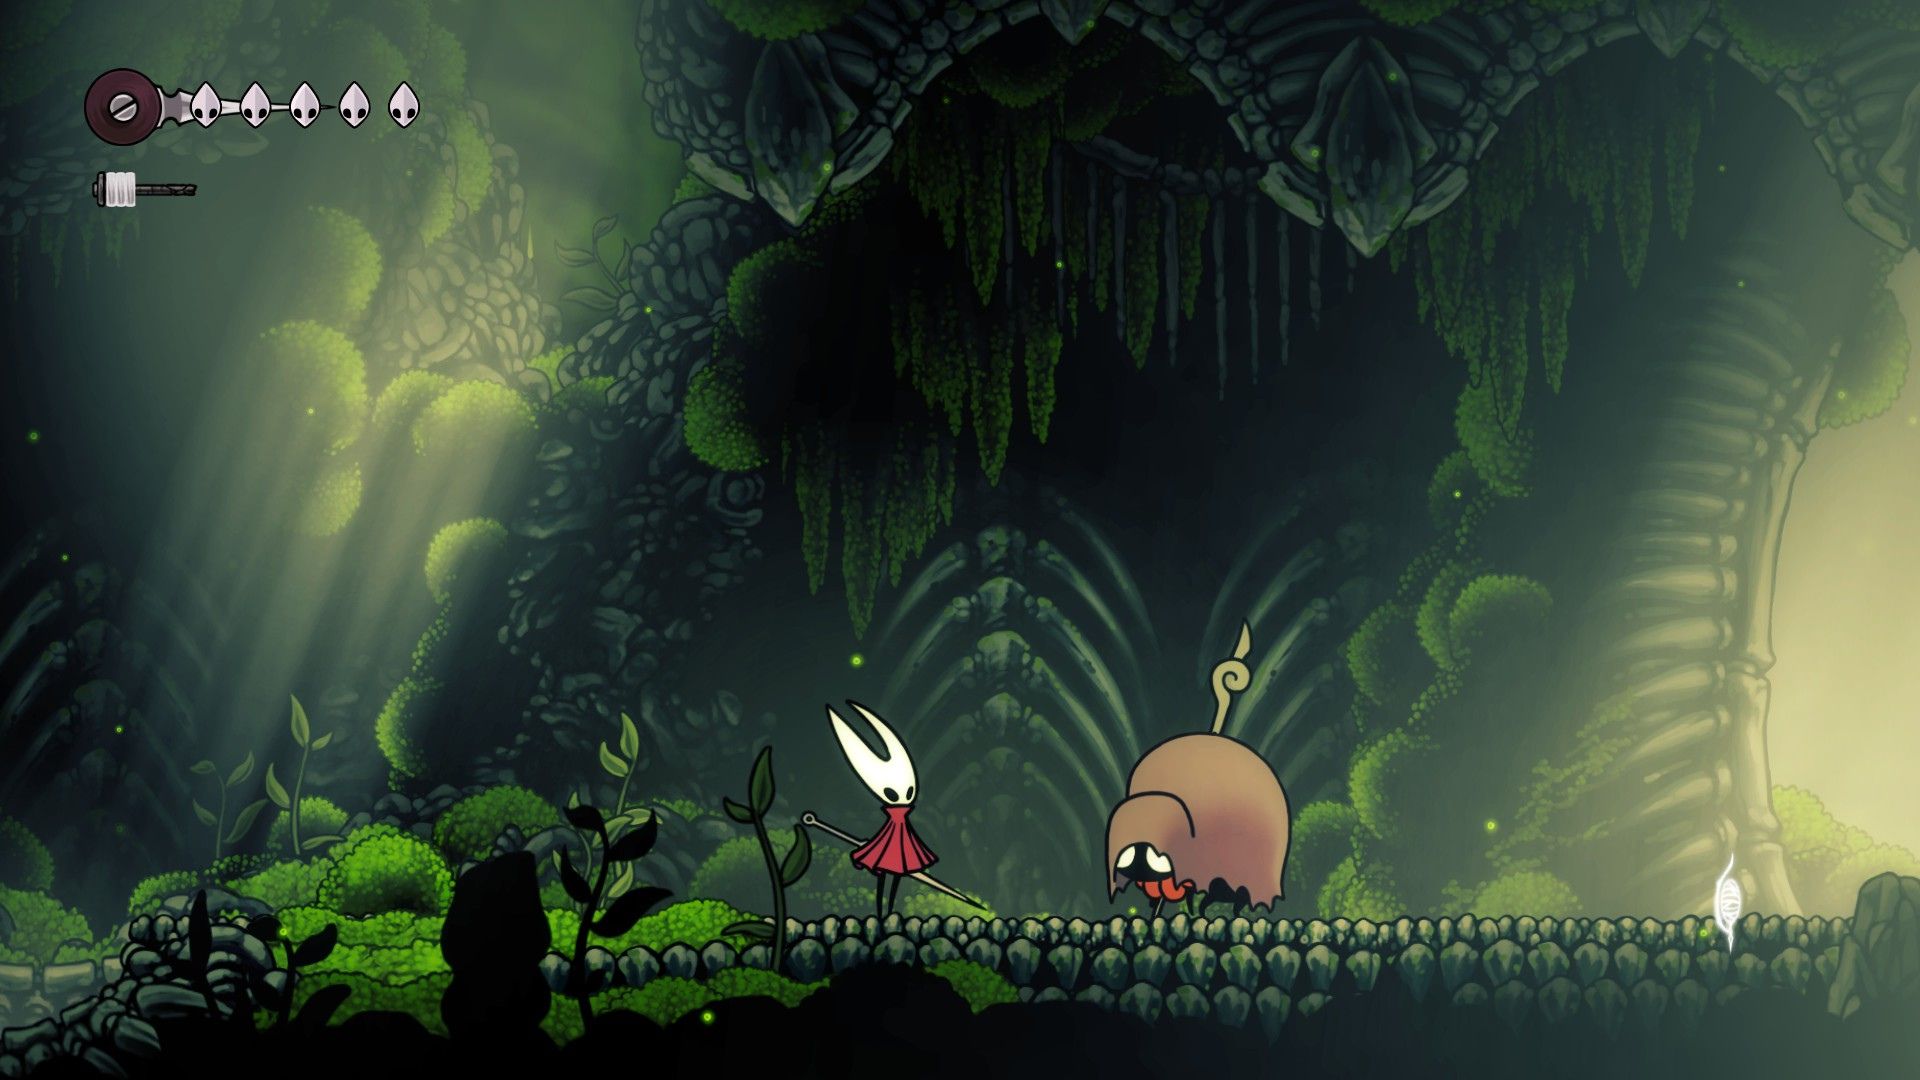
Stage 4 (Bone Bottom)
Bone Bottom is a small settlement of sorts with NPCs for you to interact with. These are all pilgrims looking to go up, but they’re all dejected and soulless. Talk to all the NPCs here, and also make sure to enter the one hut in the middle. When you enter, you’ll meet the Fearful Pilgrim. He’ll tell you of his fears. Once that’s done, head out and continue towards the right to the next area.
In the next area, you’ll find Sherma singing at the gate, wishing for it to open. Talk to her and exhaust all her dialogue options to learn more about her. Once that’s done, head all the way up. The path is linear and easy to follow. You’ll then reach a dead end, and the floor beneath you will give way. You’ll land in a small arena, and you’ll have to fend off an ambush.
First, you’ll be attacked by the bee enemies. They’ll launch right at you, so be ready to jump. Once you kill the bees, you then have to beat the spider-like bugs next. Then, it’ll be two bees, and for the last enemy, you’ll have to beat the charging bug.
Once you beat them all, the floor will break once again, and you’ll have a path forward. Make sure to break and collect all the hanging Rosaries in your path. You’ll soon find yourself on the other side of the locked bone gate. Open the door and talk to Sherman once again. Then, continue on ahead, and you’ll find a pedestal where you can spend 30 Rosaries to unlock a bench. We recommend not doing so and saving the Rosaries for now.
Also Read: Hollow Knight Silksong Controller Not Working Error: Possible Fixes Explored
Stage 5 (The Marrow)
Once you’re in The Marrow, our first job is to find the NPC that can give us a map and compass. This will make the game so much easier as well. Keep heading right from the bench till you reach a platform atop the lava pool. Head up and then make your way left. You’ll find two bee enemies along the way. Keep heading left and up till you see a passage leading to an area above.
Here, you’ll find breaking platforms, i.e., platforms that break when you stand over them. Parkour across these platforms and keep heading up. Go all the way up, and then follow the path left. This will take you to a room with golden platforms. Keep heading left till you see a platform with a chain. Break this chain, but don’t go down. Move left and you’ll find Shakra here. Talk to Shakra, and you can then purchase the items from her. You’re likely not to have enough money, so purchase the Mosslands Map since that’s where we’re going next.
Stage 6 (Mosshome)
To the Silkspear
Once you’re done talking to Shakra, walk past her and head up. You’ll end up at a fork in the road. Take the left for now and head into the Mosshome. Here, you’ll find a ton of enemies on your path. Kill them all because they drop Rosaries. Defeat all these enemies and you’ll reach a lever. Activate the lever and then go up. You’ll see a light which will take you above. Before you do that, destroy the Rosaries to your right to collect them, after which you can go up.
Once you’re up, head right and do so quickly. There are spike traps under the ground. Keep moving to avoid those. Keep heading right till you find a musical instrument. From this instrument, head up and then right into the dark cavern. Kill the enemies here and then exit from the floor above. Keep heading left and you’ll reach a large gate. Interact with this gate to acquire the Silkspear.
Read More: Hollow Knight Silksong: Should You Insert 30 Rosaries?
Berry Picking Quest
Once you have the Silkspear in hand, keep heading all the way to your left. A few webs will block your way. Use your Silkspear to break them all at once and clear a path. Follow this path and you’ll find a Rosary Bead here. Break the chain next to this item to return to the lower level.
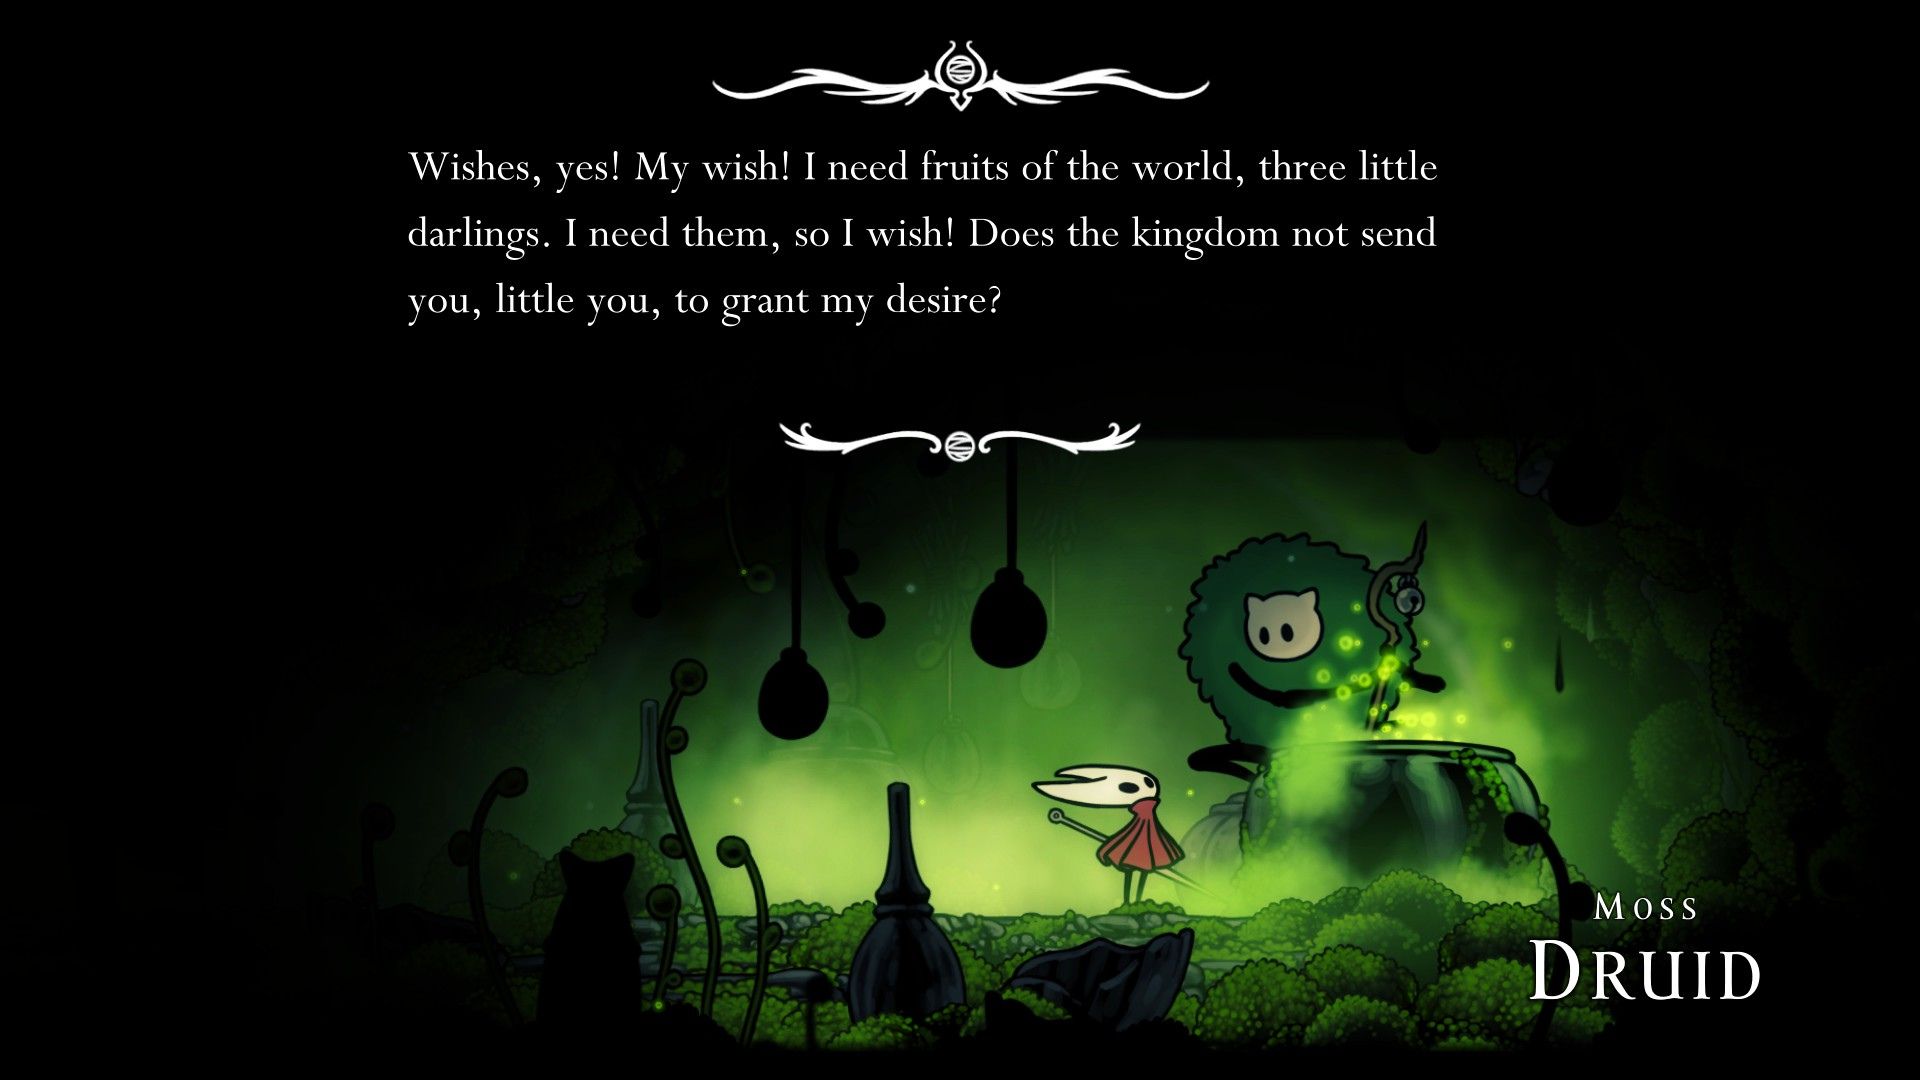
Now, keep heading straight to the right till you run into another web. Break through this using the Silkspear, and then head straight till you see a slight green mist. Follow the mist, and it will lead you to the room with a Moss Druid cooking something. Talk to this Moss Druid to acquire the Berry Picking quest.
Back to Shakra
Once you’ve acquired the quest, head back out and drop down the pit right in front of the Moss Druid’s room. Instead of going left, go right first. It may seem like a dead end, but it leads you into a room with a bee. Kill this bee to acquire a Mossberry. Then, go back down the path to the left, and it will lead you right back to where you started in the Mosshome. You can now go back to Shakra and purchase the Marrow Map.
Read: Hollow Knight Silksong: How To Save Game
The Bell Beast
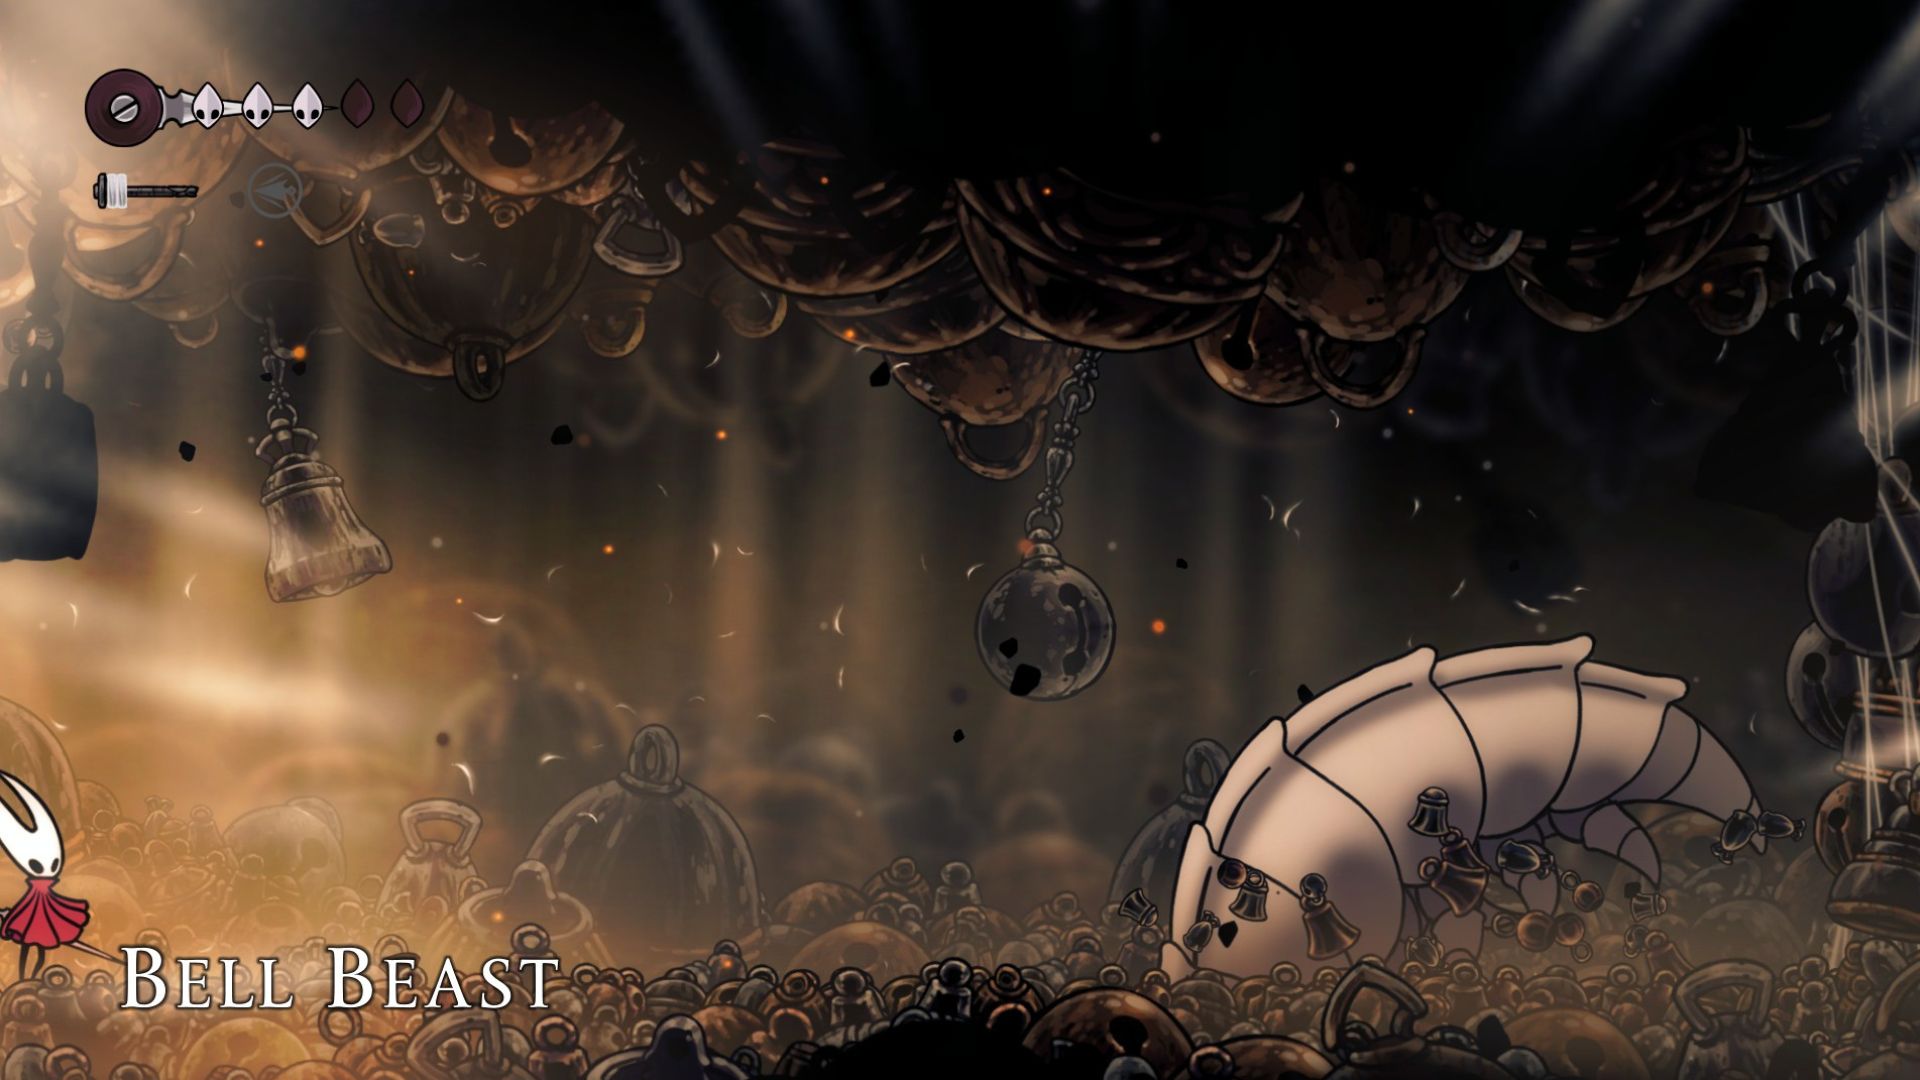
After talking to Shakra again, head back up to the fork in the road and take the right this time. You’ll end up in an arena with bells, and a creature is stuck between webs. Free the creature using your Silkspear to kick off a boss fight with The Bell Beast.
The Bell Beast is a tank of a boss that uses three to four attacks to keep you on your toes. The first attack he uses is a charge attack. The best will emerge from the ground and charge right at you like a bull. You can jump over this one with ease. If you’re bold, you can also attack the beast the second he emerges from the ground, and then jump over it as soon as it charges.
The next attack the beast uses is a lunge attack. It’ll lunge into the air and crash onto the other end of the arena. Stay on the ground and run with it to the other end. You can land 2-3 hits on it when it lands.
The boss also uses a double ball attack. It juts out of the ground and launches two metal balls on each end. Jump over these balls to dodge. The boss will also let out a roar that makes the same balls fall from the sky. You have to stay on the move to dodge this.
Back To the Marrow

After you defeat the Bell Beast, interact with the floating orb. This will send you to a dream sequence of sorts, and you have to go all the way up to acquire the Silk Heart. After that, you’ll be back to normal and will now have the option to fast travel.
You can use this option to travel back to Bone Bottom and acquire new quests from the notice board. Then, use the fast travel feature to return to the Marrow. Head right from the fast travel point and then take the path heading up. This is an optional path, but you’ll fight tons of enemies here, which will drop the Pilgrim Shawl item. You’ll need this for the Garb of the Pilgrims quest.
Once you’ve killed all the enemies, get back to the main path and keep heading right. This will lead you to a room with red fruits and an enemy below. There’s a glowing orange wall next to the enemy. Attack this wall and it will explode, revealing a new path. Head down this path and you’ll find another explosive wall. Attacking this wall will set off a series of explosions on the ceiling above you. Run all the way back to avoid them. Once that’s done, you can acquire Craftmetal at the end of the path.
Head back up to the upper floor, and head right. You’ll find a path leading down below. Follow this path all the way, and you’ll reach a room with a single path leading below. As you drop down, you’ll find one path heading down and another heading right. There’s a boss on the one on the right and a path leading to a bench down.
You May Like: Hollow Knight Silksong: How To Beat Bell Beast (Boss Guide)
Deeper in the Marrow
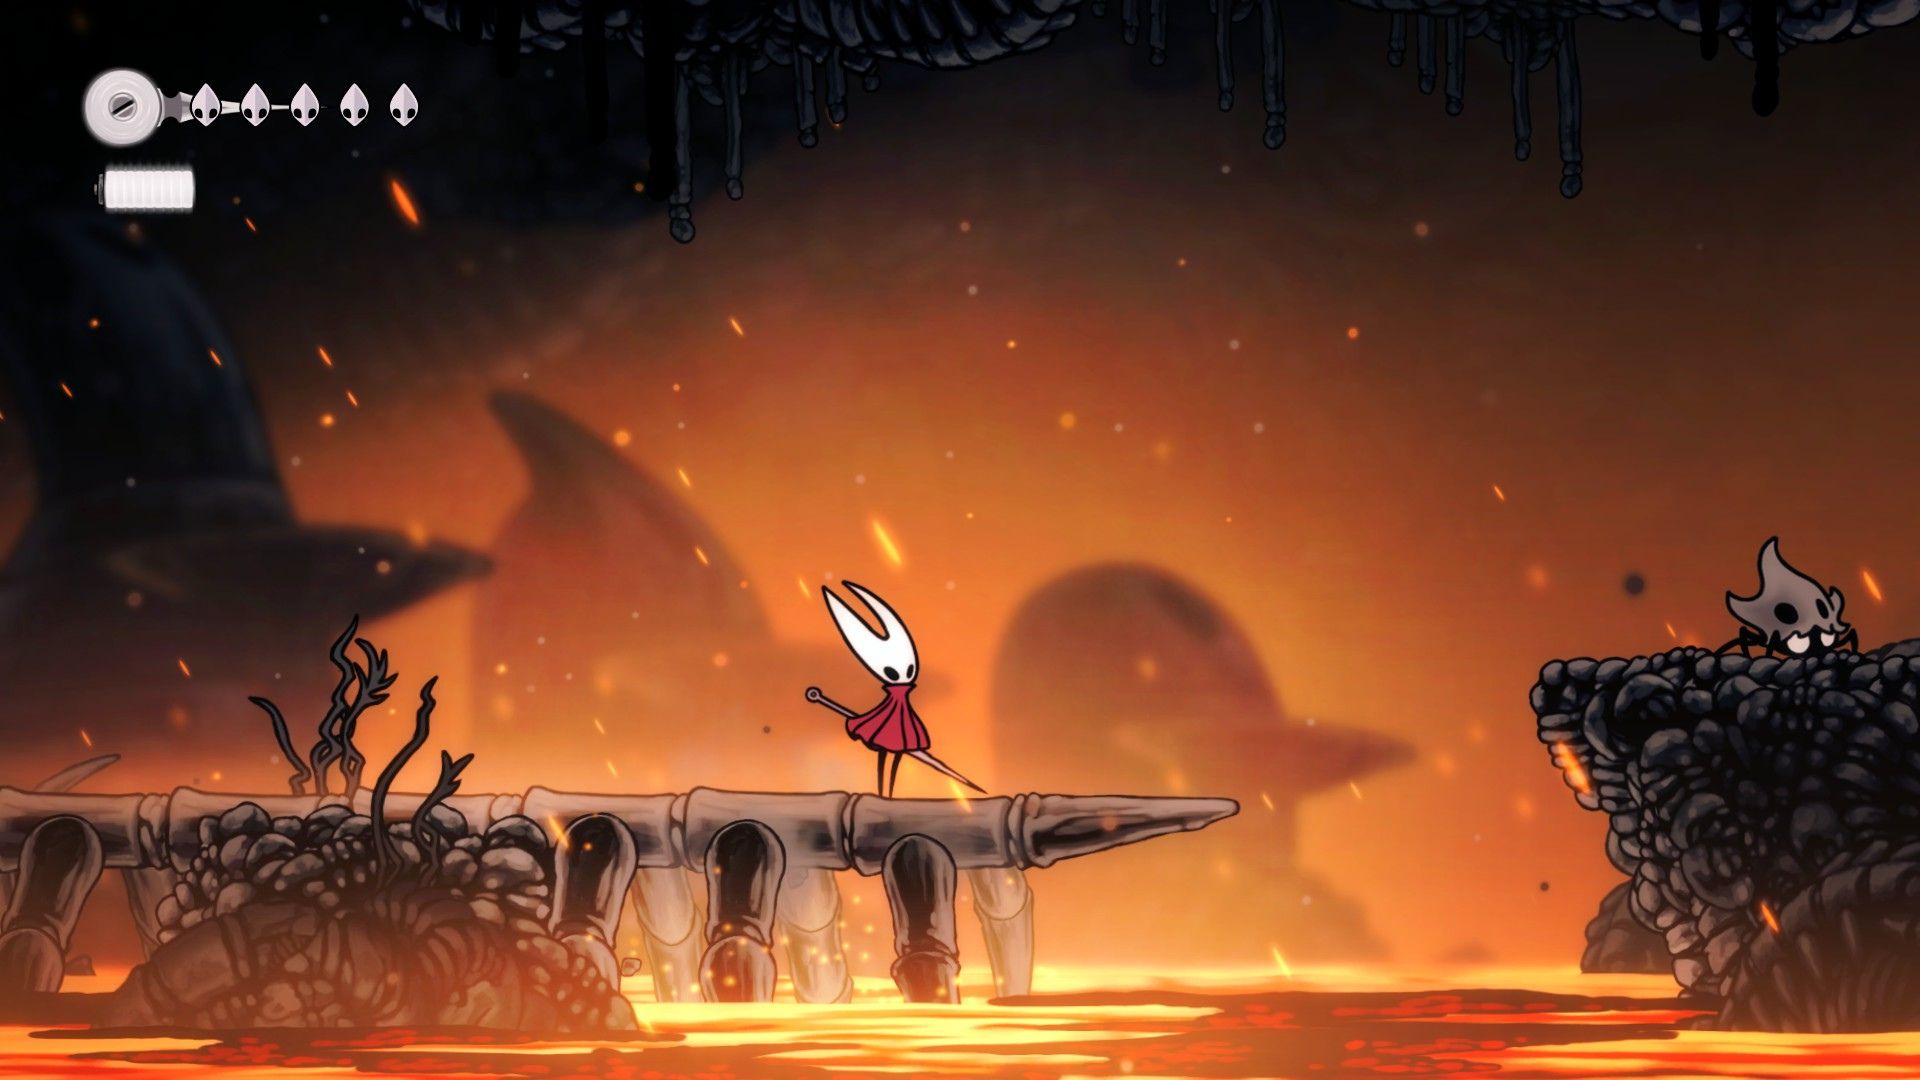
Rest on the bench and head back out. Now, keep heading down and you’ll reach another area down below. Immediately take a left from here to find the Rosary Beads. Keep heading to your right and down below. You’ll find an area with tons of lava. From here, if you head left, you’ll go right back to the very start of The Marrow level, so we will go right instead. Go past all the enemies, and you’ll then find yourself at the Deep Docks.
The Deep Docks
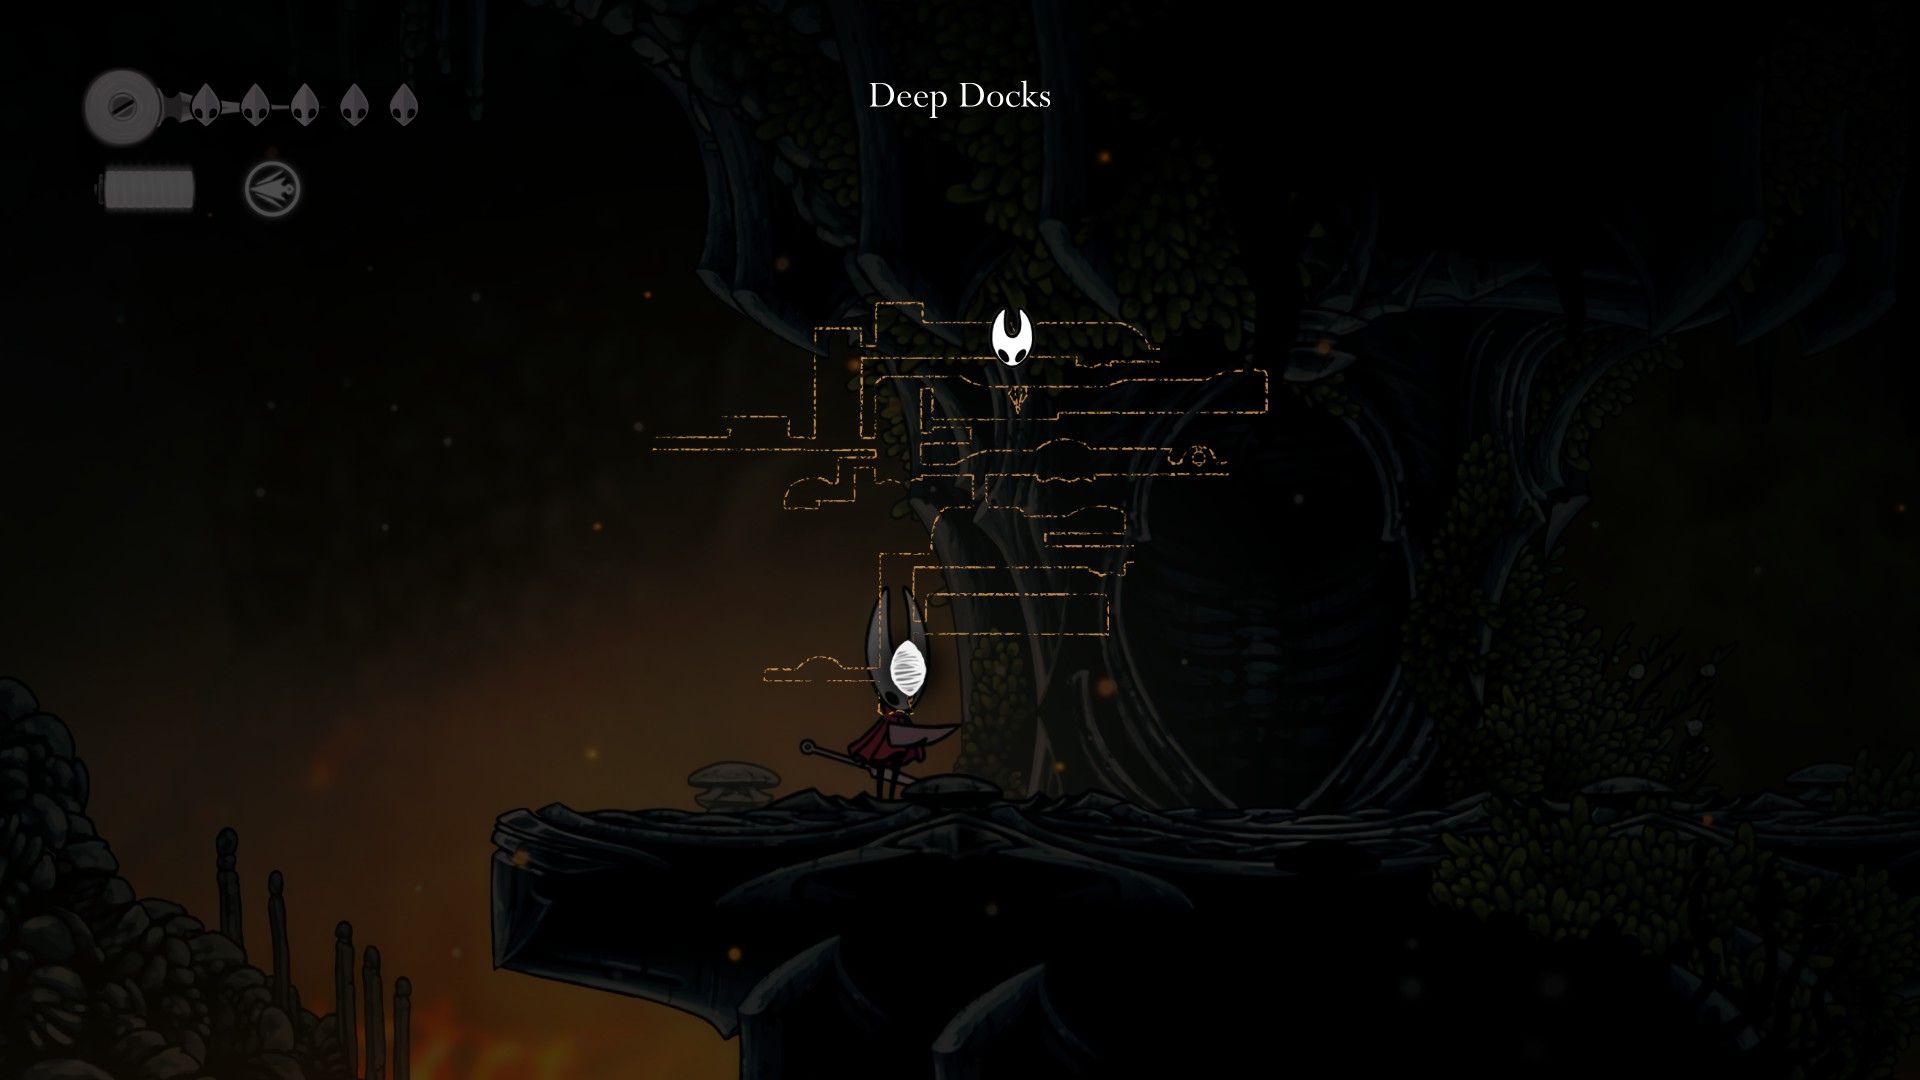
In the Deep Docks, head straight till you see a signboard pointing towards a bench. Stand on the platform beside this board, and it’ll lead you to a bench. You’ll have to unlock the bench by spending 30 Rosaries, so make sure you have a good amount saved.
Once you’ve freshened up, proceed deeper into the docks, and you’ll find a room full of lava. Drop down below, and you’ll find Shakra once again. You can purchase the Deep Docks map from her if you have the Rosaries saved. Right beside Shakra, you’ll see a gate with a signboard pointing to it. Enter this room, and you can unlock a Fast Travel station for 50 Rosaries. If you don’t have enough, you can farm Rosaries from the armored enemies right before the Deep Docks gate to get the amount.
Next, you want to go to the location shown on the map above. This will lead you to the Swift Step ability. This will allow you to double jump and cover large distances in the process.
![Silksong Logo [Source: Team Cherry]](https://static.deltiasgaming.com/2025/09/header.jpg)
We provide the latest news and create guides for Hollow Knight Silksong. Meanwhile, you can check out the following articles or catch us playing games on YouTube: