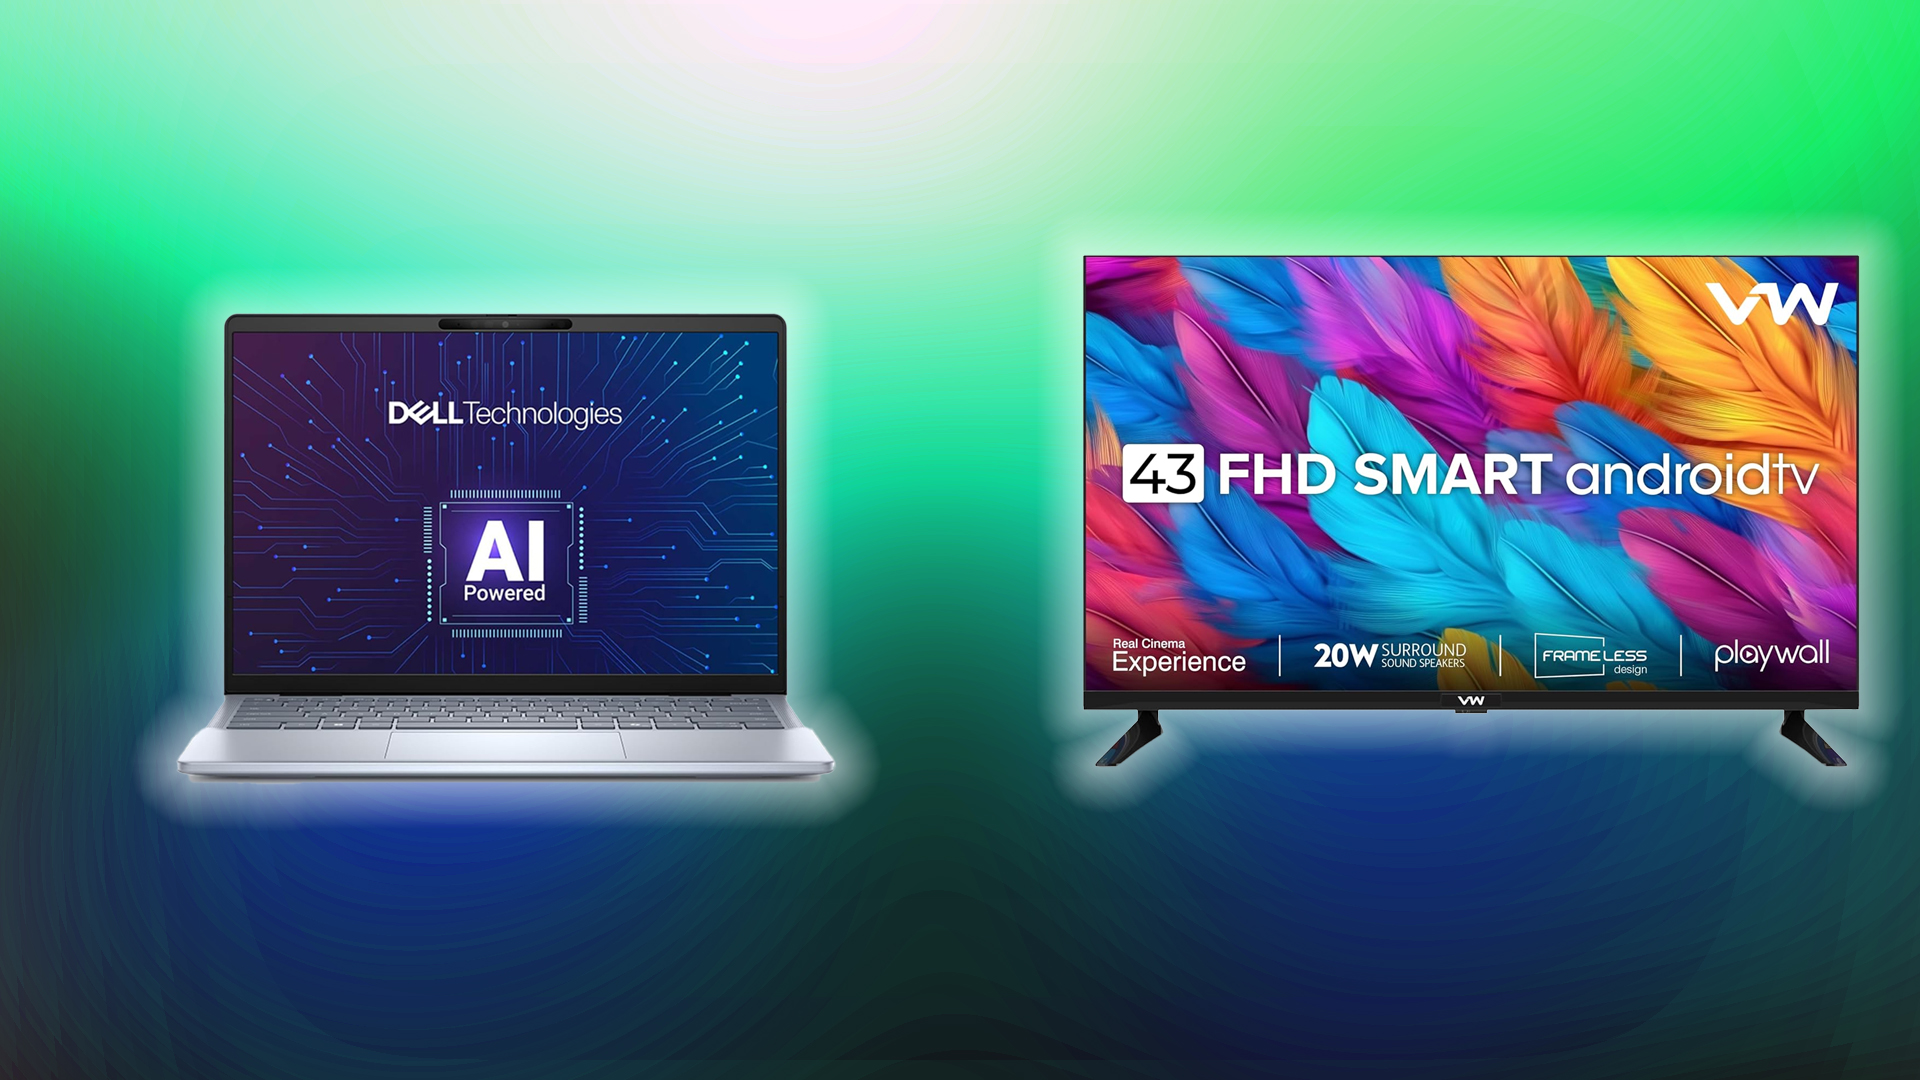
Learn how to connect your Laptop to a TV and extend your display via HDMI and Wireless means such as Miracast, AirPlay, and Chromecast.

Connecting your laptop to your TV can be a great option if you want to enjoy content on a larger screen. That’s one use case, but you could also be presenting your PowerPoint presentation to clients at work.
Using an HDMI cable is one approach, but it is not always seamless due to multiple factors that affect the results. Some of which include the HDMI cable length, type, and port compatibility. Thanks to Wireless technology, this process has become significantly simpler than it was in the past.
That said, here are the ways you can extend your laptop to a TV via HDMI, wireless, and screen-casting means.
Connect Laptop to TV Over HDMI

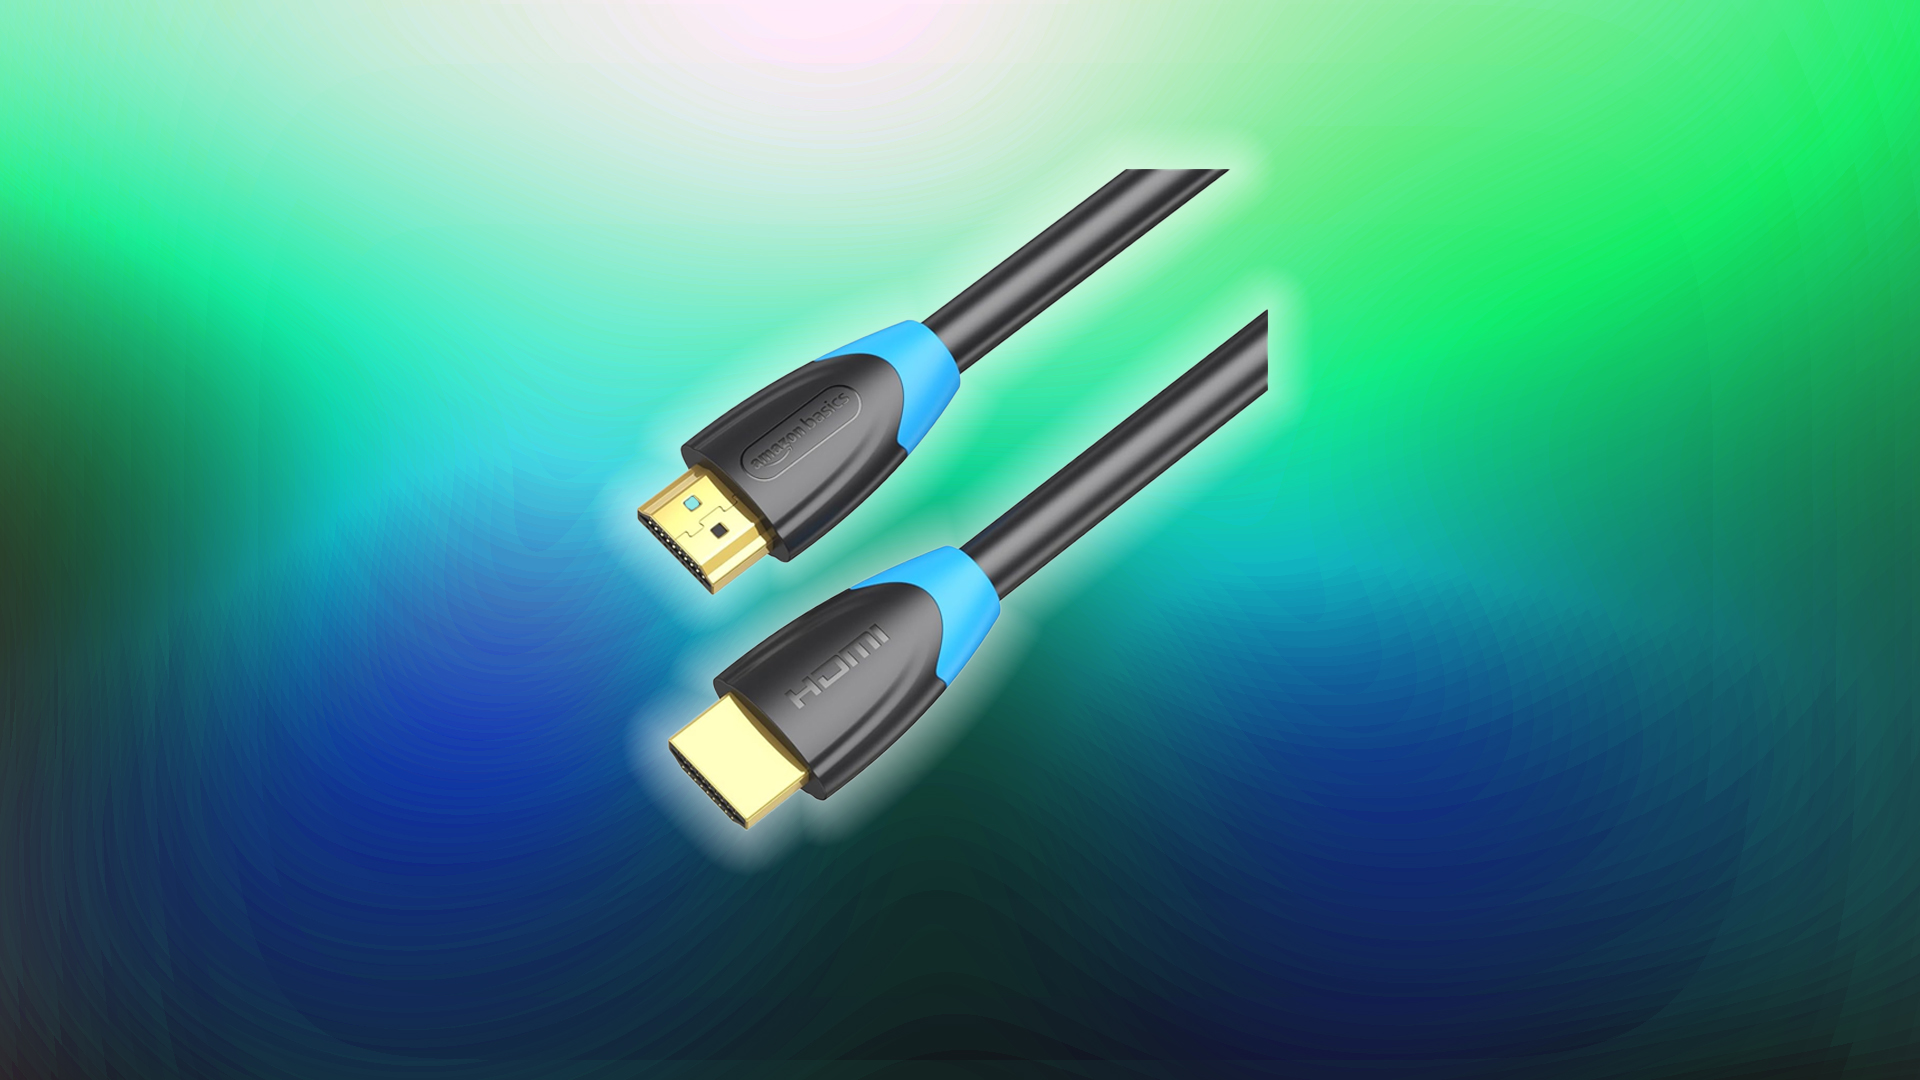
HDMI is the easiest way to extend your Laptop’s display. Simply plug the cable into both ends, and you’re good to go. Here’s how you can do it:
- Find the HDMI port on your laptop and your TV.
- Plug one end of an HDMI cable into the laptop’s port and the other into a vacant HDMI port on the TV.
- On Windows, press Windows + P, then choose Duplicate or Extend.
- Power on the TV and press its Input (or Source) button, then select the correct port or select randomly until you see your desktop.
And that’s all. If you are gaming by chance, ensure you select a port that’s from the d-GPU; otherwise, this will result in a performance hit. For an office presentation, this doesn’t matter at all.
Connect Laptop to TV Wirelessly

There are multiple ways to do this for both Apple and Windows devices. Below are the steps you can take for wired communication (HDMI). You need both devices explicitly on the WiFi network because the LAN connection from the laptop to the WiFi on the TV, or vice versa, won’t work.
Miracast (Windows Wireless)
- Ensure your laptop and Smart TV support Miracast and are connected to the same Wi-Fi network.
- Turn on the TV and select Screen Mirroring or Miracast input.
- Enable WiFi on your laptop if it’s currently disabled.
- After that, press Windows + K to open the Connect pane.
- Click on your TV’s name. Approve the connection to your TV when prompted.
AirPlay (Mac Wireless)
- Initially, confirm that you are running macOS 10.8 or later and that your TV supports AirPlay or has an Apple TV device connected.
- Enable Wi-Fi on both your Apple Laptop and TV device, if it’s disabled.
- Next, on the TV, select AirPlay as the input.
- On macOS, click Control Center, followed by Screen Mirroring.
- Choose your TV’s name and enter the on-screen code upon request.
Chromecast (Browser Casting)
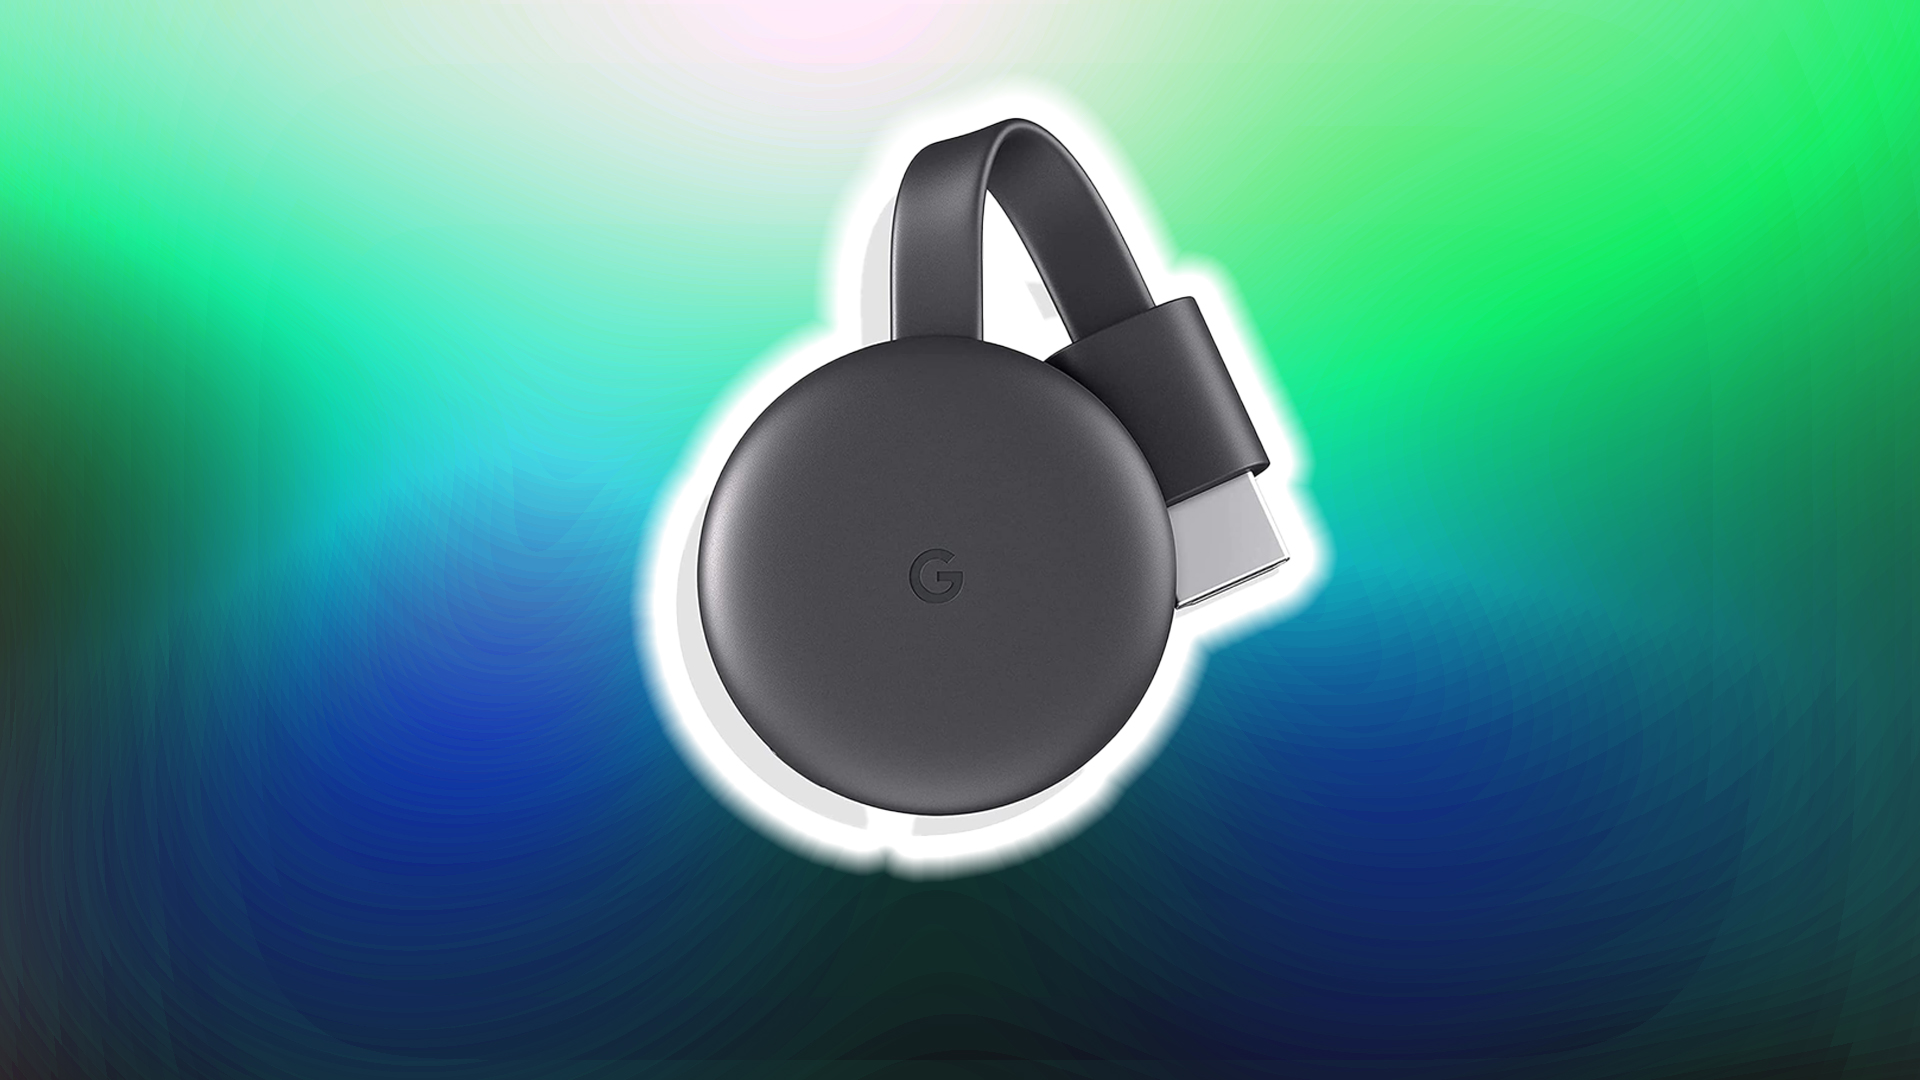
- Plug the Chromecast into a TV’s HDMI port and turn it on.
- Connect your laptop and Chromecast to the same Wi-Fi network.
- In Chrome, click the three-dot menu and select Cast.
- Choose Cast to desktop, pick your laptop screen, then select the Chromecast device.
Conclusion
That wraps up how you can extend your screen from your laptop to your TV. HDMI is consistently the best option in terms of image and audio quality. However, it has drawbacks, such as ports (mini-HDMI), etc., on some laptops, requiring a converter.
Wireless is still a better alternative, but it also has its drawbacks. For example, when there is network congestion or the router is getting old, the image will be blurry, smeared, and not suitable for a PowerPoint presentation.
We provide the latest news and “How To’s” for Tech content. Meanwhile, you can check out the following articles related to PC GPUs, CPU and GPU comparisons, mobile phones, and more:
- 5 Best Air Coolers for CPUs in 2025
- ASUS TUF Gaming F16 Release Date, Specifications, Price, and More
- iPhone 16e vs iPhone SE (3rd Gen): Which One To Buy in 2025?
- Powerbeats Pro 2 vs AirPods Pro 2: Which One To Get in 2025
- RTX 5070 Ti vs. RTX 4070 Super: Specs, Price and More Compared
- Windows 11: How To Disable Lock Screen Widgets
 Reddit
 Email
Email


