Facebook
 Reddit
 Email
Email
Make sure to cleanly uninstall the old driver first before installing the new Nvidia/Radeon GPU driver to avoid any complications.
After buying a new GPU, most users tend to install the new driver without uninstalling the old one first. Players also do the same when updating their GPU drivers. The right way is to do a clean uninstall of the old driver, along with its leftover files. Only after that should you attempt to install the new drivers.
You won’t believe how many BSODs and game crashes I had before I started installing new drivers this way! Since then, I’ve yet to experience any Nvidia/Radeon GPU driver issue. This article will explain how to correctly install a new Nvidia/Radeon GPU driver, starting with the uninstallation first.
Note: Parts of this article are subjective and reflect the writer’s opinions.
How To Uninstall Older GPU Driver
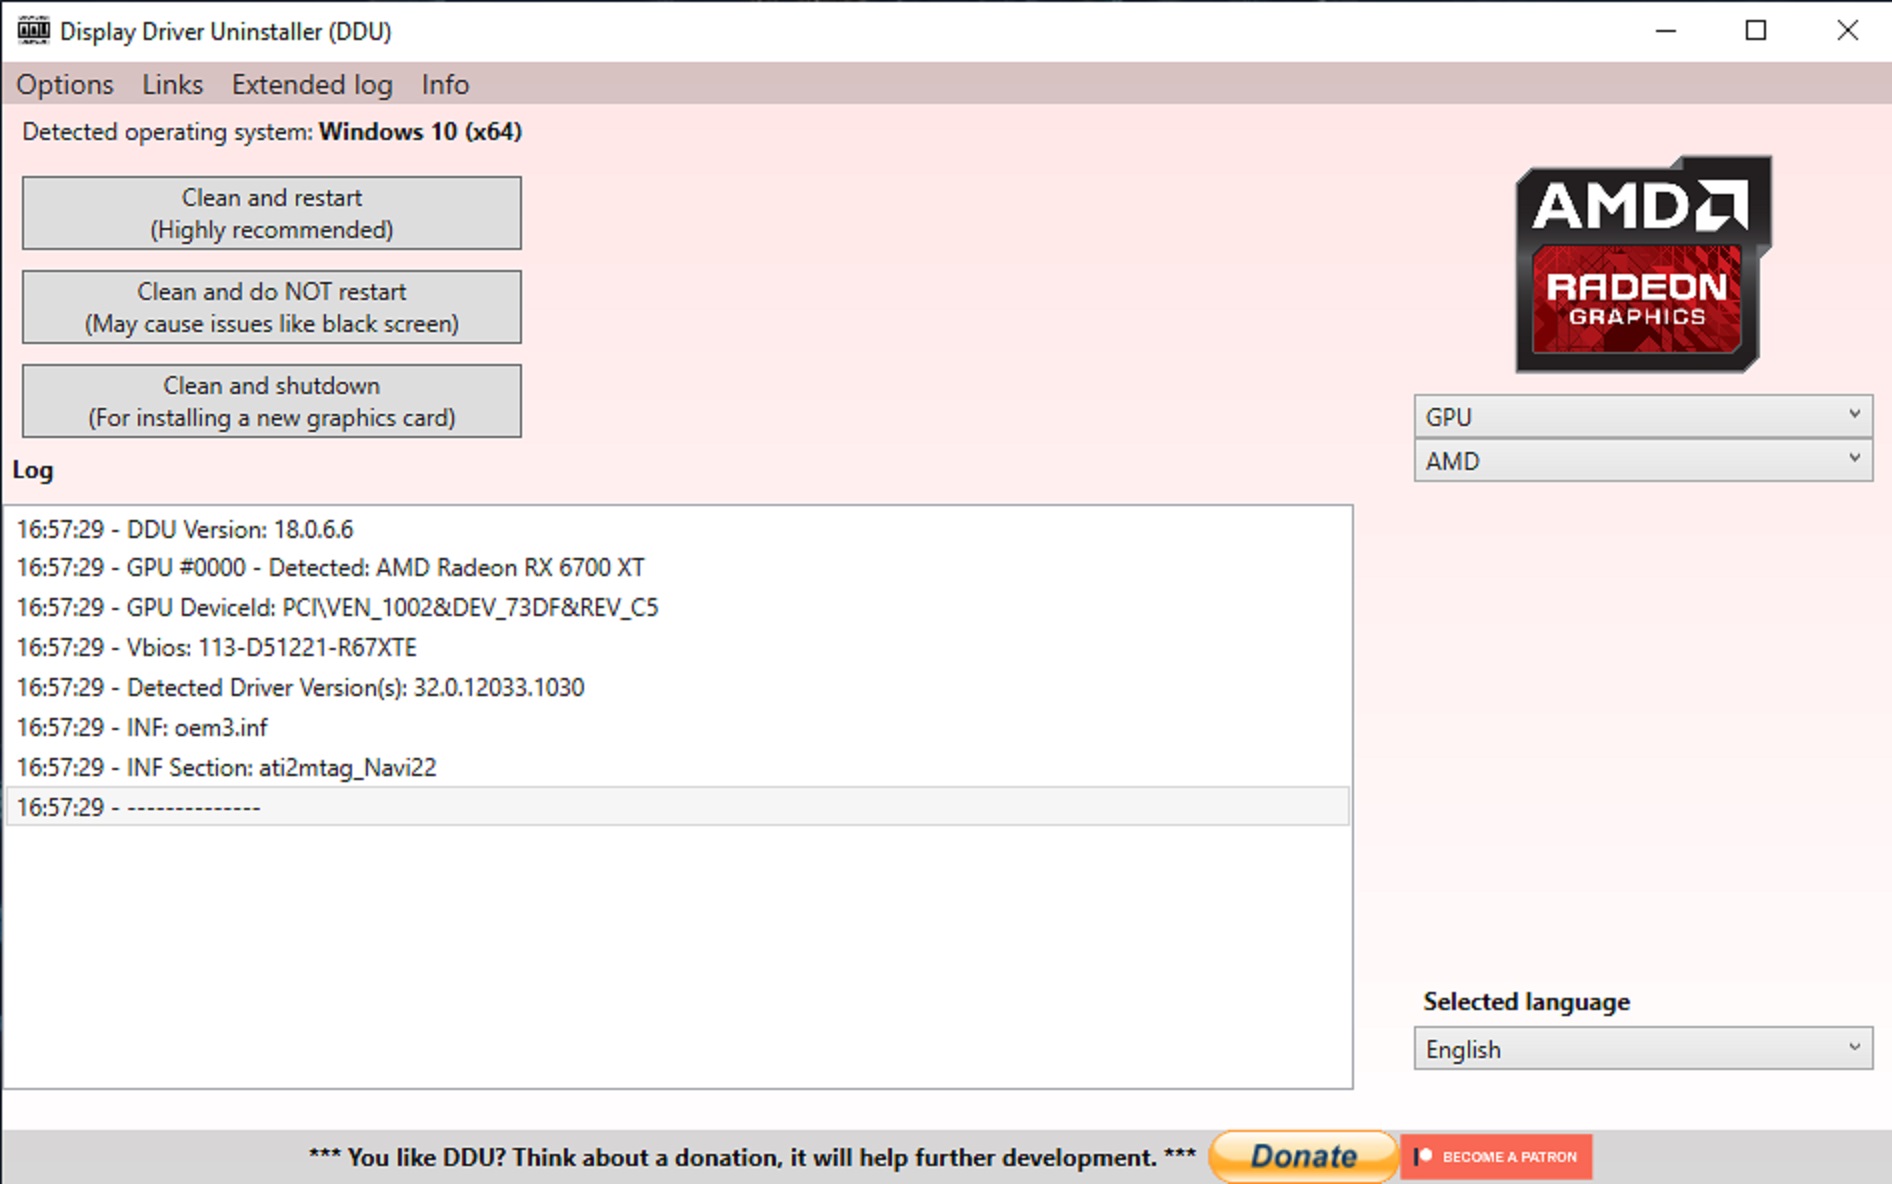
For a clean uninstallation of the old Nvidia/Radeon GPU driver, you will need a tool called DDU, which is short for Display Driver Uninstaller. Here are the steps on how to download and use it for a clean uninstallation:
- Download and install DDU from the Guru3D website.
- Launch DDU and ignore the safe mode warning. Try safe mode only if the uninstallation fails.
- Next, select GPU in the Select Device Type and Nvidia/Radeon GPU in the Select Device.
- Next, click on Clean and restart, and wait for the process to finish uninstallation.
Your PC will automatically restart. Once that’s done, your old GPU driver will be completely gone.
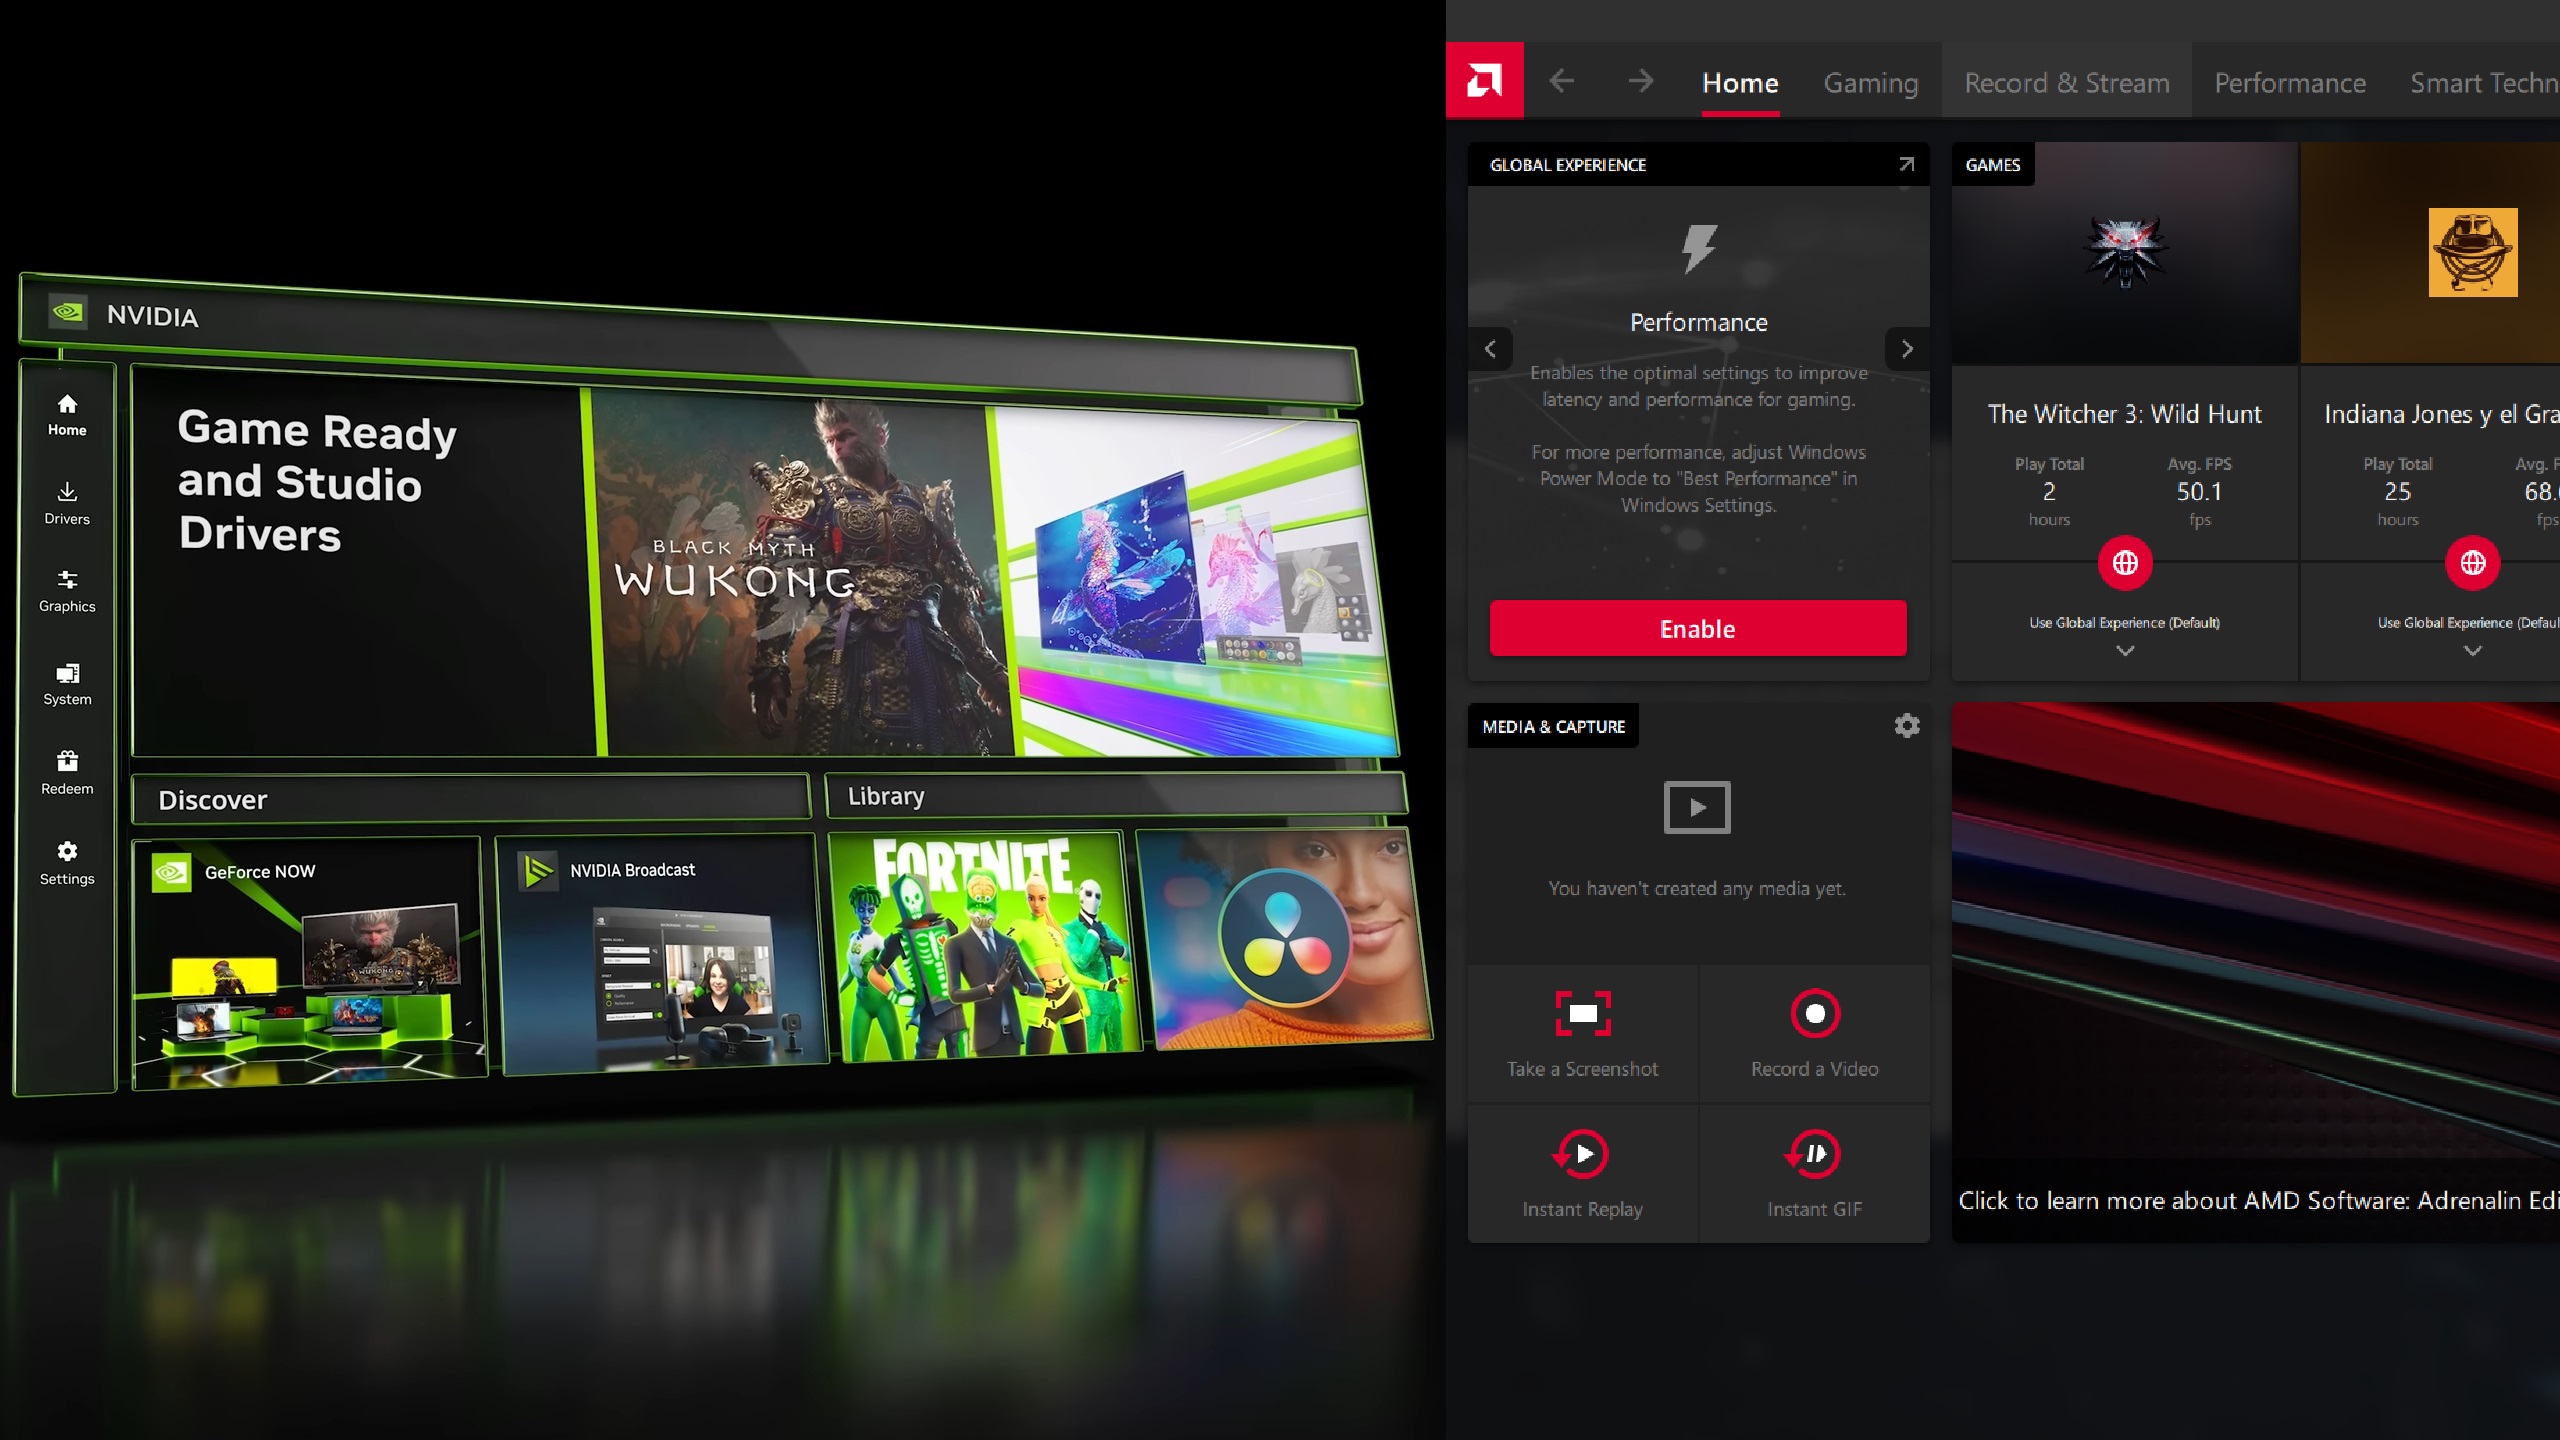
How To Reinstall the Latest Nvidia/Radeon GPU Driver
Now that the old GPU drivers and all their remnants are completely gone, we can finally begin installing the new driver. Follow these steps:
AMD Radeon GPUs
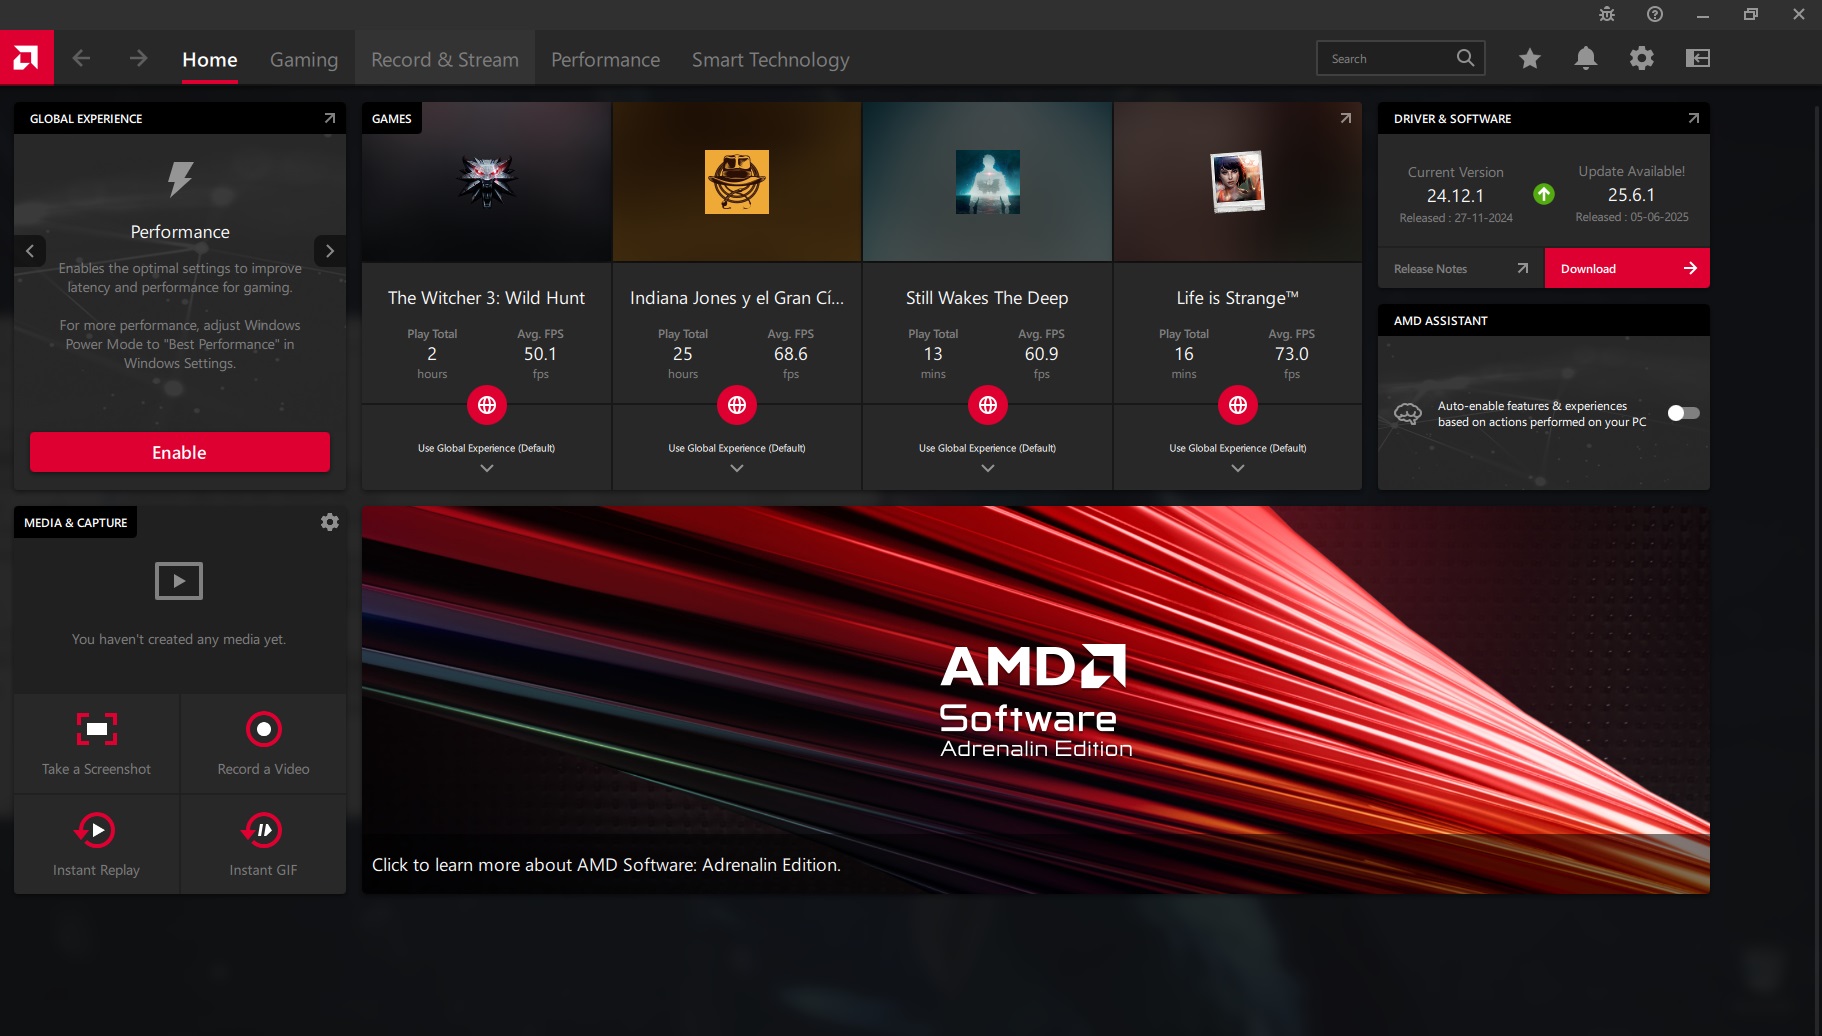
- Download the latest Radeon drivers from AMD’s website and launch the installer.
- In the options screen of the Radeon driver installer, you can select any one option based on your preference: Driver Only, Minimal Installation, and Full Installation.
- Choose one and proceed.
- Restart your PC once installation is finished.
The options are quite self-explanatory. The Driver Only option will install the driver but not the Radeon software. It can run the games without any issues, but you can’t change display settings or use any Radeon Adrenaline features. The Minimal Installation option will provide all the basic display and other settings, but OC/UV tunings and other advanced settings will be missing. Use the Full Installation option for all the features.
Nvidia RTX GPUs
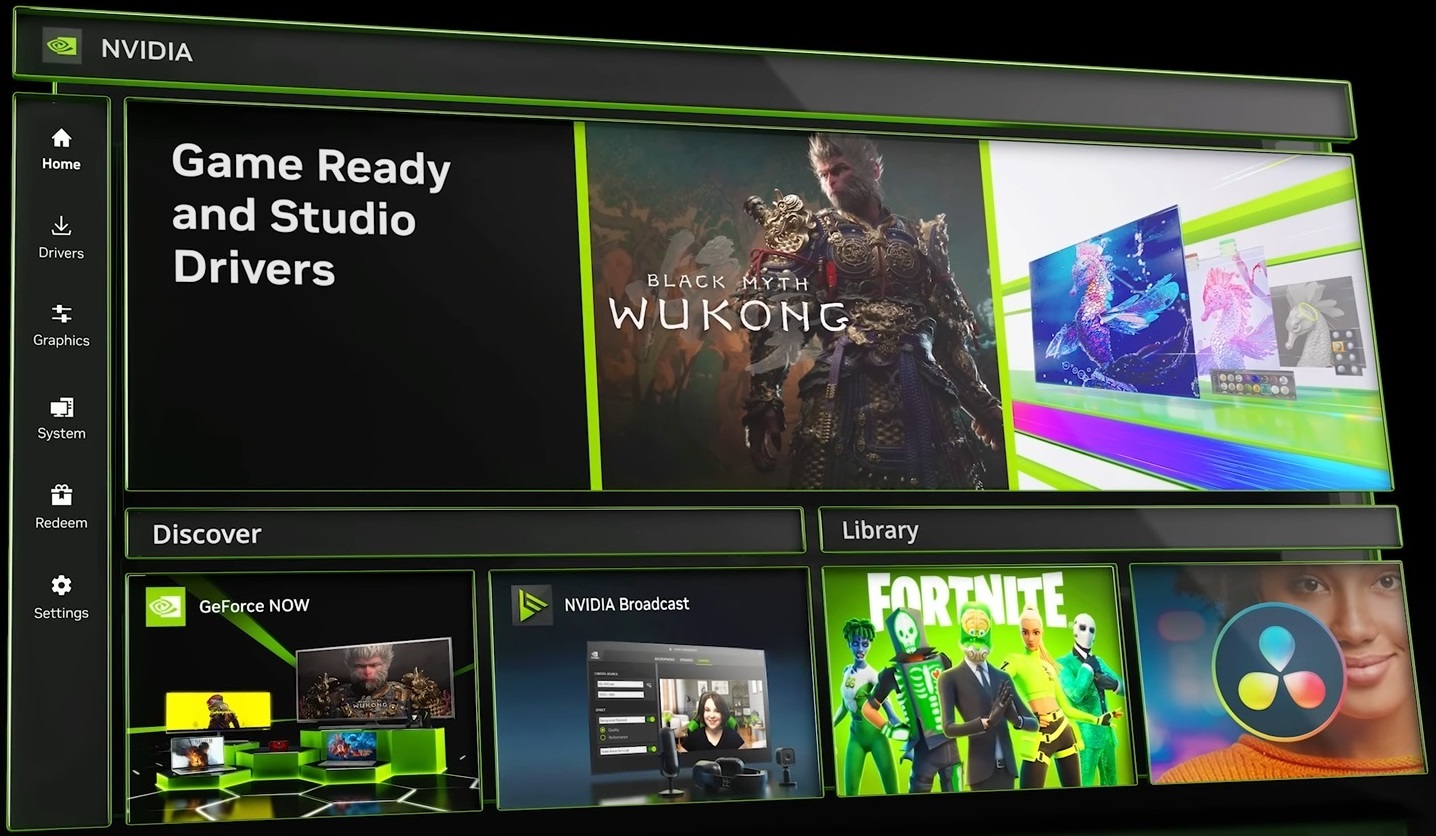
- Download the latest Nvidia drivers from Nvidia’s website and launch the installer.
- In the options screen of the Nvidia driver installer, select Custom Installation.
- On the screen, you will be able to choose to install the Nvidia App and HD Audio driver alongside the main graphics driver.
- Make a choice based on your preference and proceed through the installation.
- Restart your PC once installation is finished.
The Nvidia app is new, but it is not mandatory. You can choose not to install it and use the old Nvidia Control Panel to change anything in the driver. With that said, this is the end of the guide. Follow the same process from the beginning to the end when you want to upgrade your GPU driver again.
We provide the latest news and “How To’s” for Tech content. Meanwhile, you can check out the following articles related to PC GPUs, CPU and GPU comparisons, mobile phones, and more:
- 5 Best Air Coolers for CPUs in 2025
- ASUS TUF Gaming F16 Release Date, Specifications, Price, and More
- iPhone 16e vs iPhone SE (3rd Gen): Which One To Buy in 2025?
- Powerbeats Pro 2 vs AirPods Pro 2: Which One To Get in 2025
- RTX 5070 Ti vs. RTX 4070 Super: Specs, Price and More Compared
- Windows 11: How To Disable Lock Screen Widgets