Facebook
 Reddit
 Email
Email
Learn how to install RAM in a desktop PC the correct way to avoid common mistakes and unlock extra performance in your system.
Installing RAM in your desktop PC can be one of the most straightforward processes. It’s as simple as it gets: find the supported memory type (DDR4 or DDR5) for your processor, pair it with the supported size in both the motherboard and processor, install it, and then use it. Yeah, it’s that simple. You see, there are RAM slots, scaling from 2 to 8 depending on your motherboard’s maximum supported memory, and the processor, of course. However, there are a few catches: you can install RAM sticks one after another on a 2-DIMM motherboard, but when it comes to 4-DIMM and above, this becomes a bit tricky. Below is an article that helps you optimally install memory modules in your PC.
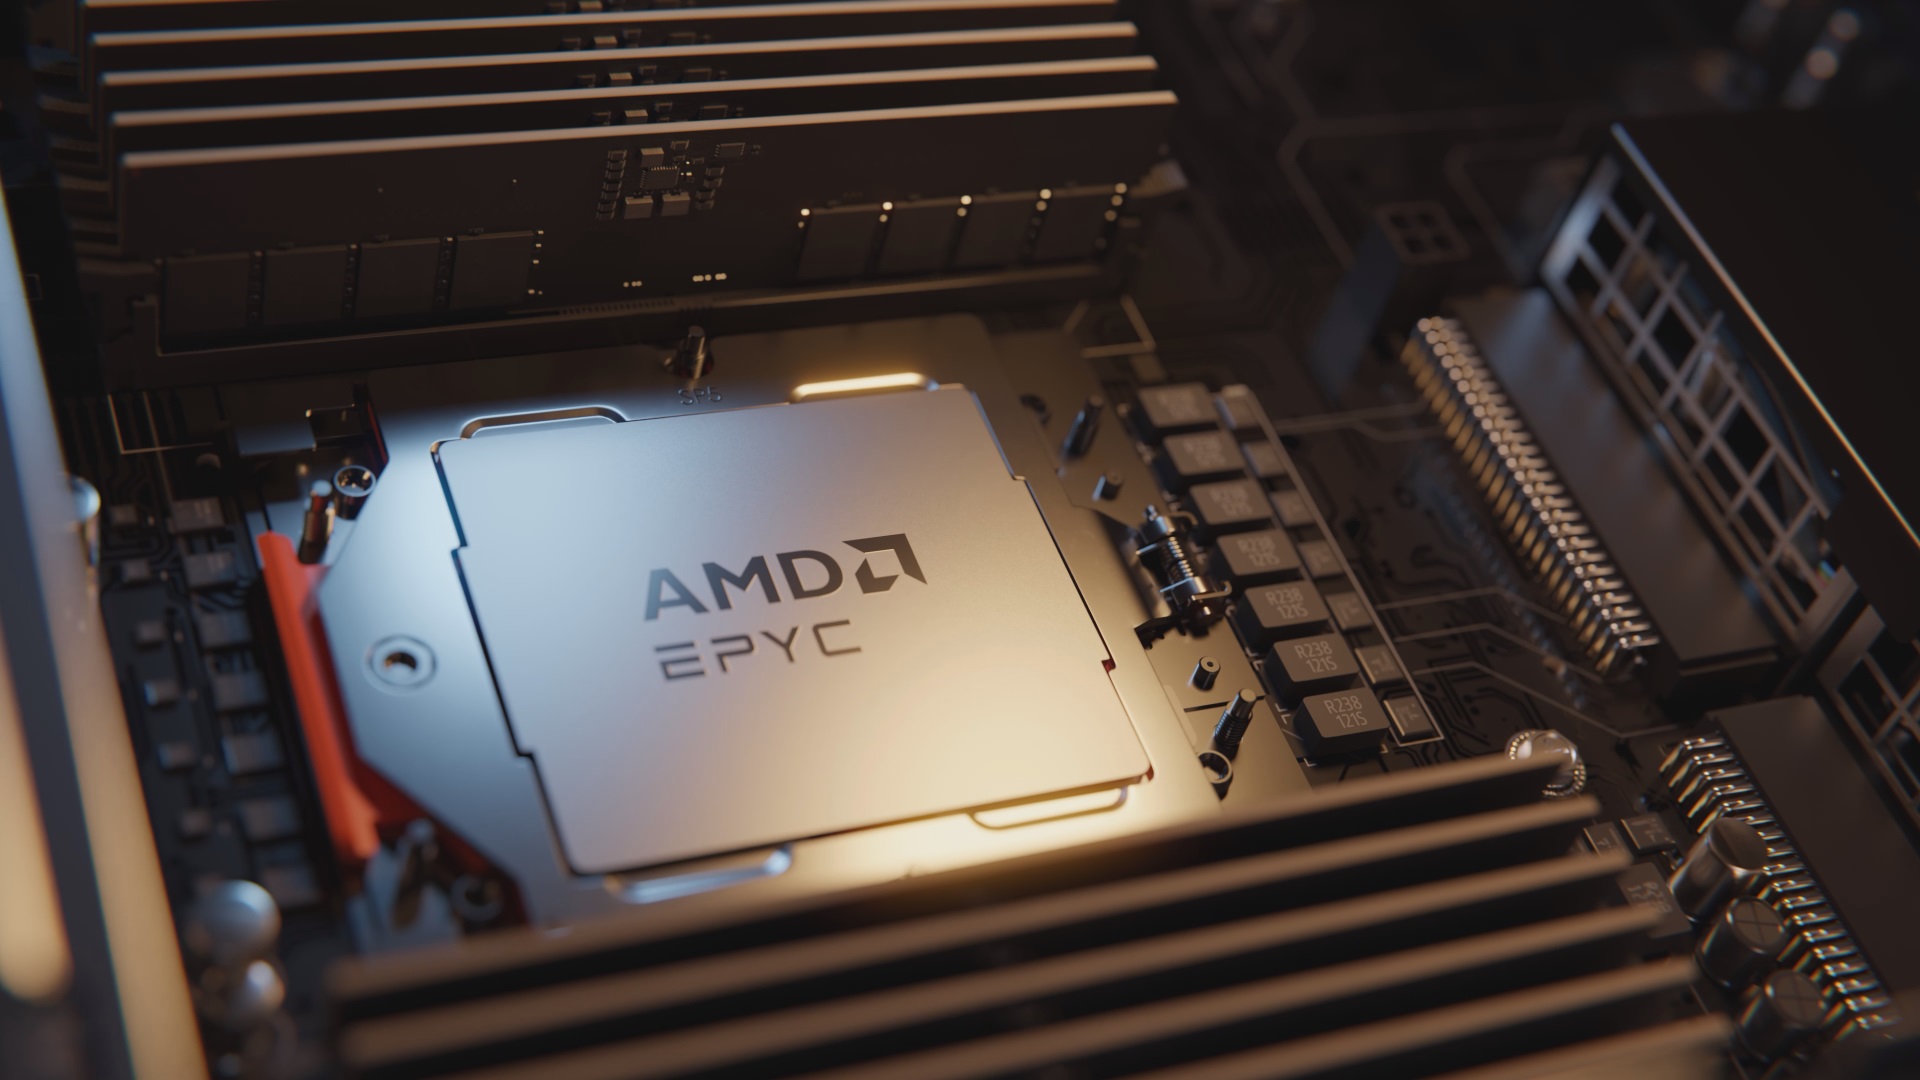
How to Optimally Install RAM in Your Desktop PC
Note: Although the RAM modules in the image above are not the same model, they use identical memory ICs, ensuring seamless compatibility. This is an advanced use case and requires the user to have proficient knowledge of memory tuning and overclocking.
Before proceeding with the steps, it is essential to understand what the term DIMM stands for and what memory channels are. DIMM stands for Dual-Inline Memory Module. It’s a long, thin circuit board with RAM (memory) chips and a row of pins that connect directly to your motherboard. Memory channels are the pathways between your RAM and CPU. As mentioned earlier, a 2-DIMM and 4-DIMM motherboard correspond to dual-channel configurations; technically, quad-channel configurations are 8-DIMM boards. More channels, as supported by your CPU, result in better memory bandwidth, improved system performance, and increased responsiveness.
Common Mistakes Users Make
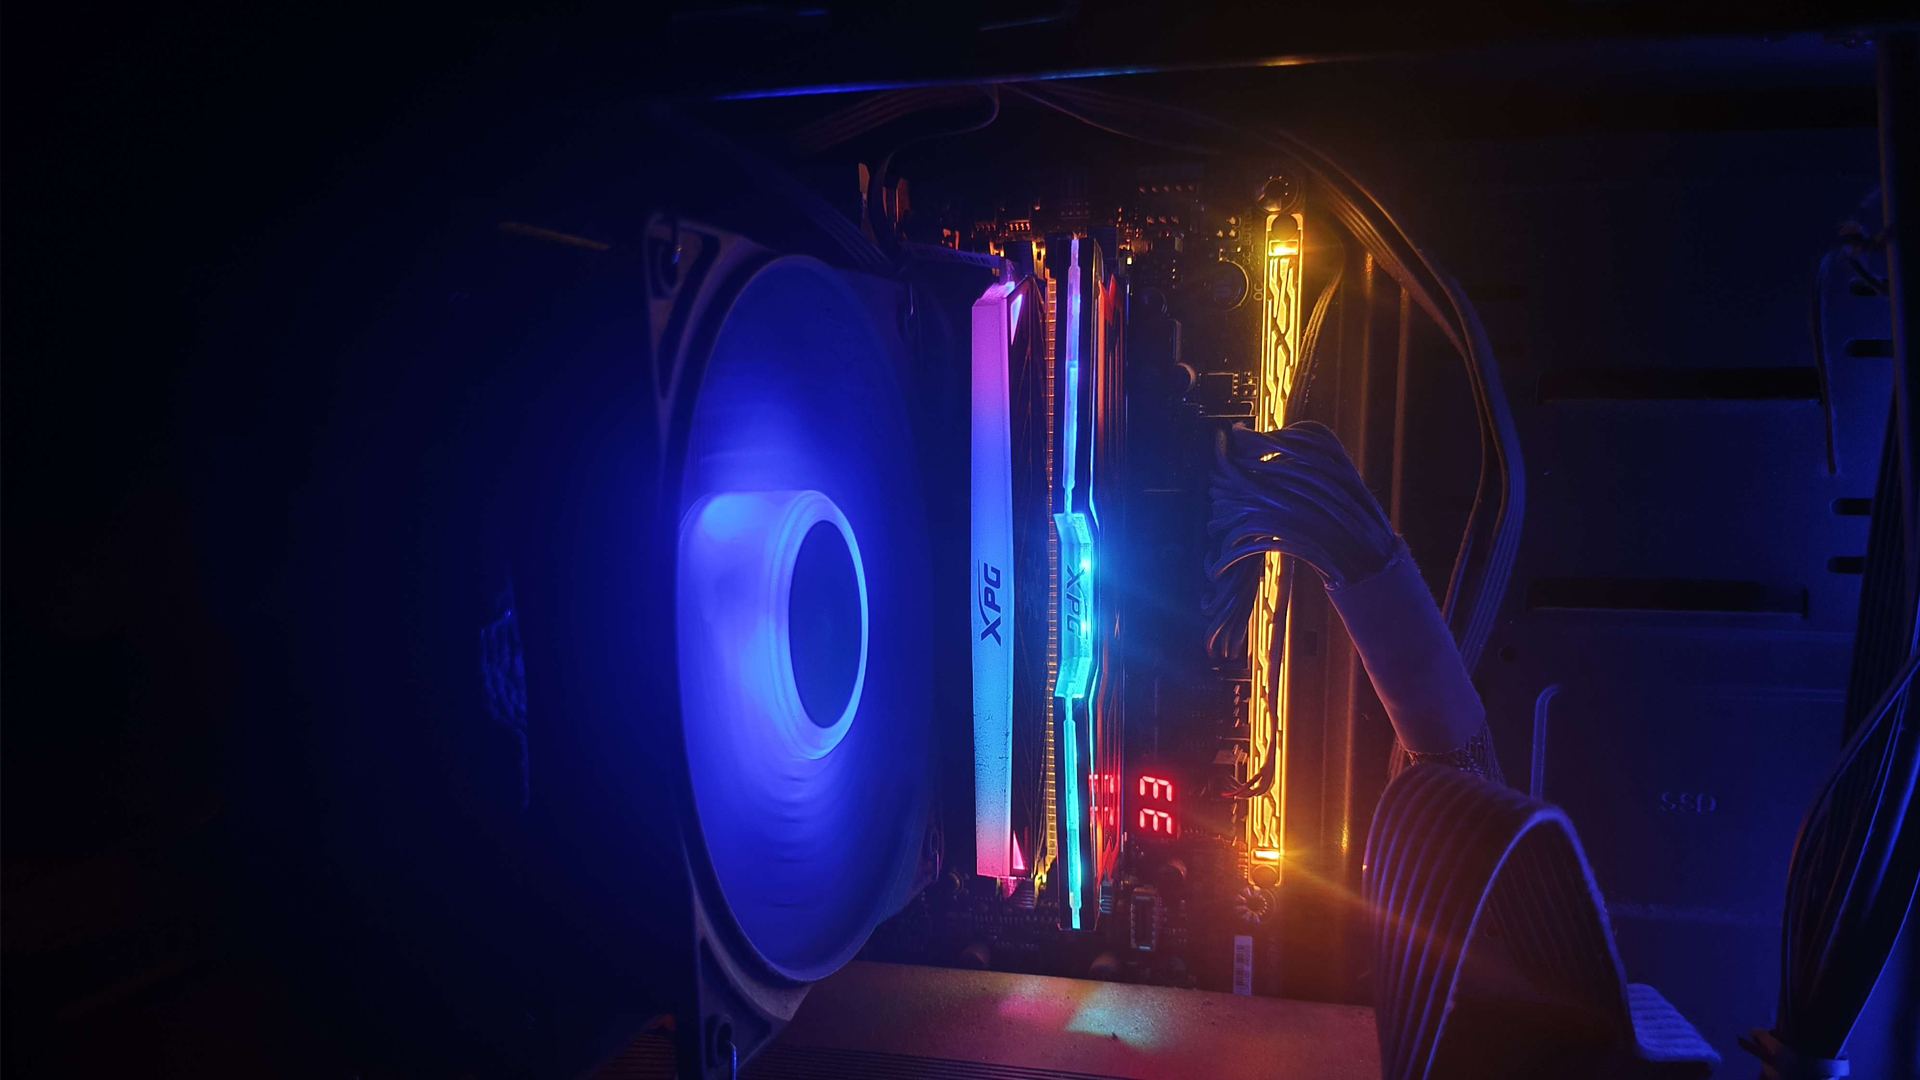
What most users do is install one stick of RAM and install it in a random slot. This is doable, but if you refer to your motherboard’s manual, you will find a slot specifically designated for this use case. As for 4-DiMM boards, users putting two sticks of RAM in random slots will technically throttle performance, as the motherboard cannot properly utilize them. As shown in the image above, that’s the correct way to install a RAM slot in your motherboard. Although you will find recommended slots assigned in the manual, it provides a clear picture of how to install.
When it comes to filling up the four slots, ensure that the memory modules are all identical; otherwise, there will be a lot of compatibility issues. For example, memory sticks will be detected, but you will see that only 16 GB out of 32GB is usable. No matter what you try, you cannot fix this simply because the RAM sticks are incompatible. Now that the basics are covered, here’s how to install RAM in your PC.
Steps to Install
- Power off the PC and unplug the power cables.
- Press the power button on the case for 5 seconds to drain any possible residual charge from your power supply.
- Ground yourself by touching the PC cabinet or wearing an anti-static wrist strap.
- Remove the side panel and expose the motherboard (This process is for upgrading or Reinstalling RAM). If you’re building a new DIY PC, the RAM slots will be empty.
- Locate the RAM slots beside the CPU socket, and ensure that your CPU cooler is not obstructing them.
- Open the plastic or metal clips on both ends of the target slot. (Some motherboards have an auto latch mechanism, and you won’t find clips there.)
- Align the RAM stick’s notch with the slot key.
- Firmly press down until both clips snap into place; you will hear a clicking noise when they are correctly positioned. You will still hear a clicking noise on motherboards with an auto latch mechanism.
- Reattach the side panel and reconnect the power cables.
- Power on the PC and enter BIOS/UEFI to verify the new memory.
Note: After a successful boot, in the case of XMP or EXPO, you can restart your PC and enter the BIOS to enable the technology (XMP/EXPO). Then, select the profile that offers the highest speed, and you are done. Now you can enjoy the extra performance you paid for.
Conclusion
And that’s pretty much it. As long as you follow all the details mentioned here correctly, such as RAM type, Size, Compatibility, and so on, the installation process will be successful.
We provide the latest news and “How To’s” for Tech content. Meanwhile, you can check out the following articles related to PC GPUs, CPU and GPU comparisons, mobile phones, and more:
- 5 Best Air Coolers for CPUs in 2025
- ASUS TUF Gaming F16 Release Date, Specifications, Price, and More
- iPhone 16e vs iPhone SE (3rd Gen): Which One To Buy in 2025?
- Powerbeats Pro 2 vs AirPods Pro 2: Which One To Get in 2025
- RTX 5070 Ti vs. RTX 4070 Super: Specs, Price and More Compared
- Windows 11: How To Disable Lock Screen Widgets