Installing a new OS is not easy, and doing it on a handheld device like the ROG Ally can be more confusing, but this guide will help you.
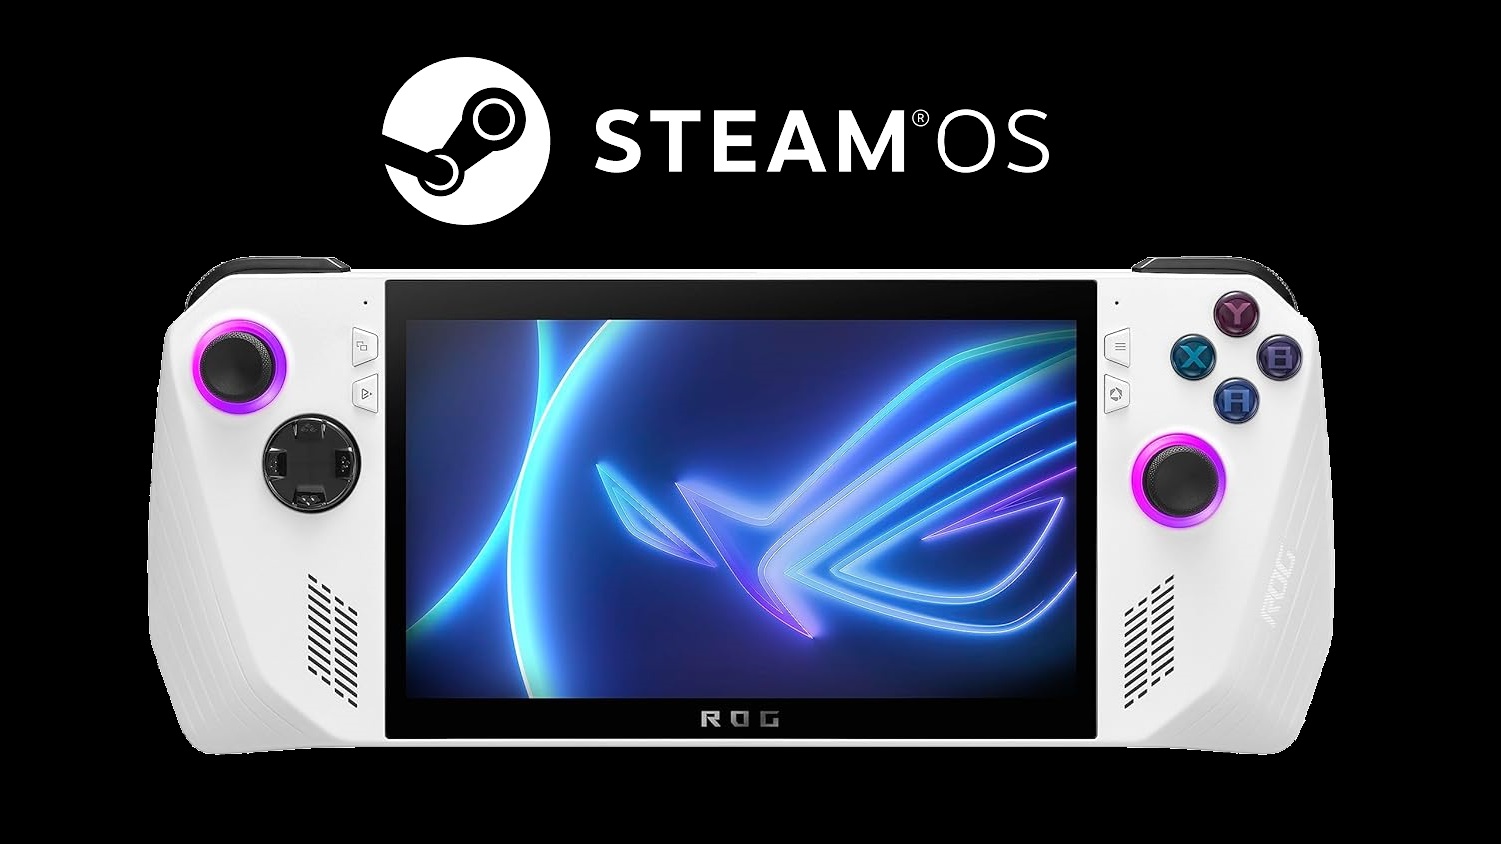
The ASUS ROG Ally is pre-installed with the Windows 11 operating system, which many users feel is an unpleasant experience compared to what they get on a Steam Deck. The SteamOS is one of the main reasons why many users end up buying the Steam Deck. However, Valve has now released SteamOS for more handhelds, including ROG Ally.
However, installing the SteamOS on ROG Ally isn’t as straightforward as you think. That’s why we have prepared a comprehensive guide to help you install and get SteamOS up and running again.
Note: The installation process will wipe your data on the ROG Ally. Make sure to back up your device before proceeding.
Pre-requisites for installing SteamOS on ASUS ROG Ally

You will need to perform a few prerequisites before you can begin installing SteamOS on your ASUS ROG Ally. Here they are:
Preparing the USB Drive
- Download the SteamOS recovery image from here.
- Next, download Rufus Utility and run it on your ROG Ally.
- Next, you will need a USB-C flash drive with a minimum of 4GB storage capacity. If you don’t have a USB-C drive, then get a USB-A to USB-C adapter.
- Insert the adapter in your ROG Ally and run Rufus.
- In the Rufus app, select the USB drive in the first section and select the SteamOS ISO you downloaded earlier. The ISO could be named SteamDeck instead of SteamOS, so don’t get confused.
- After that, begin the writing process in Rufus and wait for it to finish writing.
Preparing ROG Ally for SteamOS
- Launch the Start Menu and tap on Restart from the Power options.
- Press and hold the Volume + button quickly after you tap the restart option. You must press and hold the Volume + button before the restart process begins.
- Keep holding the Volume + button until you see a menu with a few options in the middle of the screen.
- Use the D-pad buttons to select “Enter Setup,” and then press the A button on your ROG Ally.
- You will now enter the BIOS screen on your Ally. Press the Y button to access advanced settings.
- Next, use the RB/R1 button to change tabs to “Security.” The RB button means the right shoulder button and not the trigger.
- Once you are in the Security, use the D-pad buttons to enter “Secure boot.”
- Next, click on the Secure Boot Control option and select “Disabled.”
- Next, use the RB/R1 button to go to the “Save & Exit” tab and select “Save Changes and Reset.”
Steps To install SteamOS on ROG Ally

We can begin the installation process if all the prerequisites are complete and ready. Here are the steps to the installation process of SteamOS on ROG Ally:
- Before proceeding further, back up all your data in Windows because everything will be deleted, including Windows.
- Insert the USB drive in your ROG Ally if it’s not inserted already.
- In Windows, click on restart, and press and hold the Volume + button as soon as you tap the restart option.
- A new window will appear, and you must choose the USB drive here. Please ensure the name of the drive you selected is as follows- UEFI: Your USB Drive Name Partition 1.
- Once you choose your drive, the ROG Ally will boot from it, and you will soon see the SteamOS desktop mode.
- Launch the option called “Reimage Steam Deck” at the top-left corner of the SteamOS desktop mode.
- It will warn you that everything will be deleted. Select “Proceed,” and the installation of SteamOS on ROG Ally will begin.
- After the installation, it will ask you to click the “Proceed” button to restart.
- Click the “Proceed” button and take out the flash drive.
SteamOS is now installed successfully. After restarting, it will ask you to set up SteamOS on your ROG Ally. You should do that according to your preferred choices.
Final Thoughts
SteamOS runs on the ROG Ally quite well with no issues. The only thing that doesn’t work is the TDP control, which will arrive later. Therefore, your ROG Ally will run on 15W by default, which is what the Steam Deck also targets.
We provide the latest news and “How To’s” for Tech content. Meanwhile, you can check out the following articles related to PC GPUs, CPU and GPU comparisons, mobile phones, and more:
- 5 Best Air Coolers for CPUs in 2025
- ASUS TUF Gaming F16 Release Date, Specifications, Price, and More
- iPhone 16e vs iPhone SE (3rd Gen): Which One To Buy in 2025?
- Powerbeats Pro 2 vs AirPods Pro 2: Which One To Get in 2025
- RTX 5070 Ti vs. RTX 4070 Super: Specs, Price and More Compared
- Windows 11: How To Disable Lock Screen Widgets
 Reddit
 Email
Email
