Facebook
 Reddit
 Email
Email
Learn how to properly clean your mechanical keyboard at home, from quick wipe-downs to deep cleaning with keycap removal and drying tips.
There’s a good chance you haven’t cleaned your mechanical keyboard since the day you unboxed it. You’re not alone; it’s one of those tasks people tend to ignore until something starts to feel off. Maybe a key doesn’t press quite right. Maybe there’s gunk building up around the edges. Or perhaps you just noticed that weird, greasy shine spreading across your most-used keys and if you aren’t using a keyboard with double-shot keycaps, the printed letters are probably slowly starting to rub off. Whatever the case, at some point, every board starts begging for a proper clean.
You don’t need a technician, special tools, or hours of free time. Most of the grime that gets into a keyboard is stuff you can deal with at home. A little bit of care goes a long way, and once you’ve done it, you’ll wonder why you waited so long.
What You’ll Need to Properly Clean a Mechanical Keyboard
No need to overthink this. If you’re just doing a light clean-up, a microfiber cloth and a soft brush are good enough. Want to go deeper? Add a keycap puller, some isopropyl alcohol, which is 70% or stronger, and a small bowl with a bit of dish soap and warm water. A can of compressed air is nice to have, but not necessary. If you don’t have it, a dry brush or even blowing the debris out gently will do. Just be careful while using liquid or cleaning sprays. And unplug your keyboard. Don’t clean while it’s powered on.
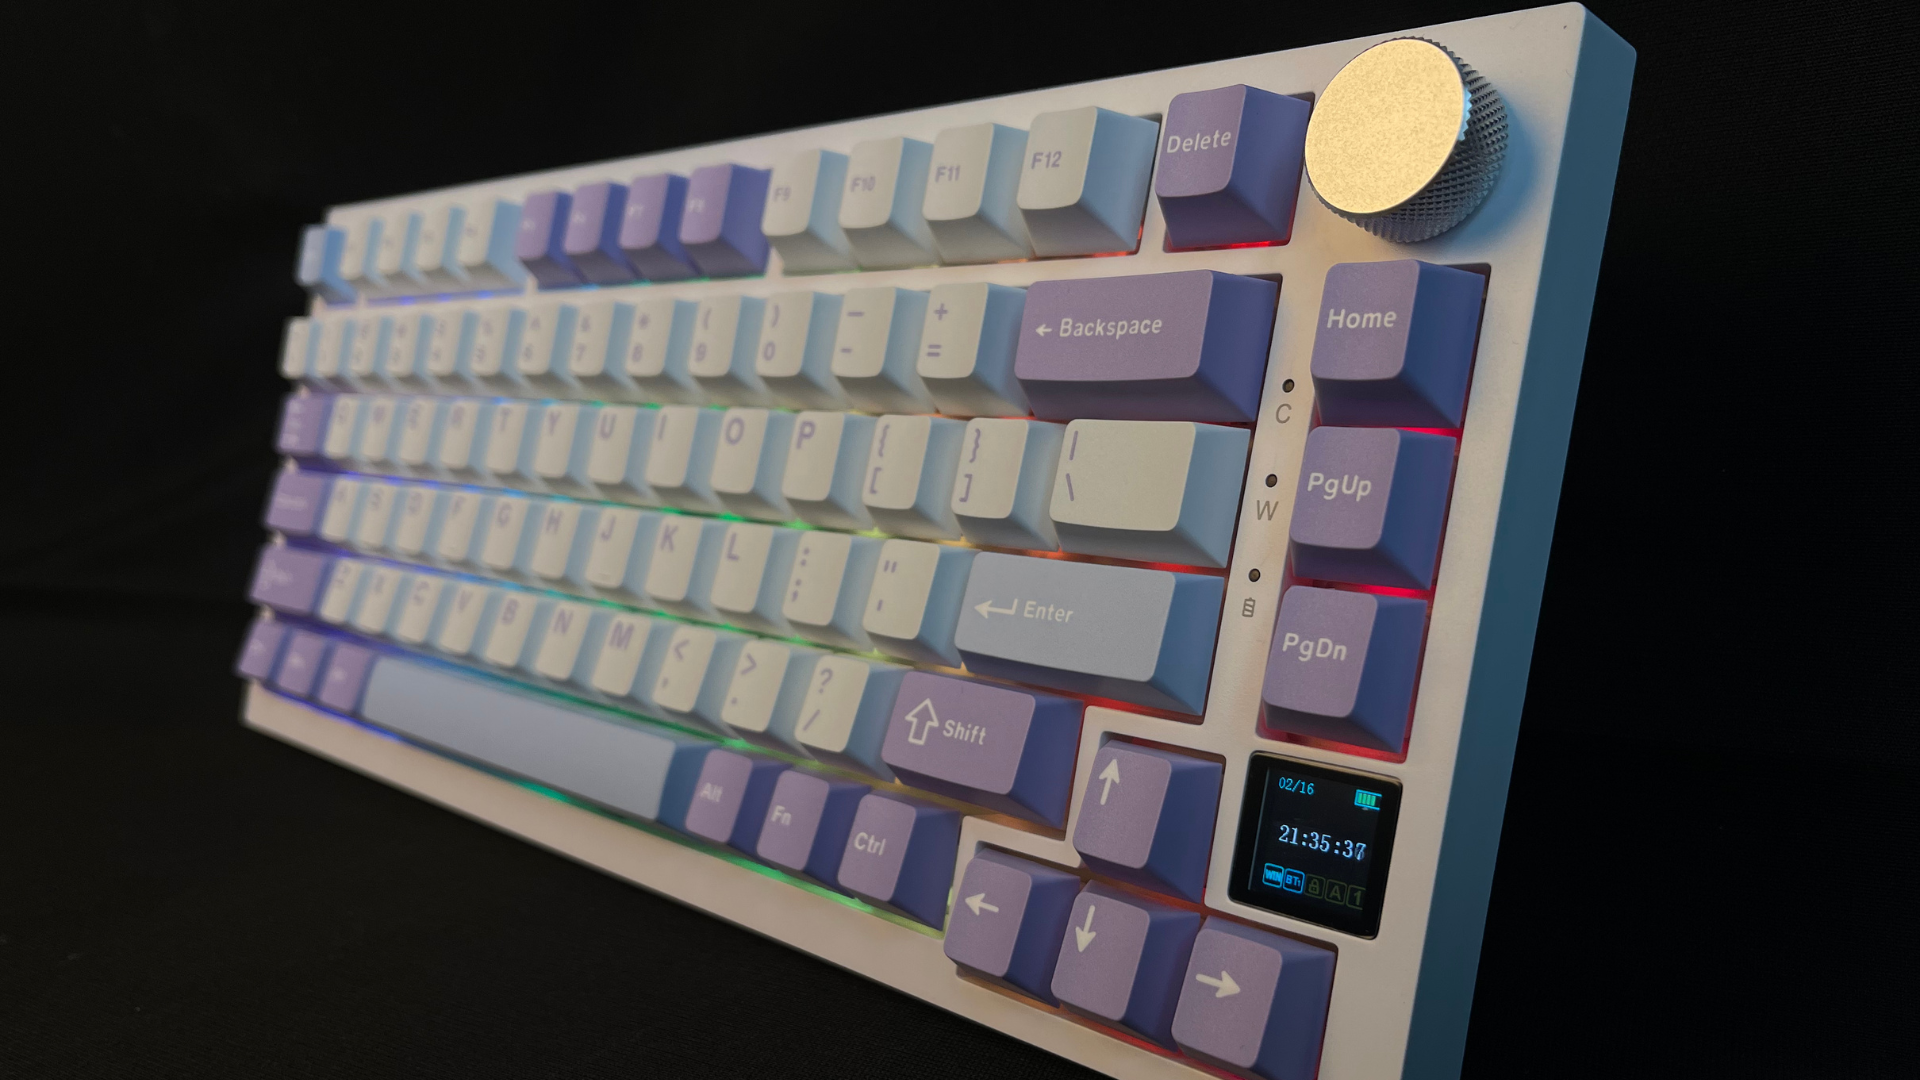
A Quick Clean-Up
Honestly, most people never even flip their keyboard over. Just try it once. Hold it upside down and give it a couple of taps against your palm or over a towel. You’ll see what I mean. Little flecks of whatever have settled in between the keys and will come falling out. Bread crumbs, lint, bits of snack wrappers, whatever. Take a clean cloth, ideally microfiber, and wipe down the top. Don’t soak it. If you’ve got some rubbing alcohol, dab a bit on a cotton swab or the corner of the cloth and go over the keys with light pressure. That’s all you need to do for a once-a-week cleanup. If you’ve got pets or snack while you game, you might want to do this more often.
Full Keycap Removal and Plate Cleaning
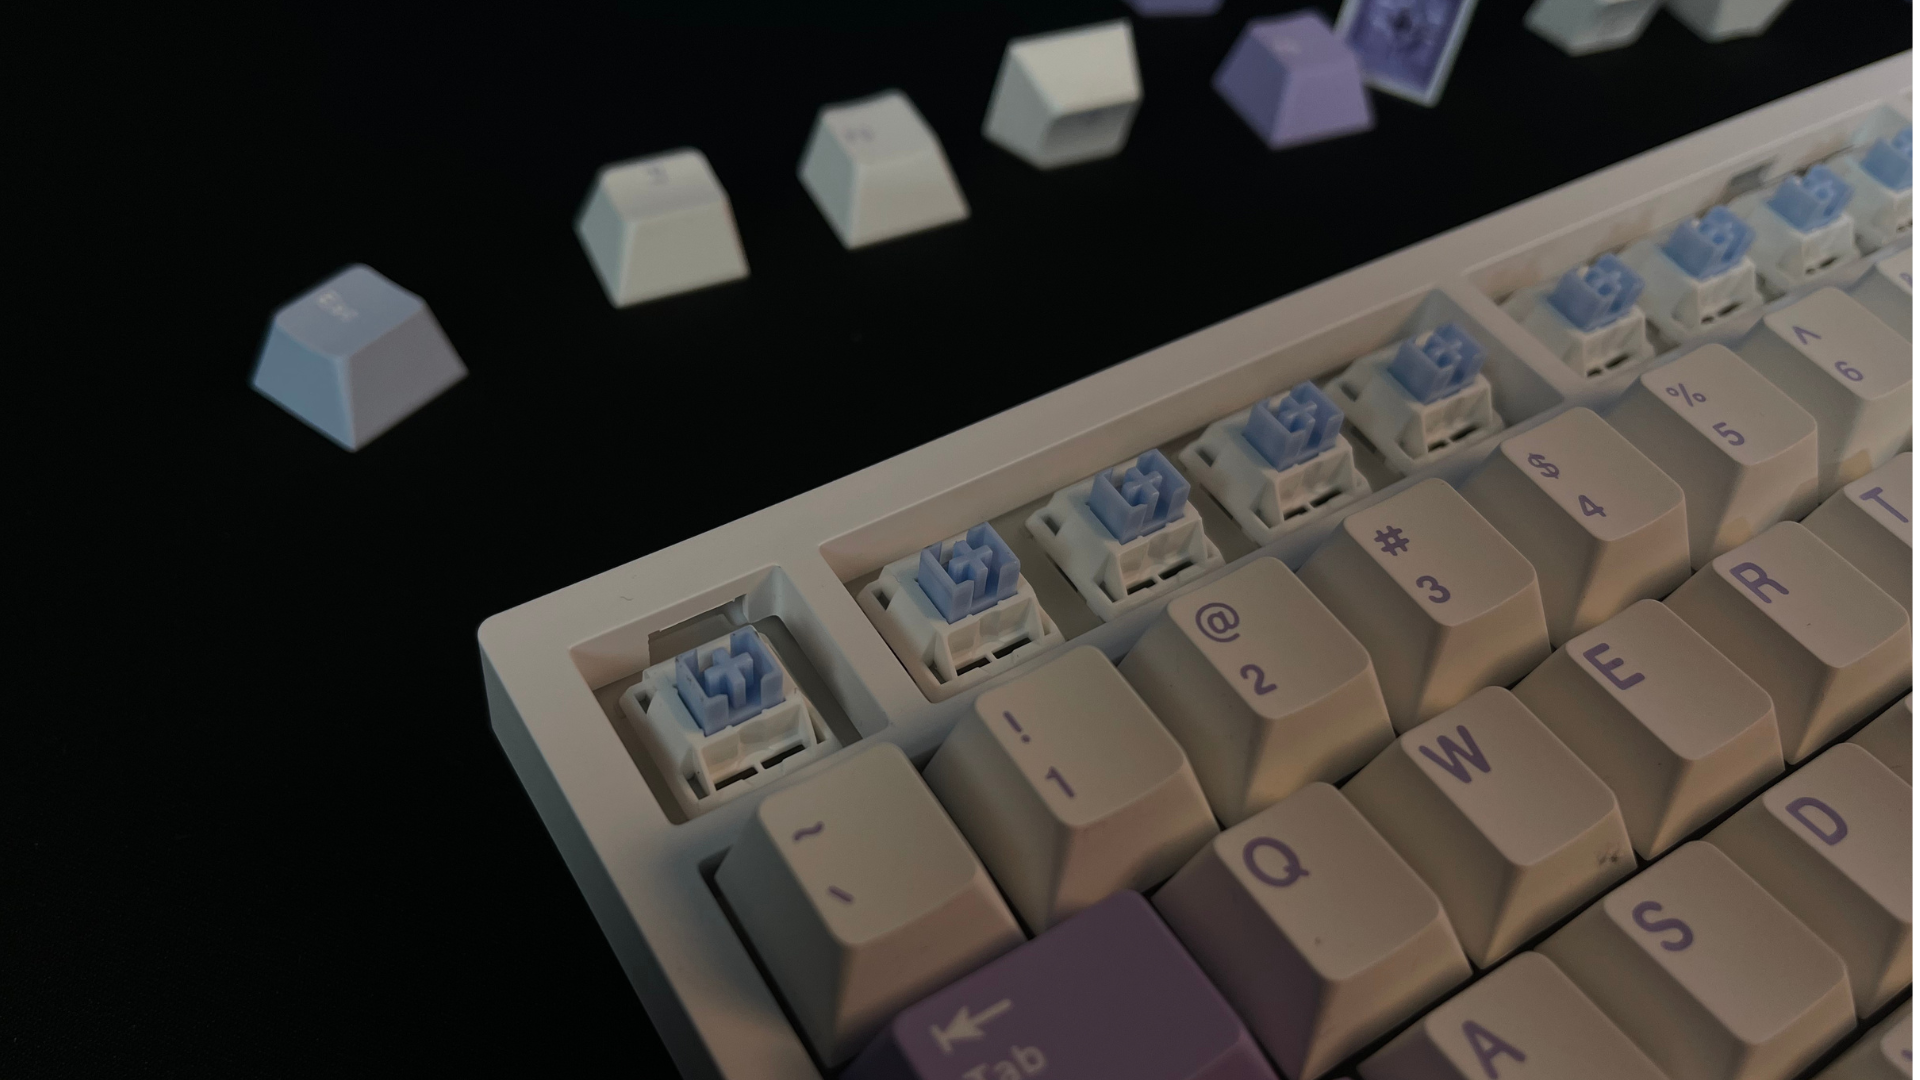
Now, if you’ve got the time and want to actually bring your keyboard back to “like new” status, here’s where it gets slightly more involved, but still manageable. Grab your keycap puller and gently pop the caps off. Don’t rush this. Wiggle and lift. Some keys, like the spacebar or larger modifiers, have stabilizers and will need a gentler tug to remove the keycaps. Take a quick photo of your layout if you’re not 100% confident you’ll remember where everything goes.
Now, take a bowl and add some lukewarm water to it. Drop in the keycaps with some dish soap in the bowl. Let them soak for half an hour or so; there’s no exact time limit. After that, rinse them and lay them out on a dry towel. Let them sit overnight. If you put them back while even slightly damp, you run the risk of corrosion on the metal components of the switch, like the springs and the pins.
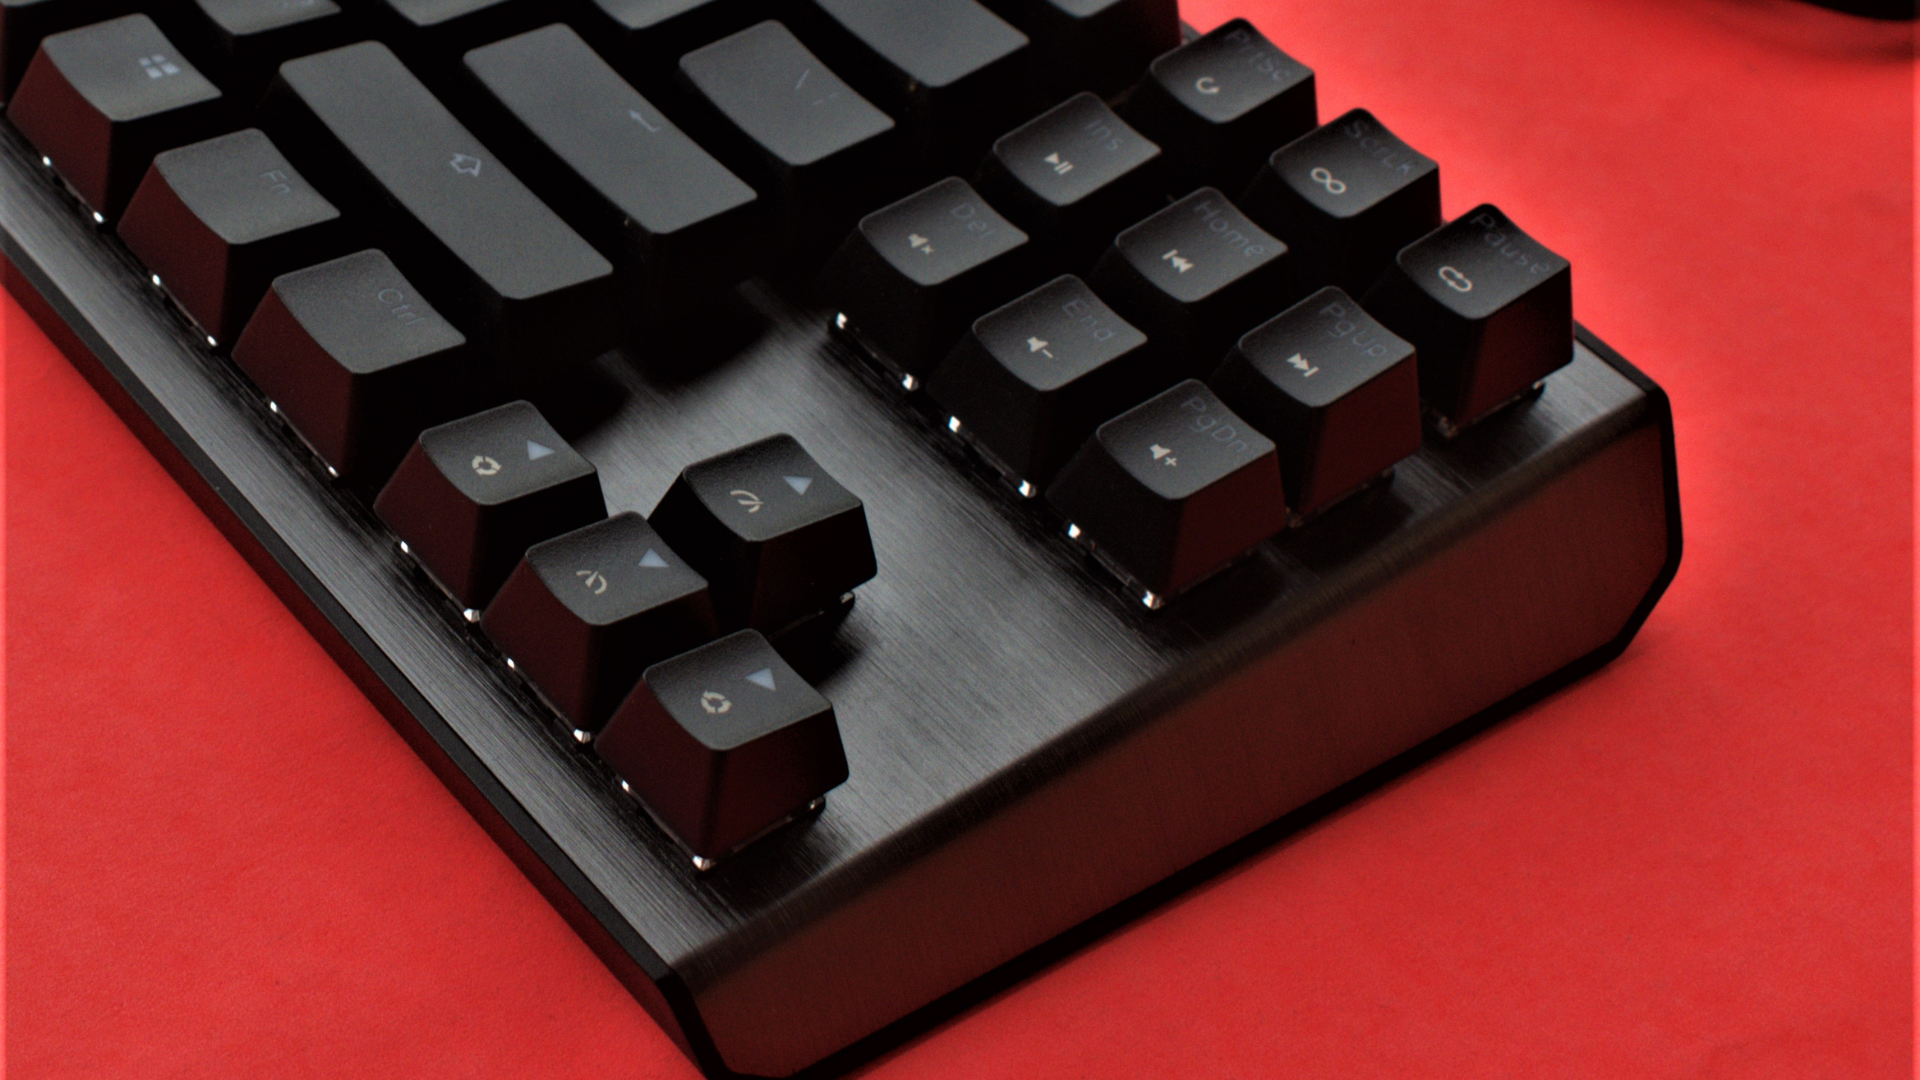
While those are drying, take a soft brush or use a can of compressed air to clean around the switch housings. You’ll probably see a fair bit of buildup here. For stubborn grime, dip a cotton swab in alcohol and gently rub the surface. The alcohol evaporates quickly, so it’s safe to use, just don’t let it drip into the board. If you’re the kind of person who loves modding and you’ve got a hot-swappable board, pull the switches and clean underneath. But for most people, that’s overkill.
Mistakes to Avoid When Cleaning Mechanical Keyboards
- Don’t spray anything directly onto the keyboard. That goes for cleaners, water, or isopropyl alcohol. If you’ve ever cleaned electronics before, this is obvious, but it’s worth repeating.
- Second, no bleach. No vinegar. No “multipurpose kitchen spray.” Those can strip legends off keycaps or discolor the plastic.
- Don’t rush the drying. A keycap that looks dry on the outside can still have moisture inside the stem. Give it a few hours minimum, or just leave them overnight as mentioned earlier.
Putting It Back Together
Once everything’s dry, press each cap back into place. You’ll hear a slight snap as they fit back onto the switch stems. Reference your earlier photo if anything feels off. If you reassembled it right, the board should feel tighter and more responsive, not stiff, just refreshed.
Before you jump into a game or work session, open something like keyboardtester.com and check that every key registers. If a few feel wobbly or don’t respond, pull them off again and check for leftover debris. You don’t have to clean your mechanical keyboard weekly, but every couple of months? It’s worth it. Especially if you use it every day. A keyboard is one of those things you forget to appreciate until it starts acting up. And by then, you’re probably long overdue for a proper clean-up.
We provide the latest news and “How To’s” for Tech content. Meanwhile, you can check out the following articles related to PC GPUs, CPU and GPU comparisons, mobile phones, and more:
- 5 Best Air Coolers for CPUs in 2025
- ASUS TUF Gaming F16 Release Date, Specifications, Price, and More
- iPhone 16e vs iPhone SE (3rd Gen): Which One To Buy in 2025?
- Powerbeats Pro 2 vs AirPods Pro 2: Which One To Get in 2025
- RTX 5070 Ti vs. RTX 4070 Super: Specs, Price and More Compared
- Windows 11: How To Disable Lock Screen Widgets