Facebook
 Reddit
 Email
Email
Windows 10’s support will end on October 14, 2025, so we recommend that users upgrade to Windows 11. We have a guide to help you do that.
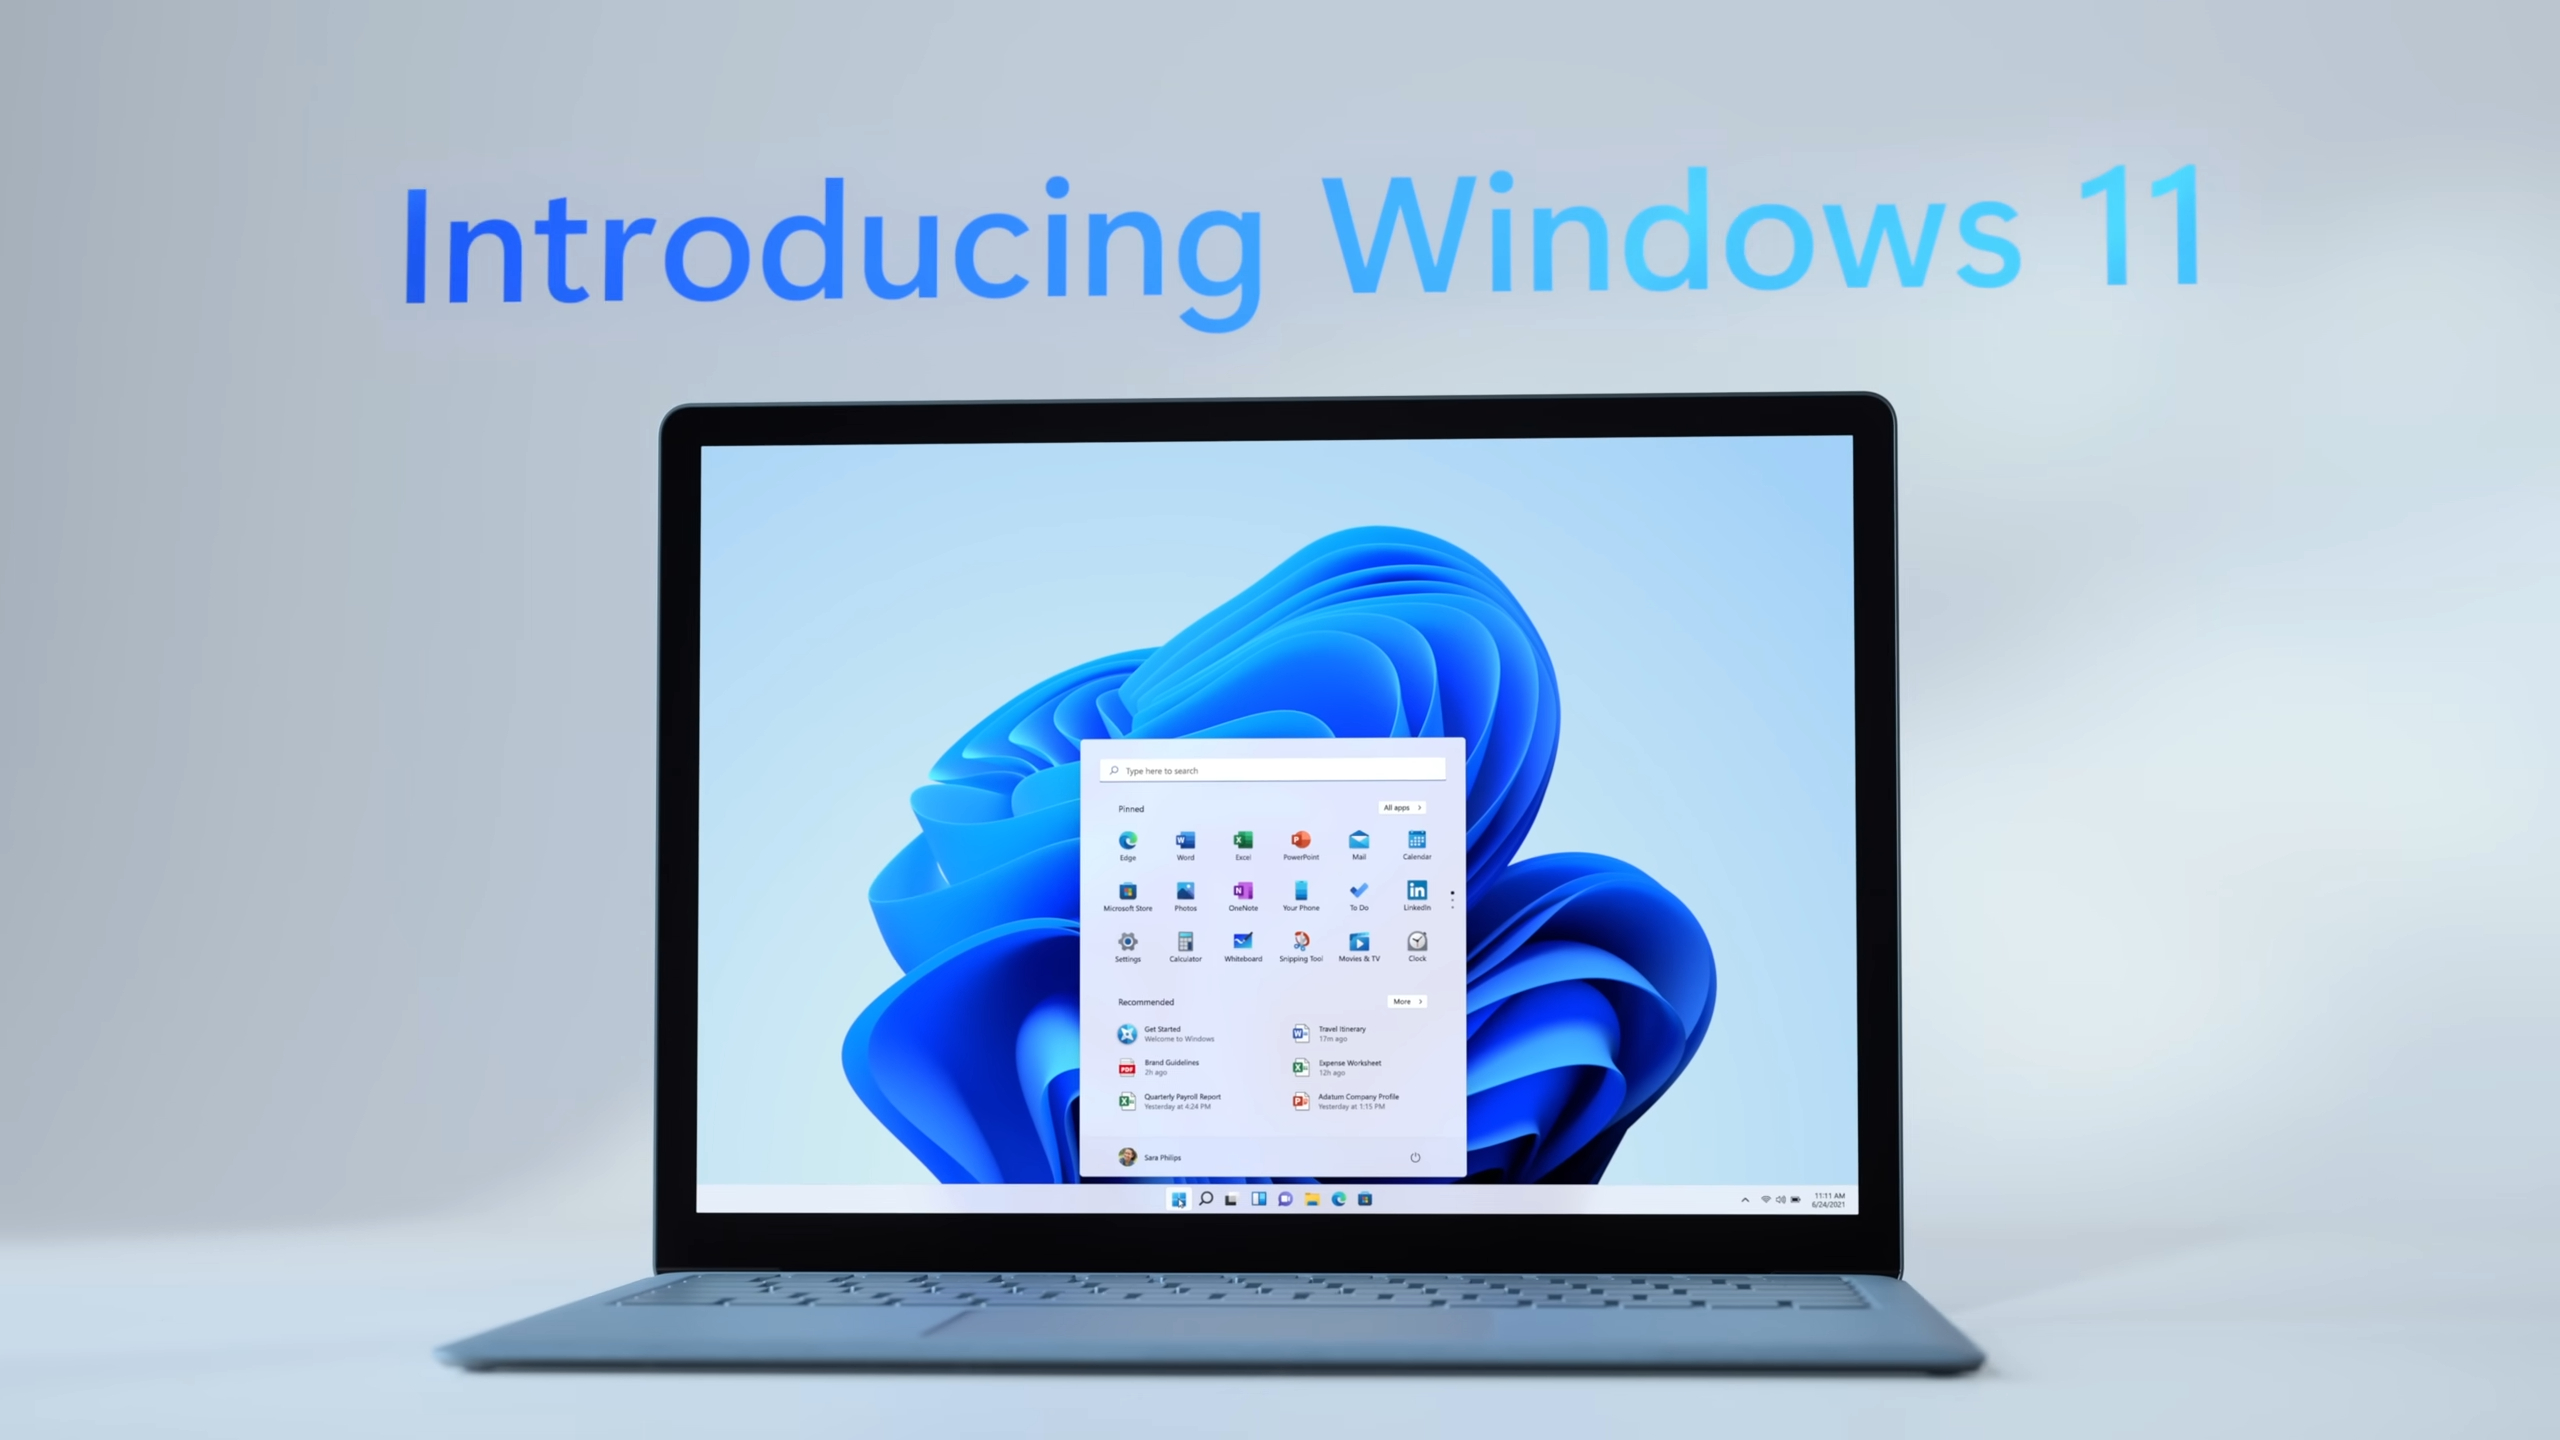
It’s no secret that Windows 10’s support is ending later this year, so there’s no better time to upgrade to Windows 11 than now. It will get security updates for at least 2027 or probably later. The best part about this upgrade is that it is available for free for all Windows 10 users. However, not every Windows 10 PC can be upgraded, as many are not compatible with modern Windows 11.
In this article, we will tell you how to check whether your PC is compatible and help you upgrade to Windows 11 with a simple guide.
Note: Some aspects of this article are subjective and reflect the writer’s opinions.
Windows 11 Compatibility
Windows 11 doesn’t support every PC that Windows 10 does. It has a very strict compatibility list, and only compatible PCs can upgrade officially. Your PC must meet three major requirements to be compatible with Windows 11. Here are all the things your PC must have:
- CPU: All Intel 8th Gen processors (Coffee Lake, Whiskey Lake, or Alder Lake) or higher are compatible. For AMD, all Ryzen 2000 series processors and higher are compatible with Windows 11.
- TPM 2.0: All Intel 8th Gen and Ryzen 2000 series processors have TPM 2.0 built into the CPU’s firmware. It is a necessary requirement for Windows 11.
- Secure Boot: It was first introduced in 2011 with the release of UEFI-based firmware. It later became quite popular when Windows 8 launched with it in 2012. Your device must support it to be compatible with Windows 11.
If you don’t know how to check if your system has these hardware features, you can check it using an official Microsoft program. Download the PC Health Check app from Microsoft’s website and run it, which will let you know if your PC is compatible.
Preparing for Upgrading to Windows 11

Before we actually begin the upgrade process, you must prepare your system for Windows 11. Here are all the things you must do to prepare your system for the Windows 11 upgrade process:
- There are some apps or even devices that may not be fully compatible with the Windows 11 setup process, but actually run fine on Windows 11. Therefore, you must uninstall any applications or programs that are totally unnecessary. If they are left in the system, they could hinder the upgrade process and may prevent the update from deploying successfully.
- Unplug any and all devices from your PC except for the mouse and keyboard to minimize any potential device compatibility issues.
- Also, you may want to close all programs and unsaved documents before the setup starts. Lastly, please install all available updates for Windows 10 before upgrading to Windows 11.
Guide on How To Upgrade to Windows 11 From Windows 10
Once your PC is all prepared, here’s how to upgrade your Windows 10 PC to Windows 11:
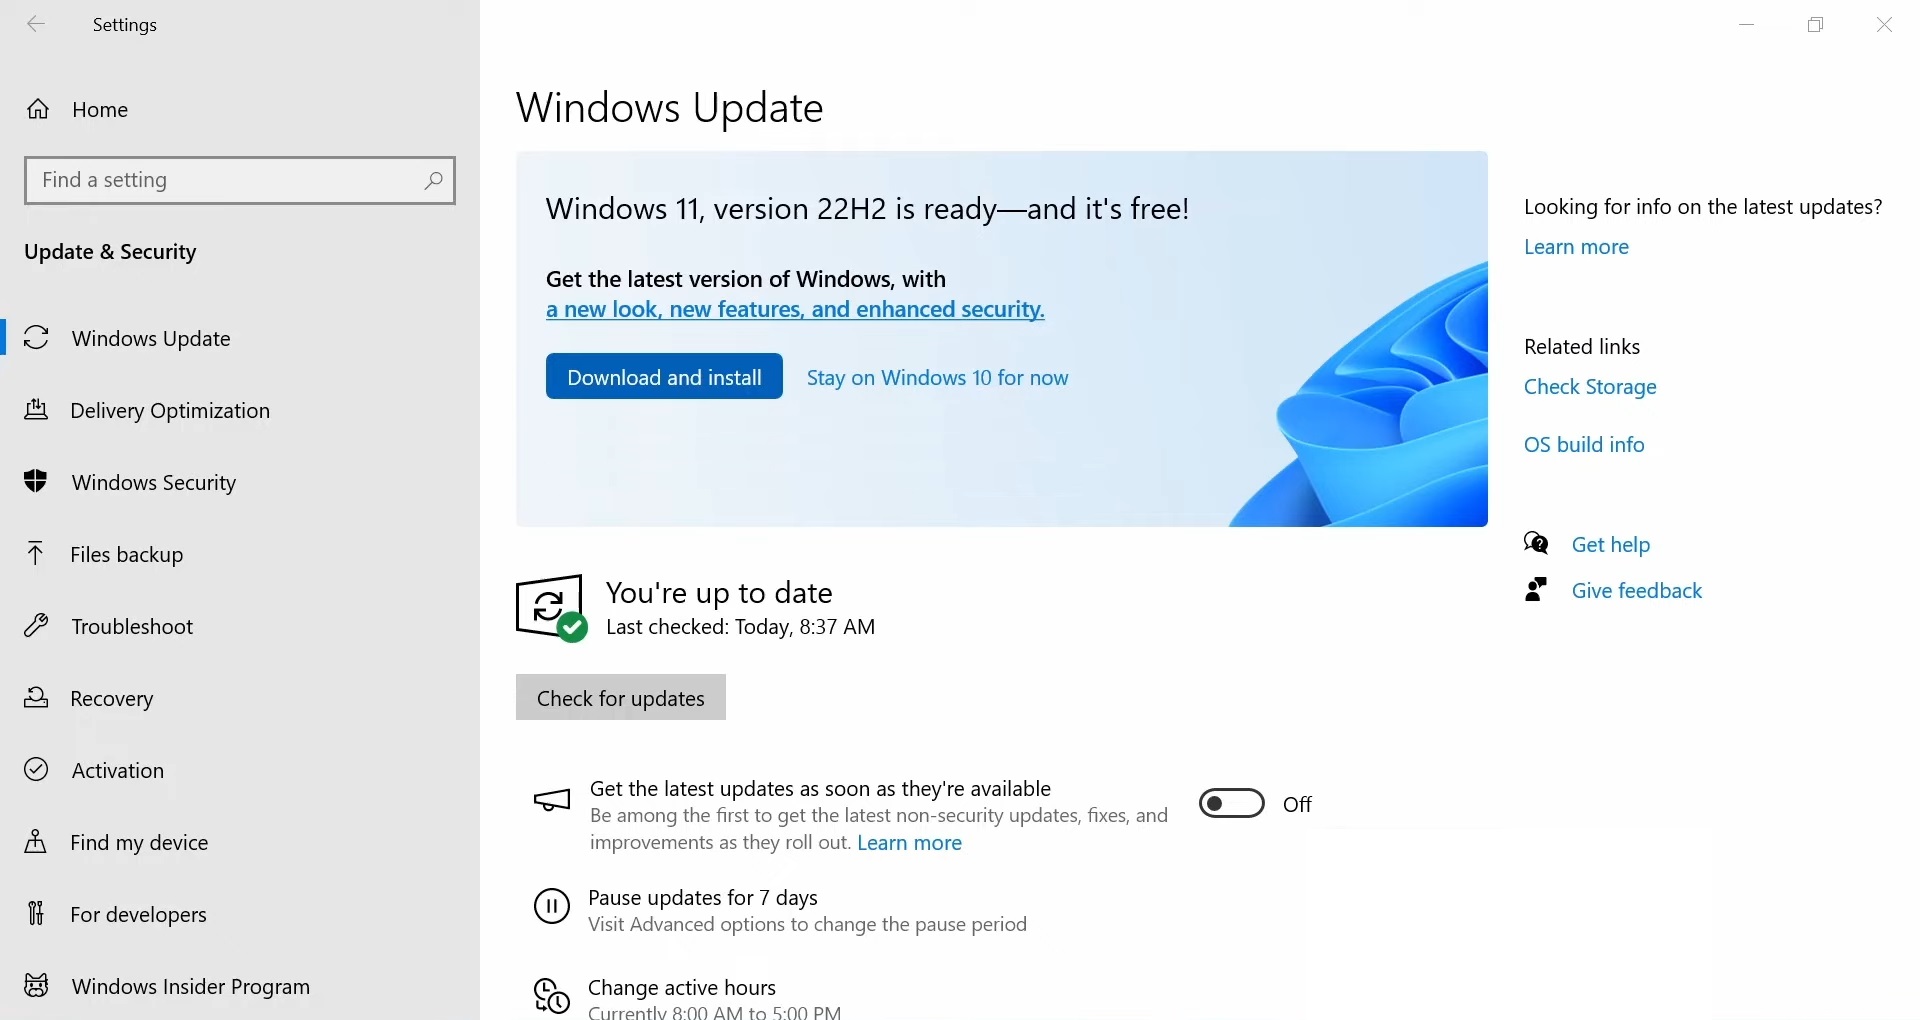
- Launch the Settings app.
- Go to Updates & Security > Windows Update.
- There will be a Windows 11 big banner with the option to download and install it.
- Click on the Download and install button in the banner, and it will begin downloading.
If this option doesn’t show up for you, then restart your PC and click on the Check for updates button. The banner should appear now. However, if you still don’t see the Windows 11 banner like the image above, then download the Windows 11 Installation Assistant. Launch the assistant and follow the setup process, and the Windows 11 upgrade will begin momentarily.
We provide the latest news and “How To’s” for Tech content. Meanwhile, you can check out the following articles related to PC GPUs, CPU and GPU comparisons, mobile phones, and more:
- 5 Best Air Coolers for CPUs in 2025
- ASUS TUF Gaming F16 Release Date, Specifications, Price, and More
- iPhone 16e vs iPhone SE (3rd Gen): Which One To Buy in 2025?
- Powerbeats Pro 2 vs AirPods Pro 2: Which One To Get in 2025
- RTX 5070 Ti vs. RTX 4070 Super: Specs, Price and More Compared
- Windows 11: How To Disable Lock Screen Widgets