Facebook
 Reddit
 Email
Email
Here’s a complete guide on how to install SteamOS on ROG Xbox Ally. All prerequisites and exact installation steps are provided in detail.

The ROG Xbox Ally and Ally X have a custom Windows 11 OS to deliver a better experience, but it still falls short of the seamless experience delivered by SteamOS. Therefore, if you are a user who wants to install Valve’s SteamOS onto your Xbox handhelds, this article will guide you. Everything you need to learn about installing SteamOS on ROG Xbox Ally and Ally X is provided in this article.
Note: Parts of this article are subjective and reflect the writer’s opinions.
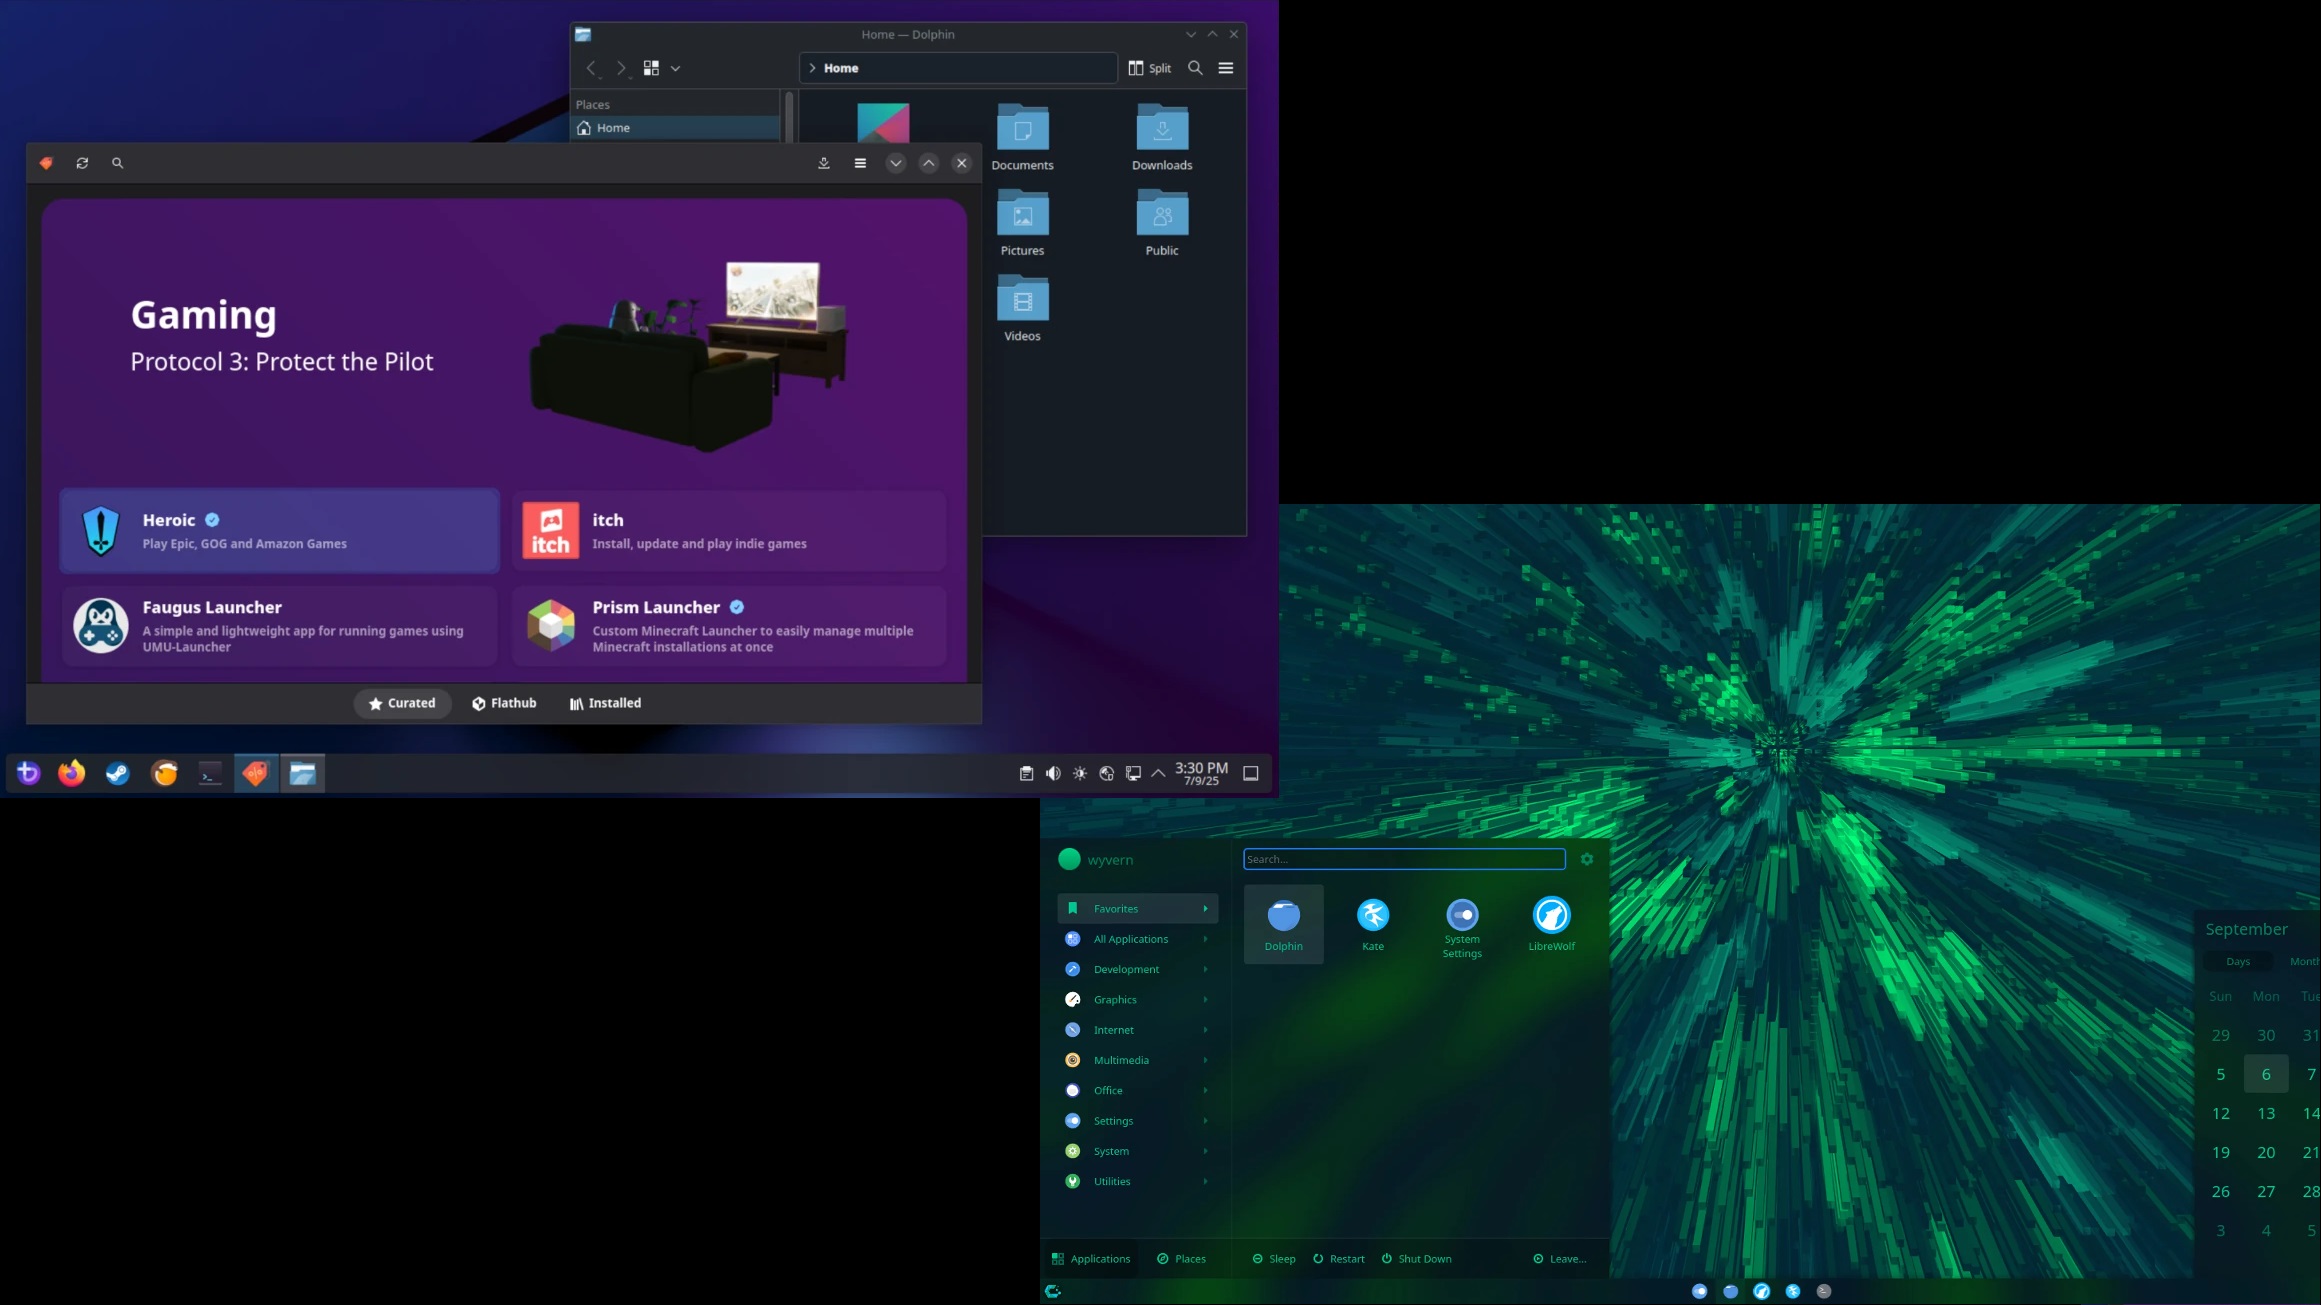
Installing SteamOS on ROG Xbox Ally and Ally X: Everything To Know

The ROG Xbox Ally and Ally X come pre-installed with a custom version of Windows 11. It is designed to consume fewer memory and CPU resources, leaving more for games to access. This version of Windows also has a custom Xbox-themed home screen to deliver a better handheld experience. However, that won’t stop users from wanting to install SteamOS.
To install SteamOS, you will first need to prepare the installation media on a flash drive and also get the handhelds ready. Then you can begin the installation. The entire process is detailed below:
Downloading SteamOS and Preparing the USB Flash Drive
You can download the SteamOS recovery image from Valve’s website. You will need to prepare a bootable flash drive with this ISO image before you can install it. Here’s the process:
- You will need Rufus to prepare a bootable image on a flash drive. Download Rufus Utility and run it on your ROG Ally.
- Insert a USB-C or USB-A (with dock) flash drive into your ROG Ally and run Rufus.
- In the Rufus app, select the USB drive and select the SteamOS ISO you downloaded earlier.
- Next, click the Start button to begin preparing the flash drive in Rufus. Close the app once this is done.
Preparing ROG Xbox Ally and Ally X

The ROG Xbox Ally and Ally X have Windows-specific features enabled in the BIOS that are not compatible with SteamOS. Therefore, you must disable them to make SteamOS compatible. Here’s what you need to do:
- Launch the Start Menu and tap on Restart from the Power options.
- Press and hold the Volume + button quickly after you tap the restart option. You must press and hold the button as soon as you touch the Restart button.
- You must hold the Volume + button until you see a blue screen with a few options.
- Use the D-pad buttons to select ‘Enter Setup,’ and then press the A button on your ROG Ally. You will now enter the BIOS screen on your Ally.
- Press the Y button to access advanced settings.
- Next, use the RB/R1 button to change tabs to ‘Security.‘
- Once you are in the Security, use the D-pad buttons to enter the ‘Secure boot’ option.
- Next, click on the Secure Boot Control option and select ‘Disabled.’
- Next, use the RB/R1 button to go to the ‘Save & Exit‘ tab and select ‘Save Changes and Reset.’
Guide for Installing SteamOS
Now, we will start the SteamOS installation, which will wipe everything, including Windows. Therefore, back up anything you need before proceeding. Follow the steps to begin:
- Insert the bootable USB drive in your ROG Ally if it’s not inserted already.
- On Windows, click on Restart from the Start Menu and immediately press and hold the Volume + button again.
- In the new screen, will appear, choose the bootable USB drive, which should appear as: UEFI: Your USB Drive Name.
- SteamOS will now load, and you will soon enter the desktop mode.
- ‘Launch the option called ‘Reimage Steam Deck‘ at the top-left corner of the SteamOS desktop mode.
- It will warn you that all data will be deleted. Select ‘Proceed,’ and the installation of SteamOS on ROG Ally will begin.
- Once installation ends, click the ‘Proceed’ button to restart and take out the flash drive.
Once the restart completes, the SteamOS welcome screen will appear. Therefore, SteamOS is successfully installed, and you can set it up however you wish.
We provide the latest news and “How To’s” for Tech content. Meanwhile, you can check out the following articles related to PC GPUs, CPU and GPU comparisons, mobile phones, and more:
- 5 Best Air Coolers for CPUs in 2025
- ASUS TUF Gaming F16 Release Date, Specifications, Price, and More
- iPhone 16e vs iPhone SE (3rd Gen): Which One To Buy in 2025?
- Powerbeats Pro 2 vs AirPods Pro 2: Which One To Get in 2025
- RTX 5070 Ti vs. RTX 4070 Super: Specs, Price and More Compared
- Windows 11: How To Disable Lock Screen Widgets