Facebook
 Reddit
 Email
Email
Everything you need to know about Omega Planetes in Monster Hunter Wilds, including its weaknesses and how to defeat it.
Omega Planetes might not be a “native” monster in the Monster Hunter universe, but it certainly is one of the toughest challenges you will ever face in Monster Hunter Wilds. Much like Monster Hunter World’s Behemoth, which was added as part of the Final Fantasy 14 collaboration, Omega is mechanically an “MMO raid boss.” As such, the boss is balanced around multiplayer.
However, you can still defeat the boss solo, granted you know how to counter most of its attacks. And when it comes to offense, Omega leaves no stone unturned. After Zoh Shia, Omega Planetes is the only monster that has a varied moveset for each of its phases. And to make matters worse, there are a total of four phases to this boss fight.
Thankfully, despite it being an incredibly challenging monster, Omega isn’t unfair. If you play by the game’s rules, it’s actually quite easy to defeat Omega Planetes, albeit with some practice. Here’s a comprehensive guide on how to defeat Omega Planetes in Monster Hunter Wilds.
Also read: Monster Hunter Wilds: How To Unlock Omega Planetes Quest
Overview of Omega Planetes in Monster Hunter Wilds
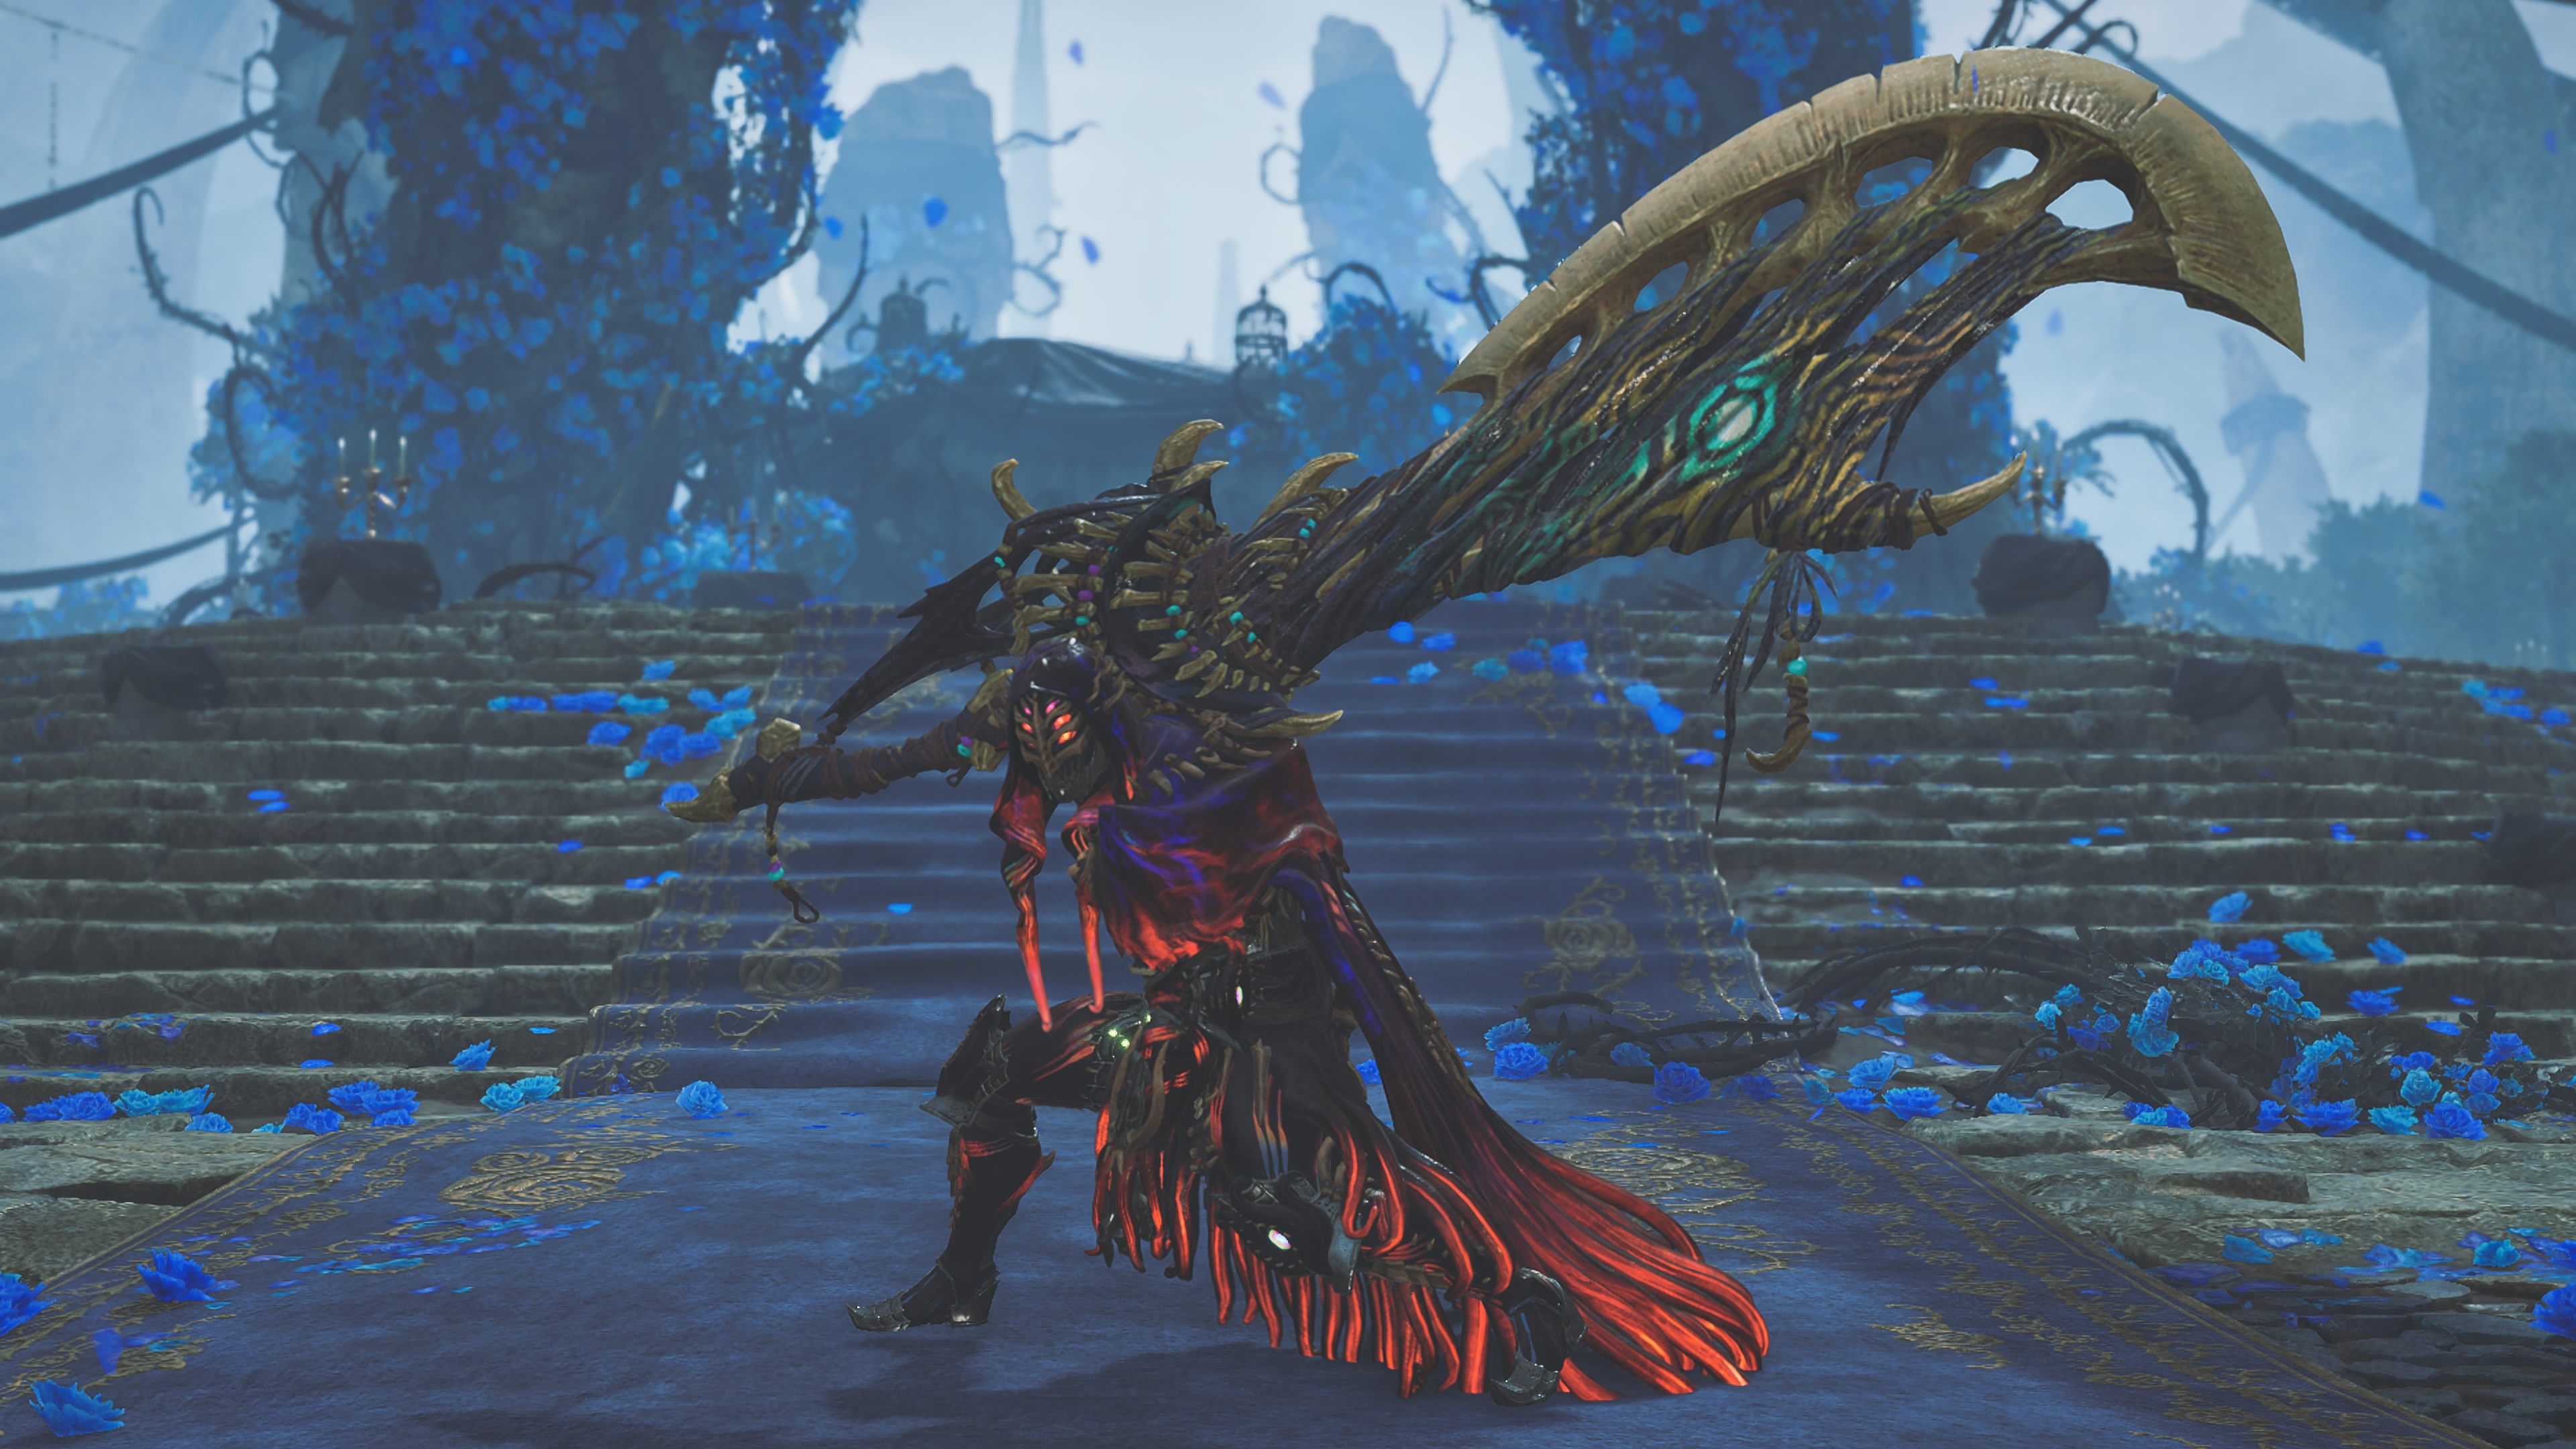
Omega Planetes, similarly to Gore Magala in past Monster Hunter games, is categorised as “???.” However, the monster shares the same skeleton as Temnocerans and has mostly similar movement to monsters like Lala Barina or Nerscylla. That said, the similarities to Temnocernas end right there. Omega is still an otherworldly force, untamed by the laws of nature.
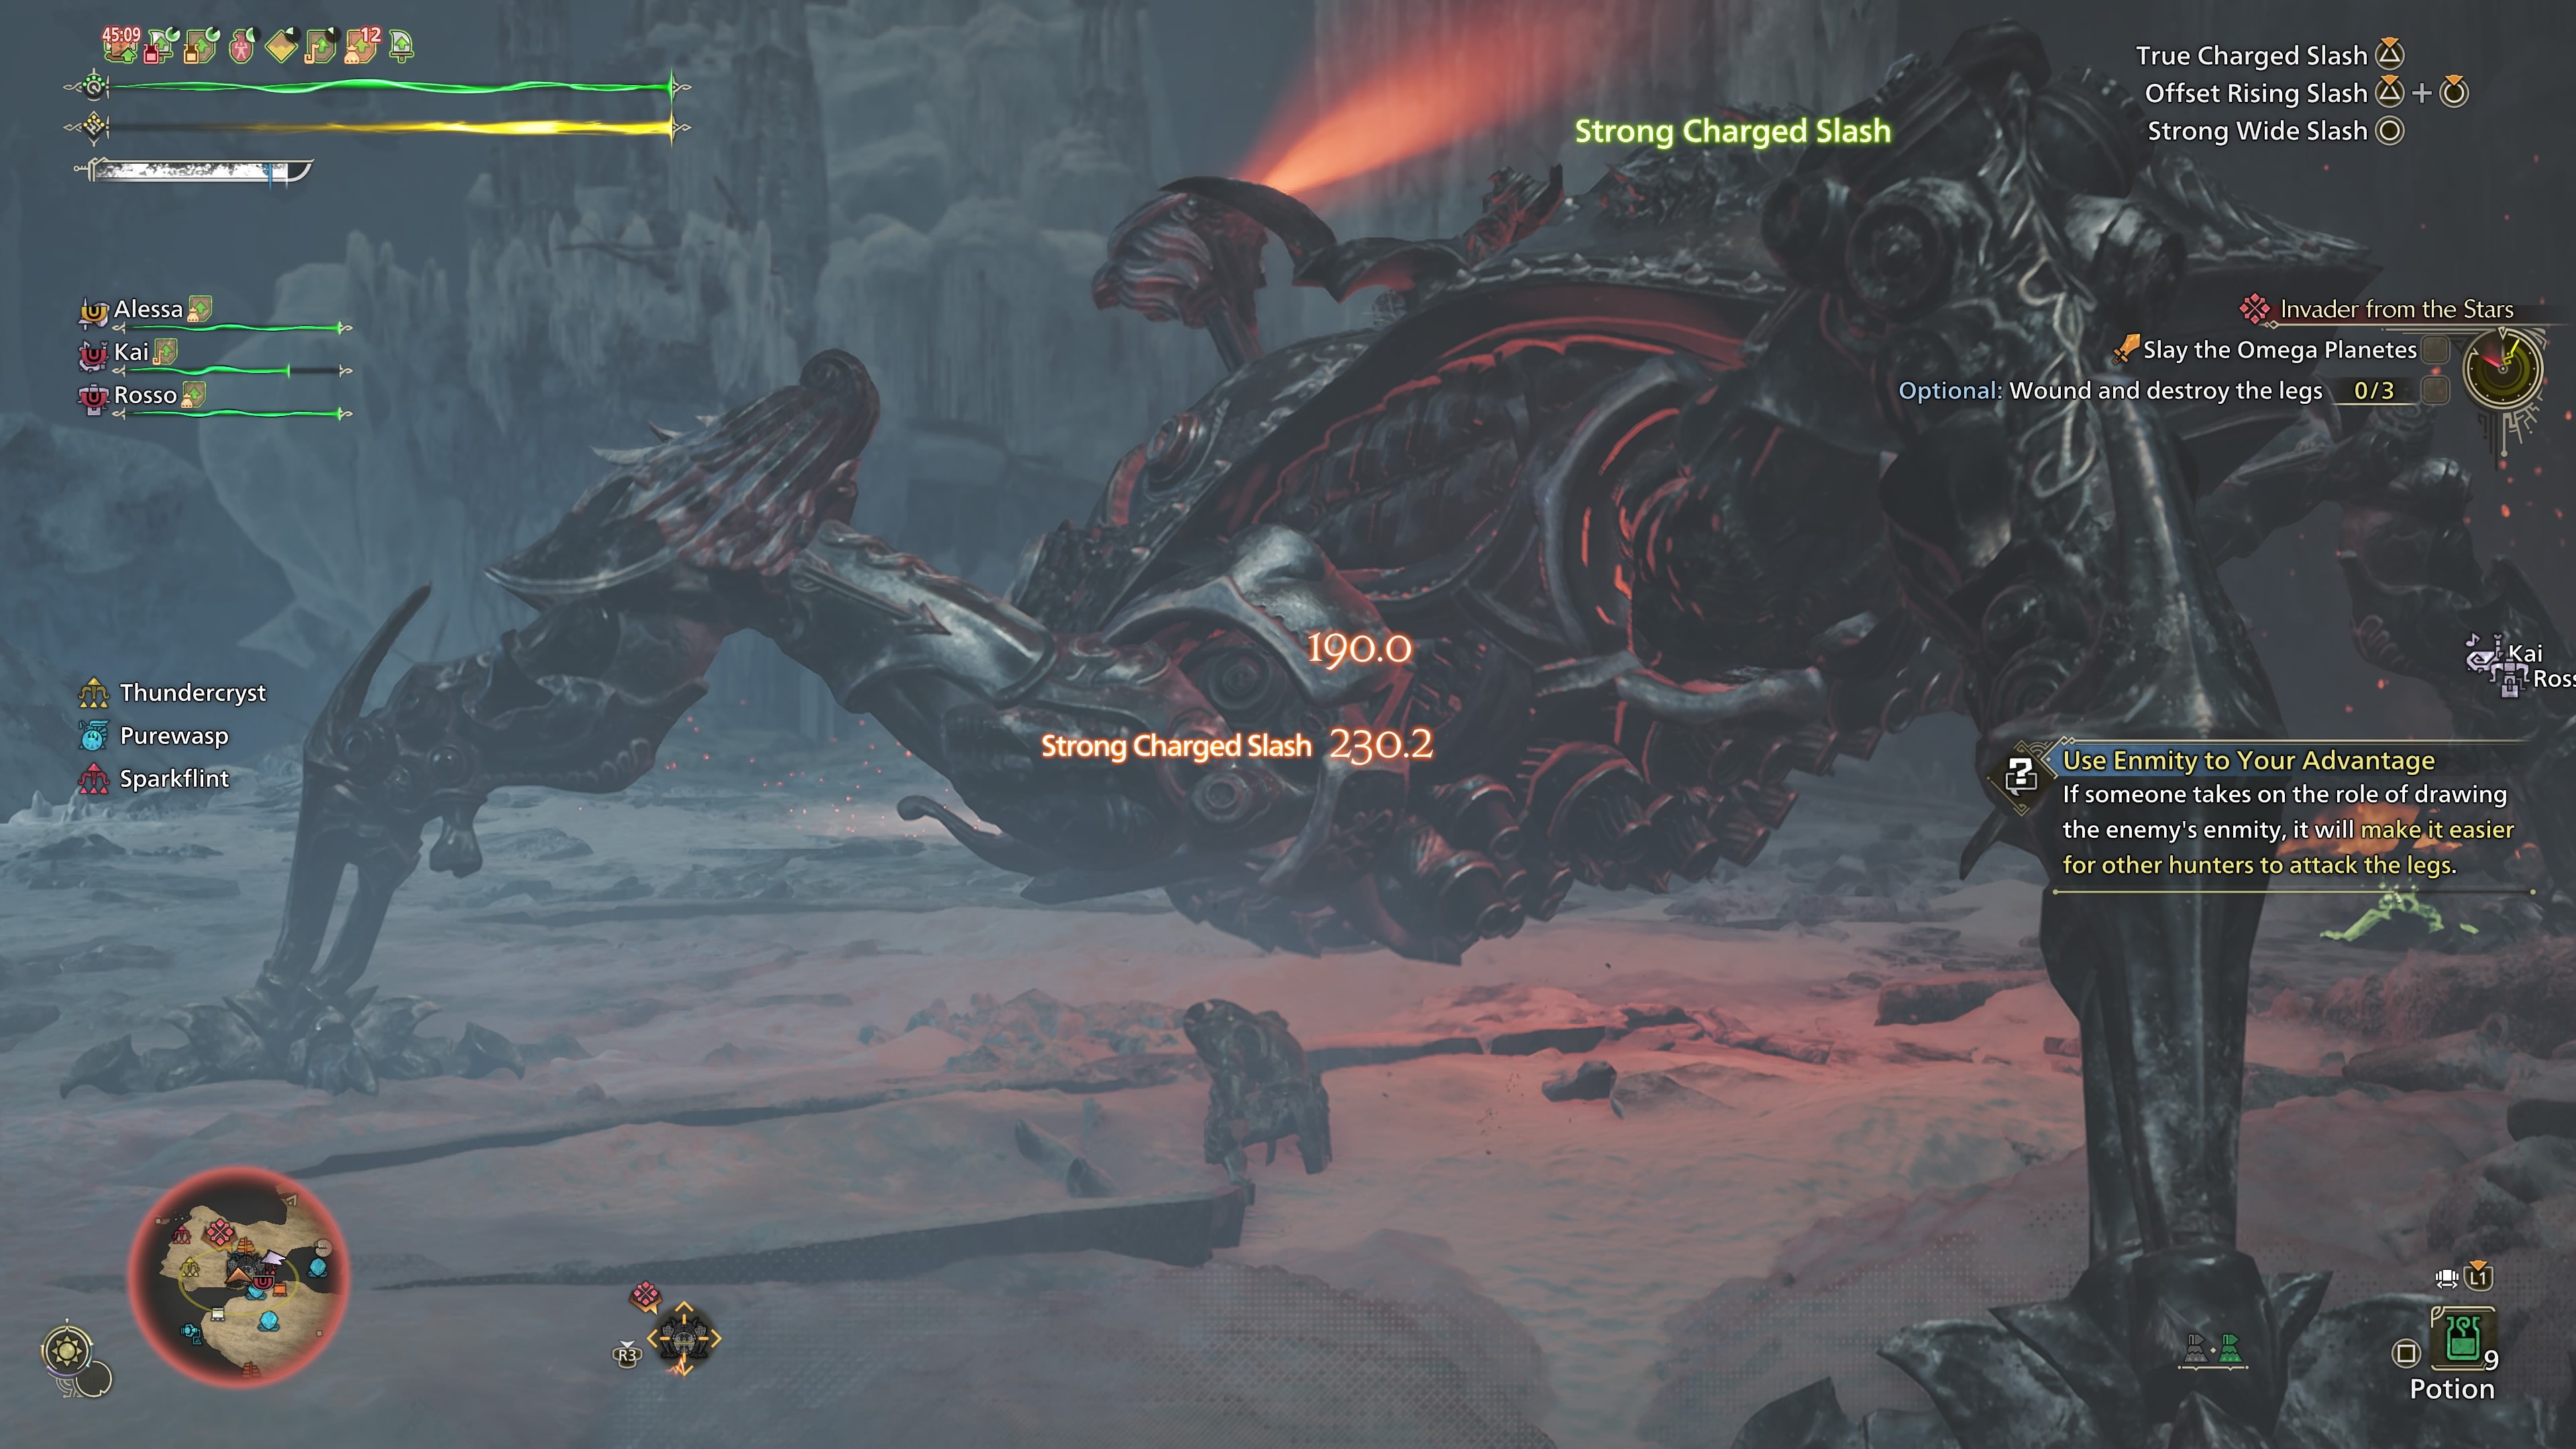
The monster has a hard exoskeleton with armored legs and an abdomen. However, Omega’s armor is weak on its head and side (Starboard and Larboard). As such, those are the parts you want to target (ideally). As for the element, Omega uses a mix of Fireblight and Thunderblight. However, it mostly relies on physical attacks and AoEs.
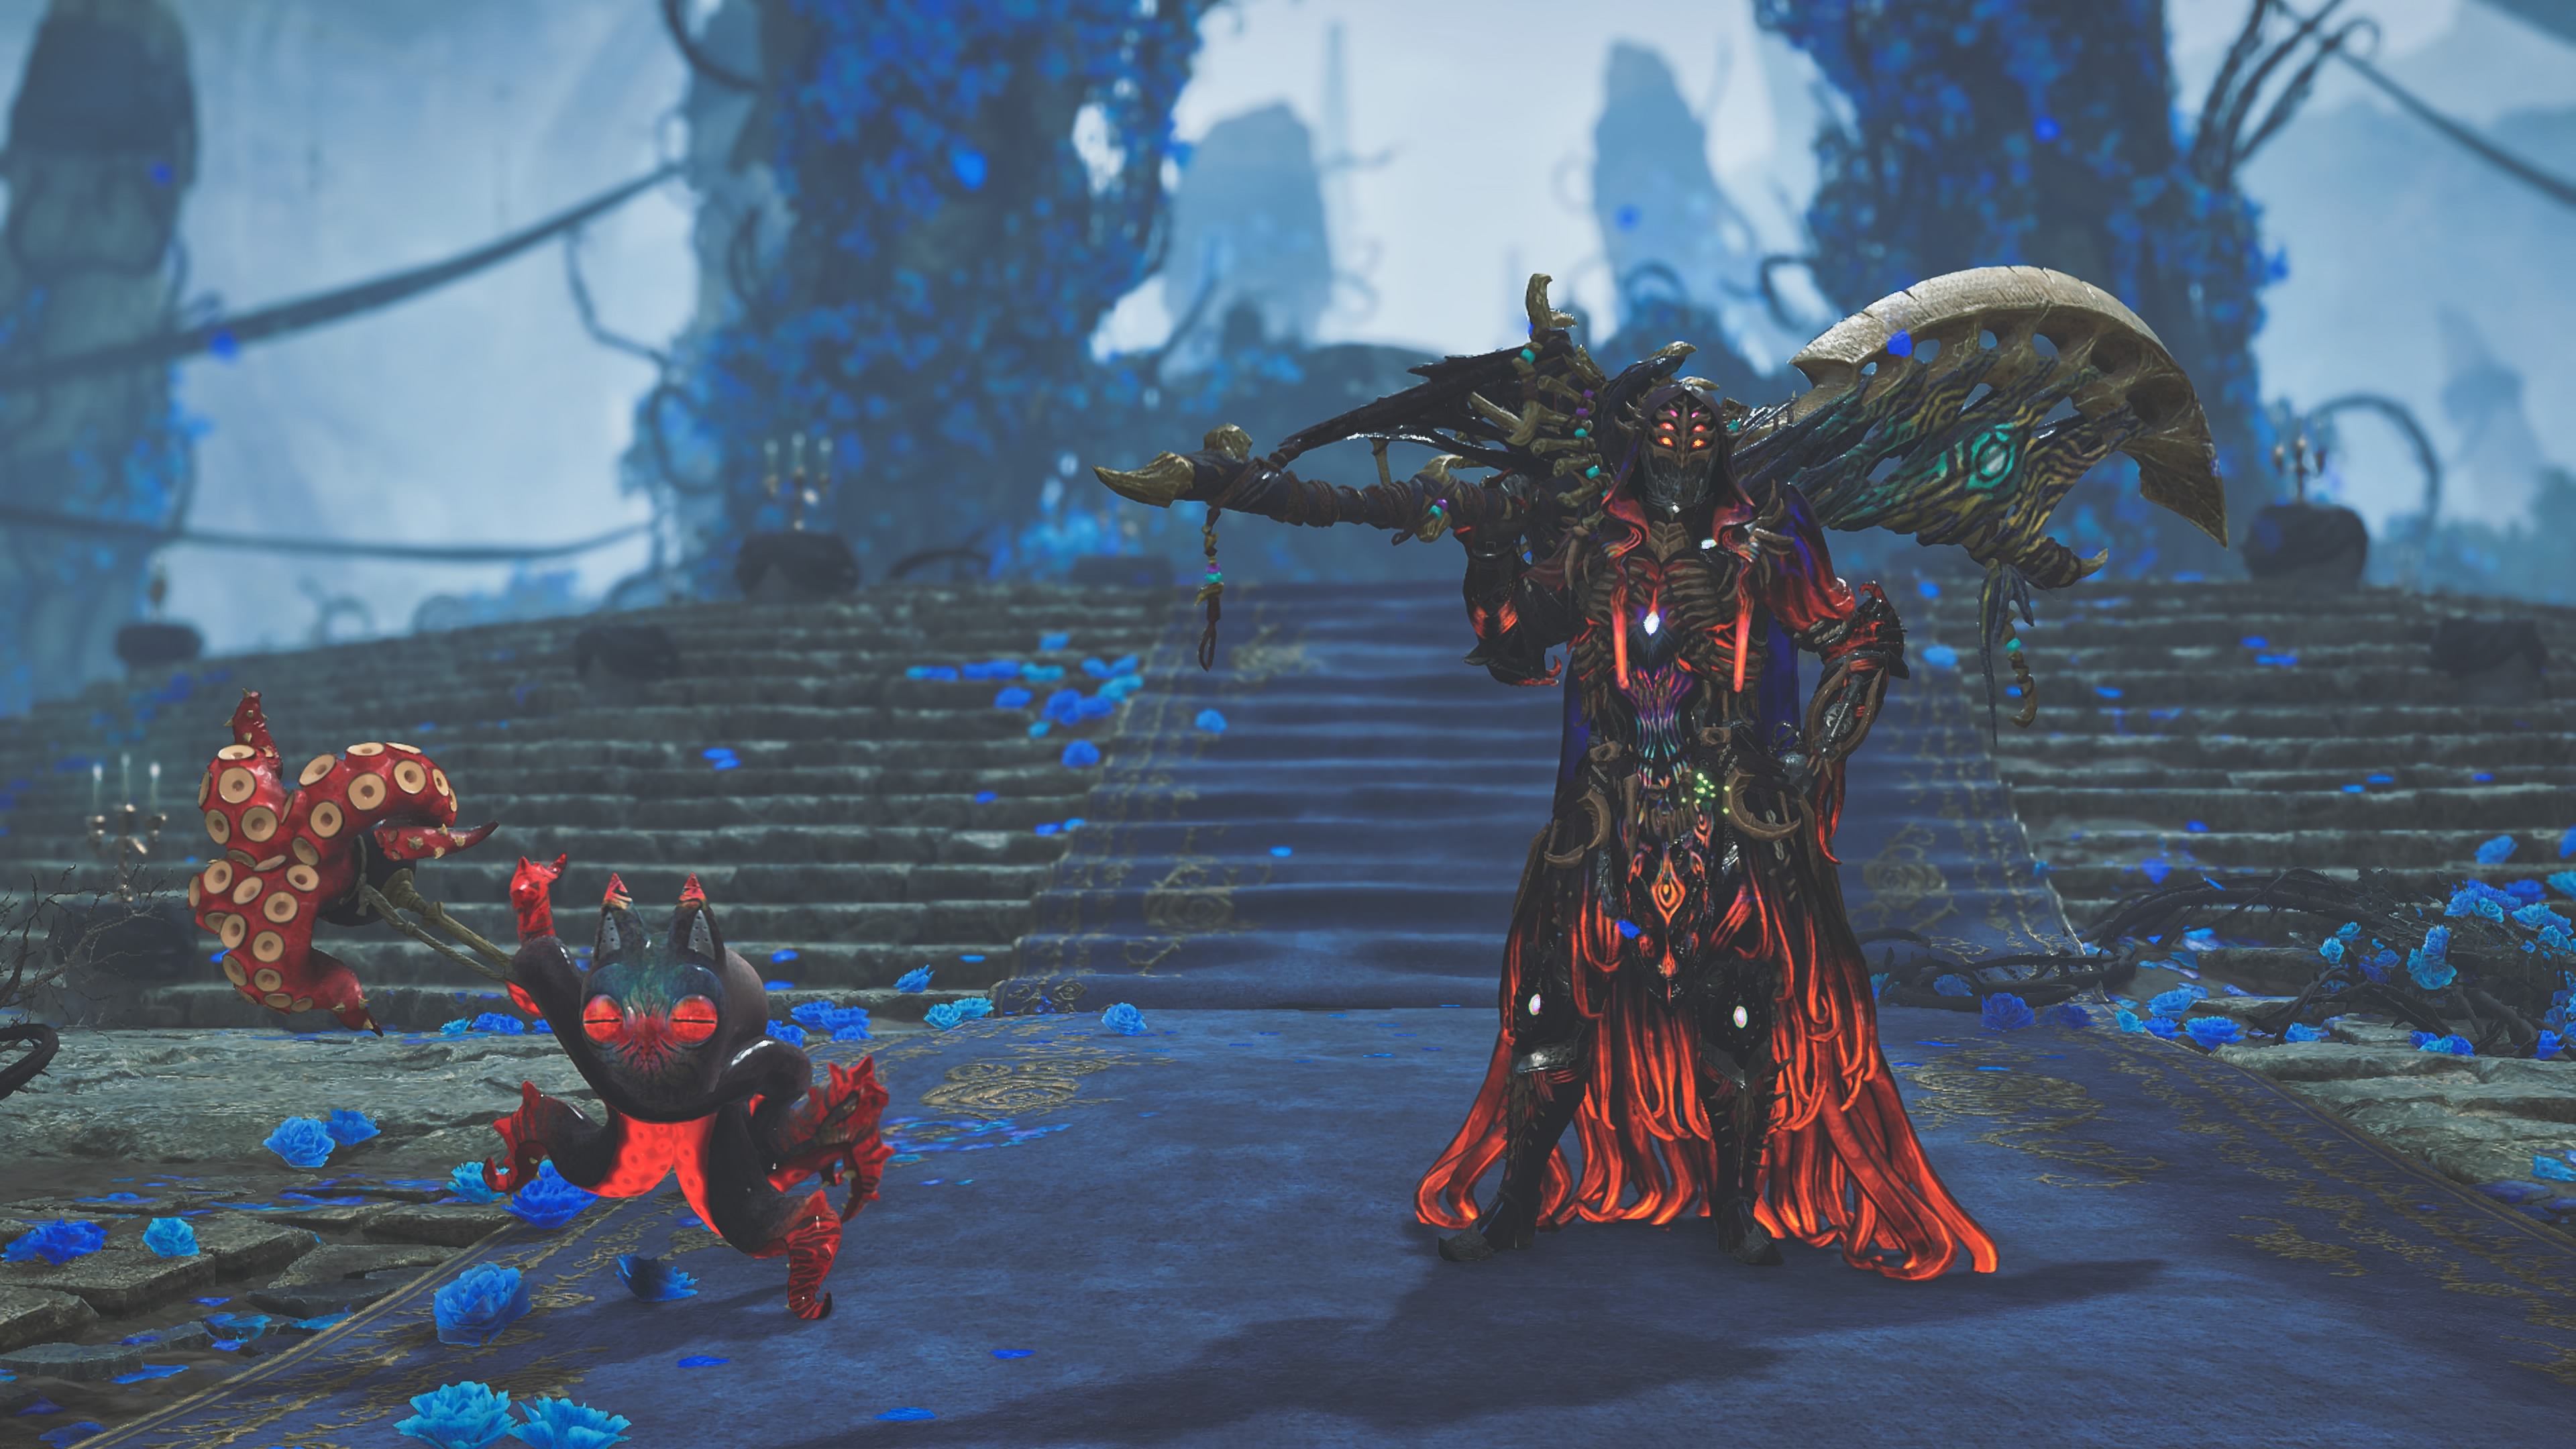
Additionally, in its third phase, Omega summons a Nerscylla, alongside Morbols and Cactuar, which can inflict additional status effects. And if that’s not all, Omega is very much capable of managing multiple hunters attacking it at the same time. It’s a creature that relies on brute strength, while also using a fair bit of strategy in its attacks.
Suffice it to say, just like its FF14 counterpart, Omega Planetes is a force to be reckoned with in MHW.
Weaknesses of Omega Planetes
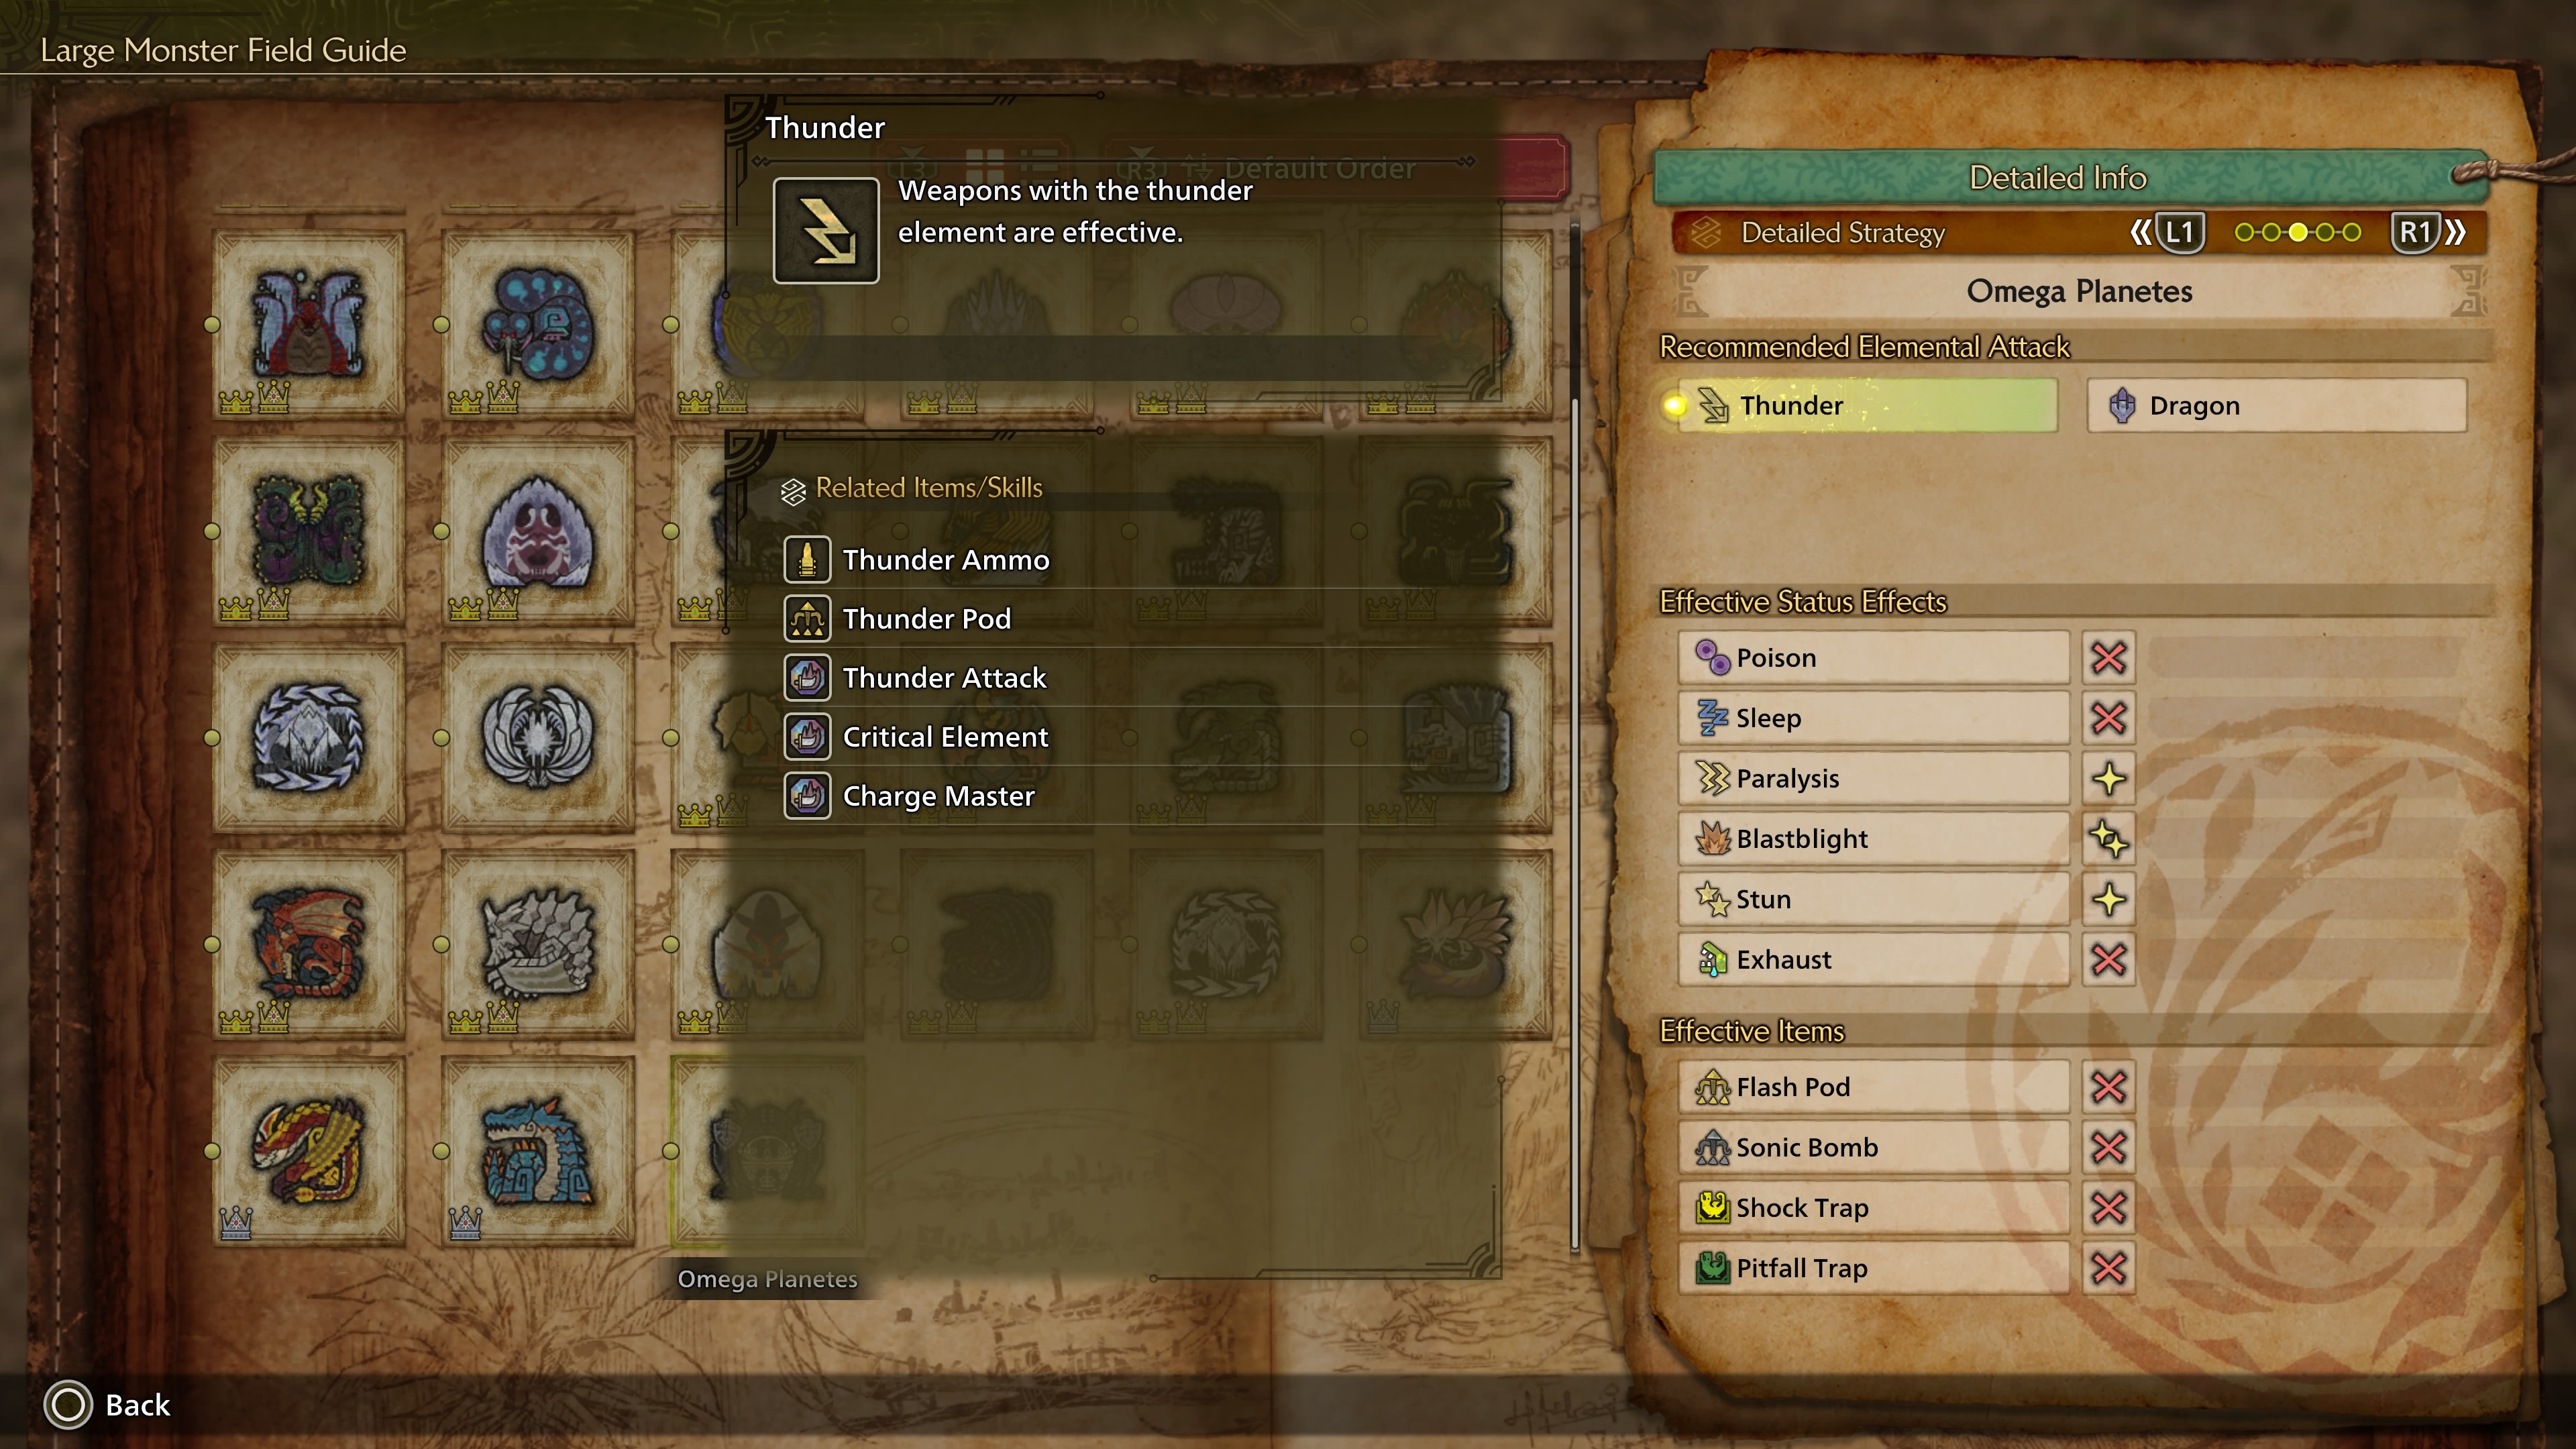
Omega Planetes is only weak to two elemental affinities, Dragonblight and Thunderblight. And even among those affinities, the most effective is Thunder (paired with Critical Element). Much like an Elder Dragon, Omega isn’t affected by Flash Pods, Shock Traps, or Pitfall Traps. Additionally, during the boss fight, the Ghillie Mantle isn’t effective either.
As such, we highly recommend bringing a Farcaster along with you. As for the weaknesses on the monster itself, your primary targets are going to be the Legs, Head, and Back. However, it should be noted that you cannot attack Omega’s back until later in Phase 4. Until then, you will have to deal damage to the monster’s head and legs.
Additionally, breaking Omega’s head grants a temporary shield, which offers protection from the monster’s projectile attacks. Here are the elemental and status weaknesses of Omega Planetes:
Elemental Weaknesses
- Thunder
- Dragon
Status Weaknesses
- Paralysis
- Blast
- Stun
Items To Carry
- Pictomancy (Pom Motif)
- Mega Potions
- Ancient Potion
- Nulberry
- Energy Drink
- Farcaster
- Armorskin
- Demon Powder
Also Read: Monster Hunter Wilds: Are 9 Star Monsters Easier Than Arch-Tempered?
How To Easily Defeat Omega Planetes in MHW?
Here are some tips to help you easily defeat Omega Planetes in Monster Hunter Wilds:
First Phase
- The first phase, as usual, is the simplest one. Omega Planetes has a few attacks in this phase that you need to look out for, like the Atomic Lazers and the Fire AoE. However, other than that, it’s a fairly simple phase.
- Additionally, you can use this phase to both practice Omega’s basic movesets and also dish out damage to its limbs. Ideally, you want to stick close to the monster’s head in this phase.
- Omega does perform the “rocket punch” attacks in the first phase. However, if you’re using a weapon with “Guard” ability, you should be able to negate the damage from the fists.
- We highly recommend using Pictomany in between your regular combos. This goes for all phases of Omega Planetes.
Second Phase
- The second phase is identical to the first phase. However, it adds a new gimmick in the form of “Pantokrator Mode.” In Pantokrator Mode, Omega essentially becomes enraged.
- The monster also gets access to a few new attacks, including Mustard Bombs and a smaller version of the Delta Beam.
- The biggest priority in this phase is to deal as much damage as possible to Omega’s legs.
- Flayer skill is incredibly handy here. Other than that, Pictomancy Spells also help deal a ton of damage. Additionally, you can easily avoid most of Omega’s attacks in this phase by staying close to its sides.
- This is a significantly lengthy phase. However, you can shorten the time it takes to get to the next phase by destroying at least three leg wounds on Omega.
- Do note that only wounds that you have created by attacking will count towards disabling Pantokrator Mode.
Third Phase
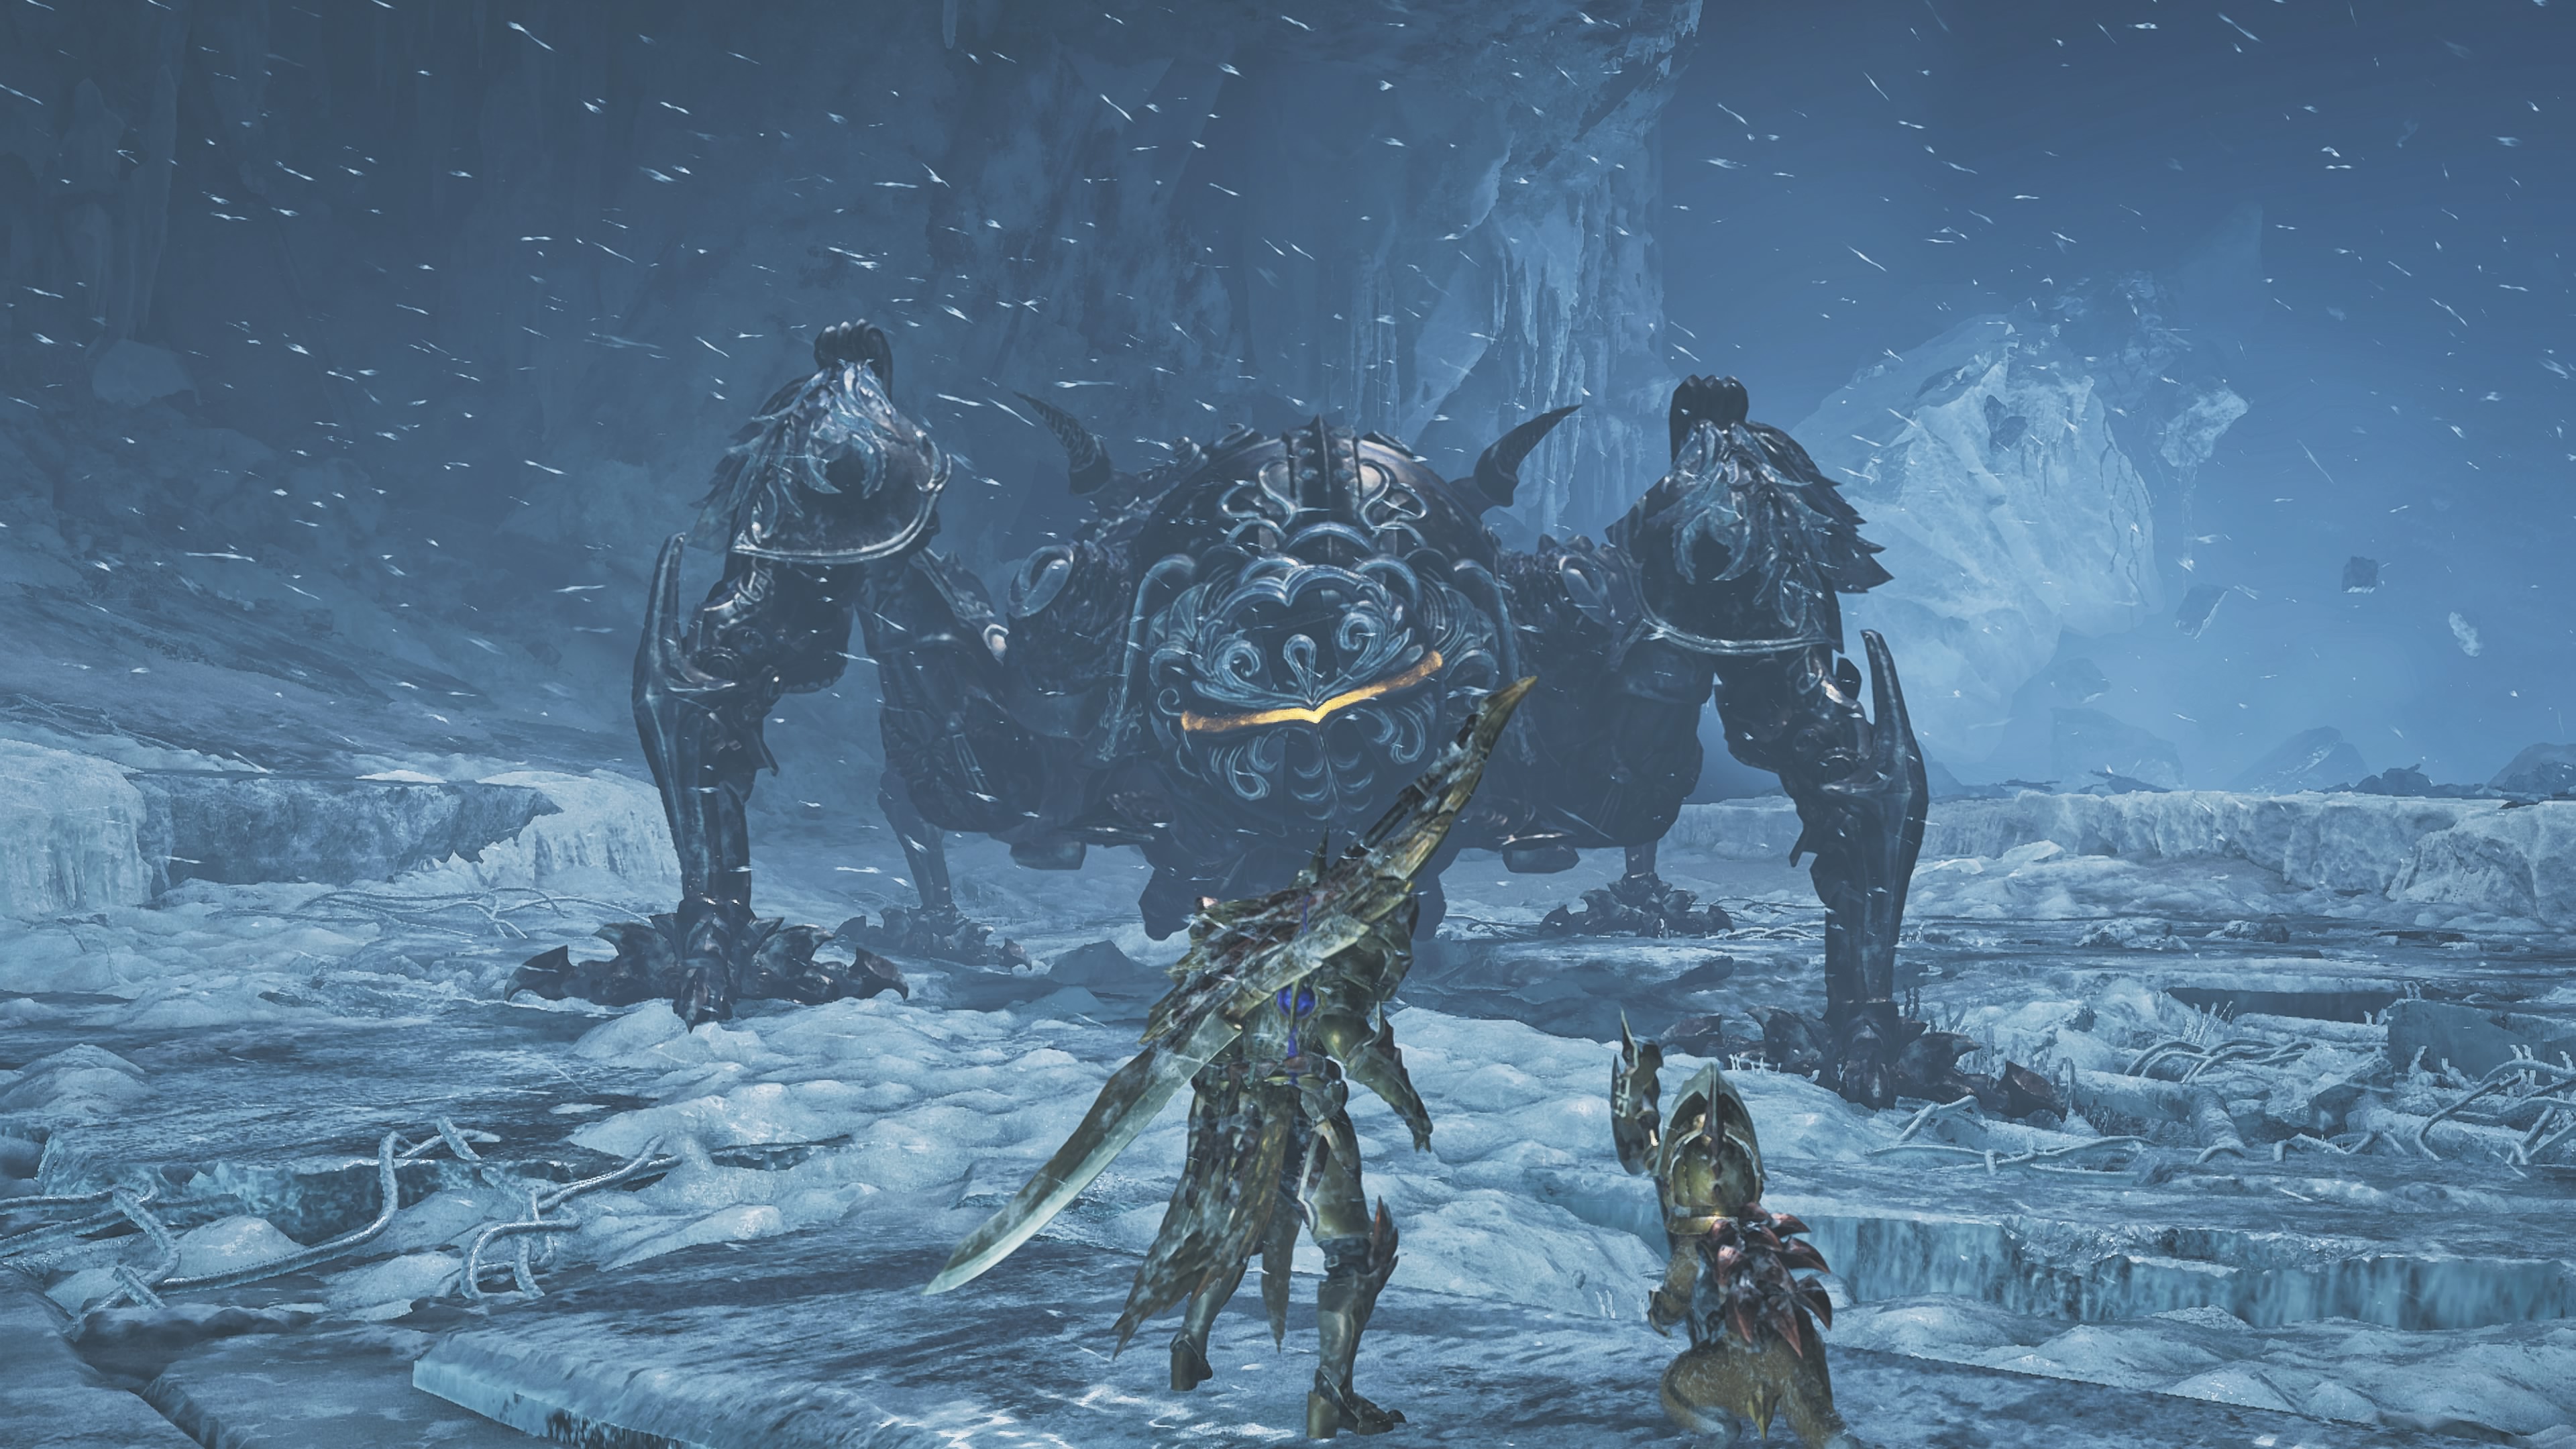
- In the third phase, Omega Planetes is essentially at its most powerful and also vulnerable. In this phase, the monster takes to the lower sections of Iceshard Cliffs, which is also an area with plenty of broken ledges that can be used to deal damage.
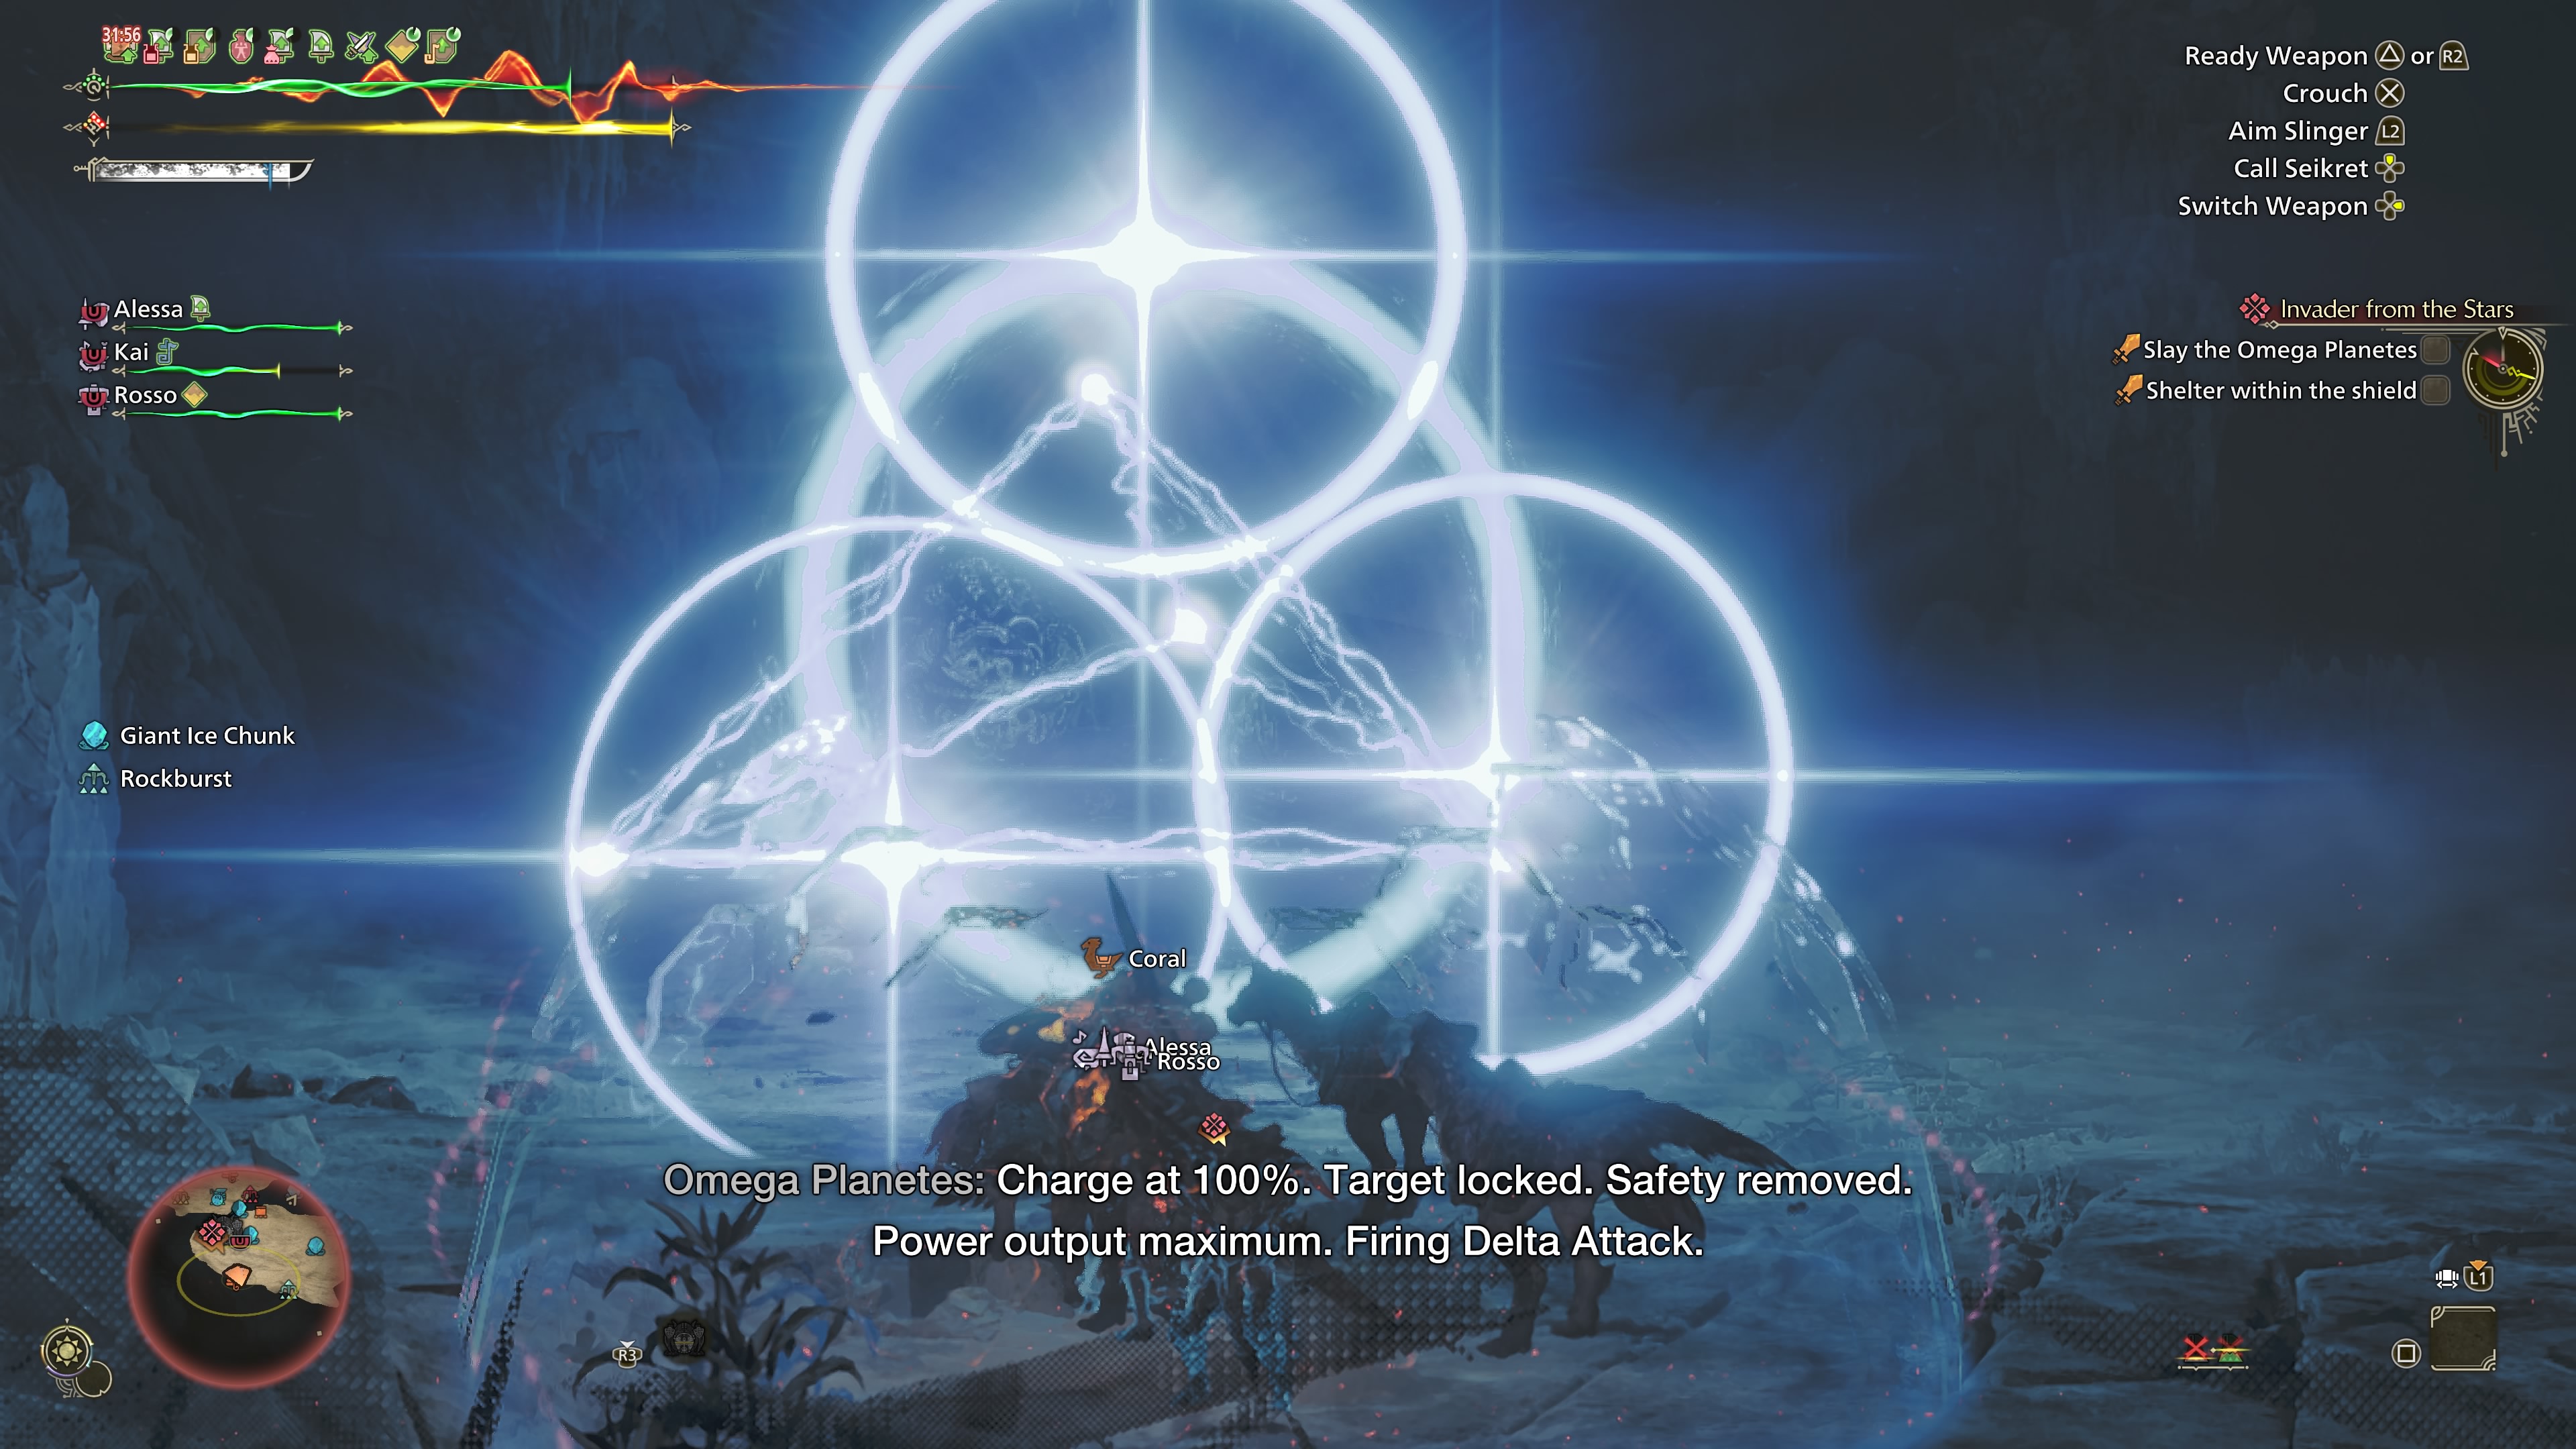
- In this phase, the gimmick revolves around Omega’s Delta Beam. After you topple the monster at least once, or deal enough damage to its carapace, Omega will start charging its Delta Beam.
- As it charges the Delta Beam, Omega will spawn a clone of Nerscylla. The trick here is that you need to defeat the Nerscylla before Omega finishes charging the Delta Beam.
- If you defeat the Nerscylla, it will drop a Mega Shield, which will save you and your entire team from the Delta Beam. However, failing to do so will simply result in an instant failure as multiple Hunters will cart at the same time.
- Another way to avoid the Delta Beam is to use the Farcaster. However, the Nerscylla clone has very little HP here and should be easy to defeat with a few elemental combos.
Fourth Phase (Final)
- The fourth phase is where things get a little tricky. This phase is mostly identical to the third phase, sans the Nerscylla summoning. However, in this phase, Omega gets another new attack, a barrage of MRV Missiles.
- Omega essentially sends a volley of five MRV Missiles, each after another. If you thought the Delta Beam was difficult to avoid, you’re in for a surprise. Similar to Malzeno’s tail swipe combo, which is notorious for roll catching and punishing Wirebug dodge, the MRV Missile barrage heavily punishes panic rolling.
- Your first instinct would be to simply roll through the attack or perform a “superman dive” to avoid getting hit. However, the recovery frames of that animation will end up leaving you right on the face of a follow-up Missile volley.
- As such, the best way to avoid this attack is to anticipate its arrival (keep a lookout for the MRV Missiles notification on the right) and run away from Omega and dodge a single time to avoid taking damage.
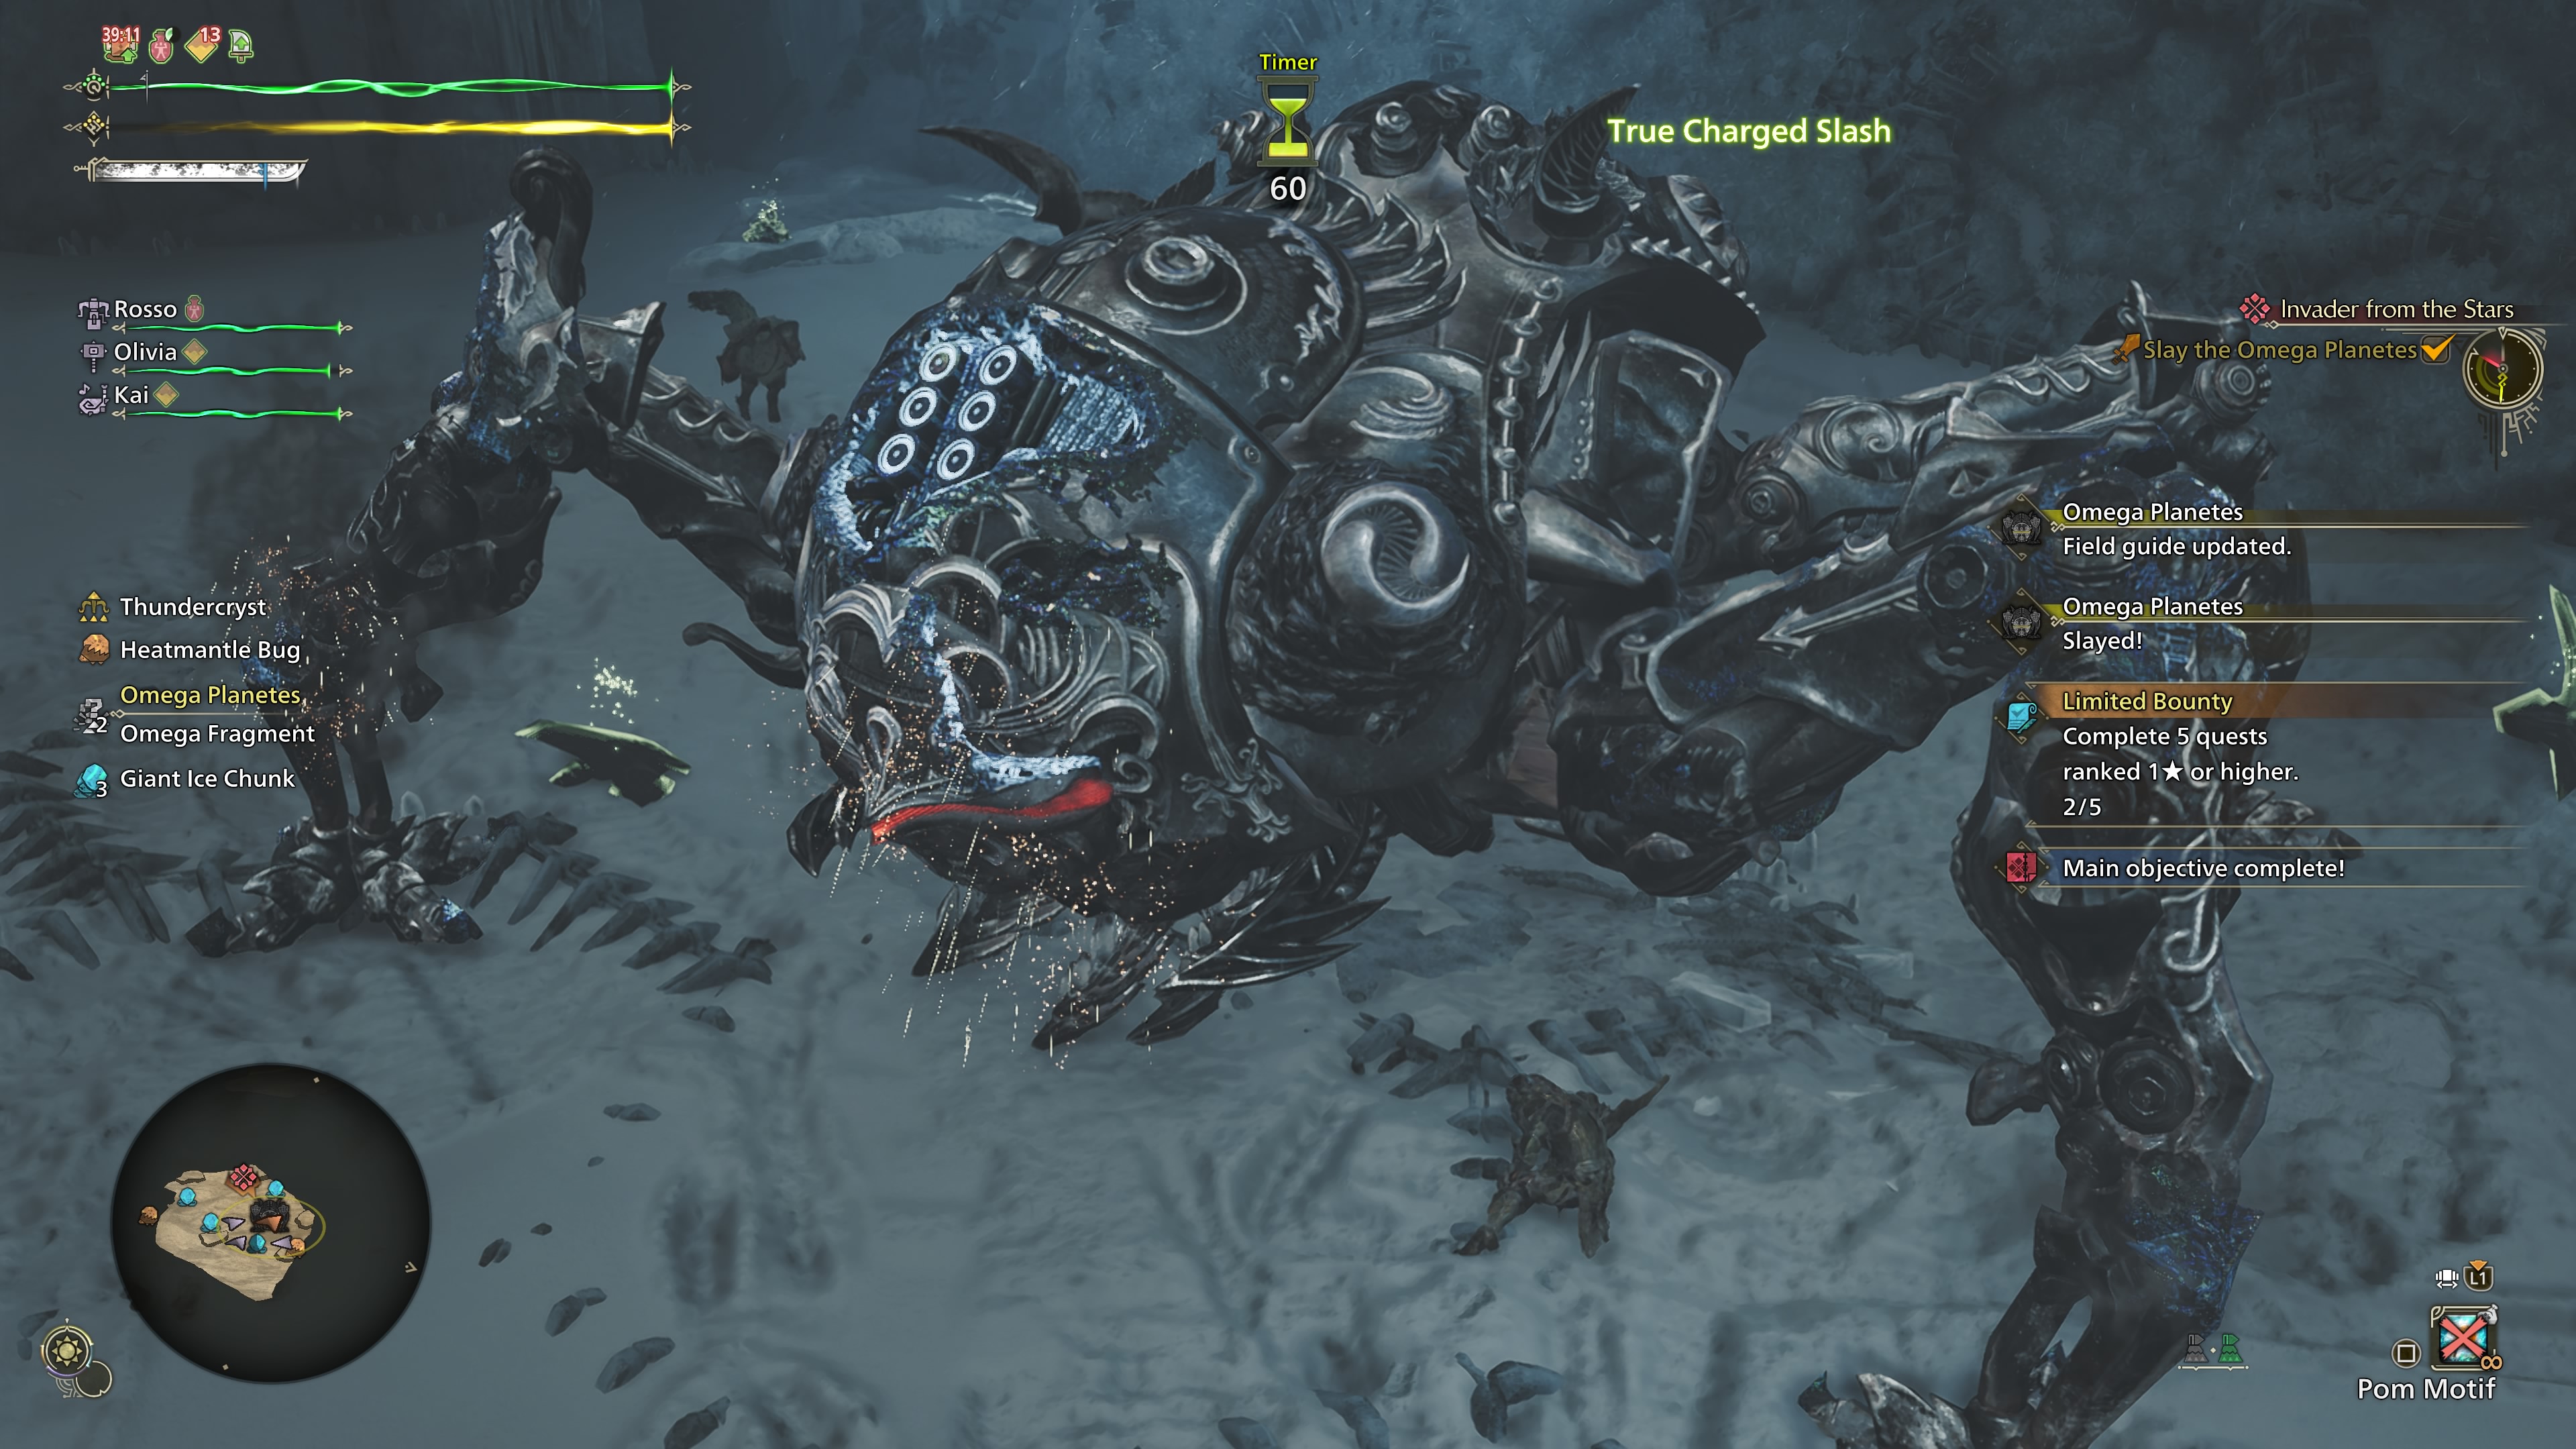
- Other than the Missile volley, most of this phase is similar to the other three phases. Also, Omega has way less HP in the fourth phase, and should be easy to take down, as long as you keep survival in check.
We provide the latest news and create guides for Monster Hunter Wilds or MH Wilds. Meanwhile, you can check out the following Monster Hunter articles or catch us playing games on Twitch and YouTube: