Facebook
 Reddit
 Email
Email
In this guide, we shall go over all the Crystal Skull locations in Act 1 of Ninja Gaiden Ragebound, so you can 100% the game.
Ninja Gaiden Ragebound’s levels may be short, but they come with a ton of replayability. This replayability is due to the various combat modifiers, high scores, and, most importantly, hidden secrets. Each level in Ninja Gaiden Ragebound has its fair share of secrets, and the Crystal Skull may be the most ominous of them all.
If you’re looking to 100% the game, you have to find all of them, and if you can’t find the ones in Act 1, this guide is for you. In this guide, we shall go over all the Crystal Skull locations in Act 1 of Ninja Gaiden Ragebound.
Related: Ninja Gaiden Ragebound: All Murasama Shop Items and What They Do
All Crystal Skulls in Level P-1 in Ninja Gaiden Ragebound
The prologue mission may be one of the shortest missions in the game, but it has three Crystal Skulls for you to find.
First Crystal Skull in Level P-1
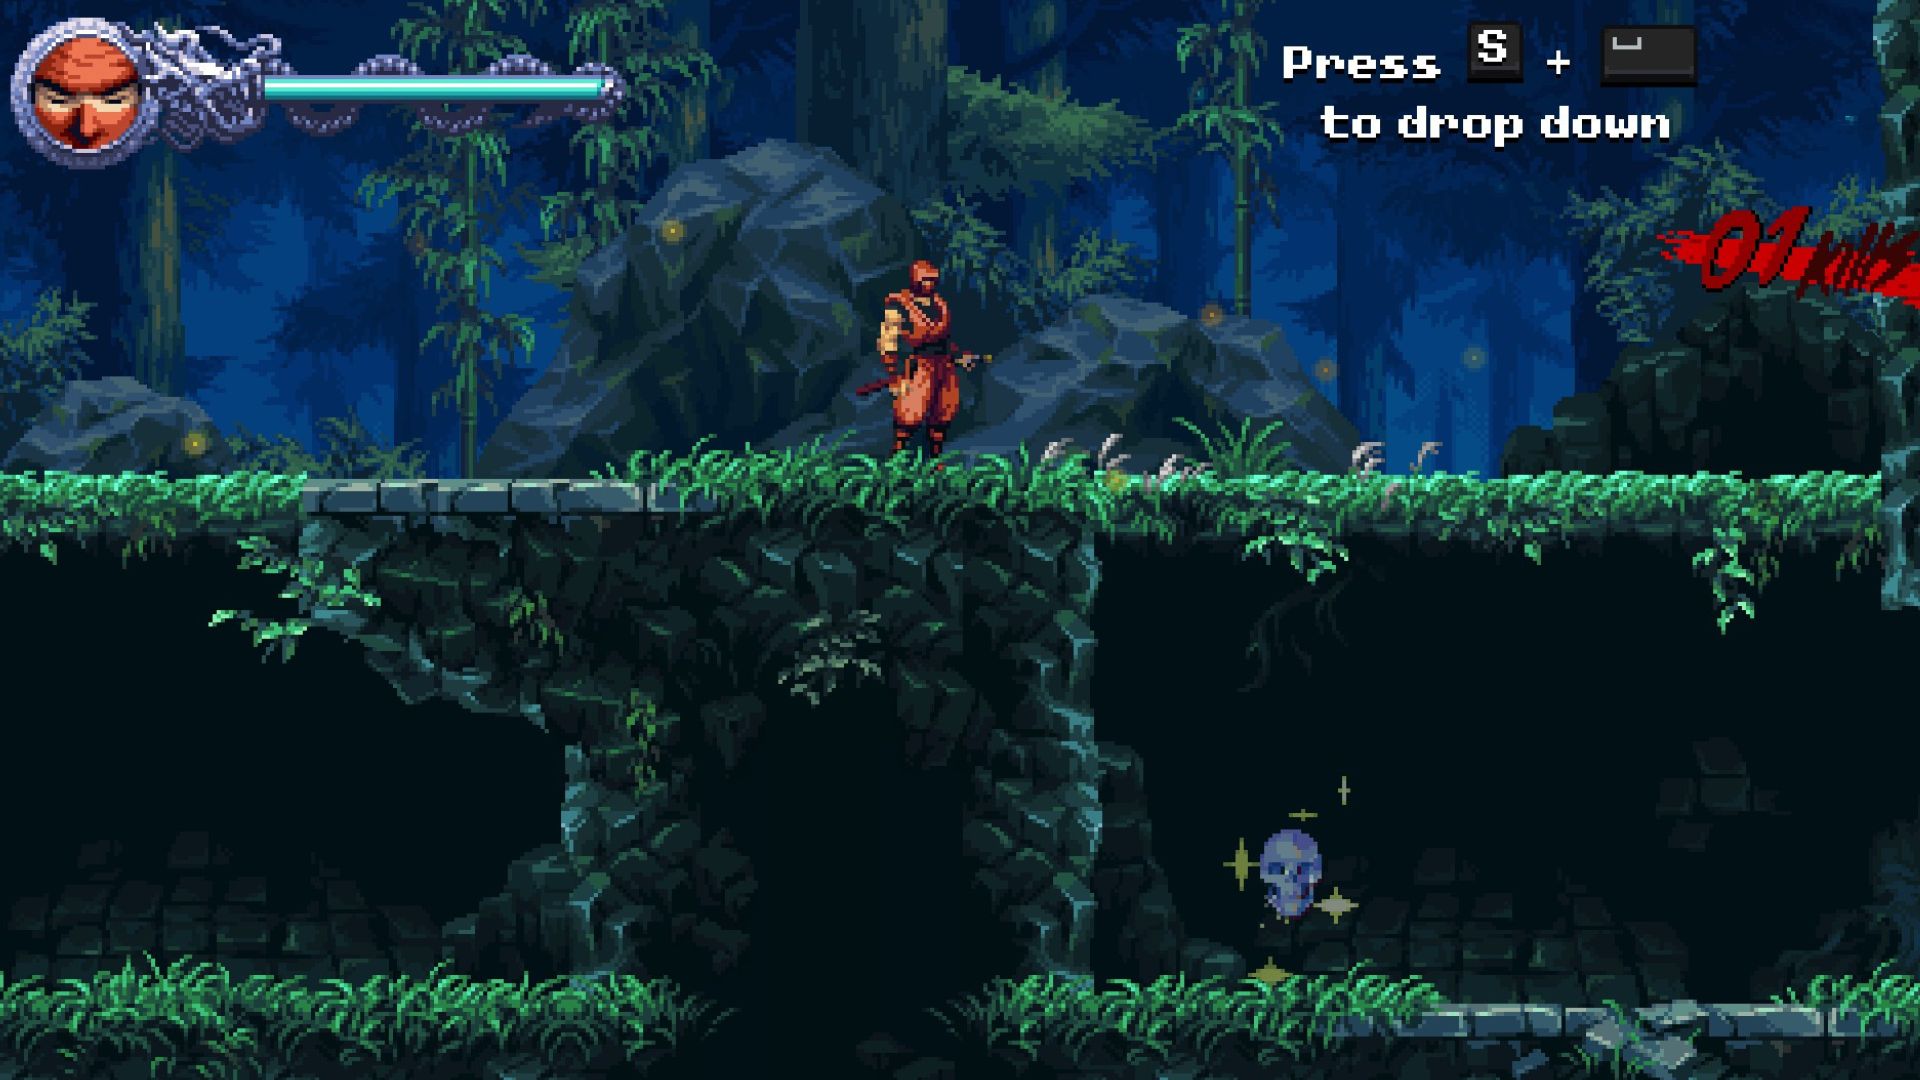
You find the first Crystal Skull shortly after starting the level, near the part where the game teaches you how to drop down. This is on the beaten path and impossible to miss.
Second Crystal Skull in Level P-1
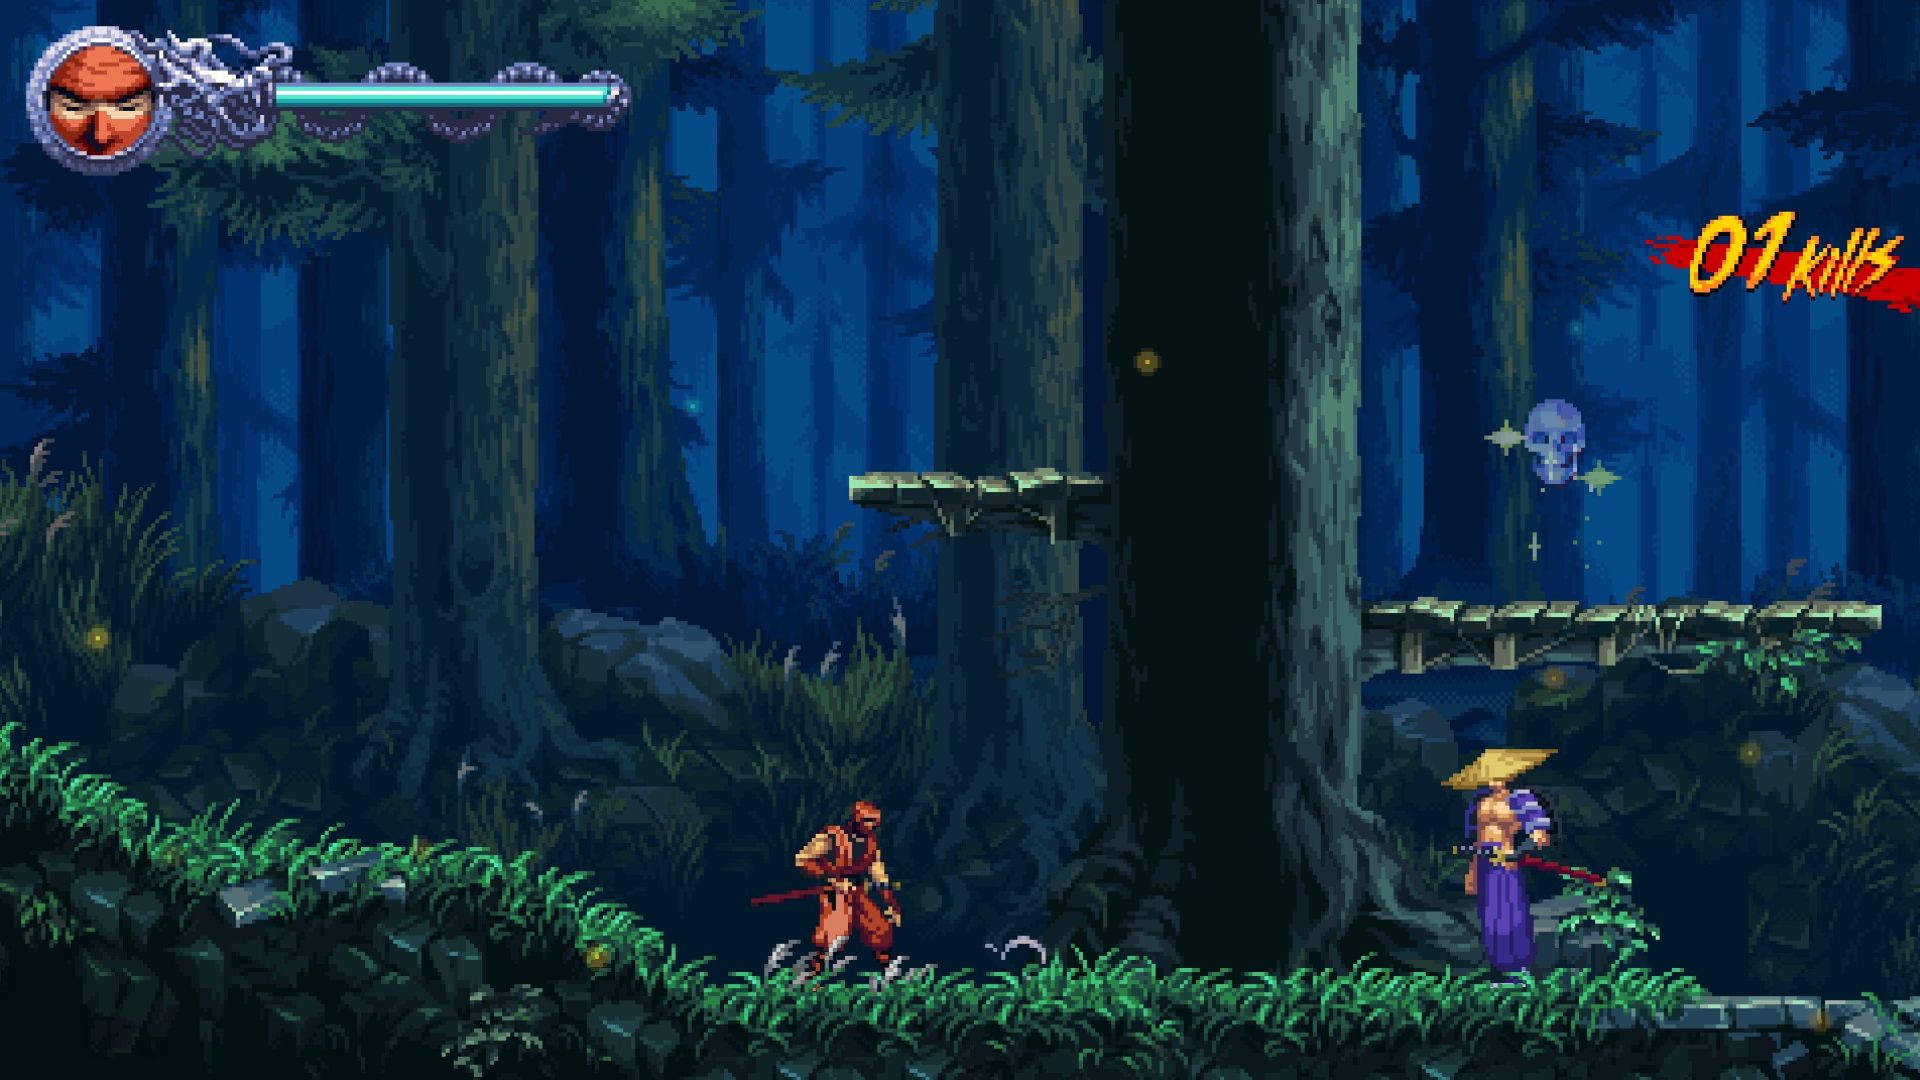
After acquiring the first skull, proceed through the level till you find the first shrine. Go past the shrine and you’ll see a ronin with a yellow hat. The Crystal Skull is on the platform above him.
Also Read: Ninja Gaiden Ragebound: All Levels and Challenges
Third Crystal Skull in Level P-1
Continue through the level and go past the pit ambush area to find a shrine. Go past this shrine and keep heading straight till you run into another shonin with a yellow hat. The skull is near the tree next to him, but a tree in the foreground may obstruct the view.
All Crystal Skulls in Level 1-1 in Ninja Gaiden Ragebound
There is only one Crystal Skull in Level 1-1. When you start off the level, you’re introduced to the Guillotine Boost mechanic. The next two obstacles allow you to put this mechanic to the test. Continue past these obstacles and you’ll then find the Crystal Skull right after. This one is impossible to miss.
You May Like: Ninja Gaiden Ragebound: Best Amulets Guide
All Crystal Skulls in Level 1-2 in Ninja Gaiden Ragebound
First Crystal Skull in Level 1-2
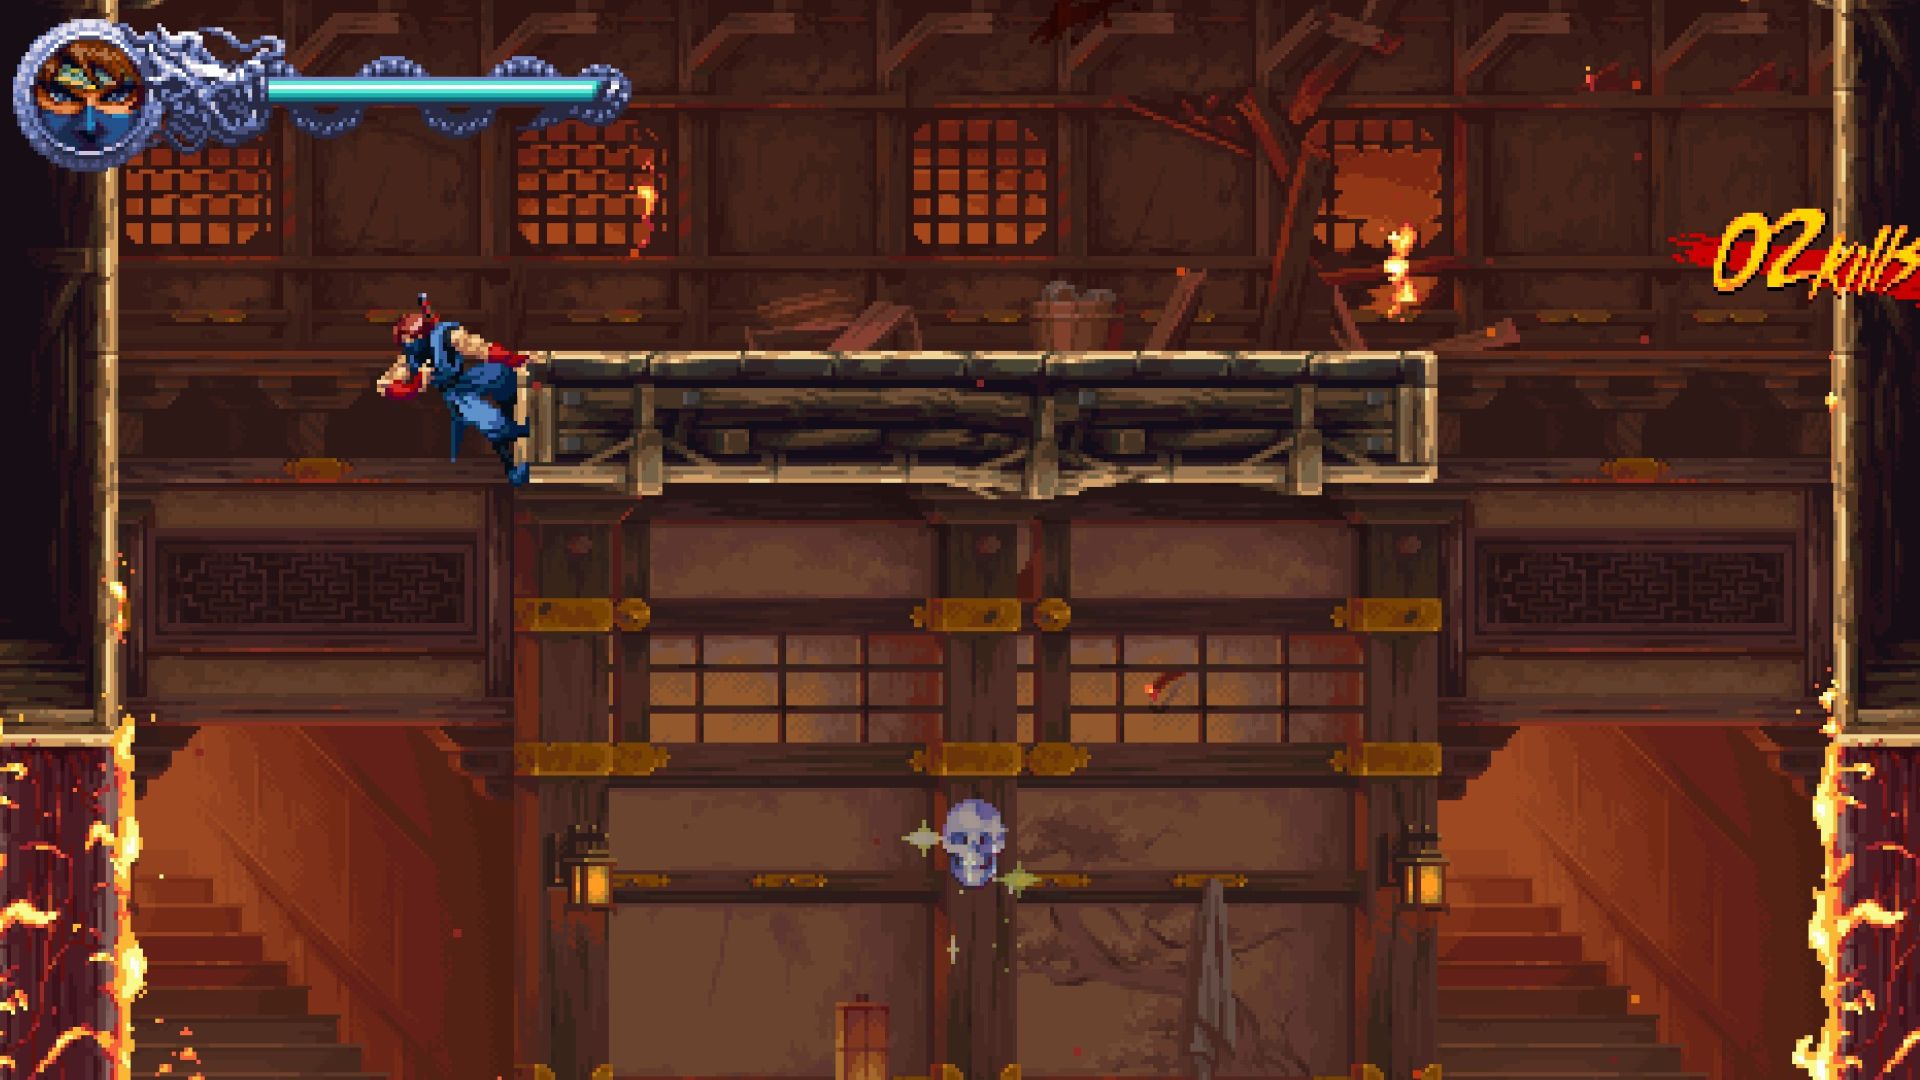
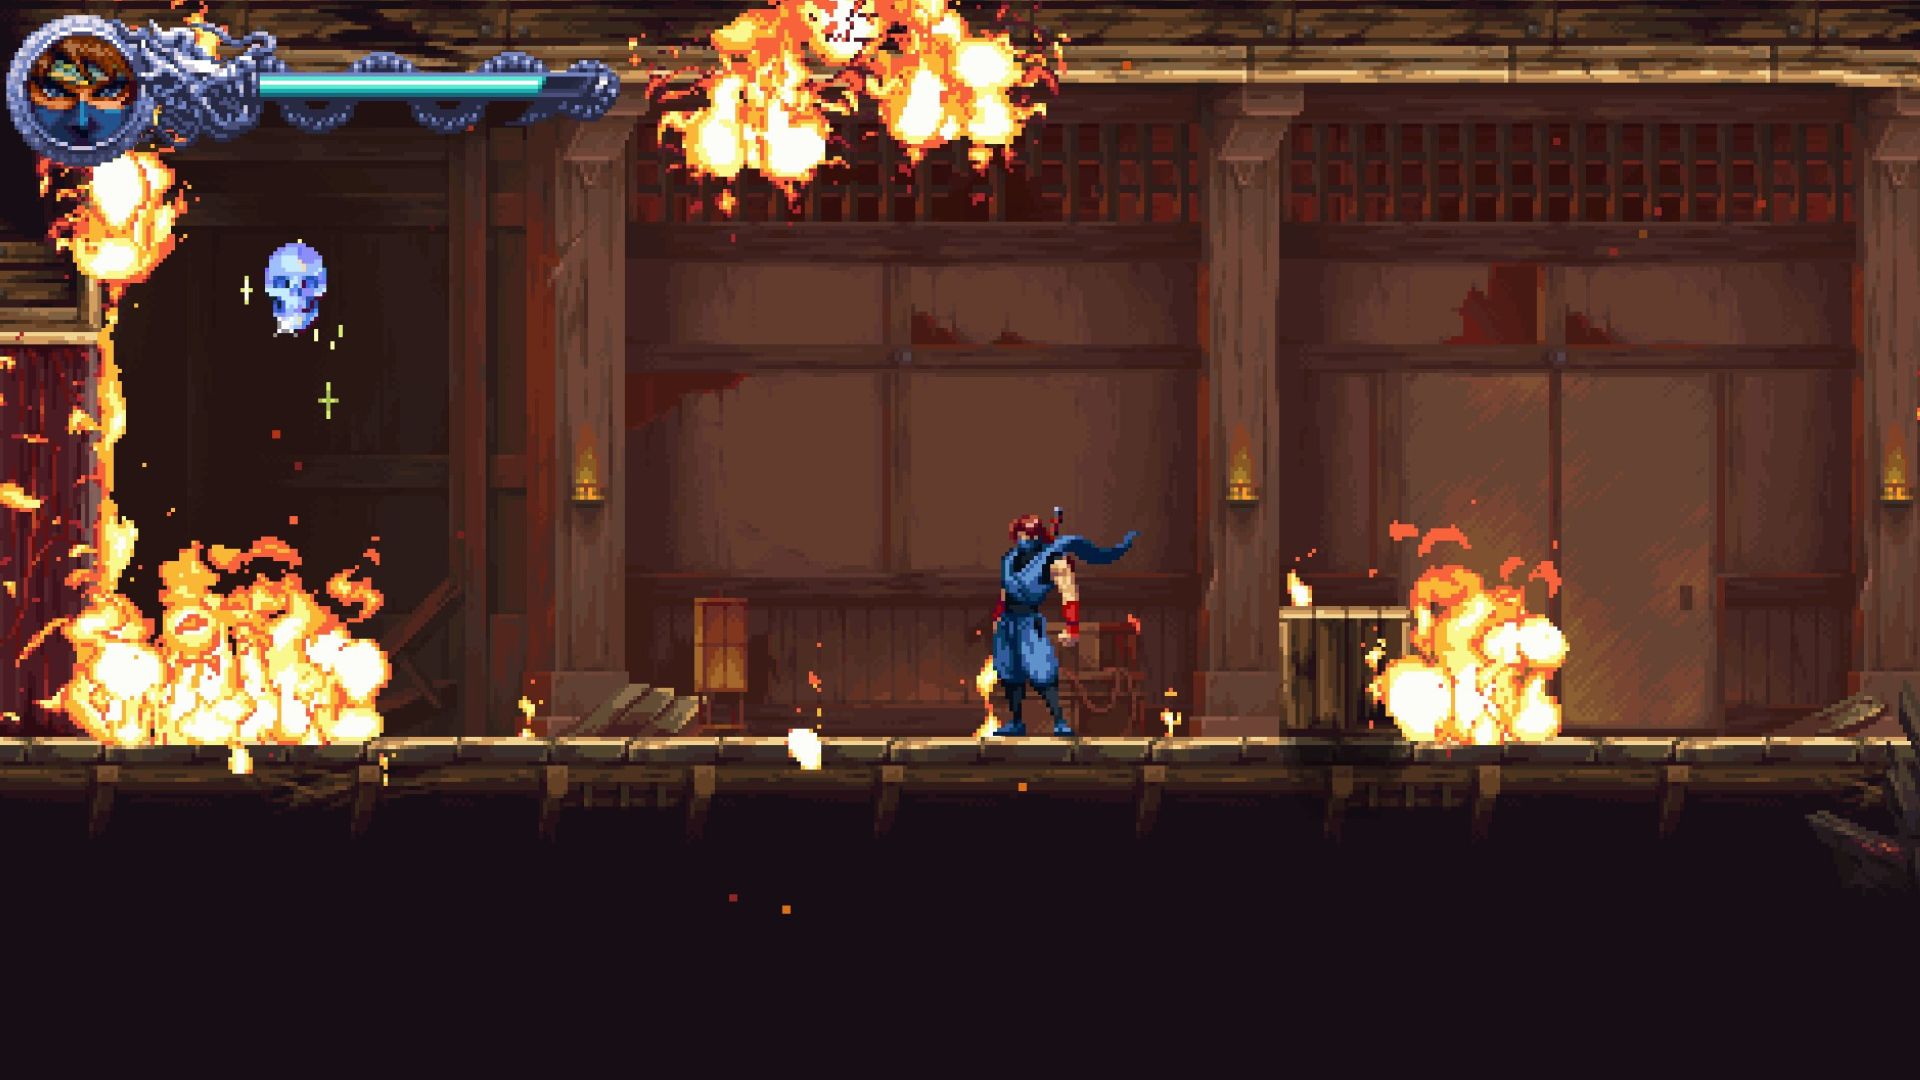
Proceed through the level till you find your first shrine. Once you’ve found this, keep moving ahead and you’ll come across an area with twin fire pits. A shinobi will be hanging on the floor underneath them. Drop down from where he was hanging to find the skull.
Second Crystal Skull in Level 1-2
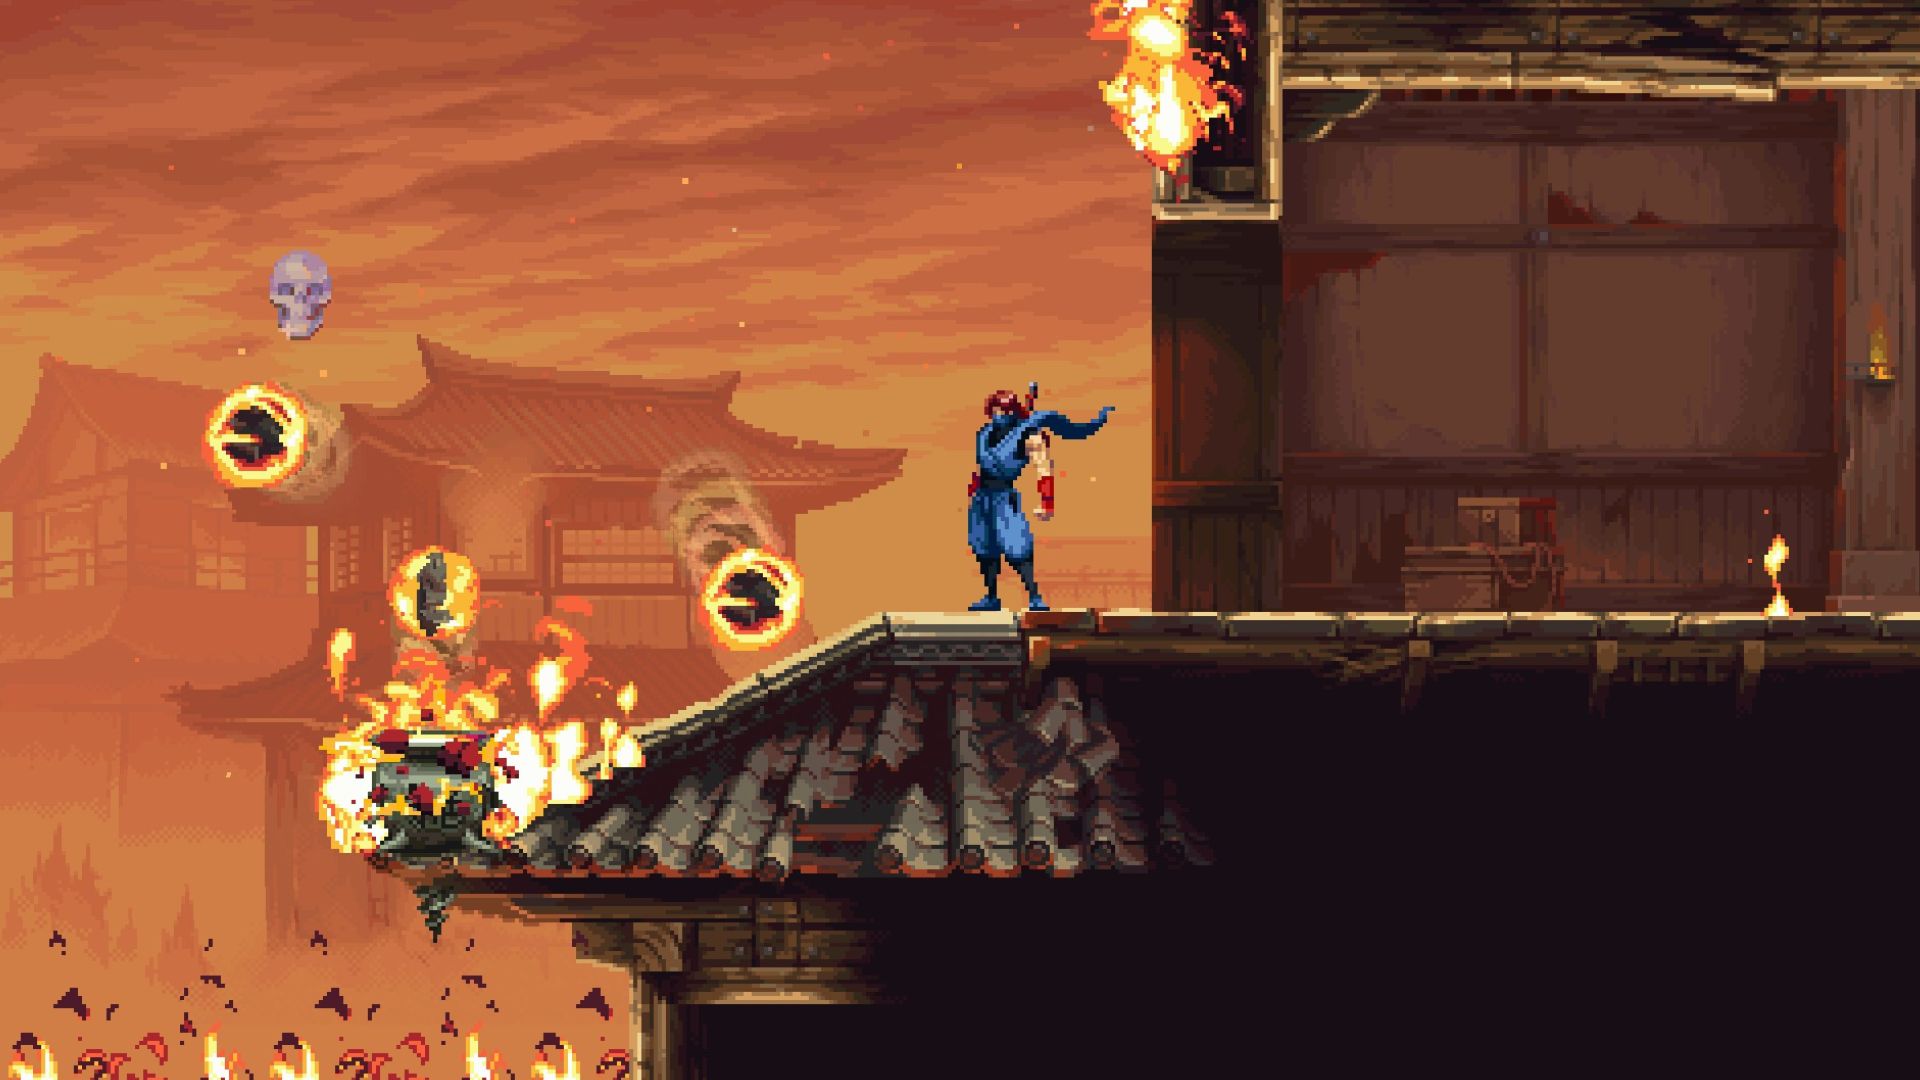
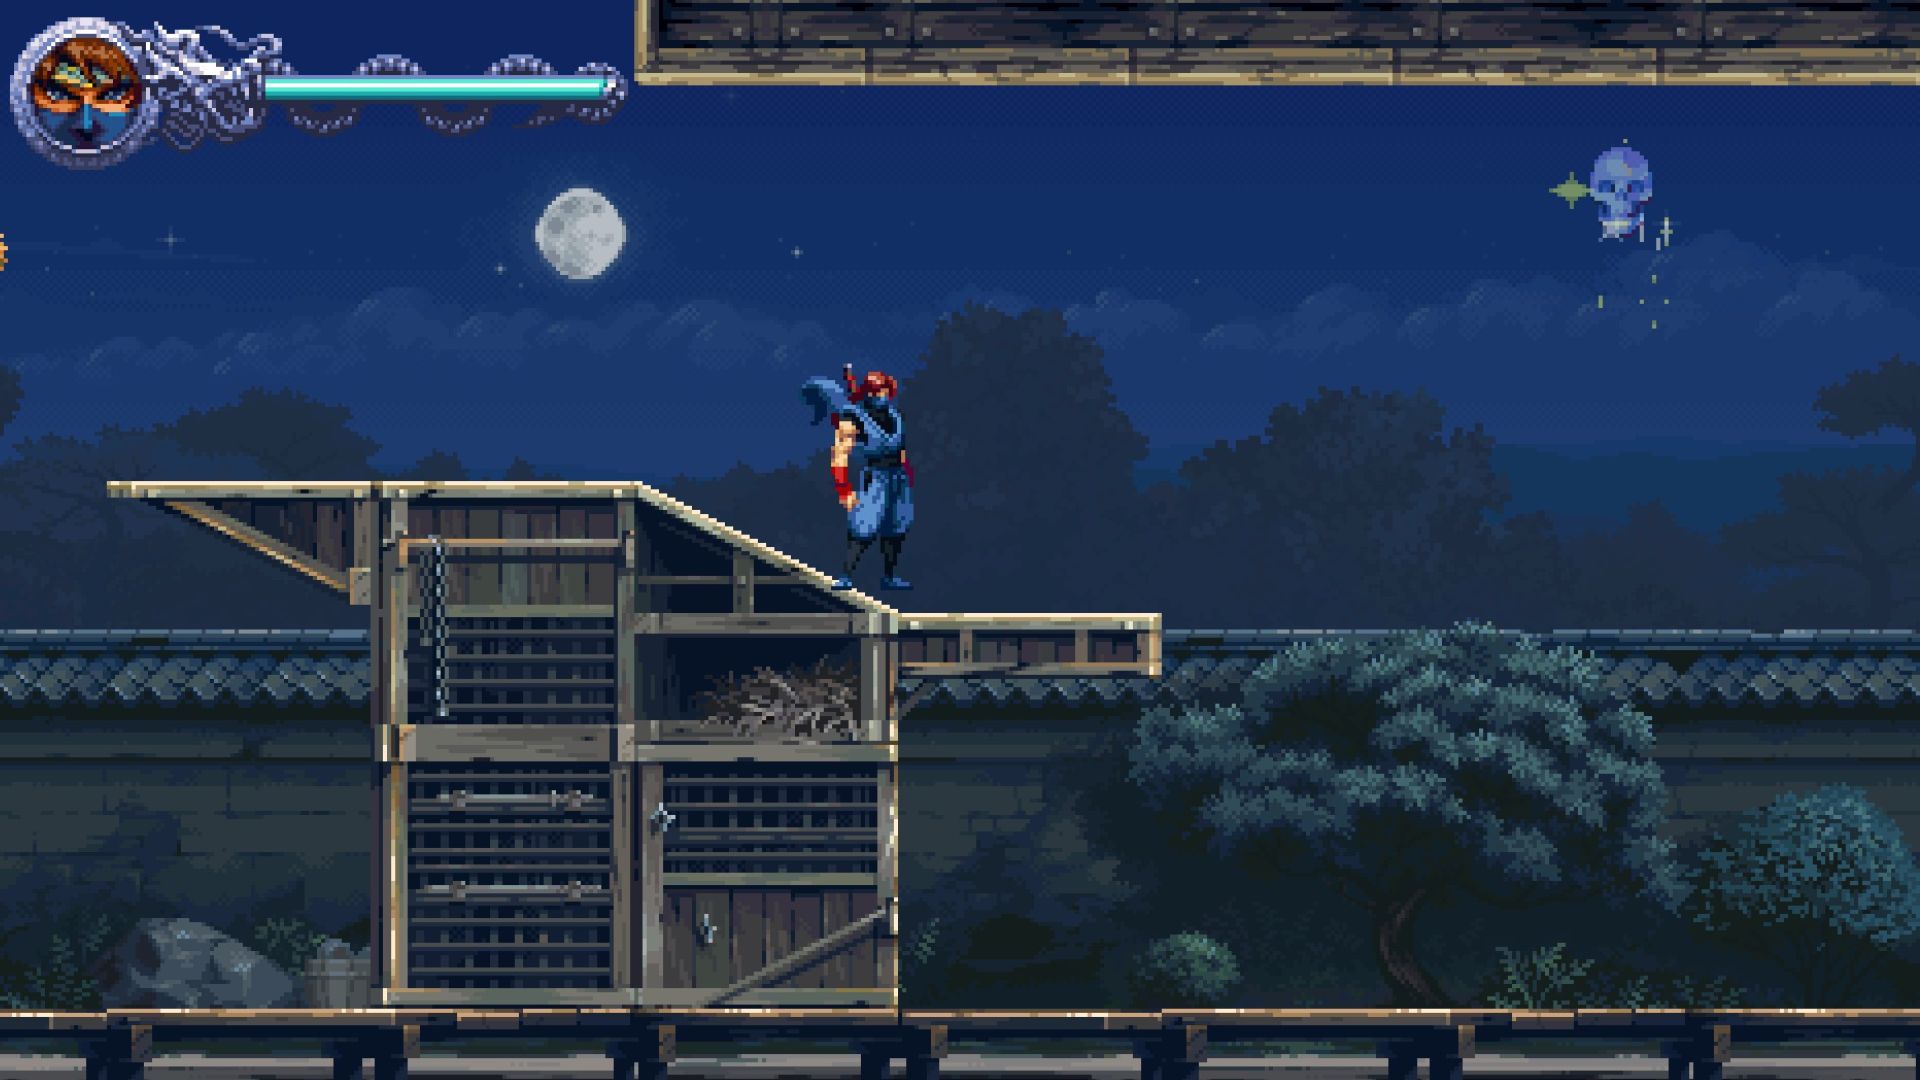
Once you’re at the third shrine on the rooftop (after the falling meteor section), head left instead of right and dodge through the small gap to enter a new area. From here, head straight and Guillotine Boost over the fireballs to acquire the Crystal Skull.
Third Crystal Skull in Level 1-2
From the fourth shrine, head left and use dodge to crawl through the gap. Keep heading straight and you’ll find the Crystal Skull at the very end.
Read More: Ninja Gaiden Ragebound: Obsidrae Boss Guide
All Crystal Skulls in Level 1-3 in Ninja Gaiden Ragebound
First Crystal Skull in Level 1-3
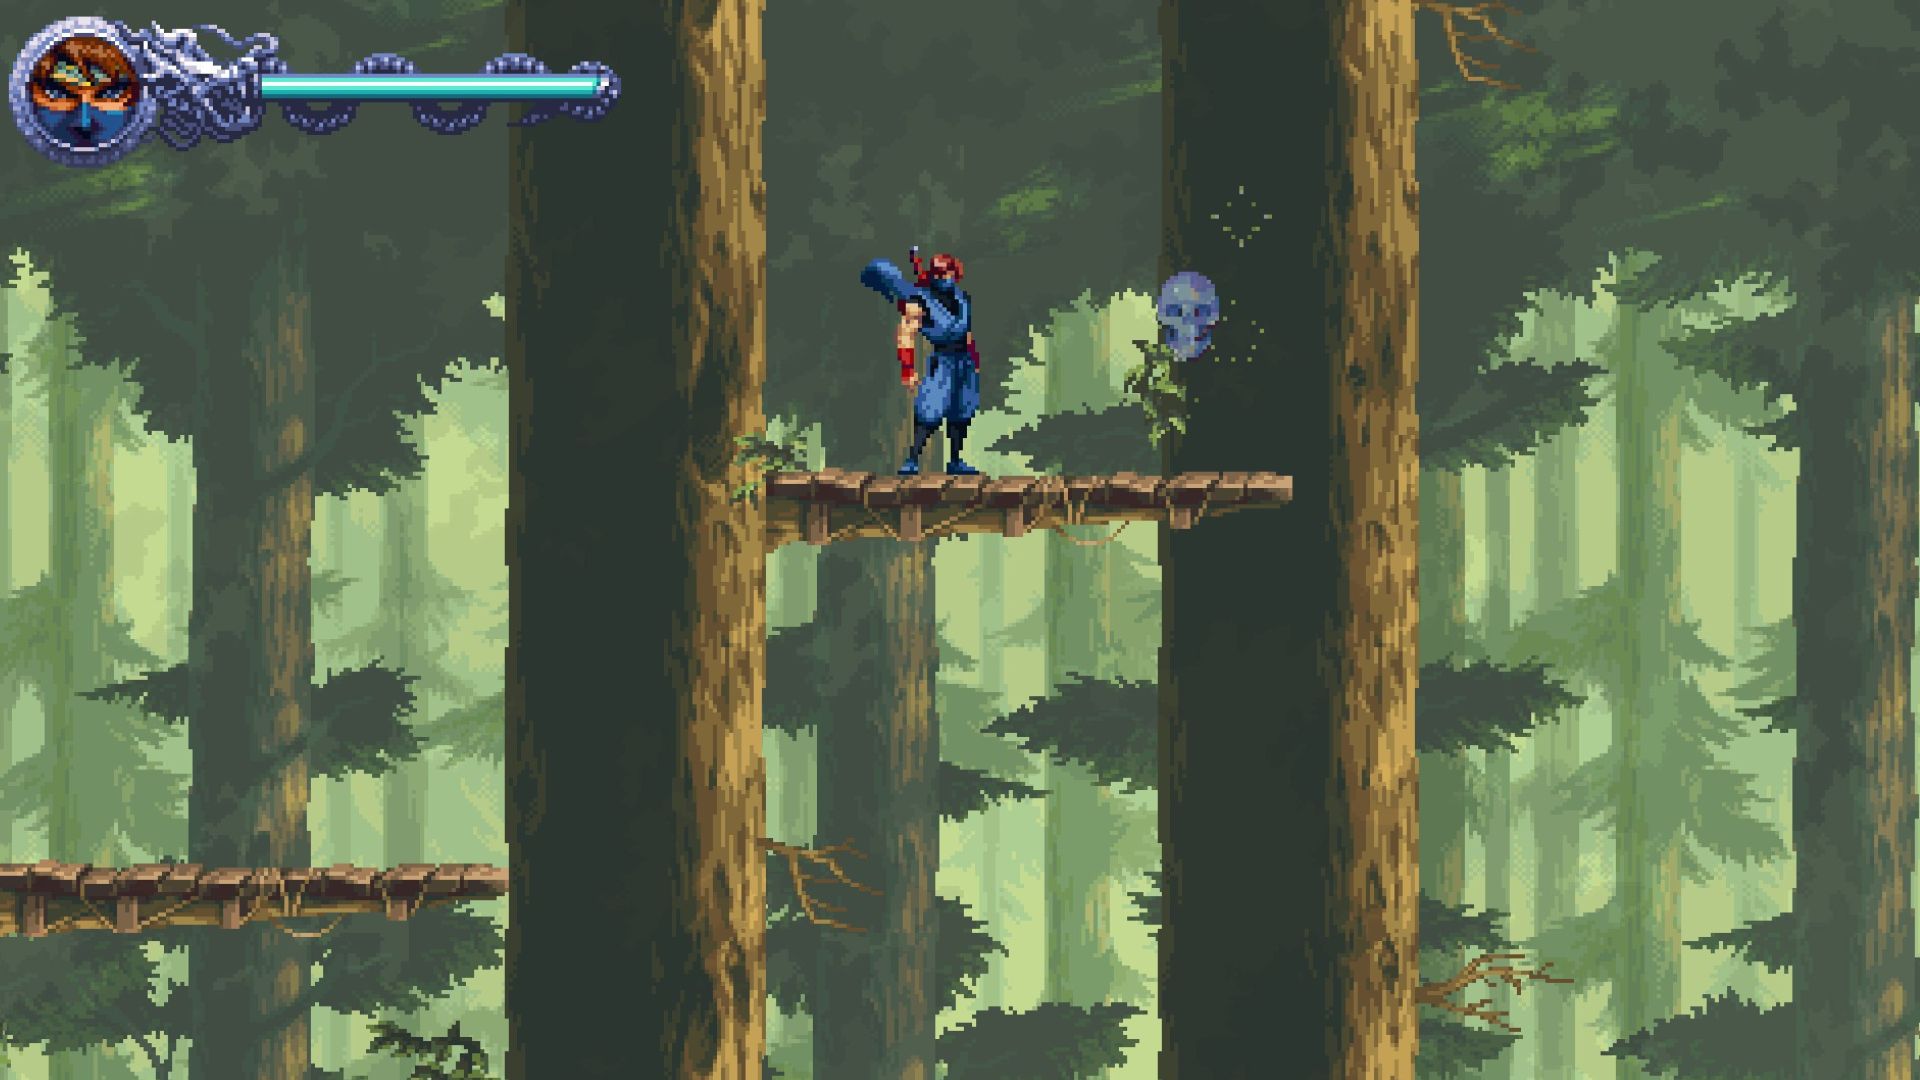
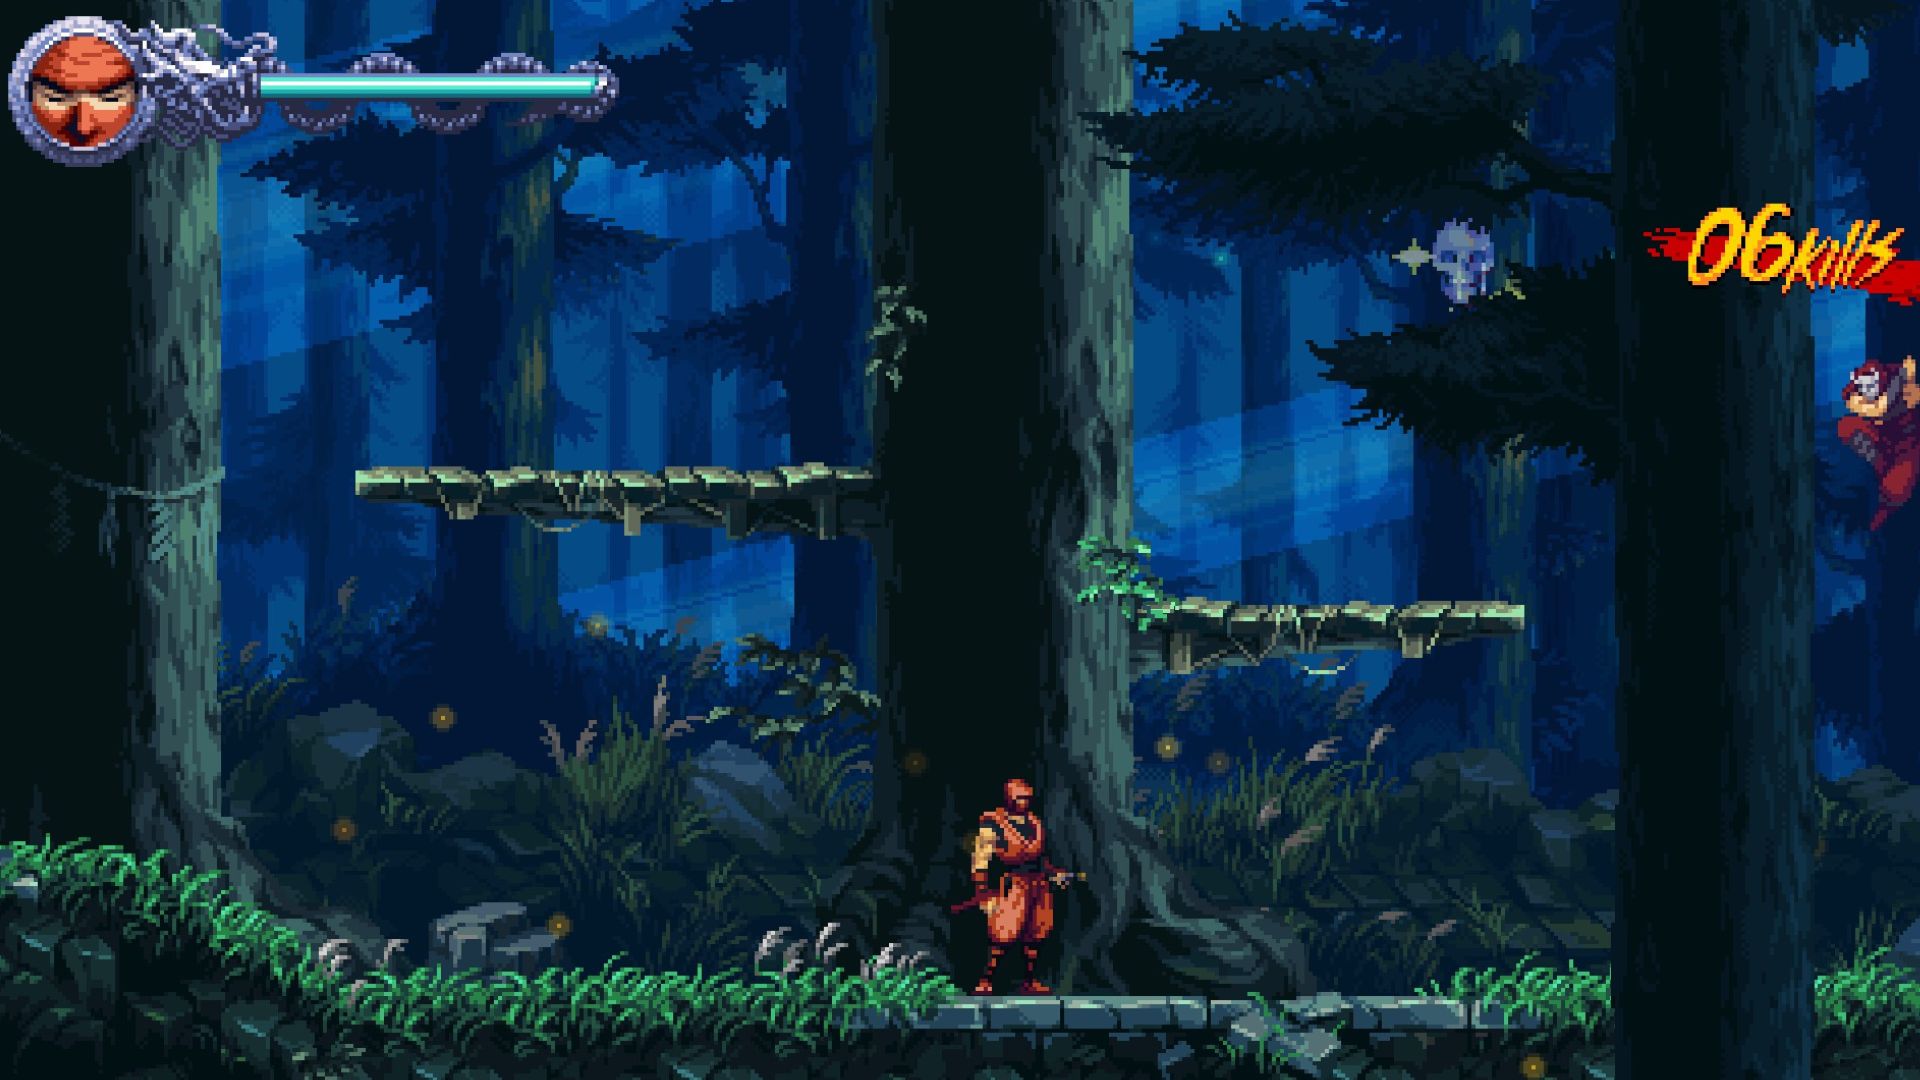
You find the Crystal Skull shortly after encountering the first jetpack enemy. Keep cutting through the trees while keeping your eyes peeled for a platform towards the top. Once you see it, climb up above and you’ll find the Crystal Skull right there.
Second Crystal Skull in Level 1-3
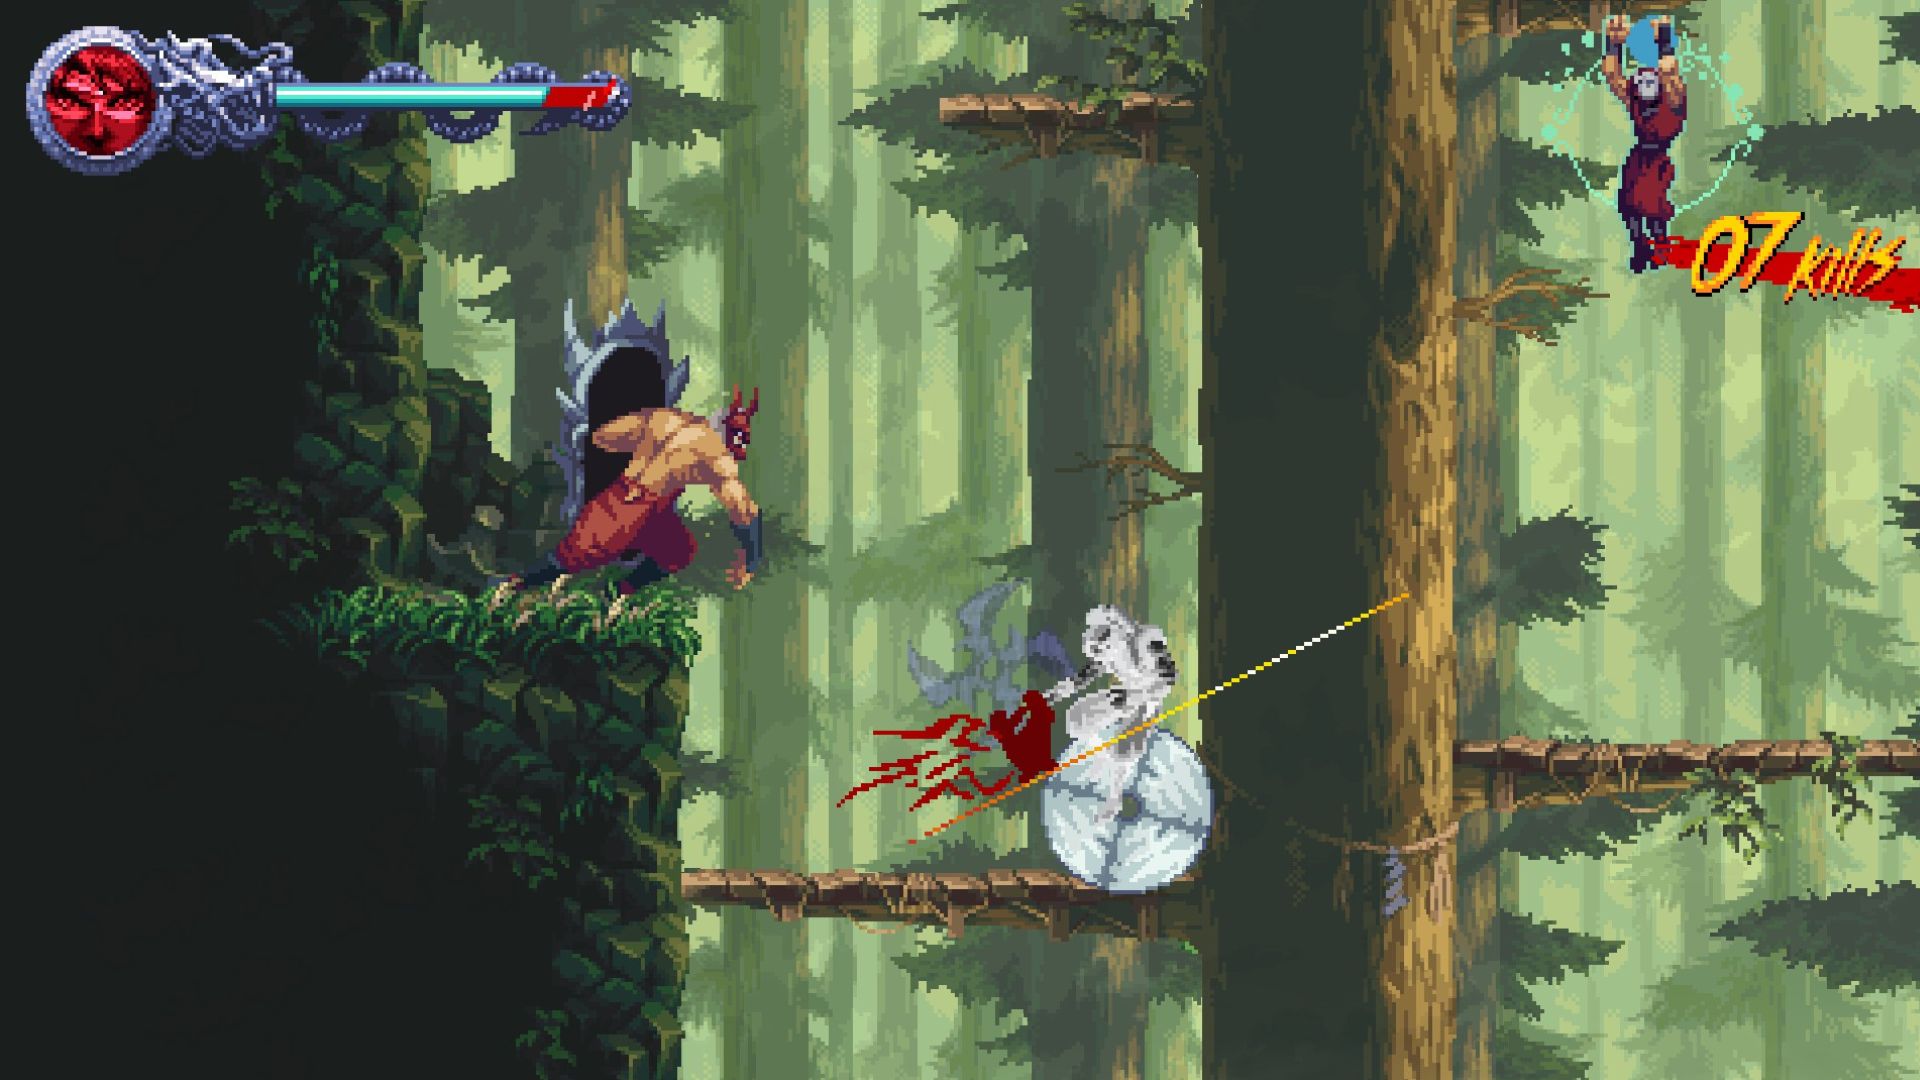
Keep moving ahead through the trees and you’ll run into the shield enemy blocking your path. While you can run past this enemy, do not do so as he his holding the Crystal Skull. Use the Hypercharge to kill him in one hit and acquire the Crystal Skull. Be wary as his blade can knock you off the platform and insta kill you.
Third Crystal Skull in Level 1-3
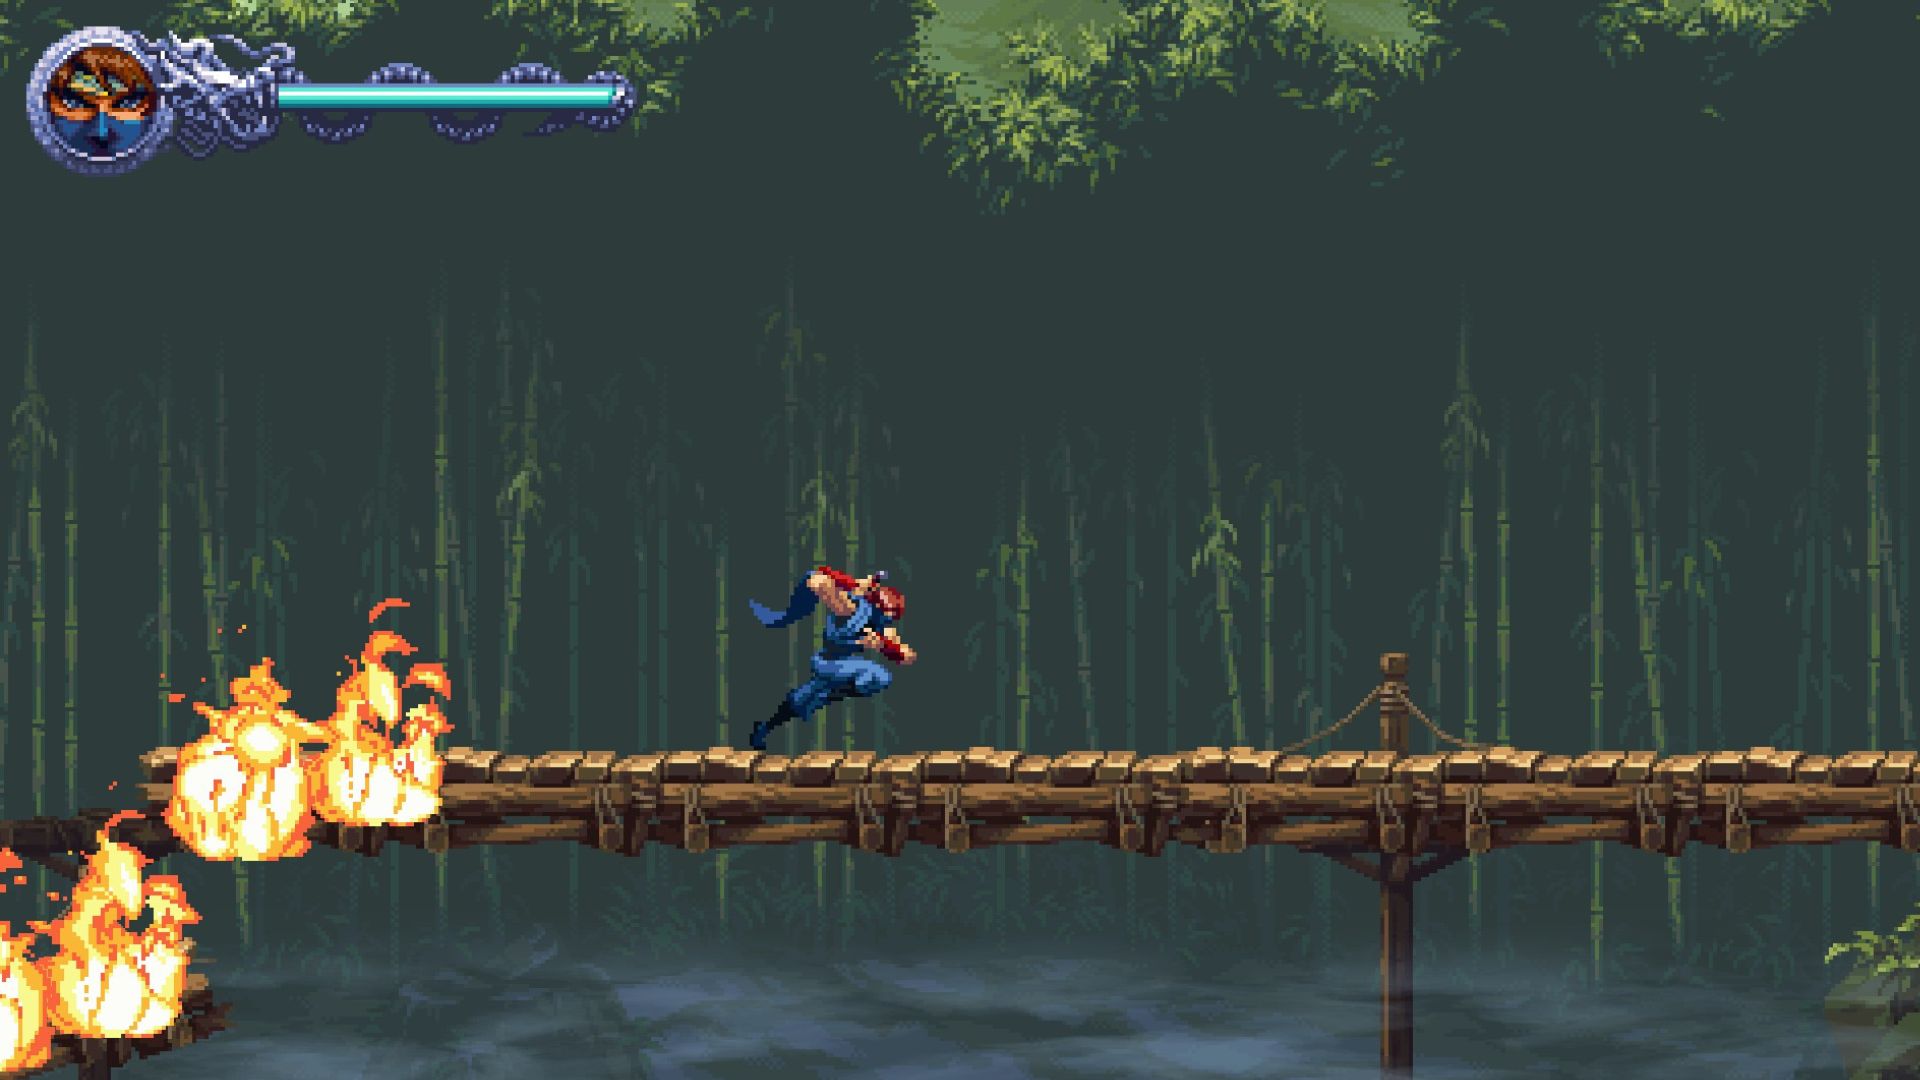
Once you go past the tree section and head up, you’ll find a shrine. Standing right in front of this shrine is the ronin with the yellow hat. Kill the ronin and proceed onto the bridge ahead. As soon as you step foot onto the bridge, the demon dragon Gurthka will appear and break it. You’ll find the skull during this chase sequence.
Thank you for reading the article. We provide the latest news and create guides for new and old titles, including Death Stranding 2, Baldur’s Gate 3, Roblox, Destiny 2, and more.