Facebook
 Reddit
 Email
Email
Players will have to find a hidden shrine in the Shrine of the Crusader quest in Oblivion Remastered. Follow this guide to learn how to do it
Elder Scrolls IV: Oblivion Remastered was released with all the DLC of the original title. The Knights of Nine belong to that list and add additional quests and content to the already vast world of Cyrodiil. The Shrine of the Crusader is a part of this expansion. During it, players will have to find a hidden shrine, which will ultimately lead them to Umaril. In this guide, we will give you a complete walkthrough of this quest with every detail you need.
How To Complete The Shrine of The Crusader Quest in Oblivion Remastered
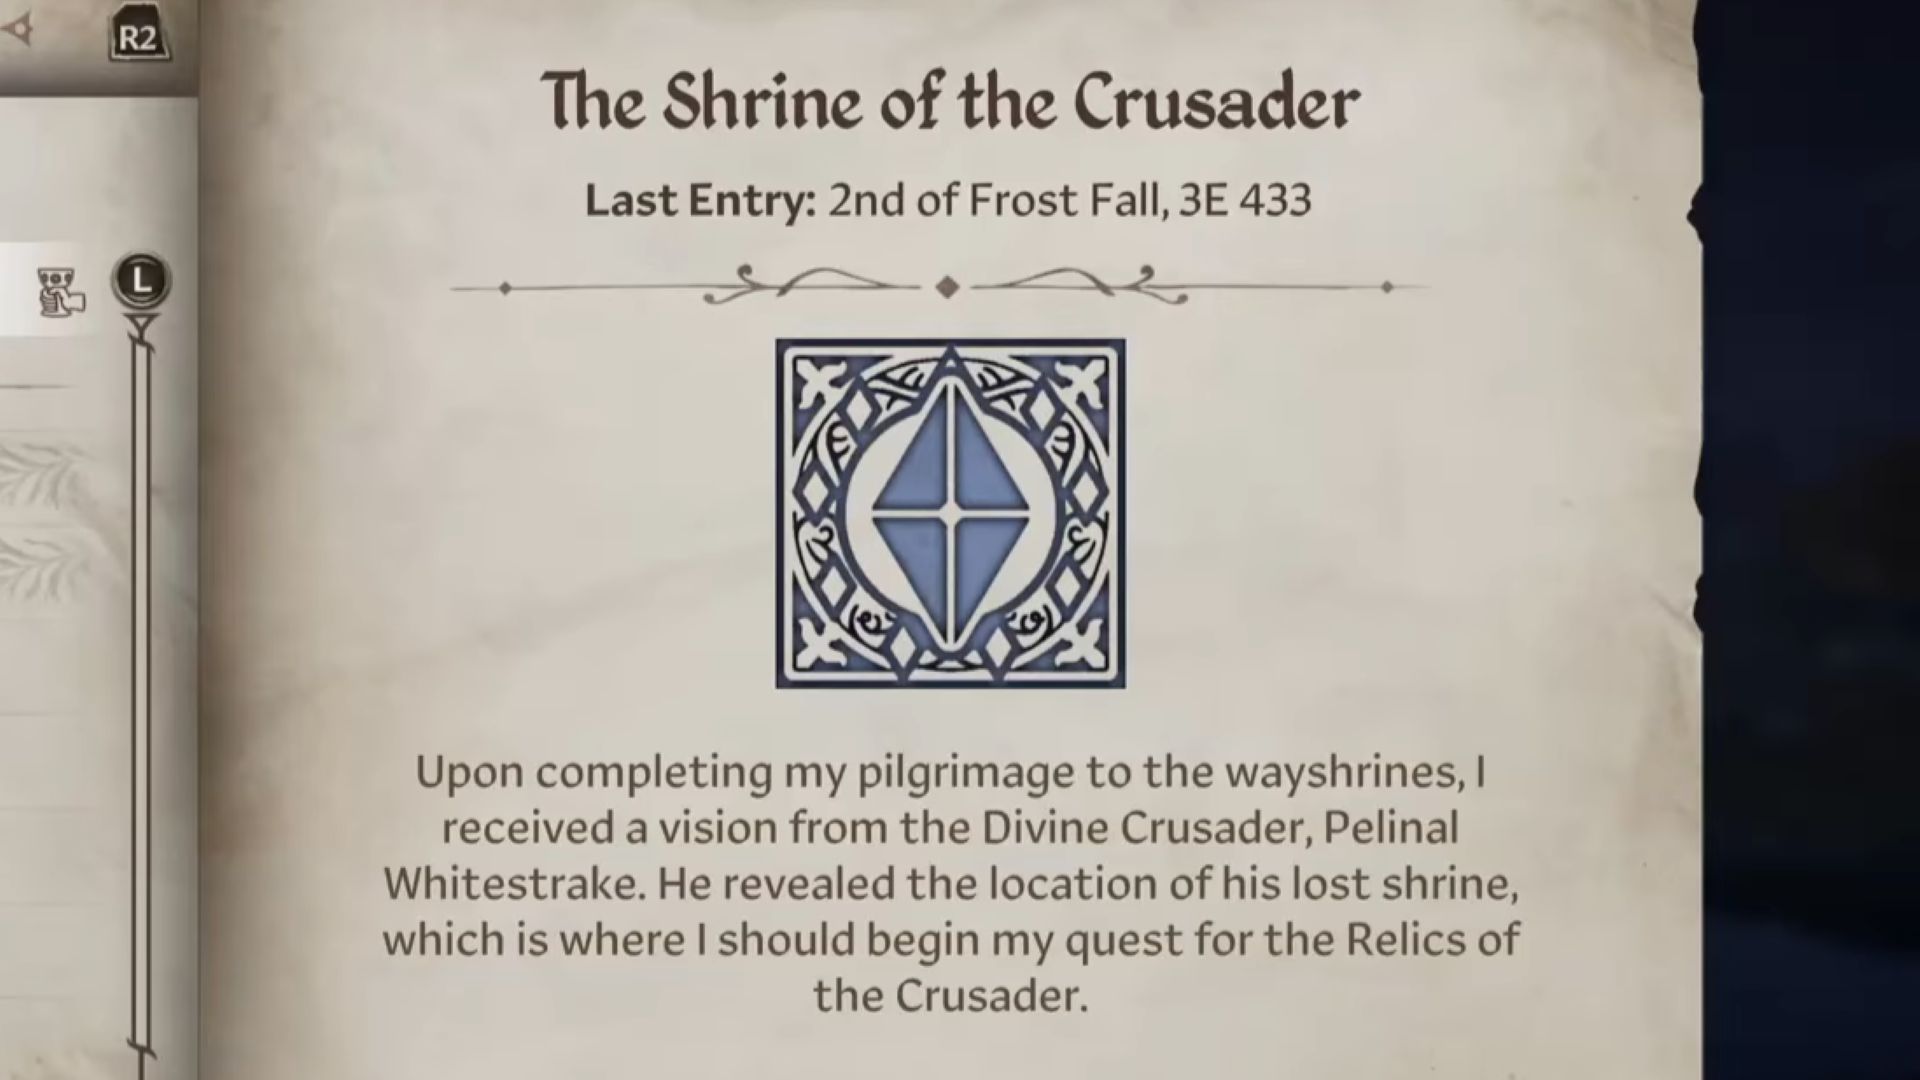
Before you even start the Shrine of The Crusader quest, you will have to complete the Pilgrimage mission in Oblivion Remastered. After that, Pelinal Whitestrake will speak to you in a vision and give you the location of the hidden shrine we mentioned earlier.
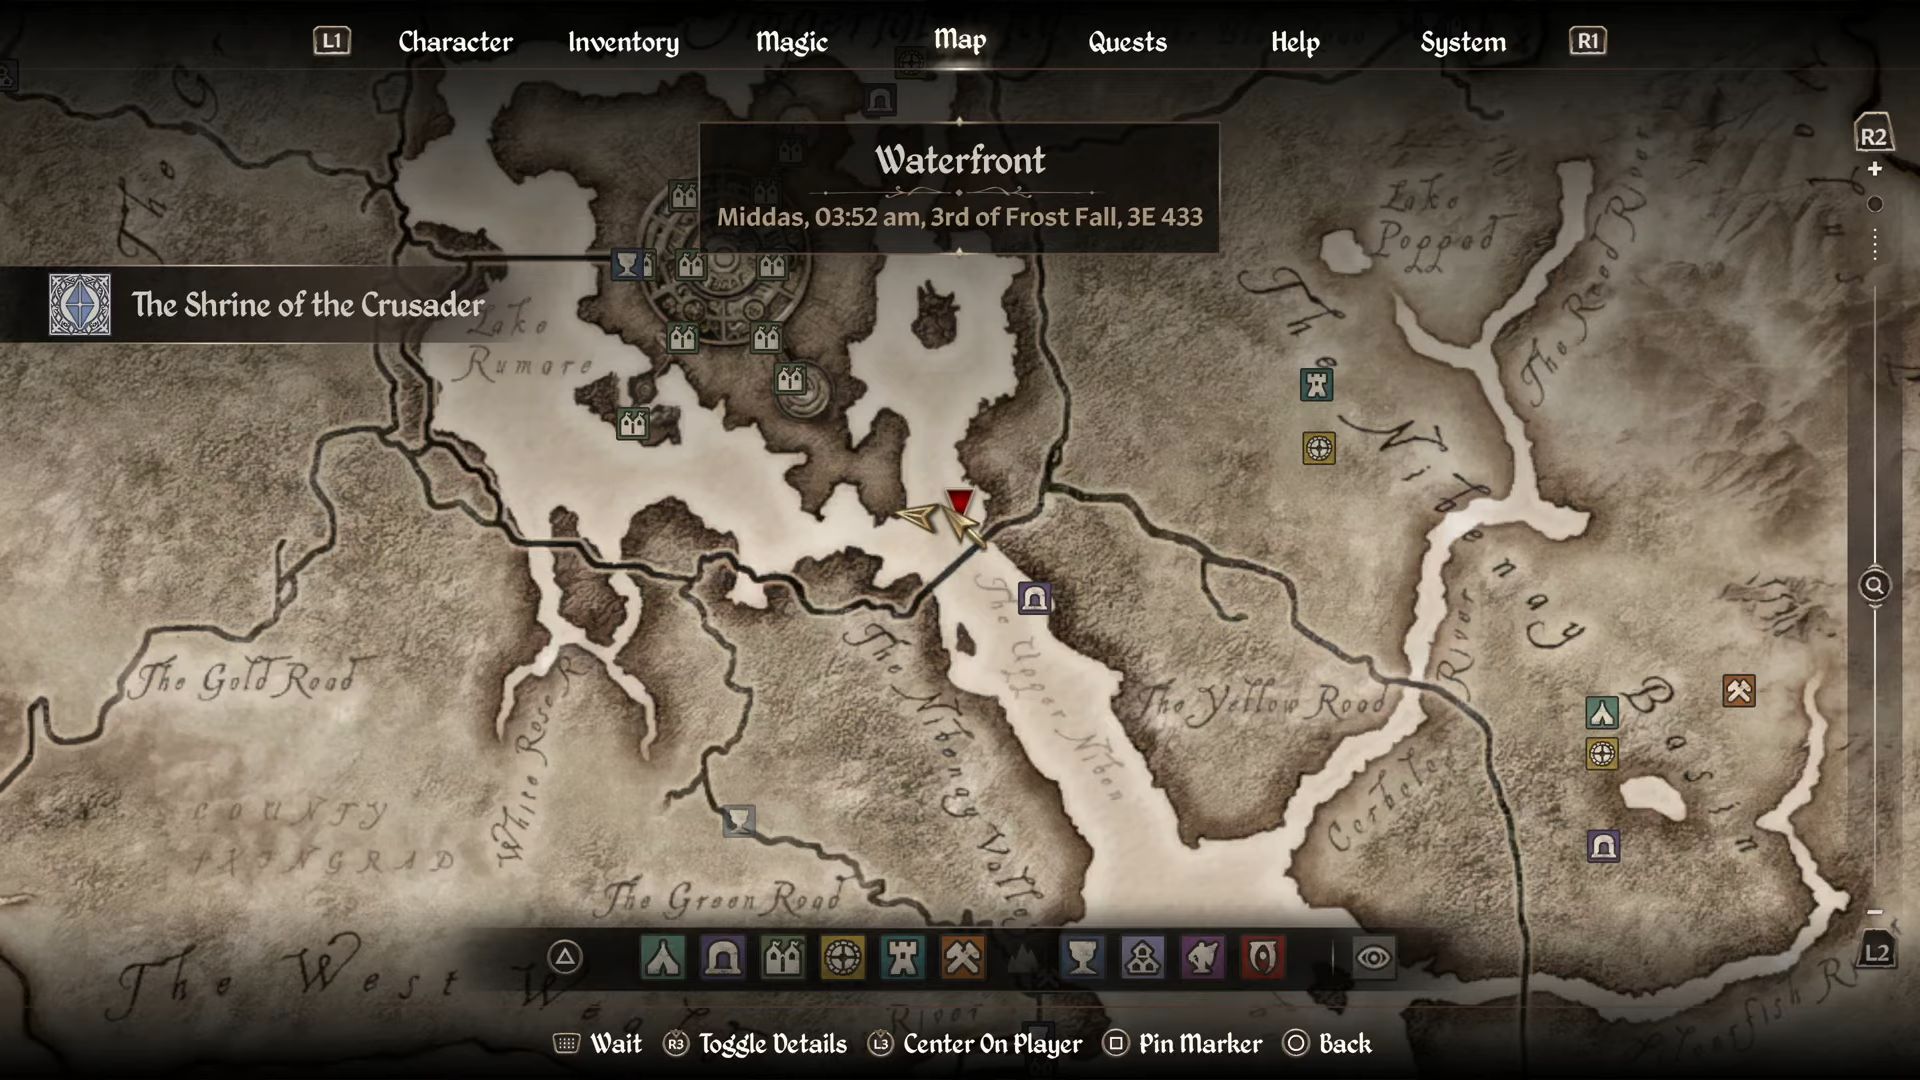
If you open your map, you will notice that the shrine is located under the lake, towards the southeast of the Imperial City. Just like any other Bethesda RPG, you can follow the quest marker to get to the exact spot of your objective. Once you are there, dive into the depths of the lake.
There, you will find a stone door. It will lead you straight to the Vanua dungeon. Moreover, you won’t need any ability or gear to breathe underwater. You will just need to be quick enough to enter through the door before your lungs run out of air.
Inside the Dungeon
Similar to other dungeons, this Shrine will have its fair share of enemies as well. Mostly, there will be Skeletons, which is good for you since they don’t do much damage. But before you go further into the shrine, remember to take the Ayleid Cask to your right. Eventually, you will meet a lone skeleton. After defeating it, if you look to the right side, there will be a skeleton on top of a coffin. You can get a ring and a Bonemeal by looting it.
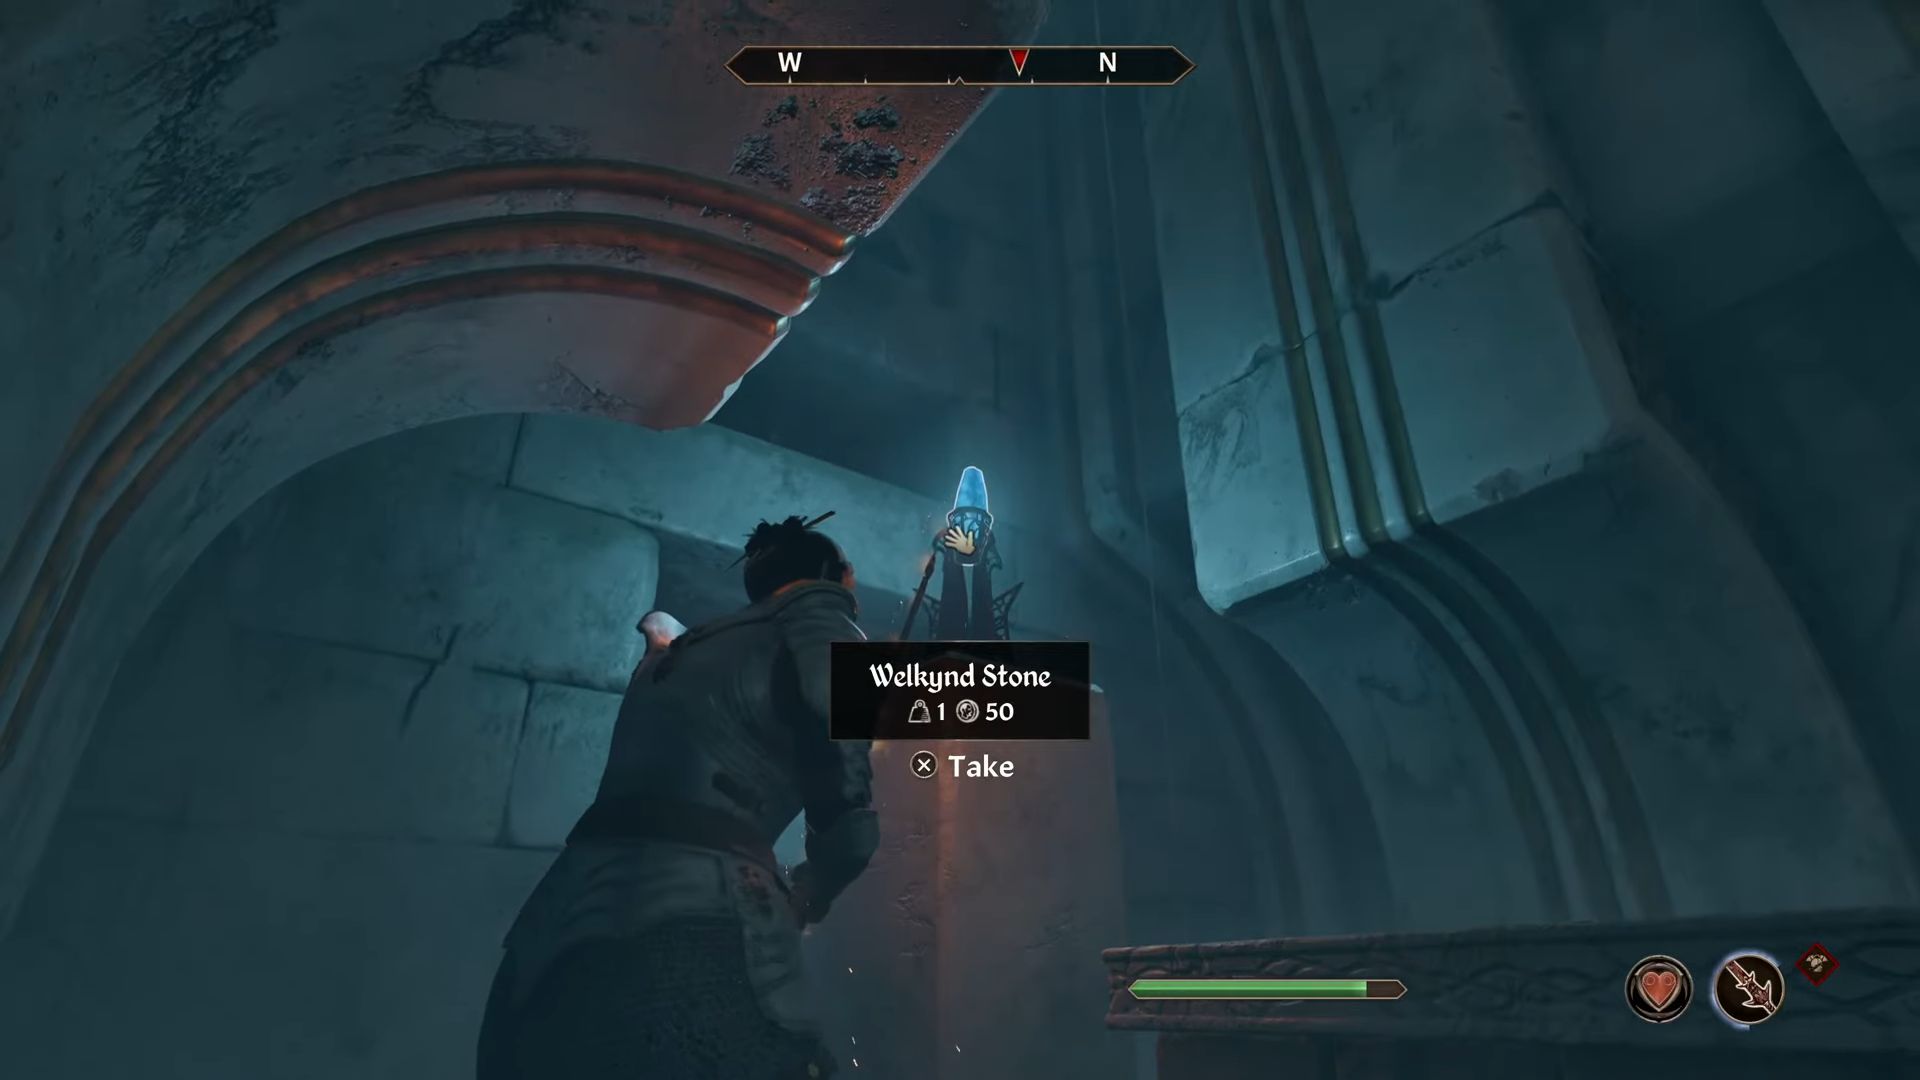
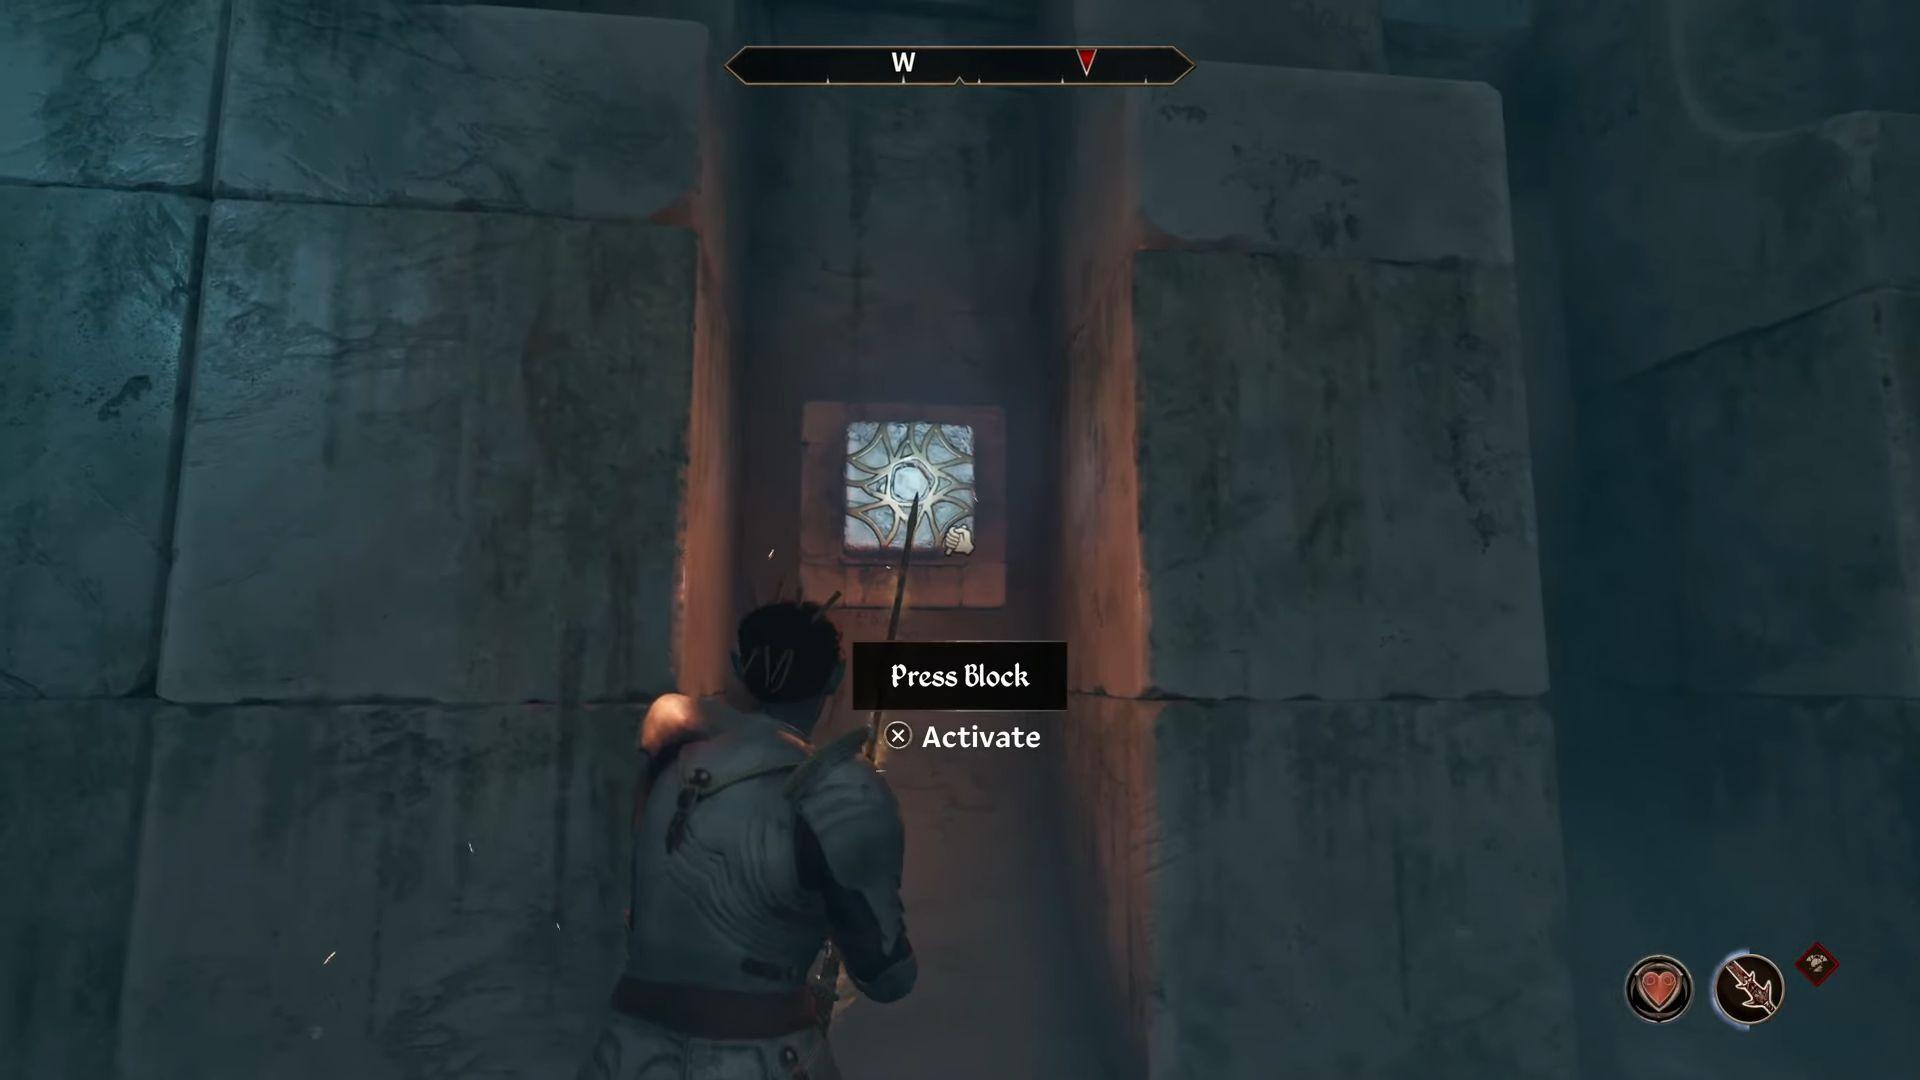
After that, keep going deeper into the dungeon and tackle every enemy that comes in front of you. On your way, you will come across many Welklynd Stones. You can then knock them off their place with an arrow or a spell and use them to refill your magicka. At last, you will meet a dead end. Once there, look to your left, and there will be a glowing button that will open a new path for you.
Take the New Path
Now, go through the newly opened path. You will soon meet another skeleton. After killing it, you will find a door. Behind it will be another enemy. Once you have dealt with it, take the stairs and head up. You will find yet another skeleton blocking your path up the stairs. Take the Ayleid Cast to the right wall after killing it, and then proceed further. You will stumble upon another door, which will lead you deeper into the dungeon.
Similar to the previous times, you will find enemies past this door as well. But this time there will be two. After dealing with them, look for a hole in the wall. Go through it to find a wooden door. It will lead you to the Shrine of the Crusader. Past that door, you will find a stony corridor. From there, keep going north. Again, you will find many more enemies on your way, and you will simply have to deal with them. After that, jump into the first hole in the wall you find.
Loot Sir Amiel’s Skeleton
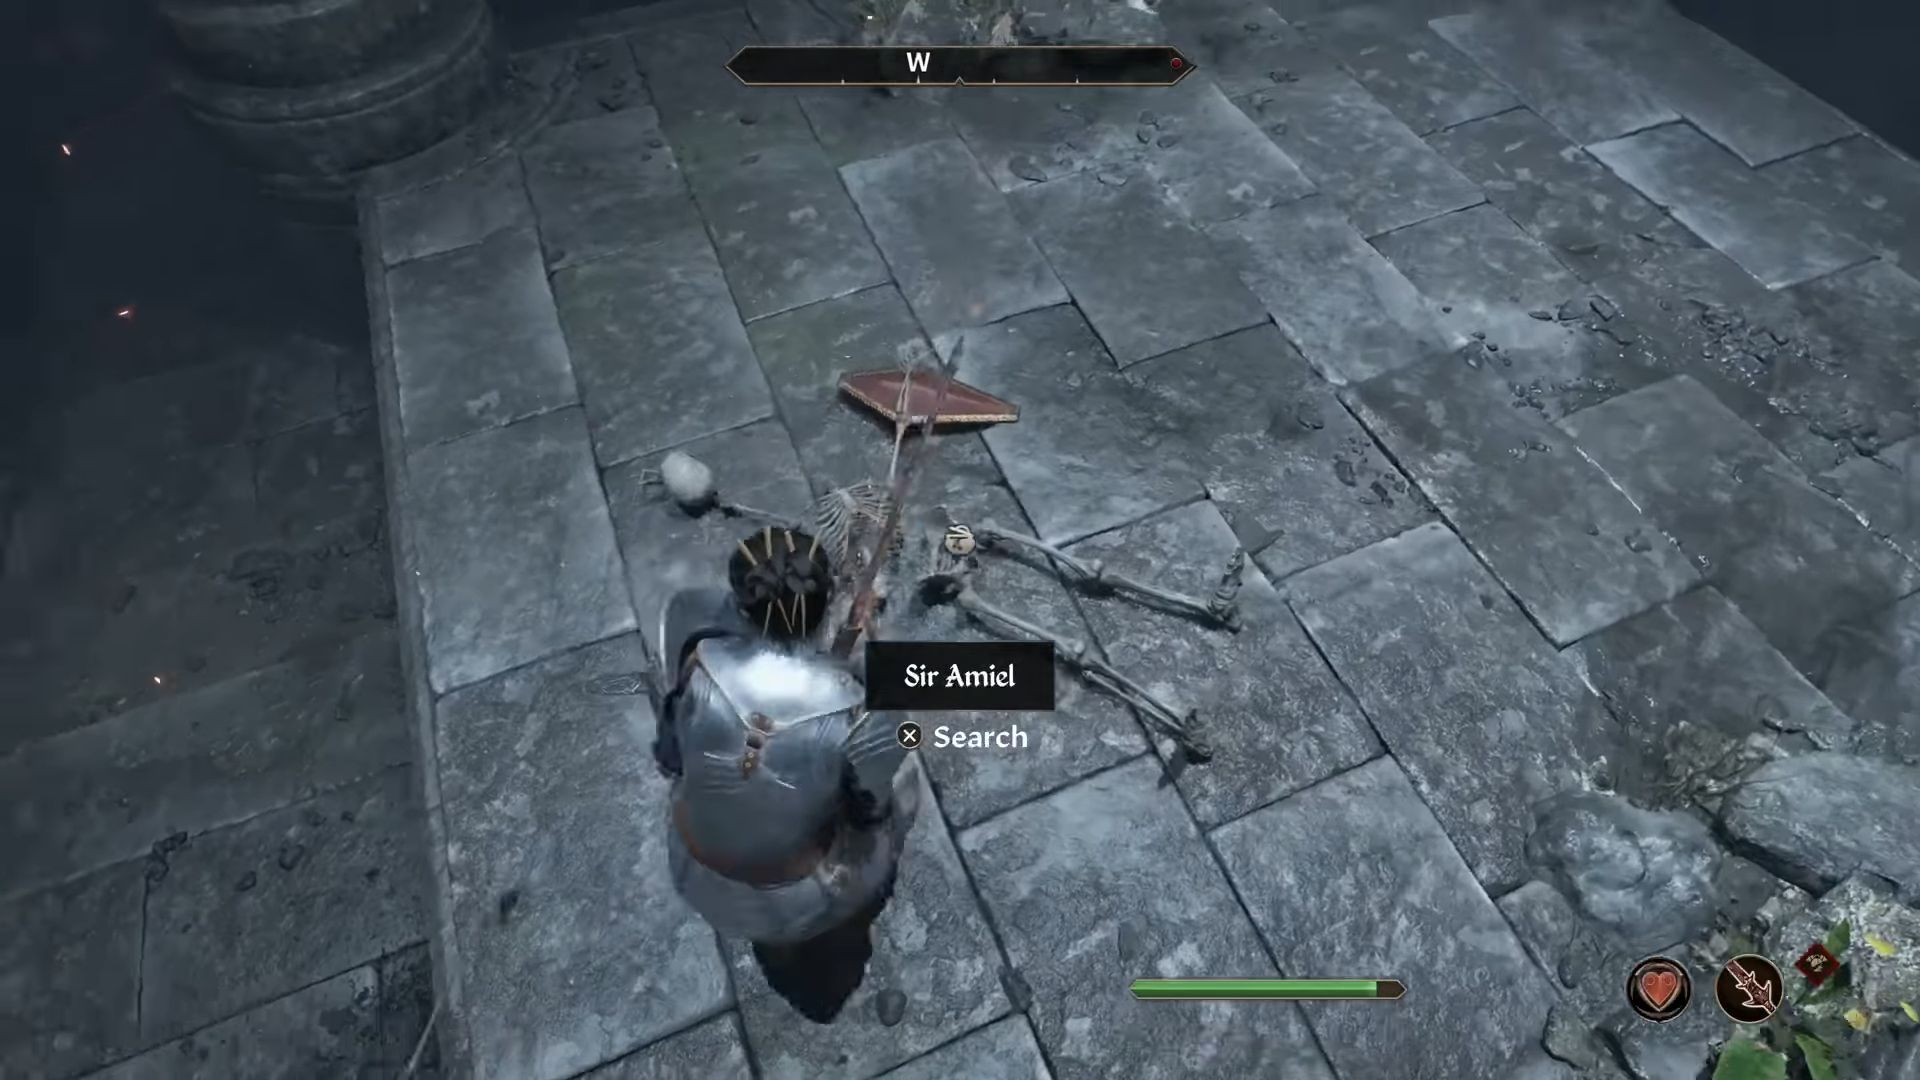
Eventually, you will find another hole in the wall. Jump through it to enter the other side of the shrine. There will be a skeleton lying motionless in the middle of the room. This skeleton appeared to be another crusader. Now, you will see two gates there. However, both of them are locked. Search the skeleton for the key. Furthermore, doing so will also add the Priory of the Nine quest to your mission log.
By looting the dead crusader’s corpse, you will acquire Sir Amiel’s Journal, his ring, and the keys to the door. Additionally, the ring is a relic that will become useful in the future, so hang onto it. Moreover, you will also find a Steel Longsword and a Knights of the Nine Shield. After that, take the key and unlock the doors. One door leads back to the dungeon, while the other will take you further into the Shrine.
The Lost Catacombs
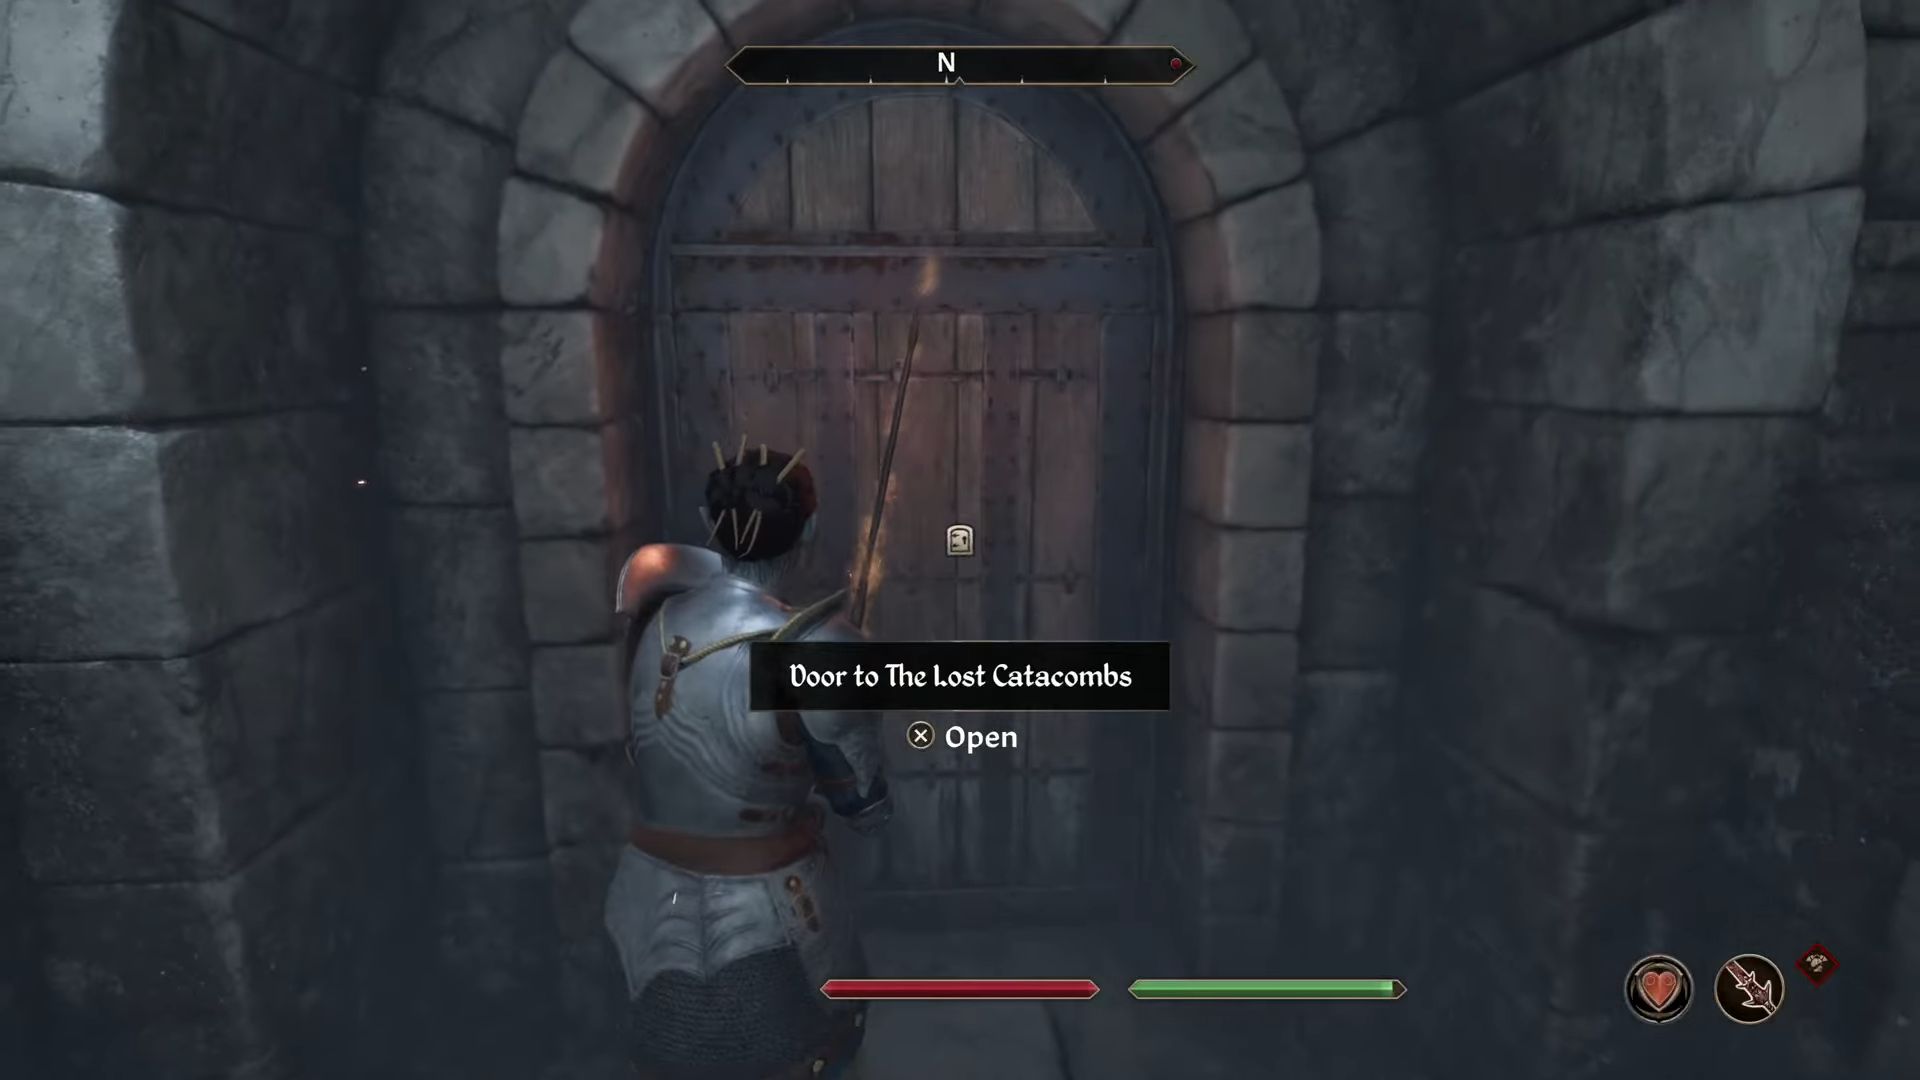
Past the latter door mentioned, on the northwest side of that area, you will find yet another hole in the wall, yes, this place has a lot of them. It will lead you to a different part of the shrine through a tunnel. Defeat some more skeletons there, and go north from there to find the door to The Lost Catacombs.
After entering, take out the enemy just up the stairs in front of you, and move past the wooden door on the left. In the next area, you will find a room straight ahead and a hole in the wall to the south. The room contains two skeletons and a chest, and the hole in the wall will lead you to a corridor. There will be two more doors there. Now, you will end up in the same area with the help of either door. But the door on the right will give you a chest on your way.
Take The Helm of the Crusader
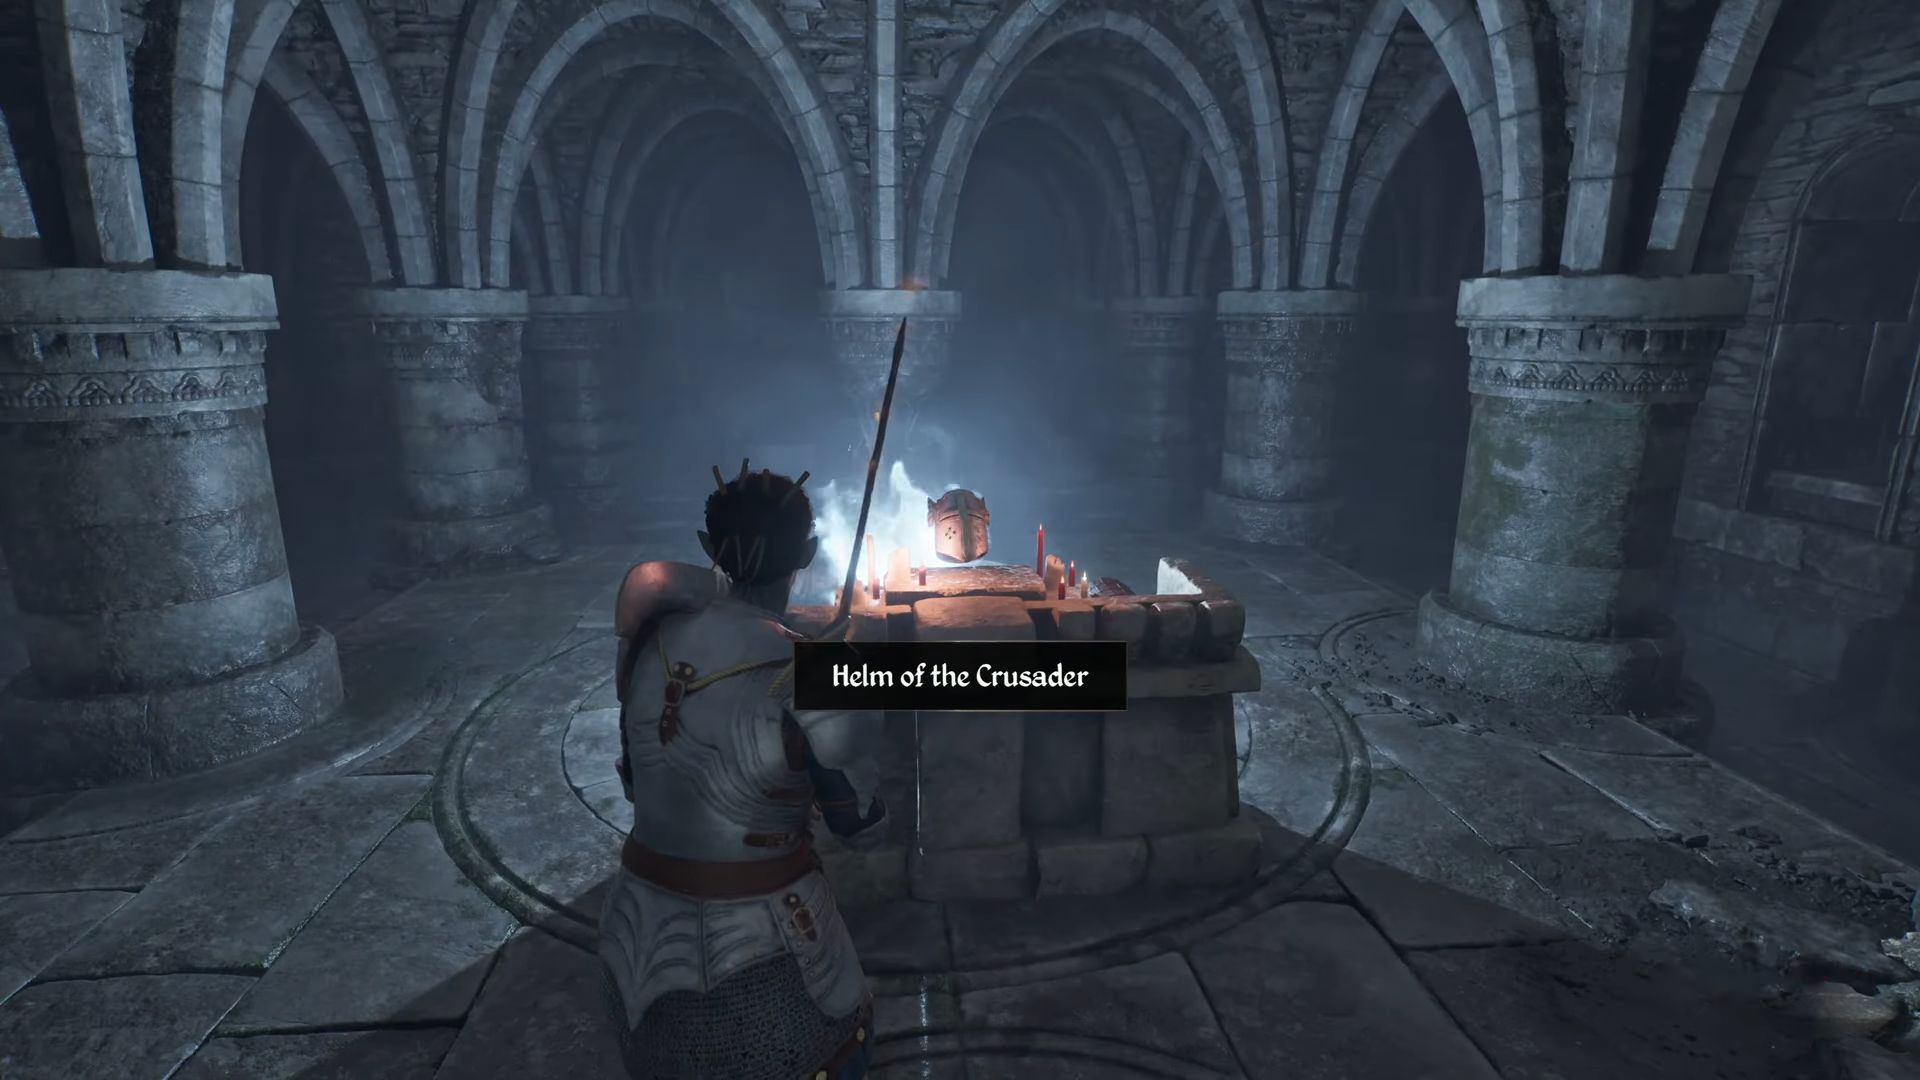
Once through that door, keep moving forward, and eventually you will find a slender gap in the wall on the right side. It will finally lead you to the Helm of the Crusader. Taking it from its elevated altar will be the end of the Shrine of the Crusader quest in Oblivion Remastered. After that, go back to Sir Amiel’s skeleton and take the door to the south to leave the dungeon.
Additionally, you will find another chest on the right side wall just before the door to Vanua. Once you are back in Vanua, you will confront some ghosts. These enemies are immune to melee attacks, so use spells. After that, keep going further, and you will find yourself back in the main hall of the shrine. From there, simply swim your way out of the place.
Thank you for reading the Guide. We provide the latest news and create guides for Baldur’s Gate 3, Enshrouded, Dune Awakening, and more. Also, watch Deltia play games on Twitch or visit my YouTube channel!