Facebook
 Reddit
 Email
Email
This Outer Worlds 2 walkthrough will guide you to completing the A Cause Worth Killing For quest, including the options you can take.

After completing character creation, you’ll be greeted with your first main quest in The Outer Worlds 2 titled A Cause Worth Killing For. This section mainly serves as a tutorial. You will learn the basic gameplay mechanics and the purpose of your character traits. With that said, you have a lot of options on how you approach each situation during this quest.
Here is a walkthrough for the A Cause Worth Killing quest in The Outer Worlds 2, exploring the different options, side choices, and more.
How To Complete a Cause Worth Killing for in the Outer Worlds 2

Acquire Tactical Time Dilation Gadget
The first section of this mission is pretty straightforward. Before you proceed further, Niles will talk to you and give you a Tactical Time Dilation Gadget. This device slows down time, which can come in handy in your adventures.
Get Inside Your Office
Heading further, you’ll need to access your office. However, the door is jammed, and you need to choose an option on how to approach this problem. The options will be based on the traits or stats you choose during character creation.
Choosing the Brawny trait option will let you open the door with pure brute force. Alternatively, having a skill point in Engineering will also let you fix the door to gain access.
If you don’t have both, don’t worry. There is an alternate route that will lead inside your office. Check out the kitchen area and find a vent you can crawl inside. This path will take you to your office.
Once you are inside, grab the Commander’s Credentials from a table. Find a switch inside that will open the door that leads you downstairs to meet your team. Finish the dialogues during the mission briefing so you can head out to your next destination, the Horizon Point Station.
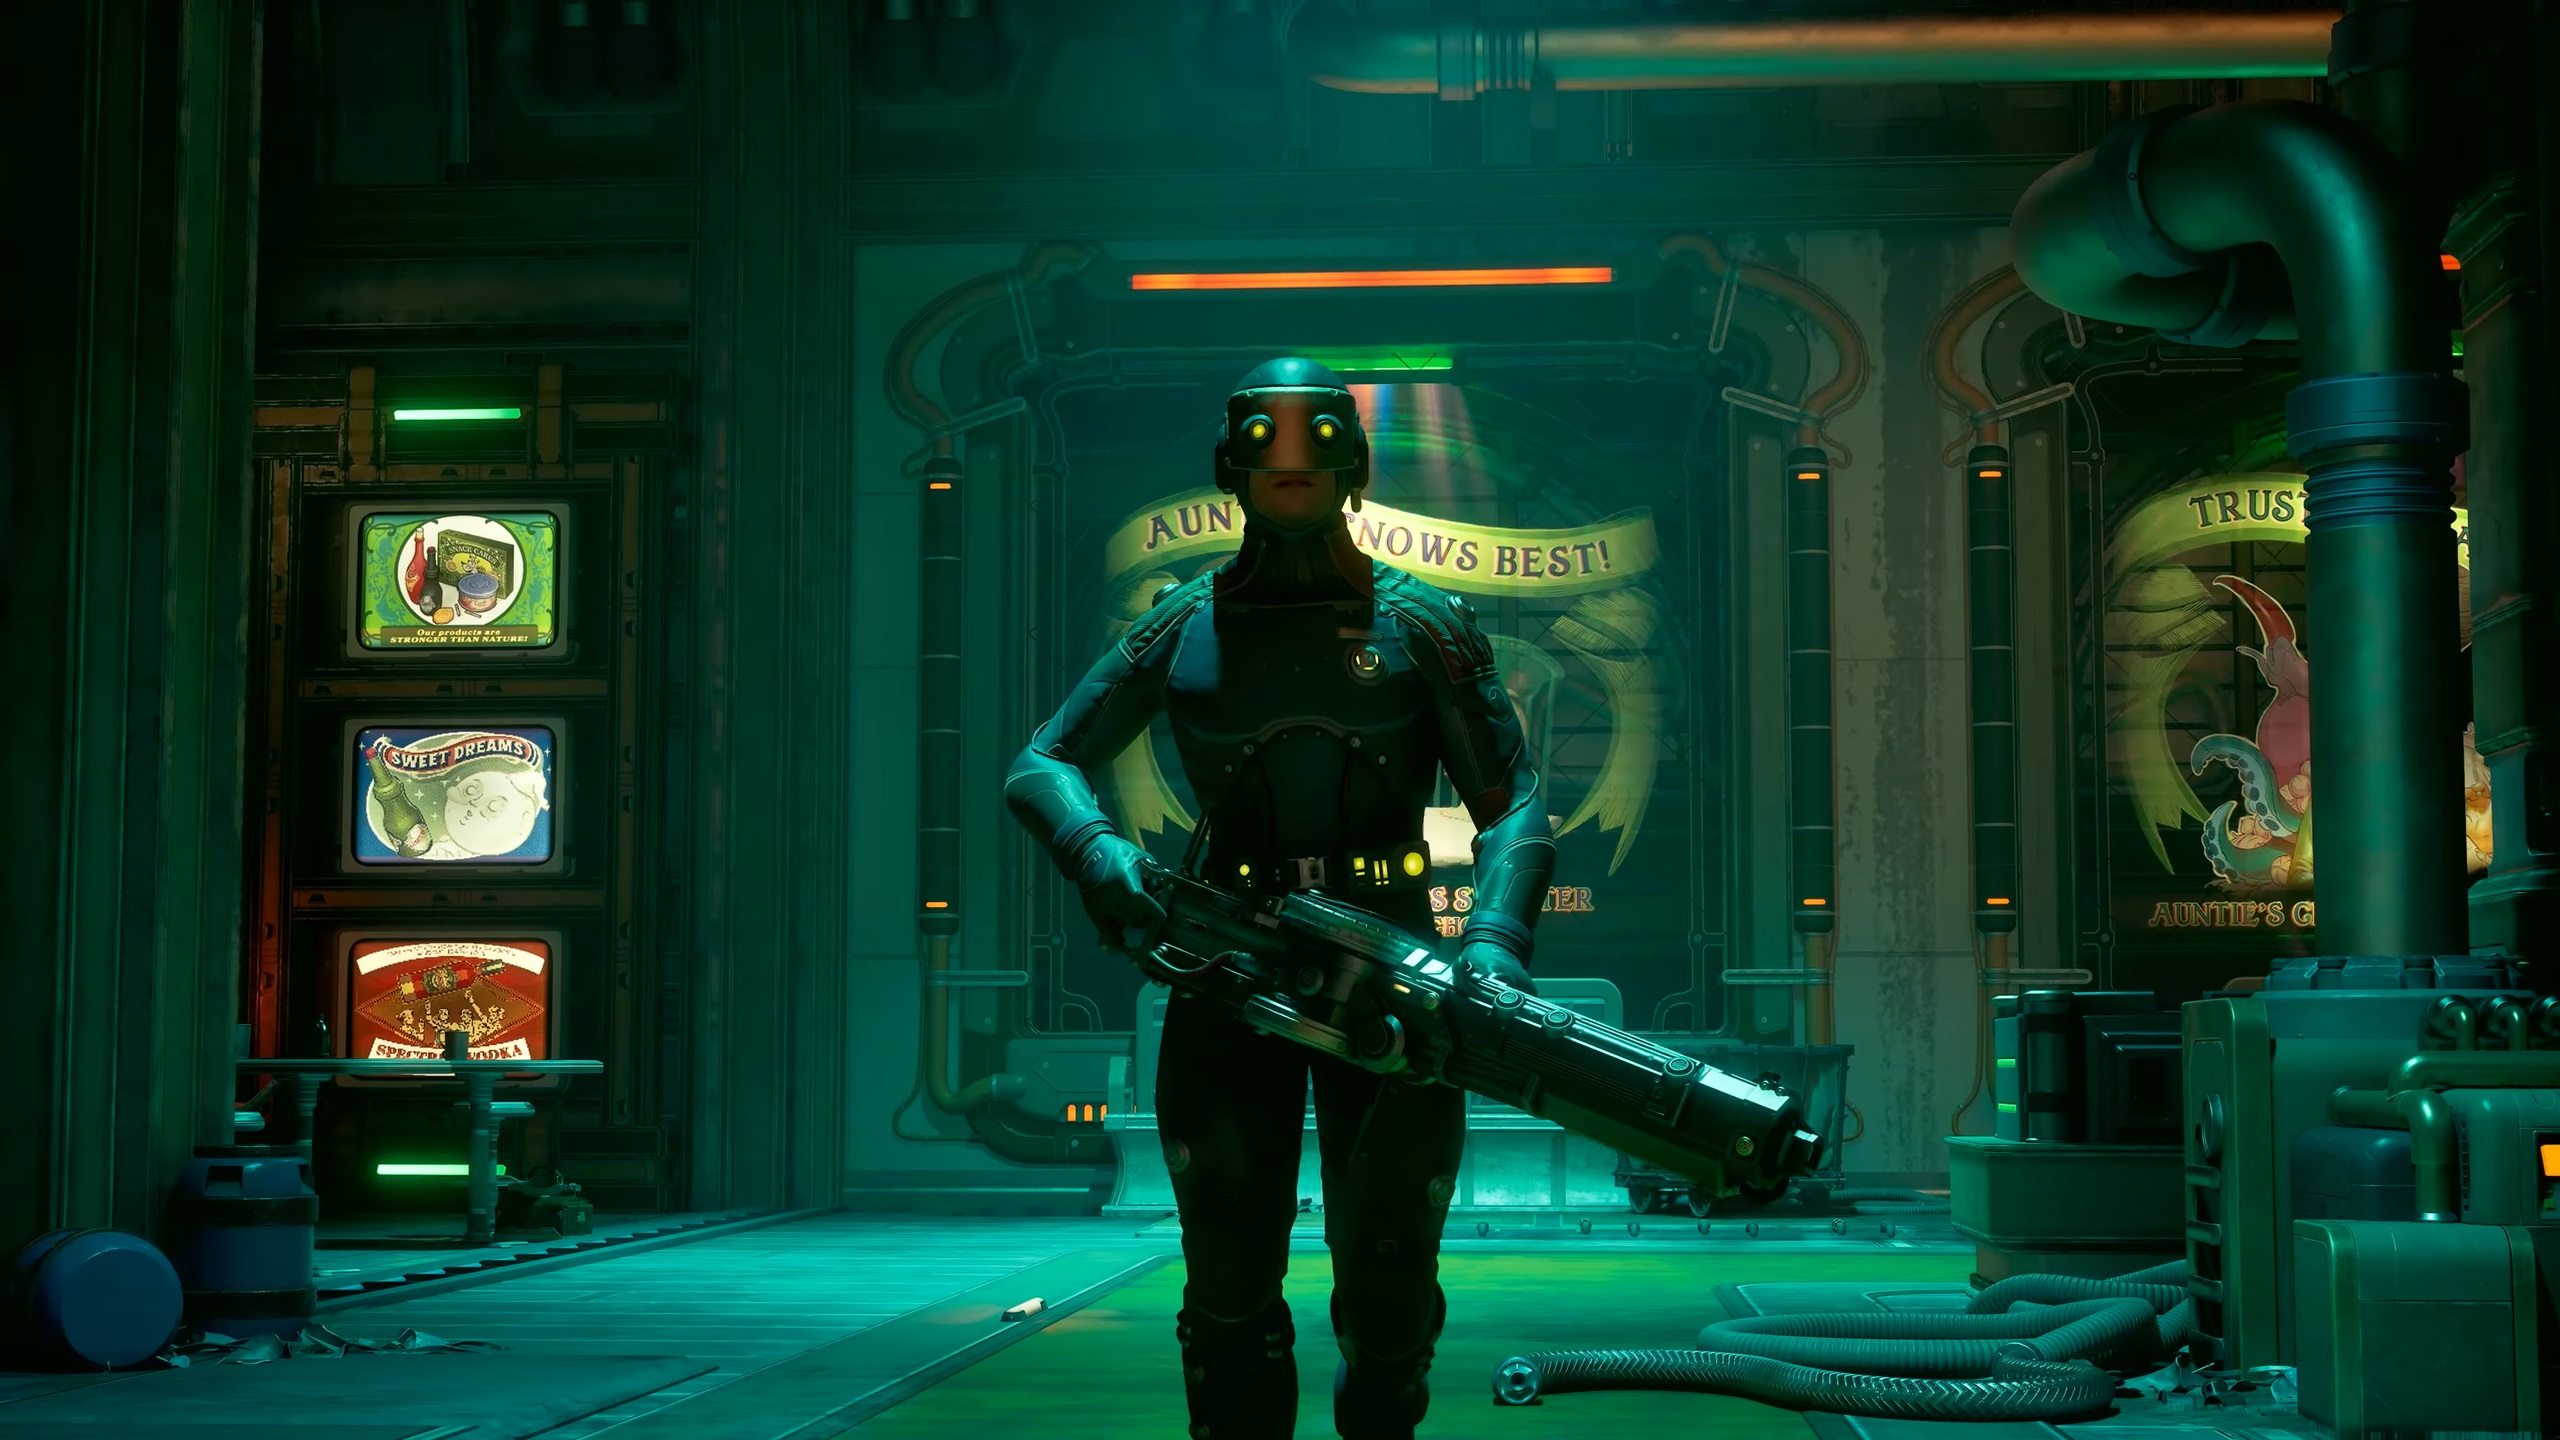
Bypass Facility Defences

Inside the Horizon Point System, you’ll first have to restore power before you can do anything else. Simply follow the objectives, which will lead you to an area with you can pick up a Mechanist Badge from a dead body.
After picking up the badge, the security will be alerted. You then have two options to resolve this problem. The first option is to clear the floor of hostile enemies. This is a good way to try out the combat system of the game.
Alternatively, you can go for the second option, interact with the intercom, and convince a worker to turn off the security measures. Make sure you mention the Mechinst Badge. If you follow this route, you need to have a point in Speech for the worker to buy your story.
Here is a quick rundown of the dialogue options that will lead to a successful deception attempt:
- This is Cadet Robin Mowry, Subject Number 831. Can you please shut down the defences?
- It was great, you should try it!
- Then can you help me out? I don’t want to be sent back to… Mental Refreshment, was it? (Speech 1)
Split Up The Team
Once the worker disables the security, your team will have to split up. There are two routes you can choose for this segment.
The Security Ops is a stealth section that introduces you to various covert mechanics in the game. This includes stealth kills, how to distract enemies, and killing your targets using the environment. The goal is to get rid of the security mechs. If you meet the required stats, you can acquire a targeting module along the way. This item will let you hack the mechs and have them target the enemies instead of you and your team.
The second option is Central Dispatch, where you simply clear waves of enemies and act as a distraction. You make your way to the communications control tower. Once there, you find a way to make some loud noise.
Get Past a Bridge
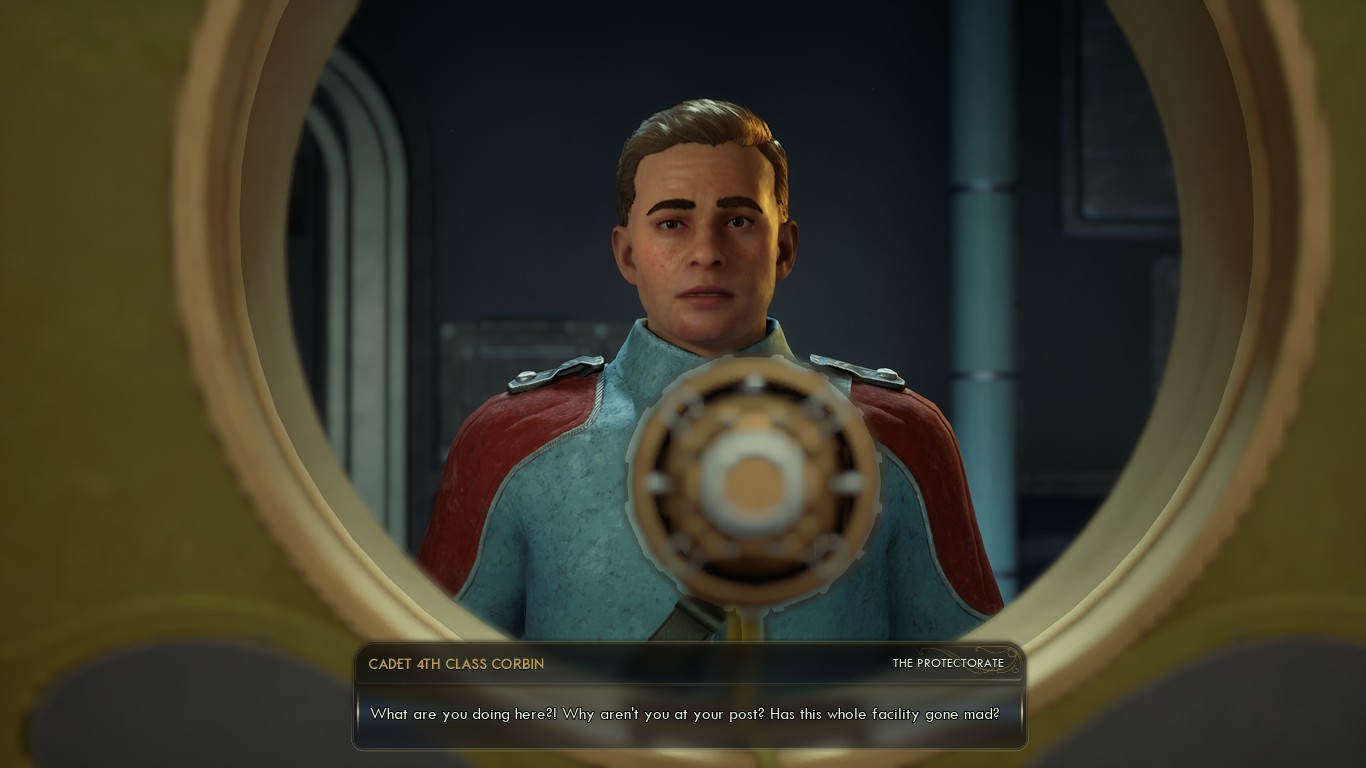
Heading further into the facility, you come across a bridge that you need to get past. The problem is that it needs to be lowered first. There are two options for how you approach this section.
The first option is to kill the guard and lower the bridge yourself. The second option is to let yourself get caught and initiate a conversation with the guard. If you choose the second option, you’ll know that the guard is Corbin, the worker you spoke with on the intercom.
If you succeeded in convincing him to disable the security measures previously, you can use this to your advantage and ask him to let you go. Alternatively, if you have the right skill checks or traits, there is an option to convince him to lower the bridge. In exchange, you help him clear his reprimand records on a terminal on the other side. This will trigger The Cadet’s Degrading Dilemma side quest.
Whether you succeed or fail the dialogues, the bridge still gets lowered, and you have to fight enemies to get past.
Once Last Respec Before Mission Ends
After getting past the bridge, you will find more enemies in the first room you enter. Either you use stealth to get across, which is easier as you can avoid combat. Alternatively, with enough points in either Science or Explosives, or if you have the Lucky Trait, you can get rid of them at the fuel control panel.
Moving further, if you took The Cadet’s Degrading Dilemma quest, you can find a terminal that you can access. Select the direct personnel report and choose the option to delete everything. Afterward, the side quest will be completed.
Once you reach the end of the mission, you will be greeted by De Vries. After finishing the dialogue, you get to have one final chance to respect your character. Afterwards, the quest gets completed.
We provide the latest news and create guides for The Outer Worlds 2. Meanwhile, you can check out the following articles or catch us playing games on YouTube: