Facebook
 Reddit
 Email
Email
Let’s explore what the perfect weapons and armor are that you should be carrying in the Twisted Nerve quest from Ready or Not.
Even though Twisted Nerve is an easy quest, you will still need a good set of weapons and armor before stepping into the mission. As you will be raiding a compound that is being used to manufacture drugs, you can expect some guards there. That said, we have compiled a list of a few weapons and tactical gear that you should be carrying before starting the quest to increase your success rate.
Ready or Not: Twisted Nerve Quest Loadout
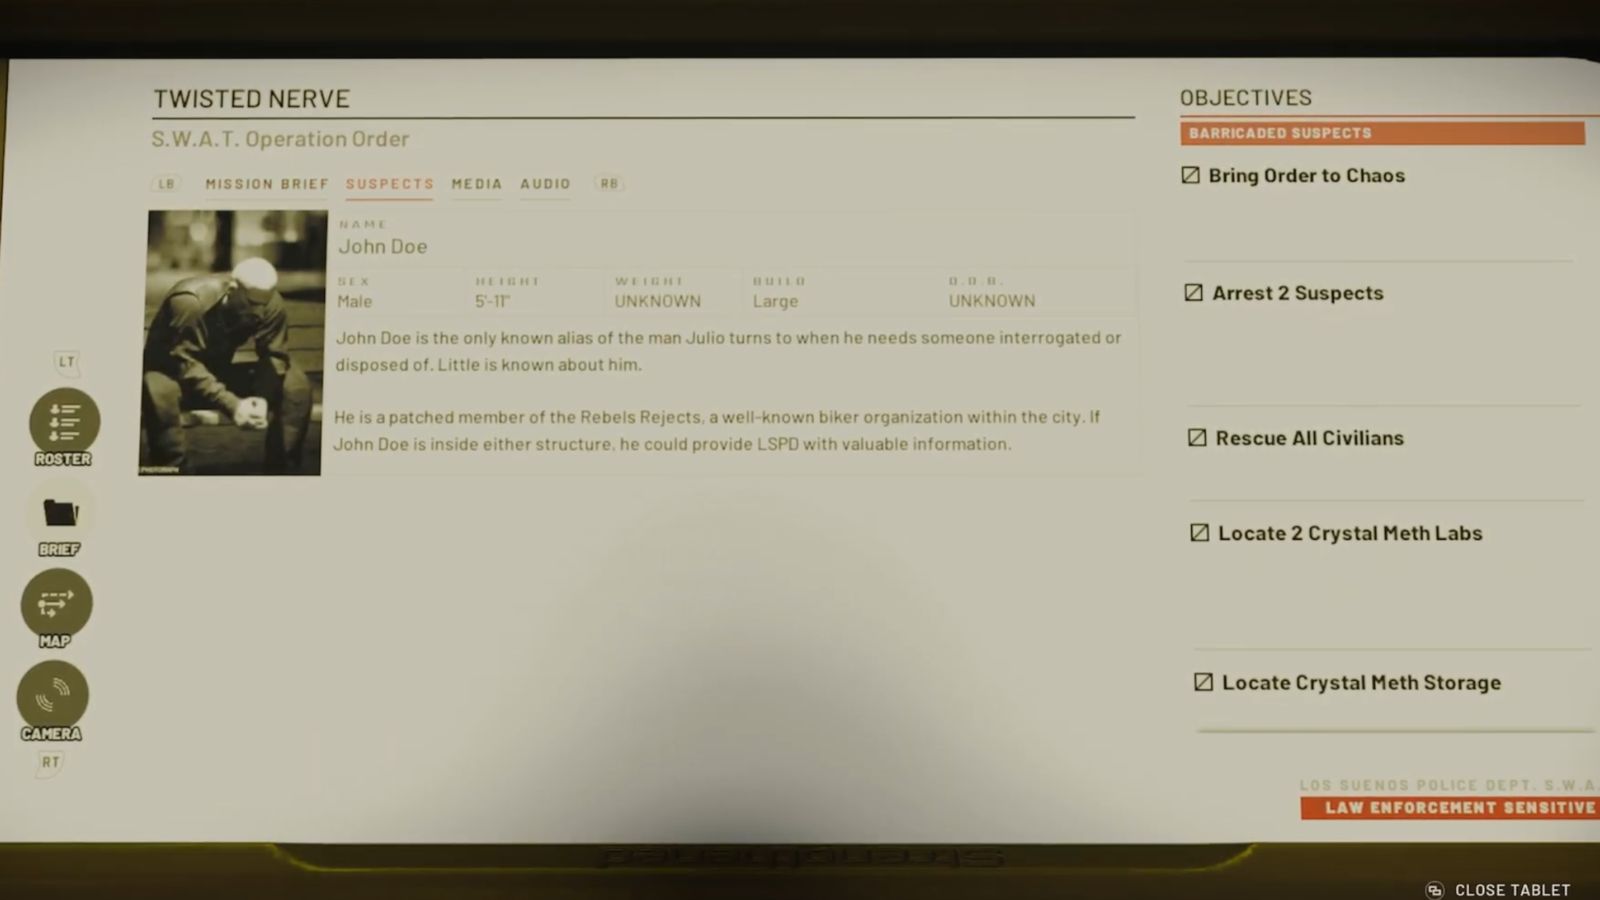
There are three main objectives in the Twisted Nerve quest of Ready or Not. This includes raiding the labs, rescuing the minor, and looting the illegal cash from the labs. You can expect a few guards on the premises. Fortunately, they will not be heavily armed or professional killers. So, taking them out will not be a hassle.
Necessary Loadout
As mentioned above, this quest is not extremely challenging, but since it is one of the first available missions, it is suggested that you carry heavy armor with ceramic plates. This would ensure that you deal minimal damage. The entire mission takes place inside a closed environment so that the battle would be short-ranged. Heavy armor will be able to provide you with enough protection in this case. While it might slow you down a little due to its weight, speed is not exactly the priority in this quest anyway.
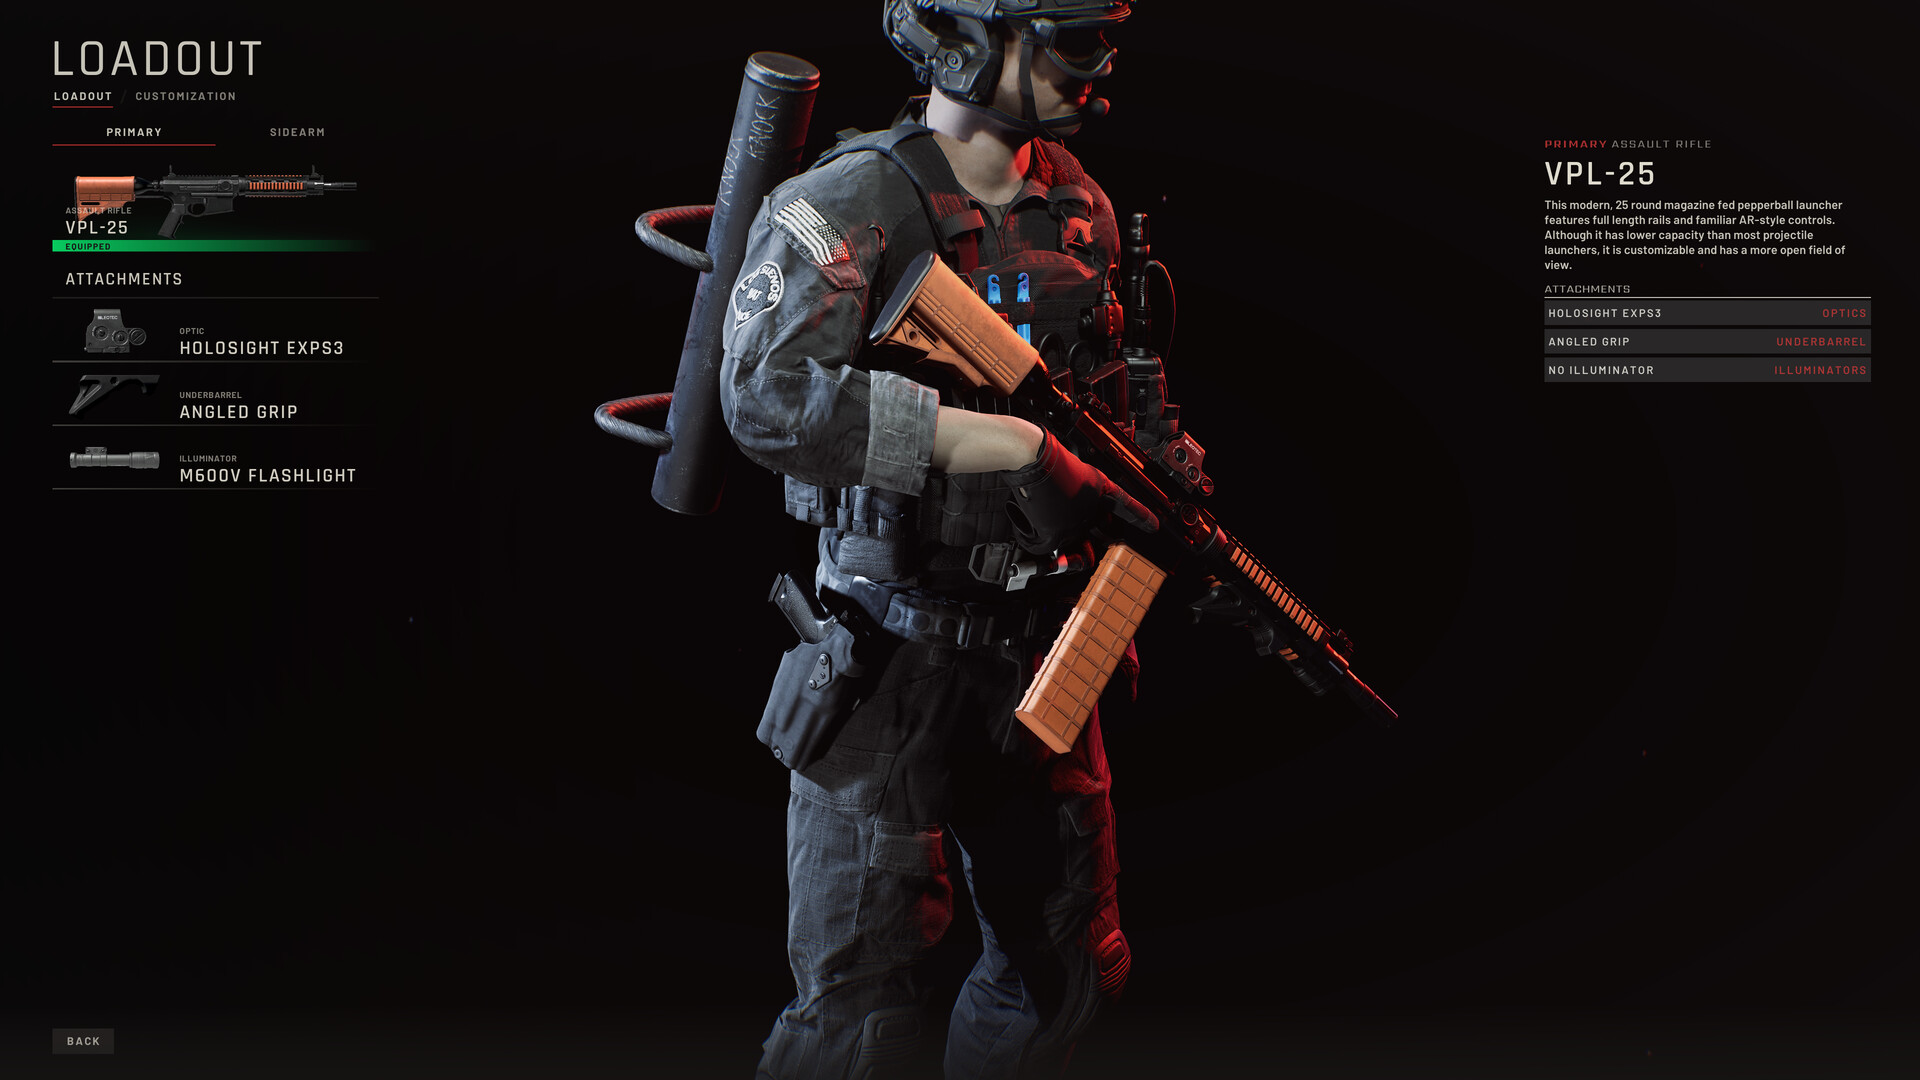
Your primary weapon should be something like a Shotgun, which deals a lot of damage. However, if you are aiming for an S rank, you have to use non-lethal weapons, including Pepperball Launcher, Flash Grenades, etc. Using these will stun the enemies, allowing you enough time to make them surrender. Make sure to put some grenades in your loadout too. These will help you clear the labs quickly. However, these cannot be used if you are targeting an S rank. Use your same loadout for your AI teammates as well.
Also Read: Ready or Not: How To Get the Coffee Machine Trophy
Thank you for reading the article. We provide the latest news and create guides for new and old titles, including Death Stranding 2, Baldur’s Gate 3, Roblox, Destiny 2, and more.