Facebook
 Reddit
 Email
Email
Find every collectible in Doom The Dark Ages Chapter 5, The Holy City of Aratum, including toys, codex entries, and upgrades.
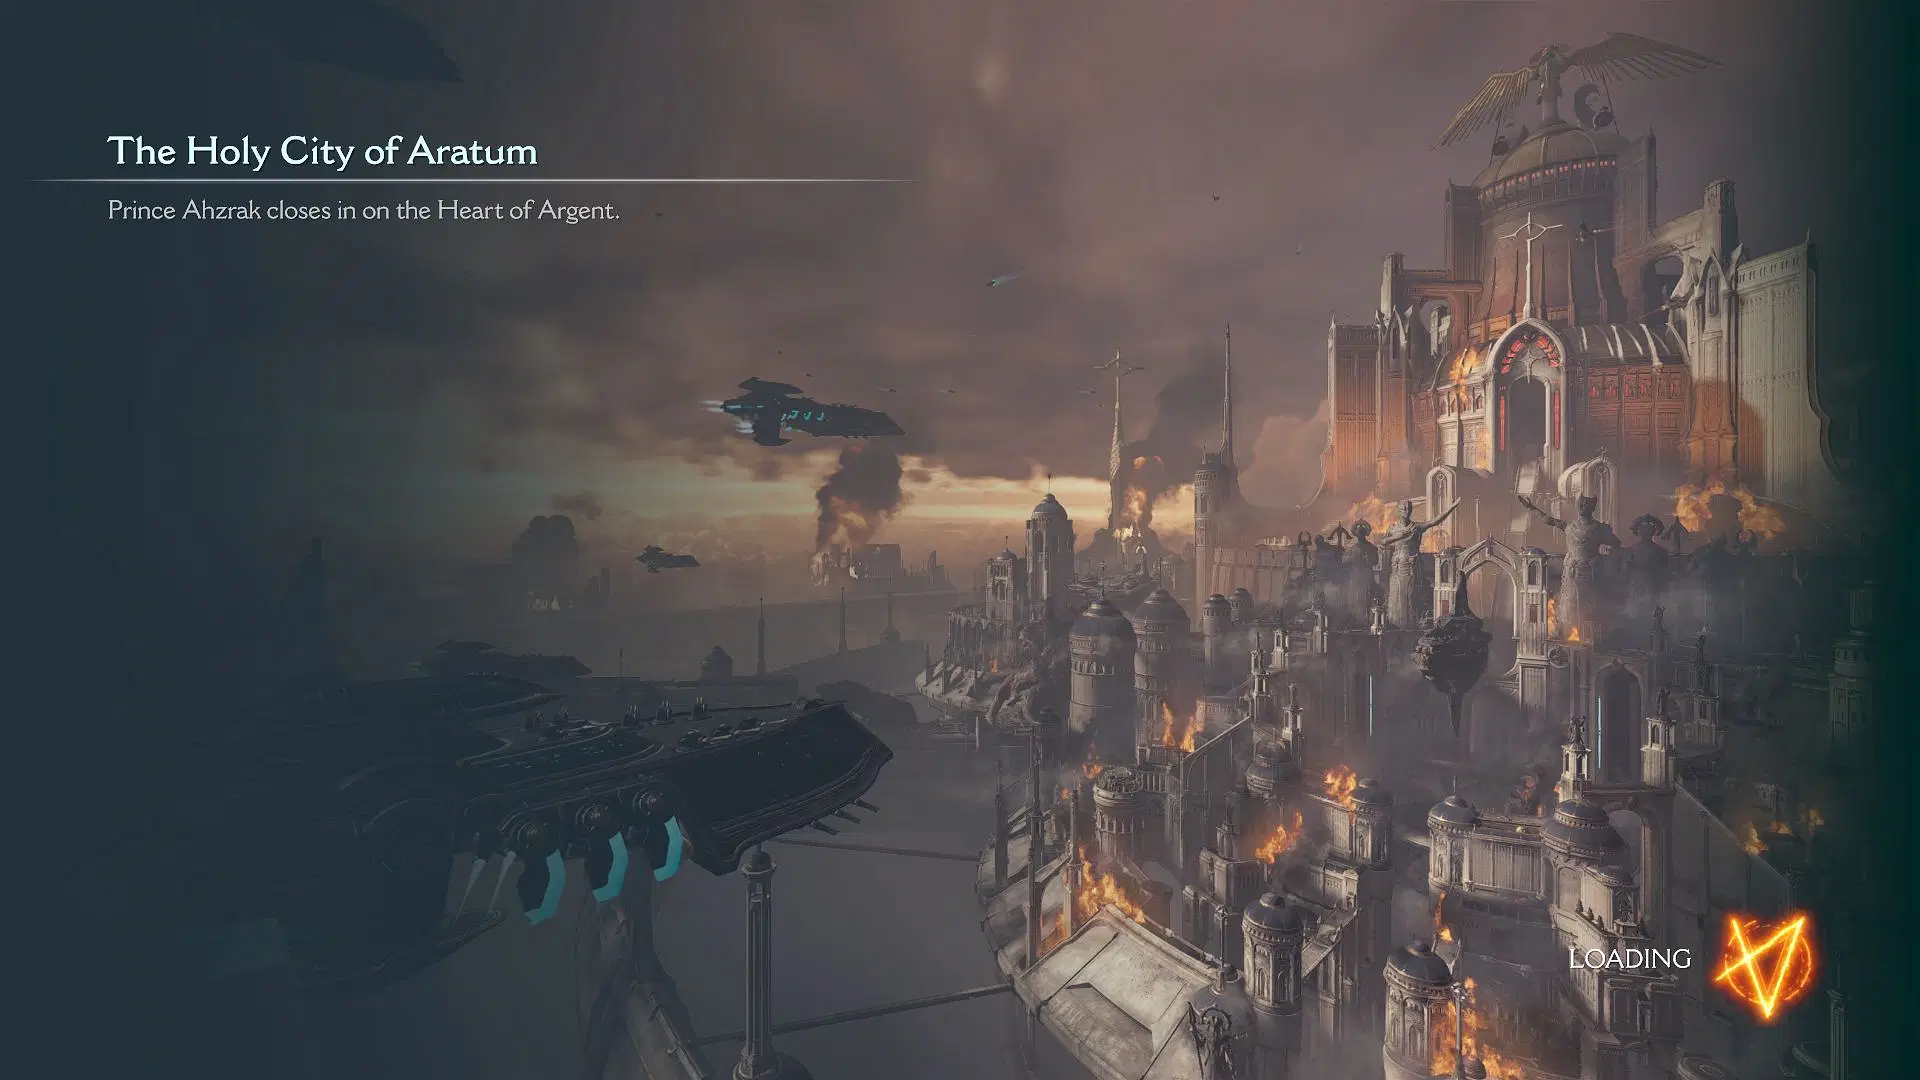
Chapter 5 in Doom The Dark Ages, set in the Holy City of Aratum, changes the pace quite a bit. You will notice early on that the movement is more open. You will ride a dragon, choose which objectives to take on first, and spend time exploring corners others might miss. That also means it’s easy to overlook valuable pickups.
If you are trying to make the most of this chapter, here’s a clear walkthrough of all the collectibles found here. This includes everything hidden in the Hell Carriers and the optional islands, both of which reward exploration with gear, upgrades, and lore.
Collectibles in Doom The Dark Ages Chapter 5 (The Holy City of Aratum)
Toys
Only one toy is tucked into this chapter, but it’s easy to miss.
- Serrat Toy
- Once you are inside one of the Hell Carriers, make your way to the bridge section. There’s a ledge just below it. Drop down carefully, and watch for a glowing golden trail. Stick to the right, past a broken wall. The toy waits just beyond.
Codex Entries
![Throw your shield to access a hidden path in Doom The Dark Ages Chapter 5. [Image via Bethesda Softworks]](https://static.deltiasgaming.com/2025/05/ar5.webp)
Reading the lore isn’t just for fun—it helps make sense of what you are facing.
- The Holy City of Aratum Codex
- Right after picking up the Super Shotgun, there’s a room off to the side. Throw your shield to access a hidden path. Inside, a crate with a green light can be pushed using your shield charge. Get on top of that crate to reach a new passage. The codex page sits in the middle.
- Deag Loric Codex
- Once you have secured the Cycler, keep following the main route until you reach a deeper section with the Hell Carrier’s core. Don’t destroy the core right away. Look directly behind you after the final drop. The codex is there, easy to miss if you are rushing.
Life Sigils in Doom The Dark Ages Chapter 5
These pickups matter. Every sigil adds to your resilience.
- Life Sigil 1
- Find the blue keycard first. It opens a door that leads to a room with a bundle of gold. Turn right once inside. The sigil rests close to the edge of the platform.
- Life Sigil 2
- This one’s tucked inside a Hell Carrier. After taking an elevator down, check the area carefully. It’s not too far from where you land.
Demonic Essence
![Clear the area by defeating a large stationary demon in Doom The Dark Ages Chapter 5. [Image via Bethesda Softworks]](https://static.deltiasgaming.com/2025/05/ar4.webp)
You will only get these by dealing with tougher enemies. The reward? Stronger stats.
- Ammo Boost
- Defeat the Hell Knight that appears in one of the carriers. Once it’s down, you will pick up a boost to your shotgun’s ammo capacity.
- Health Boost
- You will have to take down a giant demon that doesn’t move. After it’s out of the way, get off the dragon and face a Pinky Rider. Beat it, and you will gain maximum health.
Resources in Doom The Dark Ages Chapter 5 (The Holy City of Aratum)
![Defeat the Hell Knight that appears in one of the carriers in Doom The Dark Ages Chapter 5. [Image via Bethesda Softworks]](https://static.deltiasgaming.com/2025/05/ar3.webp)
This is where most players lose track. Aratum’s layout hides many gold trails, caches, and surprises across its wide terrain.
- Gold Trail 1
- Found in a courtyard inside a Hell Carrier. Walk the path, and you will stumble into a secret chamber.
- Gold Cache 1
- Follow the gold trail again, but this time drop into a well. Expect some cultists down there. After dealing with them, head into the underwater tunnel. The cache waits at the far end once you come up for air.
- Gold Trail 2
- Once you have the blue keycard, go down the hill to the gate that opens. You will see a bundle of gold straight ahead.
- Gold Trail 3
- After you grab the Super Shotgun, head to the right. Use the shield throw to lower a bridge. Shield charge the nearby green-lit crate, jump up, and enter a secret chamber.
- Gold Cache 2
- Clear the area by defeating a large stationary demon. When it’s down, your dragon lands nearby. Go down the stairs next to that point. The cache sits below.
- Ruby 1
- In the room just after acquiring the Super Shotgun, look up. You will see chains above. Use your shield throw to hit them, and the ruby drops down.
- Gold Cache 3
- Look for a wall with a glowing blue seal inside one of the carriers. Break through it. But get ready—a wave of enemies will show up when you get close to the cache.
- Gold Trail 4
- Near a bridge inside a Hell Carrier, there’s a ledge you can drop to. It leads straight into another secret.
- Gold Trail 5
- One carrier has a section blocked off by a tentacle. Destroy it, head below, and fight off the remaining enemies. Once you do, a barrier lifts and the trail is revealed.
Optional Islands Worth Visiting
Apart from the four main Hell Carriers, two extra islands exist. You don’t have to go there, but you will want to. They contain resources you won’t find elsewhere. Land there with your dragon, explore every corner, and expect to be rewarded with hidden items.
Every collectible in Aratum ties into progression. Miss one, and you may find your next encounter tougher than it needs to be. Use this guide to make sure you check all corners and open every route. Chapter 5 spreads its rewards across wide areas, and staying alert will help you walk away stronger.
Thank you for reading the article. We provide the latest news and create guides for Doom The Dark Ages. Also, watch Deltia play on Twitch or visit his YouTube channel!