Facebook
 Reddit
 Email
Email
Check out our Death Stranding 2 Episode 12 walkthrough guide as we go step by step on how to complete all main orders.
After a rather intense and thought provoking Episode 11, Death Strading 2 Episode 12 Fragile tasks you into finishing another order to further cripple the forces of the ghost mechs. However, this mission will not be easy. You will be facing swarms of enemies before you can reach your destination. This is why equipping you best gear is crucial.
Death Stranding 2 Episode 12: How To Complete
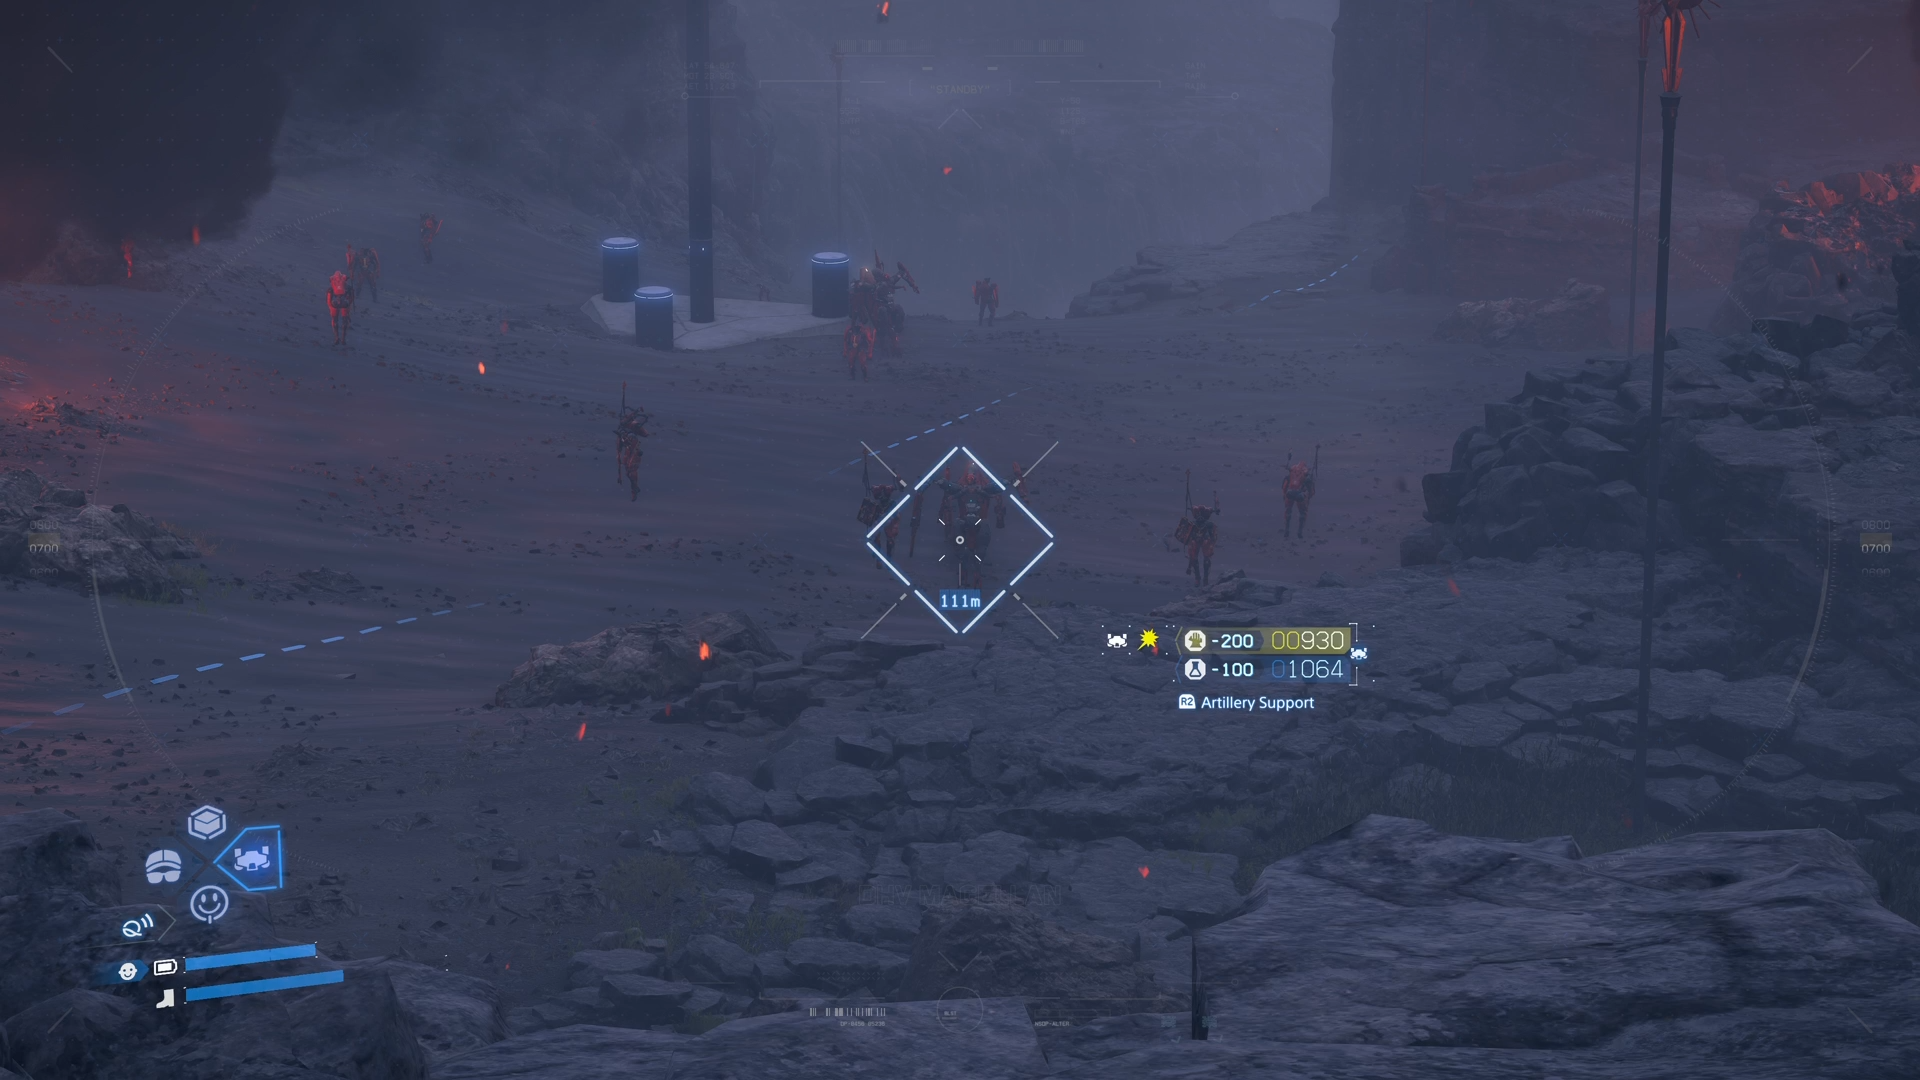
Sam is about to face one of the toughest fights throughout the game. Fortunately, he won’t be fighting alone. For this episode, the DHV Magellan has your back. You can request for cover fire by opening your Weapons/Tools section and selecting the DHV Magellan. However, it does consume materials stored in the ship. This means you need to be smart when requesting fire support.
Connect the Waystation to the Chiral Network
Before you head out, make sure you are properly equipped for combat. Check your APAS Enhancements for possible upgrades. Passives like Optimized Transfusions allow you to speed up the healing process when using blood bags. Another good option to unlock is Aim Assistance, Increased MP Firing Rate, and Improved MP Bullets to enhance combat efficiency.
As for your backpack, you can also add some attachments that help you stay longer in the fight. The Spare Ammo Container can be a good addition if you are worried about running out of ammo during the journey.
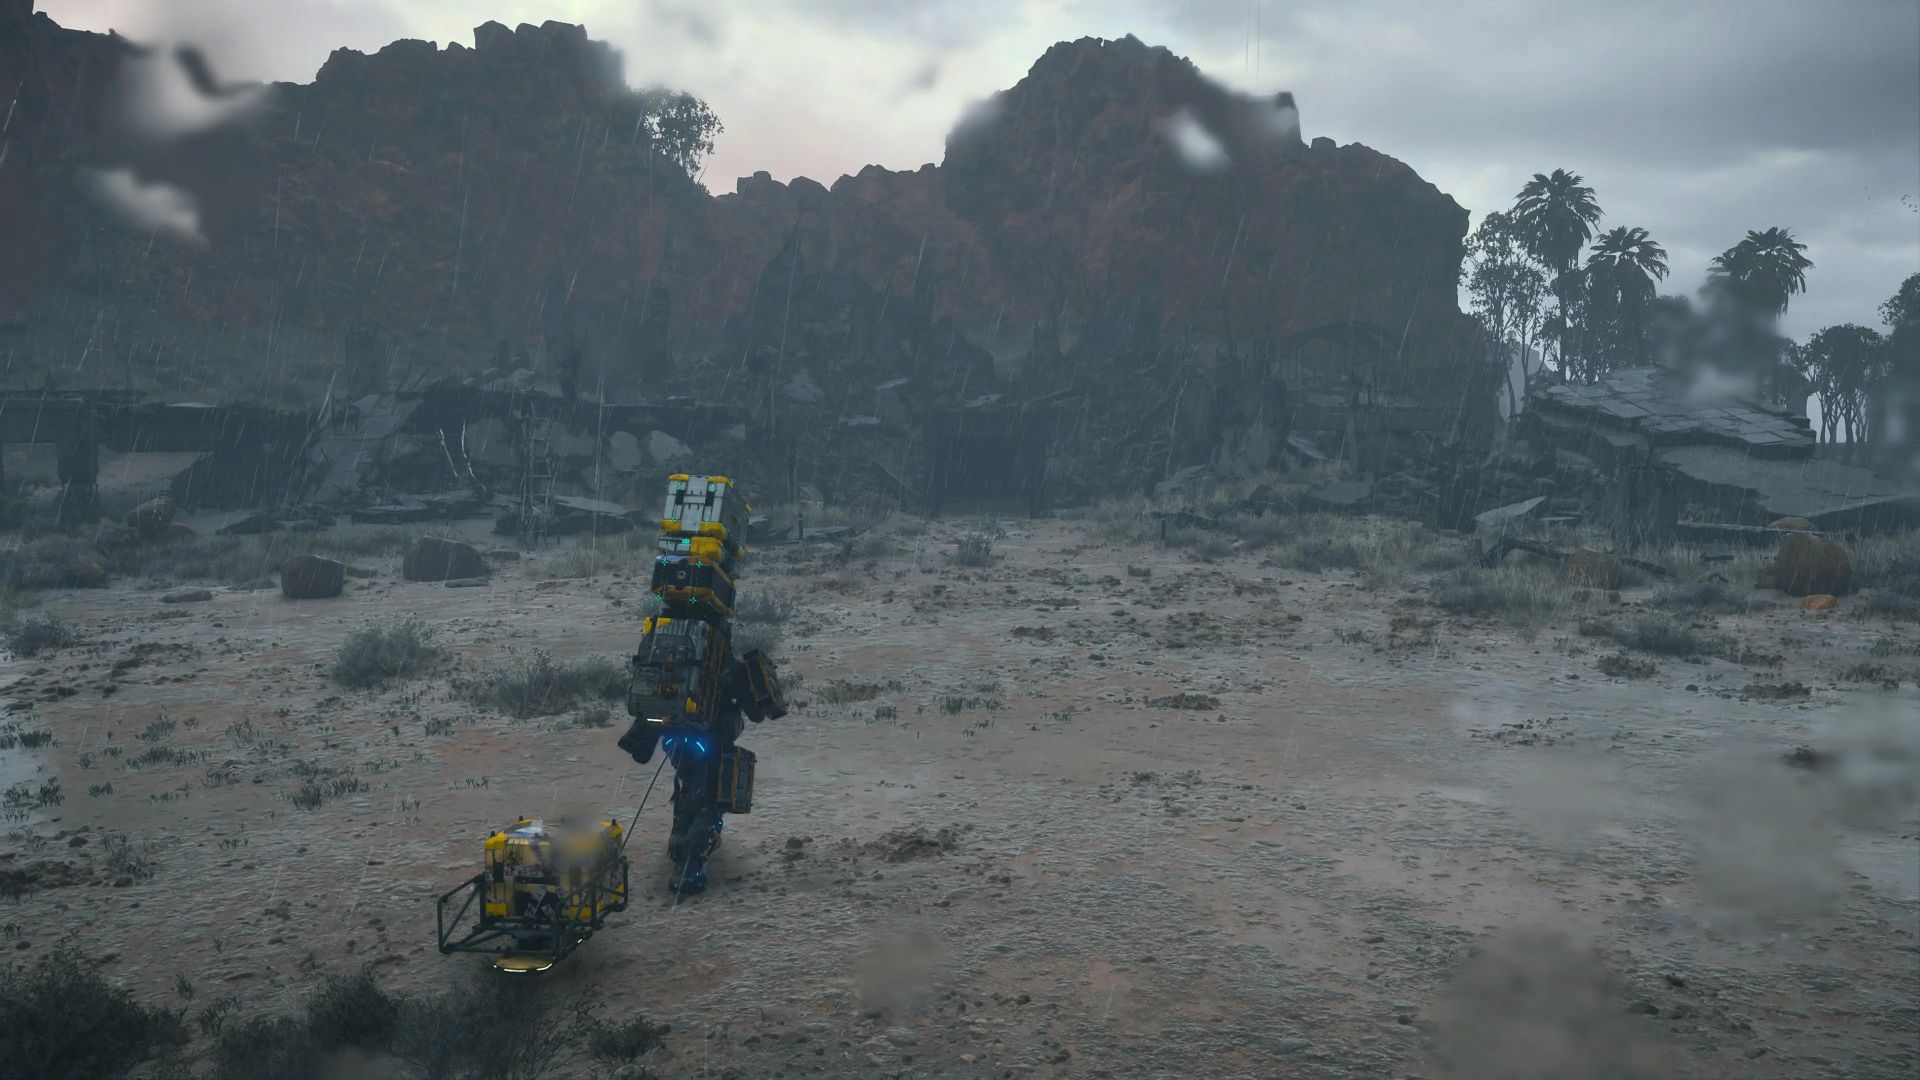
Fighting your way to the mission marker, you’ll eventually reach the waystation and connect it in the chiral network. Once that’s done, the DHV Magellan will arrive, and Rainy will bring down the rain and extinguish the fiery landscape. Once the fires are out, the ship lands, and Sam heads inside to restock on supplies before heading out for the next location.
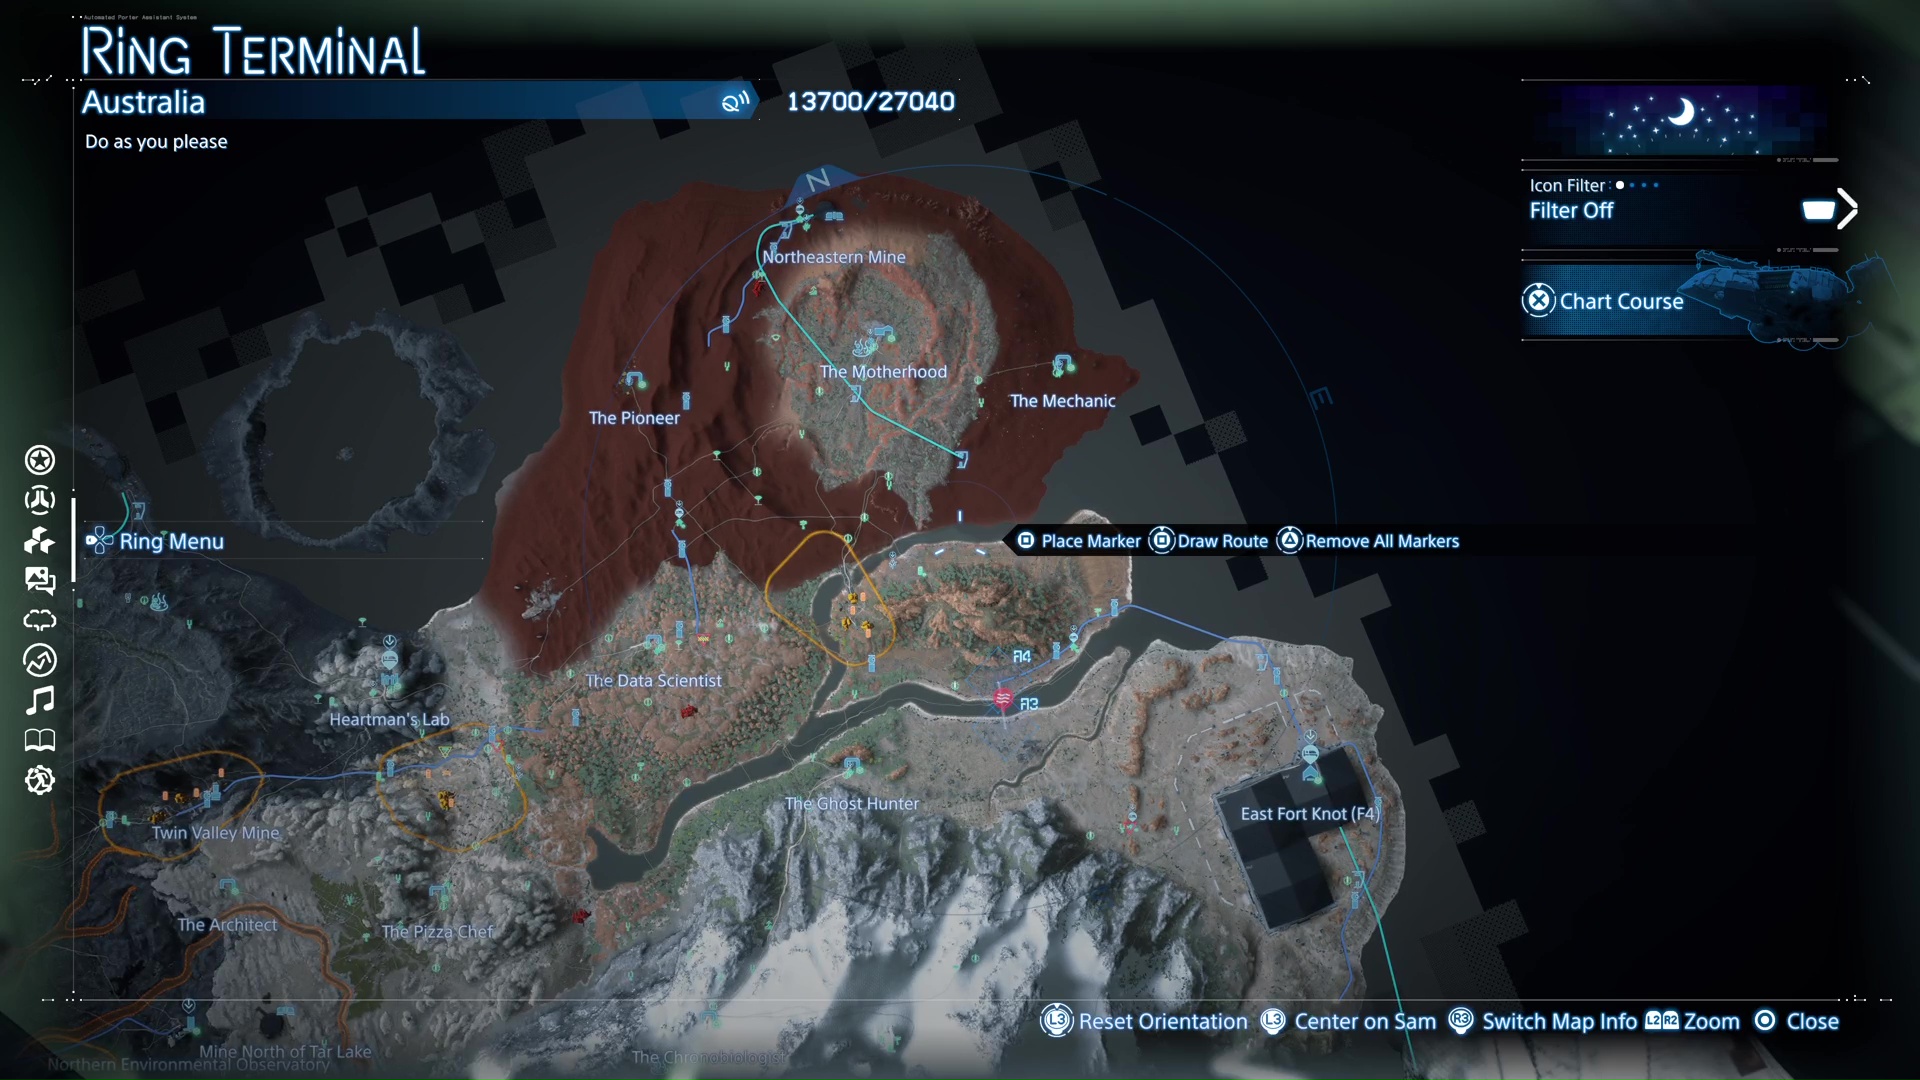
Get Inside Terminal Fort Knot (F8)
Your next goal is to conquer F8 Terminal Fort Knot. The combat mechanics remain the same. If you need help, you can ask for some air support from the DHV Magellan. If your cargo gets damaged, there are terminals in the area that you can use to repair it. The path leading to the entrance of the facility will be heavily guarded.
When you reach the bridge just before the entrance, you will be greeted with a big ghost mech. Fortunately, it does move a bit slowly, so you should try and take down the smaller ones first. More fast-moving ghost mechs will spawn that will try and bum rush you. If you get hit, you will drop your cargo, so be sure to dodge them if you can.
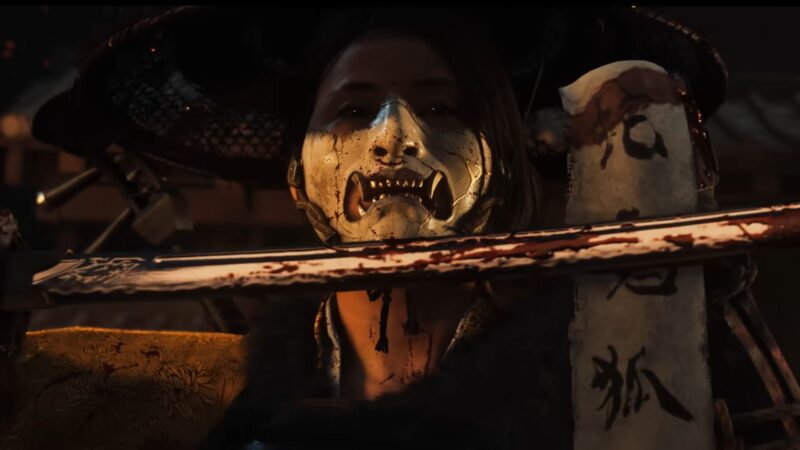
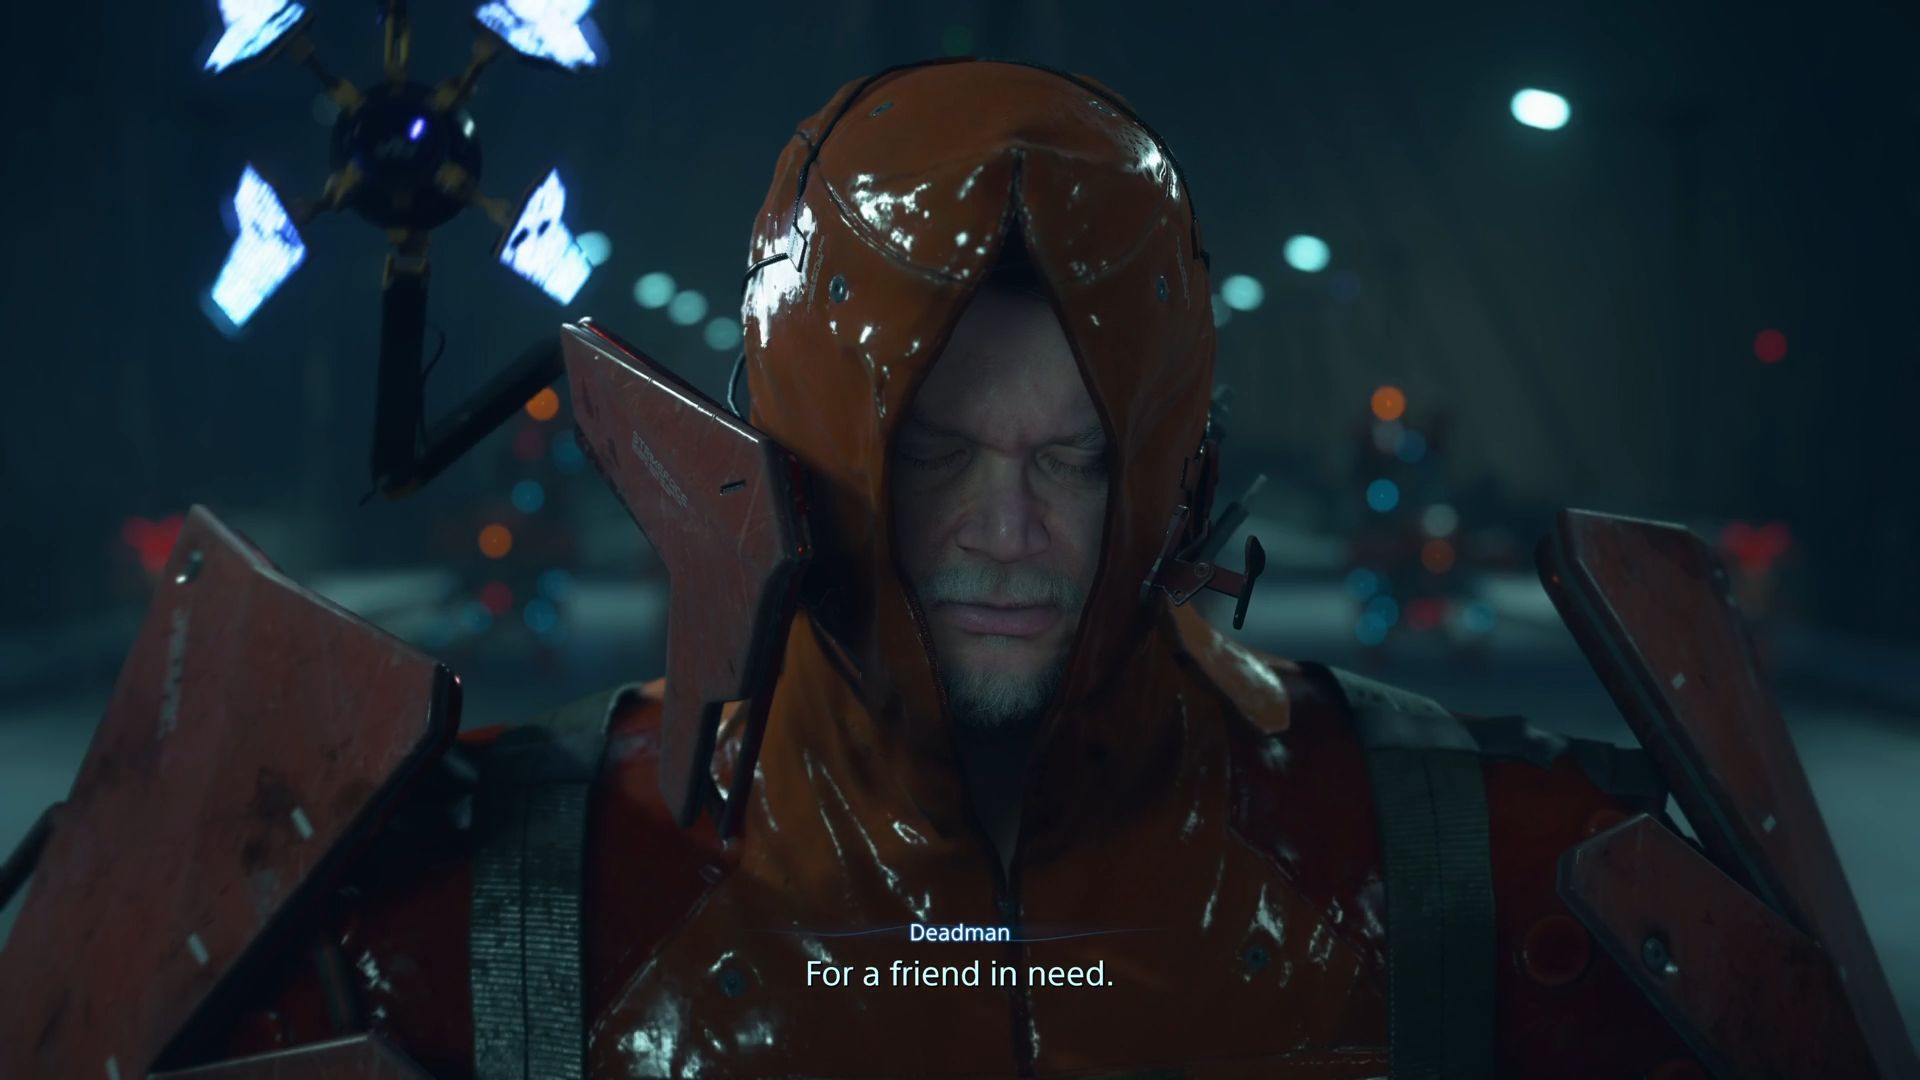
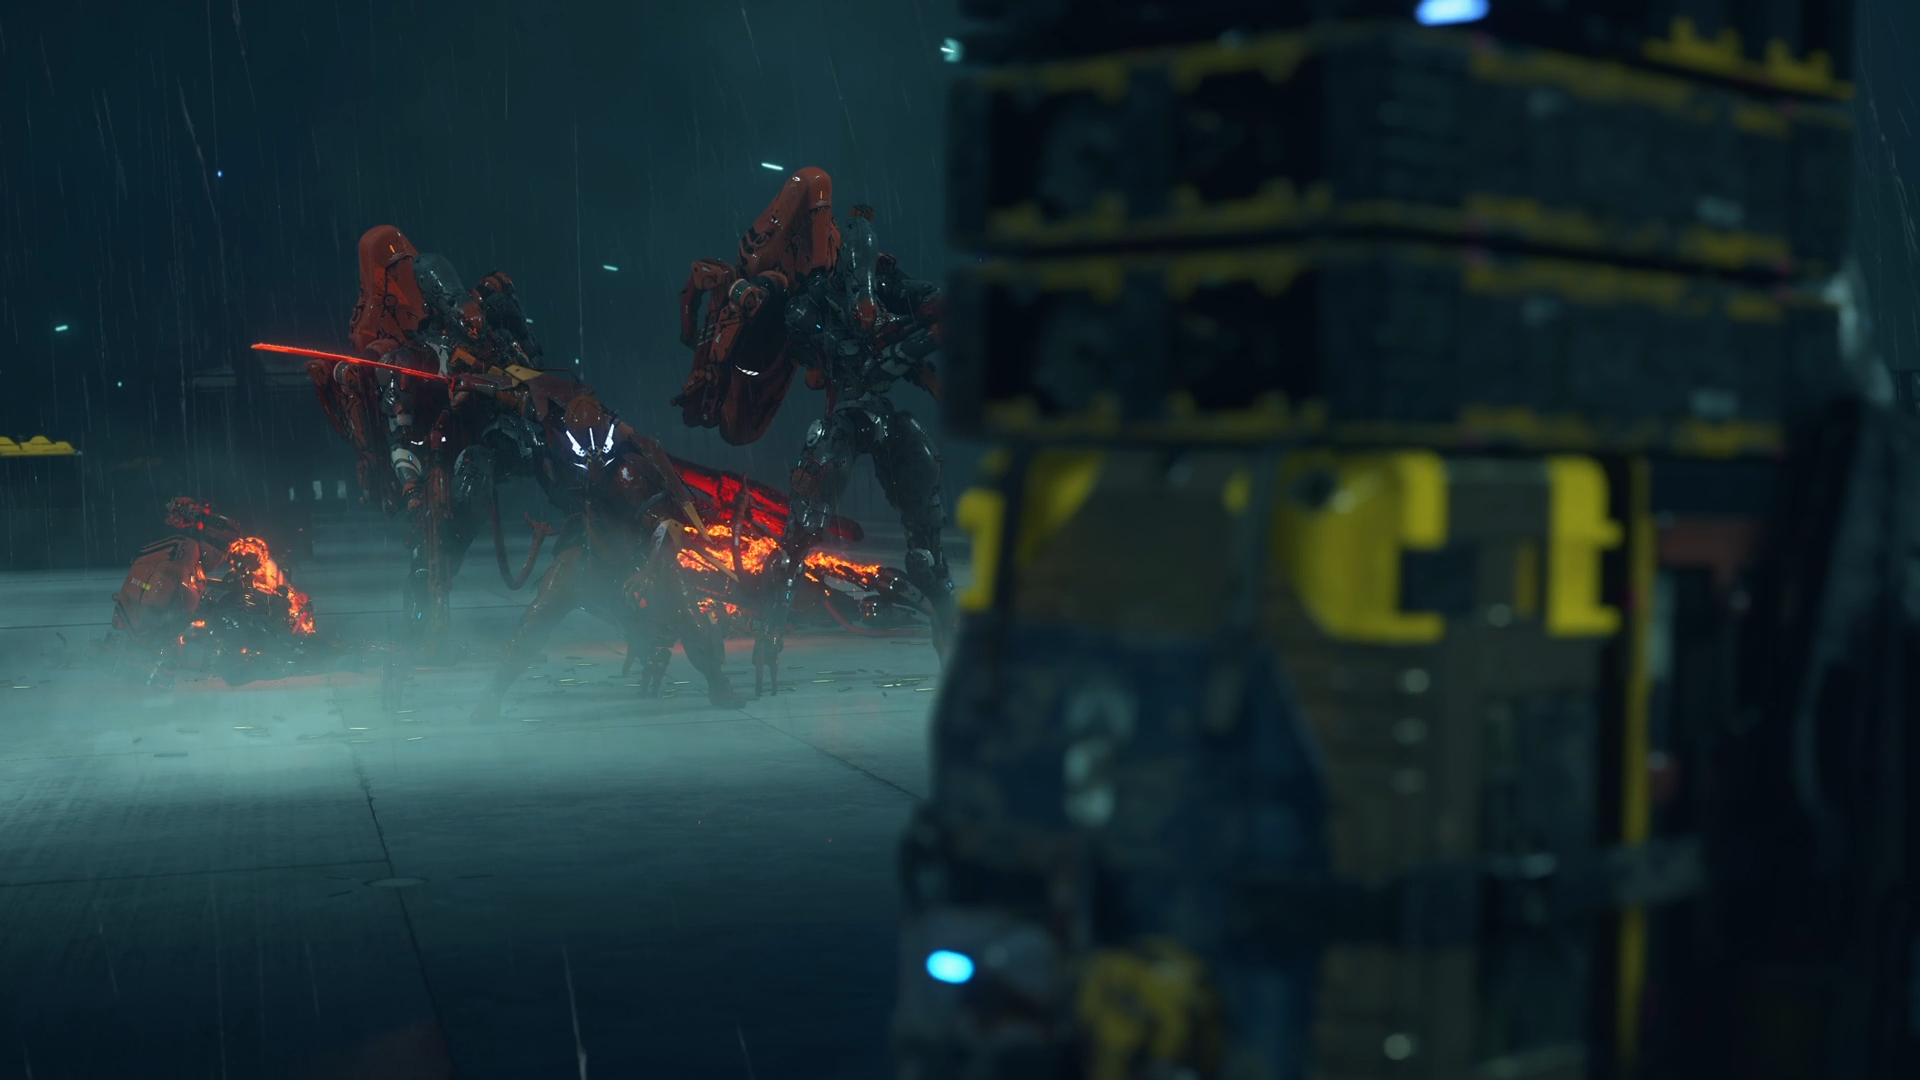
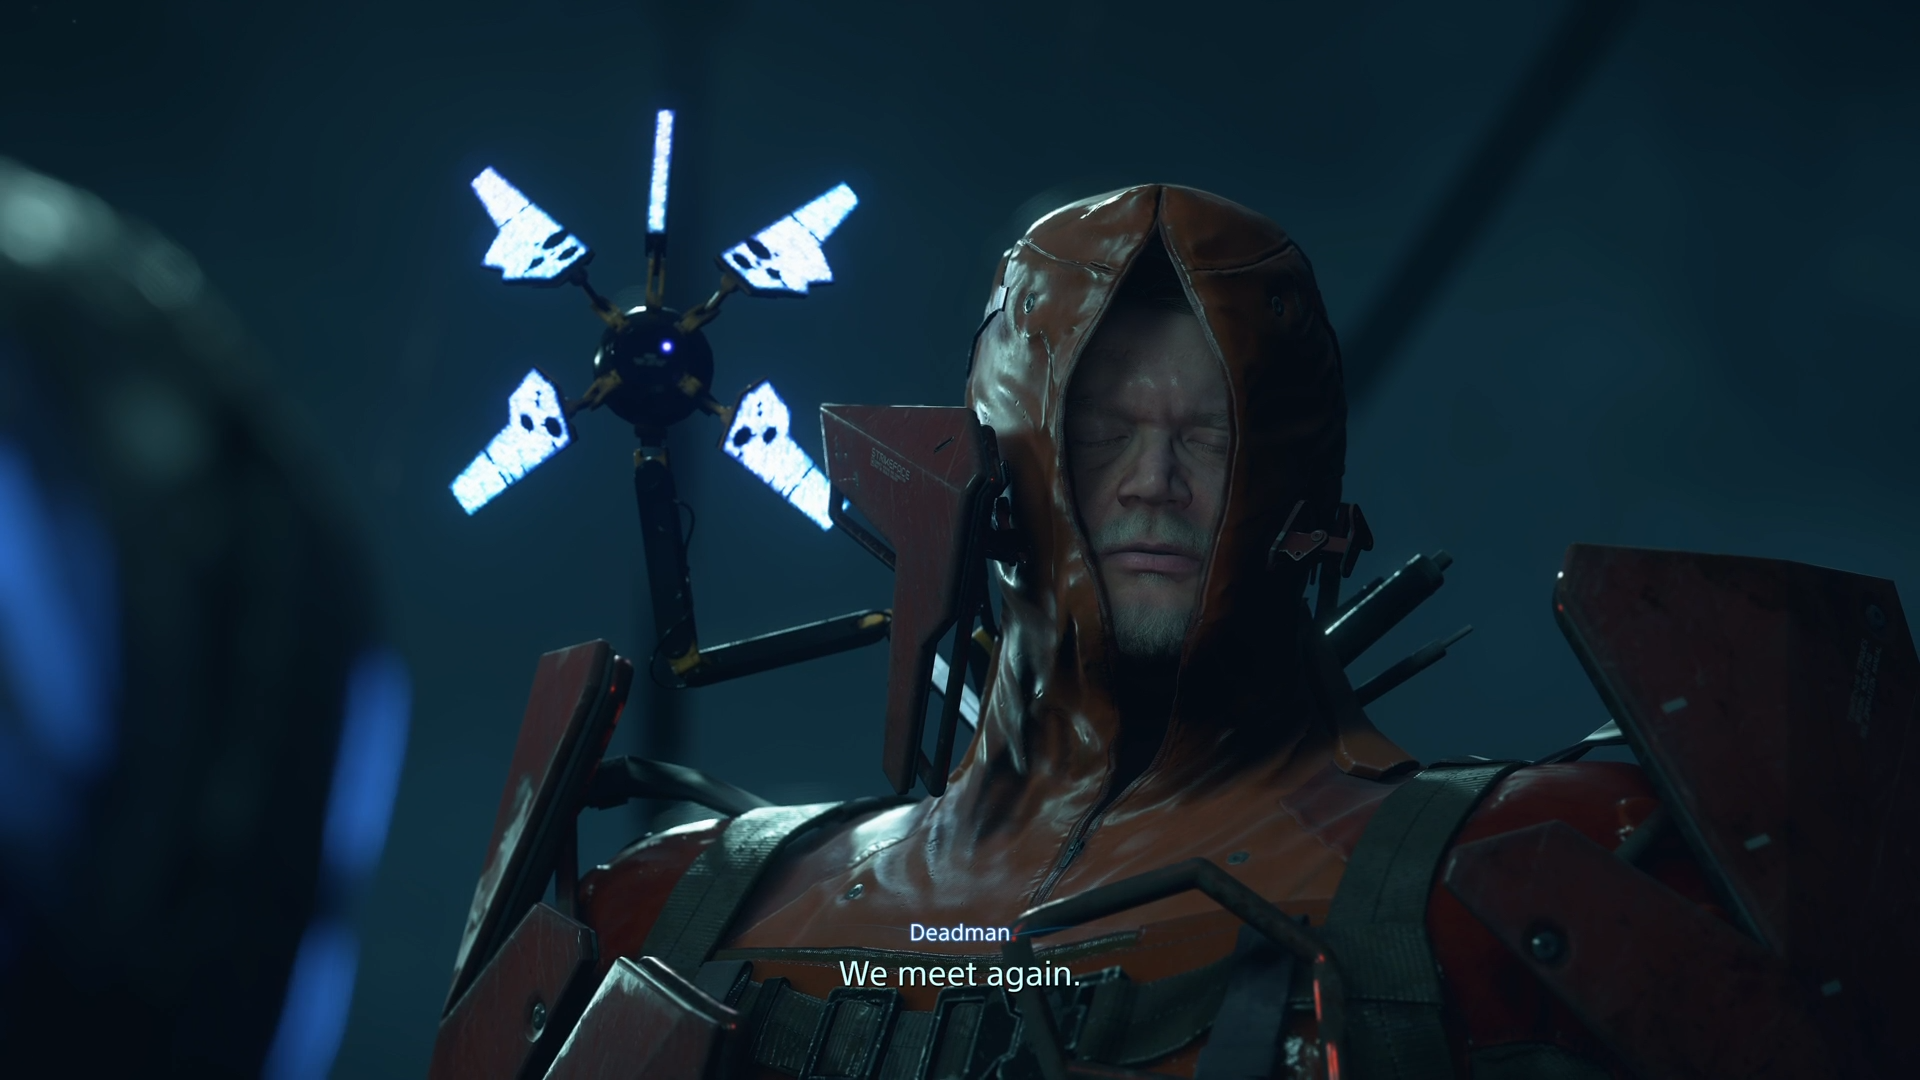
Heading further into the bridge, you’ll meet a familiar ally once again as Red Samurai dives in to help you deal with the ghost mechs. In here, it was revealed that Red Samurai is actually Deadman from the original Death Stranding. He then cuts the bridge in half to stop the ghost mechs from coming after you.
As you continue to move forward, you’ll meet the tentacle ghost mech that you and the DHV Magellan crew defeated back in Episode 9. However, due to the last encounter, it’s far weaker and easier to deal with. Shoot the glowing orange circles around the mech to cripple it further. Once you defeat it, you can finally head inside the F8 Terminal Fort Knot.
Deliver the Drawbridge Terminal Unit to F8
Once you are inside, complete the delivery and connect F8 Terminal Fort Knot to the chiral network. Congratulations! That was the final order, and now all of Australia is connected to the chiral network. You would think the mission is done. However, Higgs will show up to spoil the party. Fortunately, you are not alone inside. The DHV Magellan takes a peek from a tar portal and slams Higgs to the wall.
Fragile then joins the fight, where she takes her sweet revenge by breaking Higgs’ mechanical body to pieces with his own battle guitar, which you can get after this episode. Once that’s done, the two of you head back to the ship and get some rest.
Once you head out of your room, a cutscene starts, revealing more of the game’s lore. You’ll even see Charlie, the mannequin, do a dance number while singing. I’m not gonna lie, the song actually slaps. Out of nowhere, Die-Hardman reveals himself in the final moments before the episode ends.
We provide the latest news and create guides for Death Stranding 2. Meanwhile, you can check out the following Death Stranding 2 articles or catch us playing games on YouTube: