Facebook
 Reddit
 Email
Email
In this guide, we shall go over all the Chroma Elixir Shard locations in Clair Obscur Expedition 33, so you have more healing options.

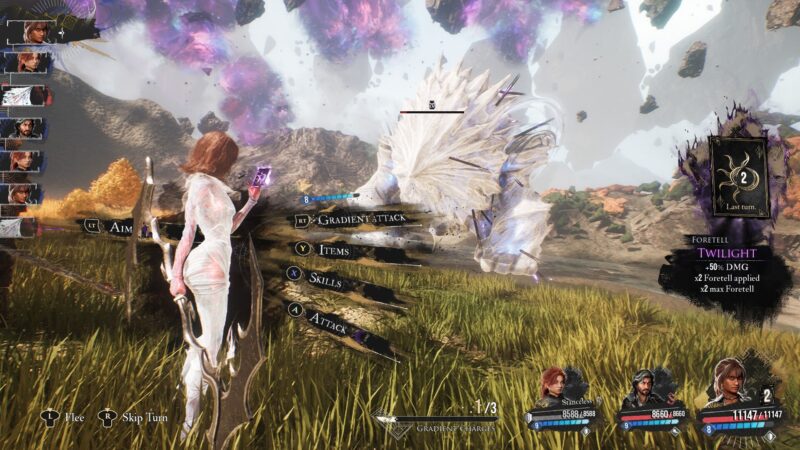
Clair Obscur Expedition 33 is a surprisingly difficult game at times. The enemies are all fairly challenging and hit hard more often than not. You’ll constantly find yourself low on health at the end of most battles and will need Chroma Elixirs to heal.
As you progress through the game, the challenges will increase, and the few elixirs you carry won’t be enough to bail you out. You will need more, and the only way to get more is through Chroma Elixir Shards. These shards increase the charges on your Chroma Elixirs, granting you extra uses.
The Chroma Elixir Shards are scattered across various levels in the game. If you’re looking to boost your healing capabilities but can’t seem to find the Chroma Elixir Shards, we’re here to help. In this guide, we will go over all the Chroma Elixir Shard locations in Clair Obscur Expedition 33.
Related: Clair Obscur Expedition 33: Best Attributes for Each Character
All Chroma Elixir Shard Locations in Clair Obscur Expedition 33
There are four Chroma Elixir Shards for you to find in Clair Obscur Expedition 33. You can find them in the locations below:
- Shard #1: The first shard is in the Flying Waters region, right at the very start. Spawn near the entrance and follow the intended path. You will find a Paint Cage along this path. Shoot the cage’s locks, all of which are around the shark nearby, to obtain your first Chroma Elixir Shard.
- Shard #2: To find the second shard, head to the Ancient Sanctuary and start at the Sanctuary Maze Expedition Flag. Follow the path from the flag until you reach a domed building. Take a left from this building to reach an alcove with the Paint Cage. The first lock is on the left, the second behind the trees at the perimeter, and the third is behind the crates.
- Shard #3: The third shard is near the Stone Wave Cliffs region of the game. Cross the bridge past the second grapple point and head right. You’ll find a golden rope you can climb to reach the upper floor. From this vantage point, you will see all three locks, which you can shoot to obtain the shard.
- Shard #4: The final shard is in the Forgotten Battlefield. Head toward the Fading Woman, take the path to the right past her, and then turn left to find the cage. The first lock is next to the cage, the second near the entrance, and the third on a path to the right of the entrance.
Also Read: Clair Obscur Expedition 33: All Missable Items and Encounters
Looking For More?
Thank you for reading the article. We provide the latest news and create guides for Baldur’s Gate 3, Starfield, ARK Survival Ascended, and more. Also, watch Deltia play games on Twitch or visit his YouTube channel!