Facebook
 Reddit
 Email
Email
Discover essential survival tips and tricks for the Roblox game Hitch a Hike. Master challenges and enemies.
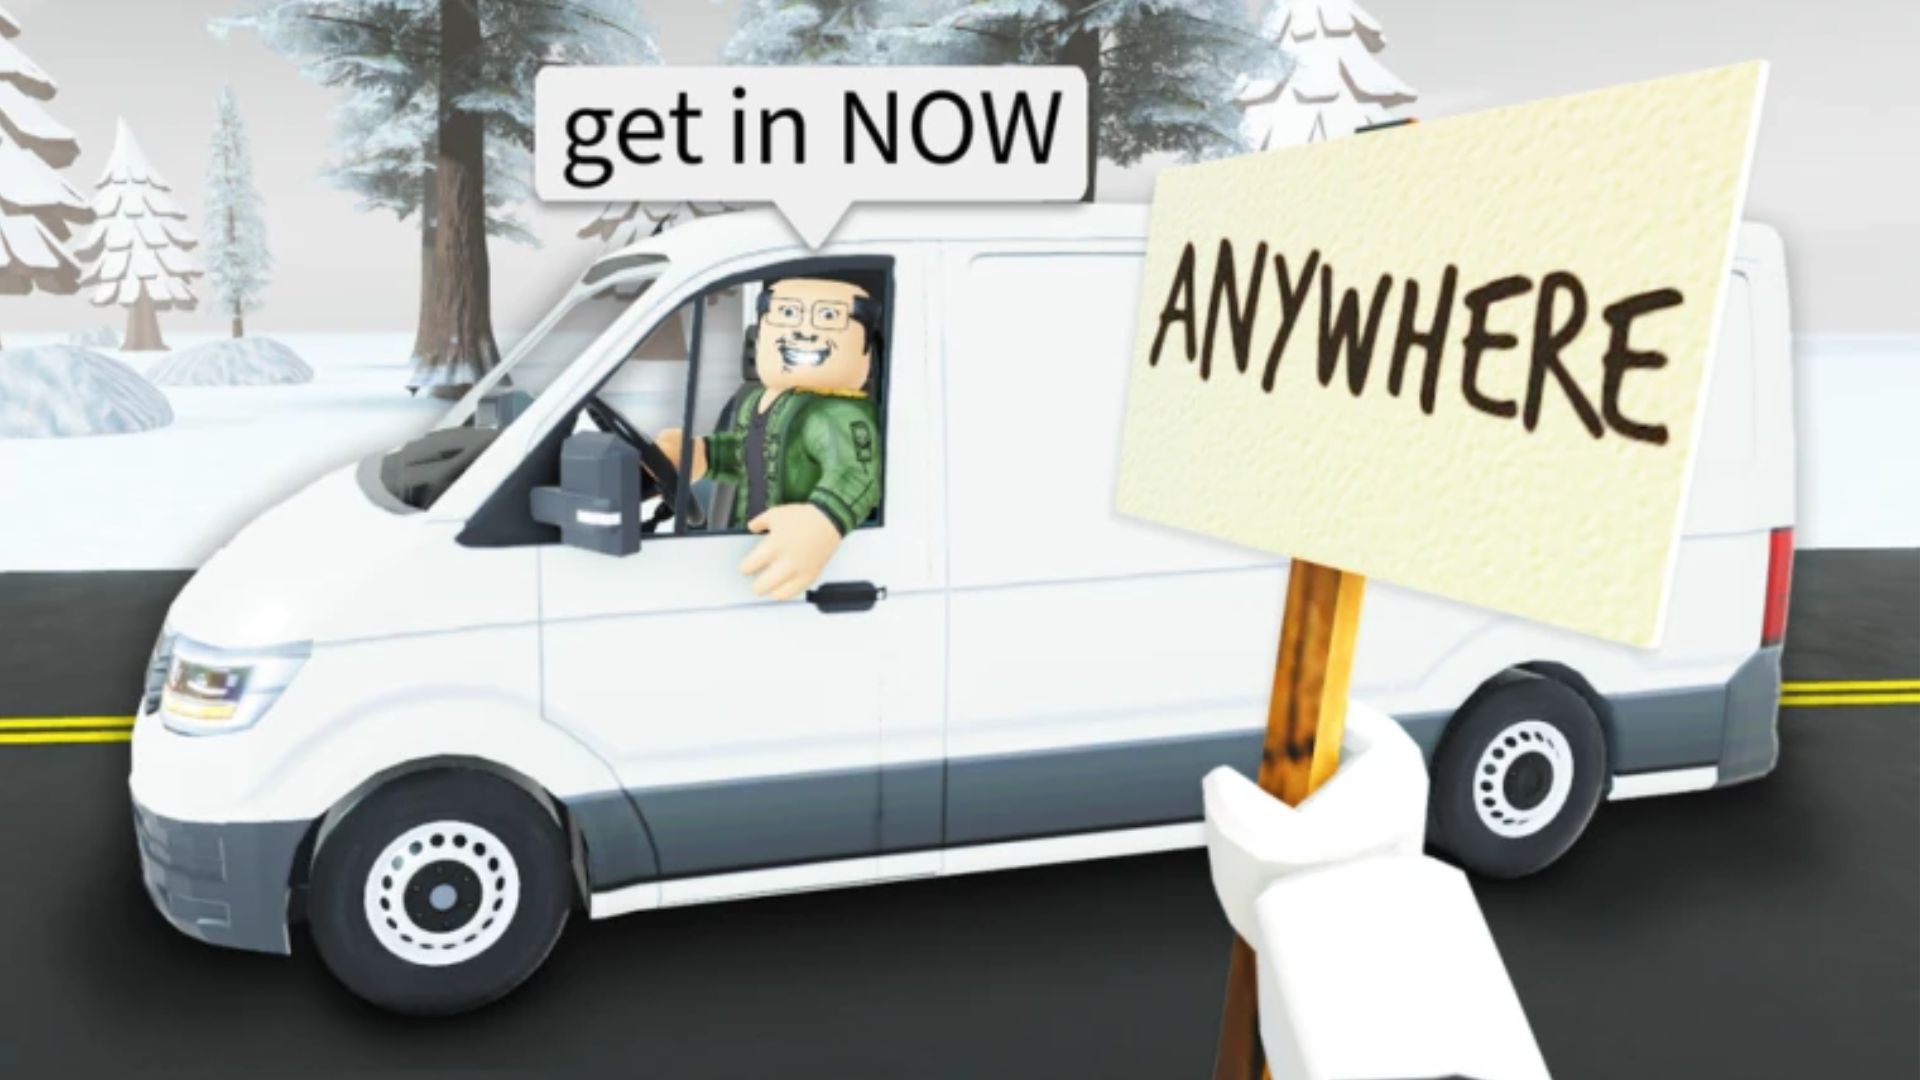
At first glance, Hitch a Hike looks easy. Wave your sign, hop in a car, and cruise ahead. But the game has other plans. Moose charge, cult members chase, and police drag you back 900 meters. Even the deer have attitude. One wrong move, and you’re flying through the air. Hitch a Hike is chaotic, strange, and surprisingly clever.
It gives you tools, then throws wild obstacles your way. Sometimes it’s peaceful. Most times, it’s pure survival. From deadly roads to shady NPCs, there’s a lot to handle. This guide covers the essentials—loot, enemies, shortcuts, and both endings. Whether you’re hunting bones or dodging cops, we’ve got you covered.
Starting Gear in Hitch a Hike Roblox
When you start your journey in Hitch a Hike Roblox, you receive basic gear:
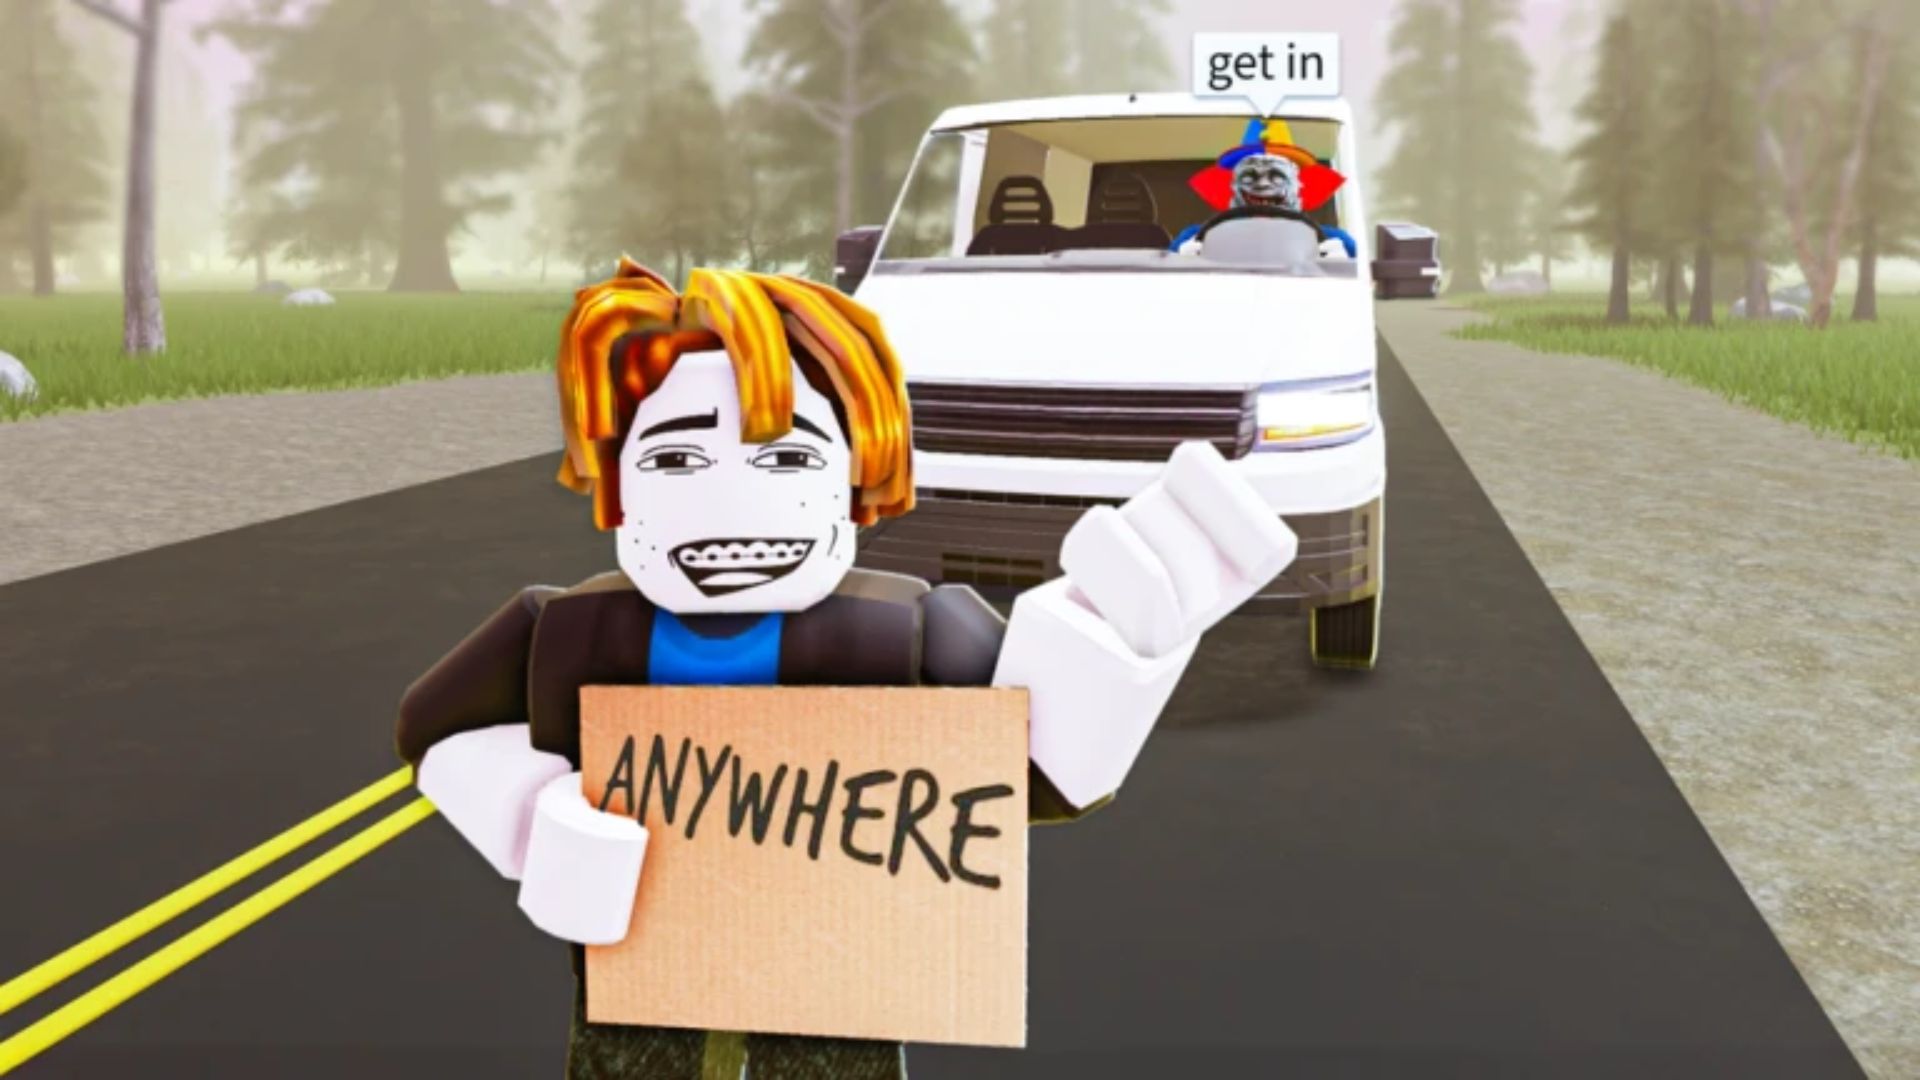
- A hitch sign to flag down vehicles.
- A wooden weapon to fight off threats.
- A headwear flashlight to see clearly at night.
- A bandaid for quick healing.
As you move forward, you’ll need better items to survive tougher challenges. So, carefully explore each drop-off area you reach. Items randomly spawn here, so grab everything useful when no enemies are nearby. Keep an eye out, especially for:
- SMGs and rifles for stronger attacks.
- Ammo packs to keep your weapons ready.
- Medkits to heal effectively after tough fights.
- Car parts if you want to unlock the good ending later.
Enemy Breakdown
Each enemy behaves differently. Know how they work before charging in.
- Cult Member – Close-range attacker. Can enter houses. Back away while hitting or shoot from a distance.
- Moose – Aggressive and hard to kill. Lure near a house, enter it, and attack safely from inside.
- Hunter – Carries a gun. Kill quickly if spotted. Try to avoid unless you have ammo.
- Police – Patrol in groups. If they see you with the sign, they’ll take you back 900 meters. Unequip the sign early. If they chase, run, climb something, and use a long-range weapon.
- Deer – Calm until attacked. Don’t hit them. If you do, they’ll one-shot you.
- Stalker – Watches from far away. Doesn’t attack much, but keep your distance.
Always choose your battles wisely. Some enemies are not worth fighting.
Gather Bones Quickly
Bones serve as valuable resources dropped from defeated enemies. Targeting specific enemies boosts bone collection significantly:
- Cult Members – Easy kills if approached correctly. Use ranged weapons or repeatedly strike while backing away.
- Bears – Dangerous but rewarding. Lure bears onto the road. Cars will quickly run them over, dropping bones safely.
- Moose – Trap moose near buildings or fences. Then, attack from a safe spot until defeated, collecting bones afterward.
Not every kill gives bones, but these methods have the best return.
Getting Past the Toll Plaza
Eventually, you’ll hit a toll plaza. There’s no way around it.
- It’s guarded by a robot, often with other enemies nearby.
- Enter a nearby building for safety, then focus on killing the robot.
- Once it’s dead, the gate opens automatically.
Prepare for this moment. Use your best gear and have full health before the fight.
Good vs. Bad Ending
There are two possible endings. The difference comes down to one thing: car parts.
- For the good ending, collect at least three car parts during your journey.
- For the bad ending, skip the parts and just finish the game.
Car parts don’t weigh you down, so always pick them up when you find them. Stay alert. Loot often. Know your enemies. This game rewards smart, careful players who aren’t afraid to take risks when needed.
Looking For More?
Thank you for reading the article. We provide the latest news and create guides for Baldur’s Gate 3, Starfield, ARK Survival Ascended, and more. Also, watch Deltia play games on Twitch or visit his YouTube channel!