Facebook
 Reddit
 Email
Email
Check out our walkthrough guide for Death Stranding 2 Episode 6, which provides all the information needed to complete every main order.

Death Stranding 2 Episode 6 Walkthrough starts with the mysterious woman from the land of the dead aboard the DHV Magellan. Tarman and Fragile are inspecting the sarcophagus she is encased in and slowly cutting her out. Once the cutscene is over, you will get control of Sam. Fragile will ask him to come to the room next door to learn more about the new occupant of the DHV Magellan.
Death Stranding 2 Episode 6: How To Complete
A short cutscene kicks off this episode with Tarman and Fragile investigating the mysterious woman that Sam brought back from the land of the dead in Episode 5 and the hard outer case she arrived in. The clip ends with her waking up. When Sam wakes up in his private room, Fragile asks him to come to the room next door. You will have to interact with the door and hit triangle on your controller.
Next door, another cutscene begins where we see the mysterious woman is entirely out of the casing and is now floating mid-air. Tarman and Fragile are carefully trying to bring her back down to the bed. Both tell Sam all that they have been able to learn about her. Fragile mentions that she named the mysterious woman Tomorrow. The cutscene ends here, and Sam is back in the private room.
Recover All Weapon Sets and Burrowing Bombs Stolen by the Brigands (Order 18)
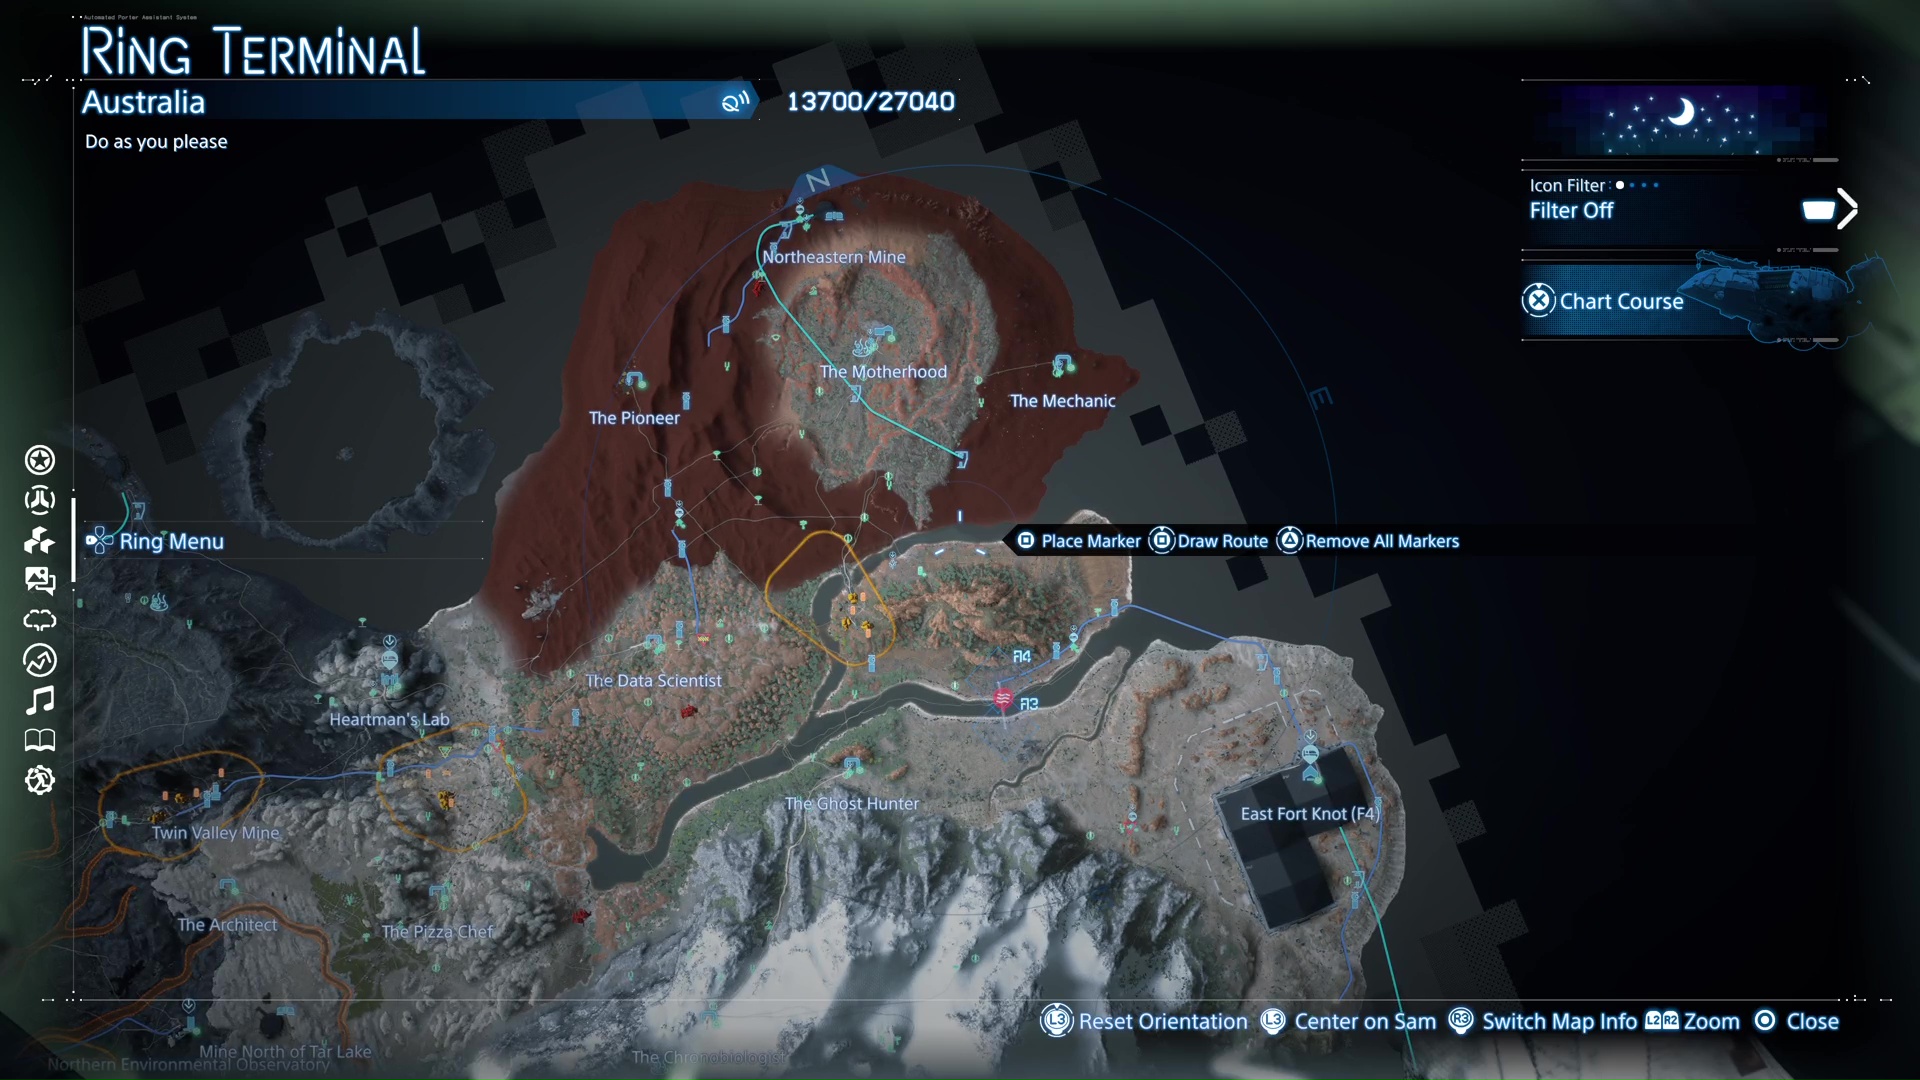
The order is available from the DHV Magellan terminal. Your task is to go to the Brigands base west of the Northern Environmental Observatory and get the weapons they have stolen. The distance isn’t far from where you are, but still take your pickup off-roader to carry the cargo back. Make sure you take at least 4x Blood Bags, a Tranq Sniper Rifle, a Tranq Handgun, and a Bola Gun. Given that you are going to recover explosives, a Grenade Launcher or an Assault Rifle can be a risky loadout. You still can take those, but your aim then will be to draw the armed enemies out of the base.
The best place to assail the Brigands base from will be to head towards it and then take a left to get up on the hill. This way, you will be able to have the high ground on them as you recon and engage. You should use Dollman to check out the number of enemies that are present in the base (15). A Watchtower will also show where the cargo is. Once you are on the hill and are happy with the positioning, use the Tranq Sniper Rifle to begin the engagement. Aim for a headshot for an instant knockout. The shot will be loud and will alert other enemies to your position. Take as many out as you can as they make their way to you. Once they are close enough, switch to the Grenade Launcher or Grenade Pistol (a Shotgun or an Assault Rifle will also do).
Once you have neutralized the base, bring your truck around. Apart from the 3x Weapon Set, there will be plenty of materials that you can pick up. Take your time and scour the place to make the most of what the Brigands have gathered. The third mission-specific cargo is the burrowing bomb that is marked hazardous. It is the westernmost building’s second floor. Handle it with care and make sure it doesn’t sustain any damage. Set off back to the Northern Environmental Observatory with your haul afterward.
Once completed, you will be asked to return to the DHV Magellan, as Tomorrow has awakened. Go to the Private Room to trigger a cutscene in Tomorrow’s room. We get a glimpse of her not being happy wearing a shoe, followed by her munching on a cryptobiote. Fragile mentions she doesn’t like having normal food.
Deliver Necrobiotes to the F2 South Distribution Center (Order 19)
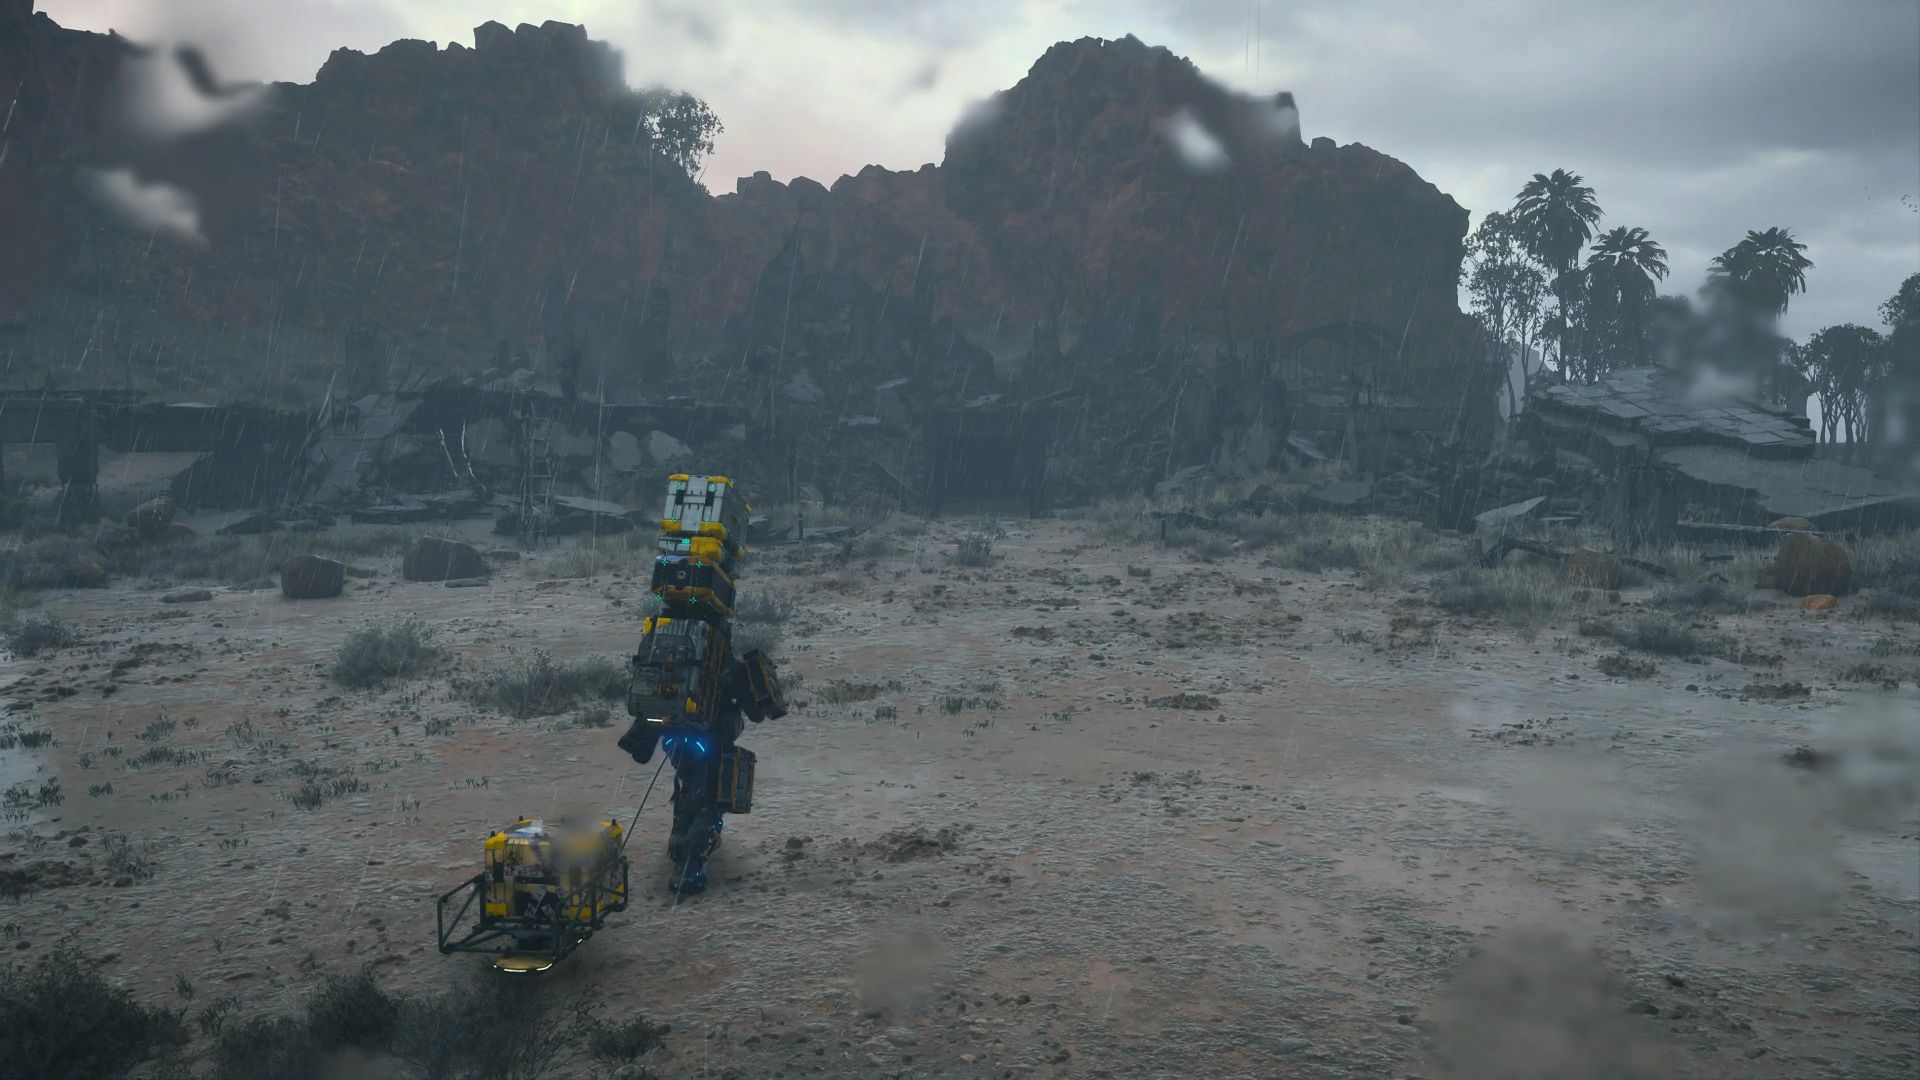
This starts from the Northern Environmental Observatory. A straight road will take you through a BT-infested area. If you have repaired the road near the Northern Environmental Observatory, you can take that as long as it goes to circumvent the BT area, head towards the coast, and then make a right to beeline towards the F2 South Distribution Center. Keep a check on any flooding rivers and cross them atop your pickup off-roader. Keep in mind that the mission-specific cargo will take damage if it is submerged in water.
There should be no other hiccup, and you should reach the F2 South Distribution Center safely. Delivering the goods and connecting F2 to the chiral network will unlock Combat Boots, Sticky Cannon (truck customization), and Heavy Machine Gun (truck customization). Make your way back to the DHV Magellan to get another update on Tomorrow. Back in your private room, you will be woken by a gate quake. West Fort Knot’s chiral printer has stopped working because of it.
Deliver All Aid Packages and Chiral Printer Parts to F1 (Order 20)
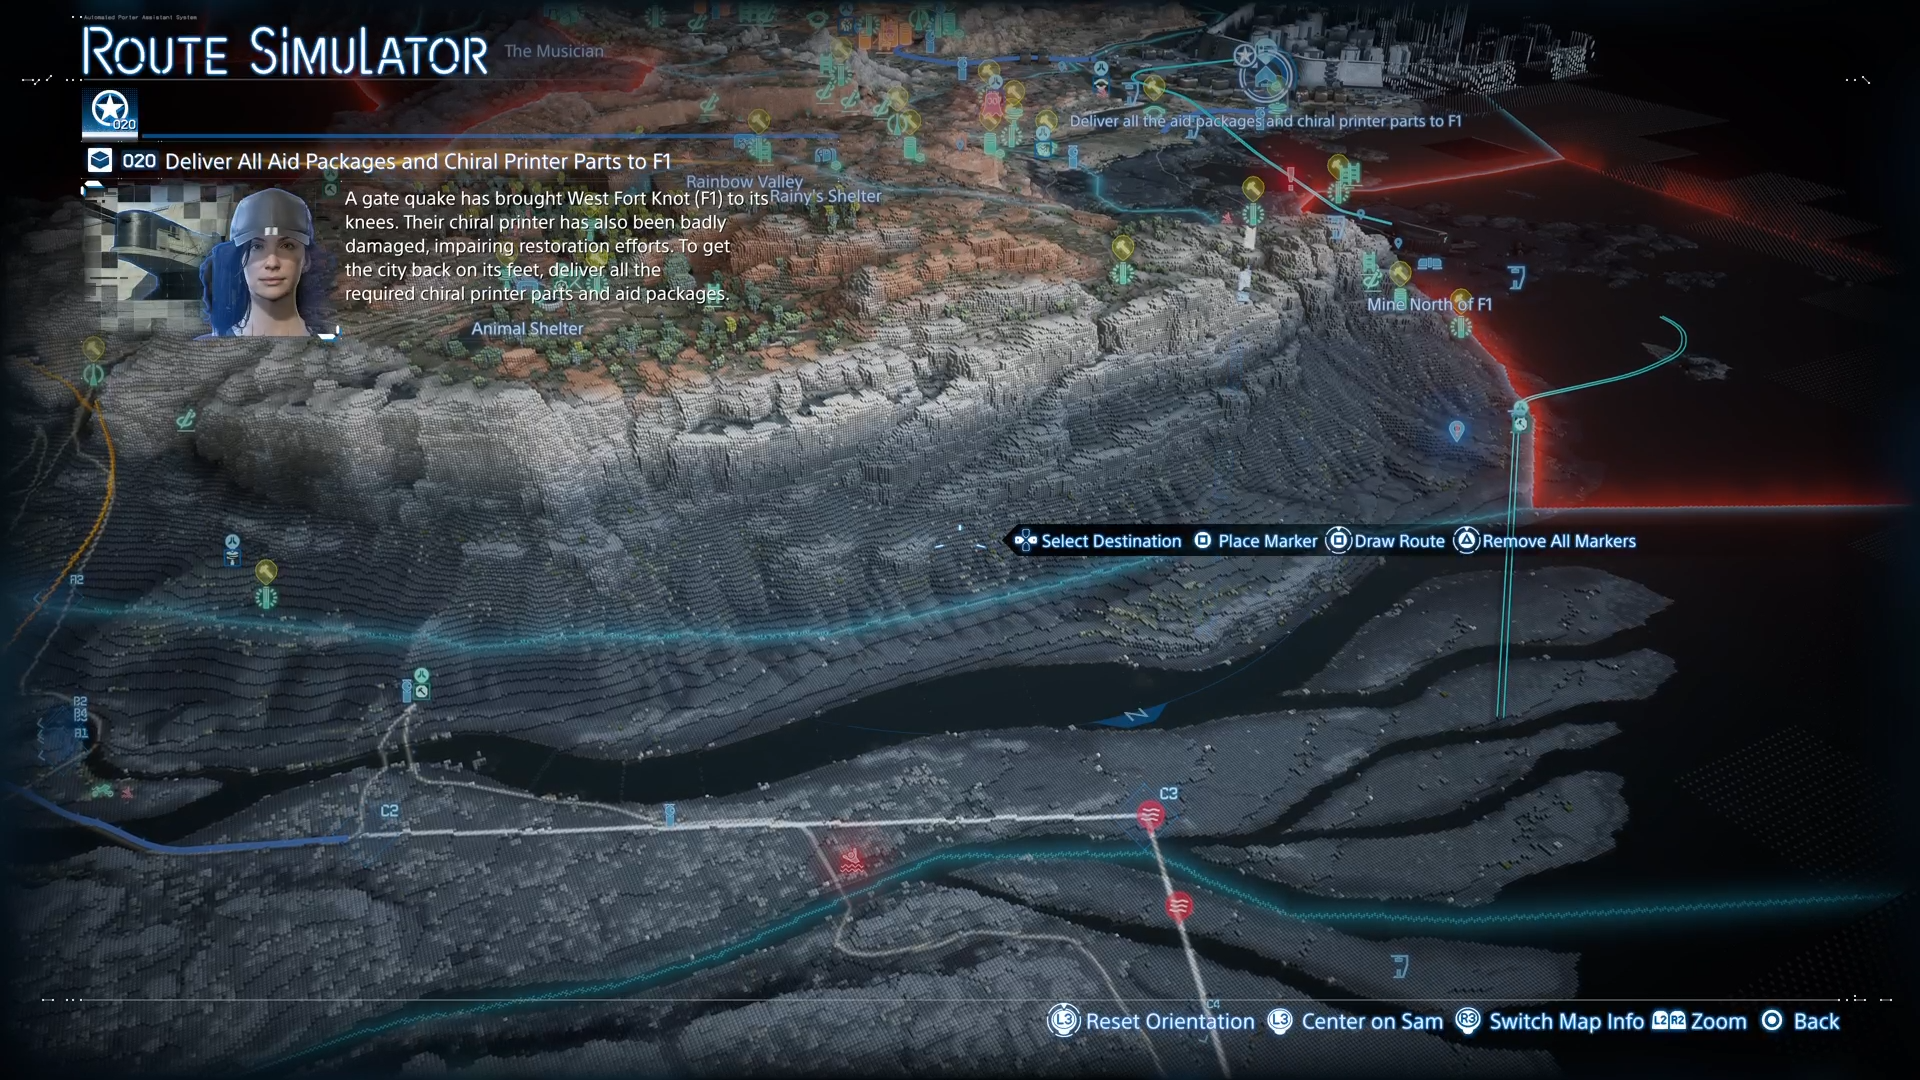
There’s a lot to carry for this one. You will be making your way from F2 to West Fort Knot City. If for any reason you have already connected/repaired the monorail section in between these two locations, your delivery will be done instantaneously. Connecting the monorail from F2 to F1 will also allow you to drop in on the Inventor.
If you are making your way on the truck, hug the coastline and go straight ahead. Pick up lost cargo and materials as you drive on. Carry a few PCCs in case you run out of juice and don’t find any generators. Otherwise, enjoy the ride and use the Music Player to listen to some unlocked tunes. Complete the mission by delivering the cargo at the F1 terminal. To take a shortcut, you can go to the Mine North of F1 and hitch a ride on the monorail to F1. If you do so, don’t forget to take your truck also in a container.
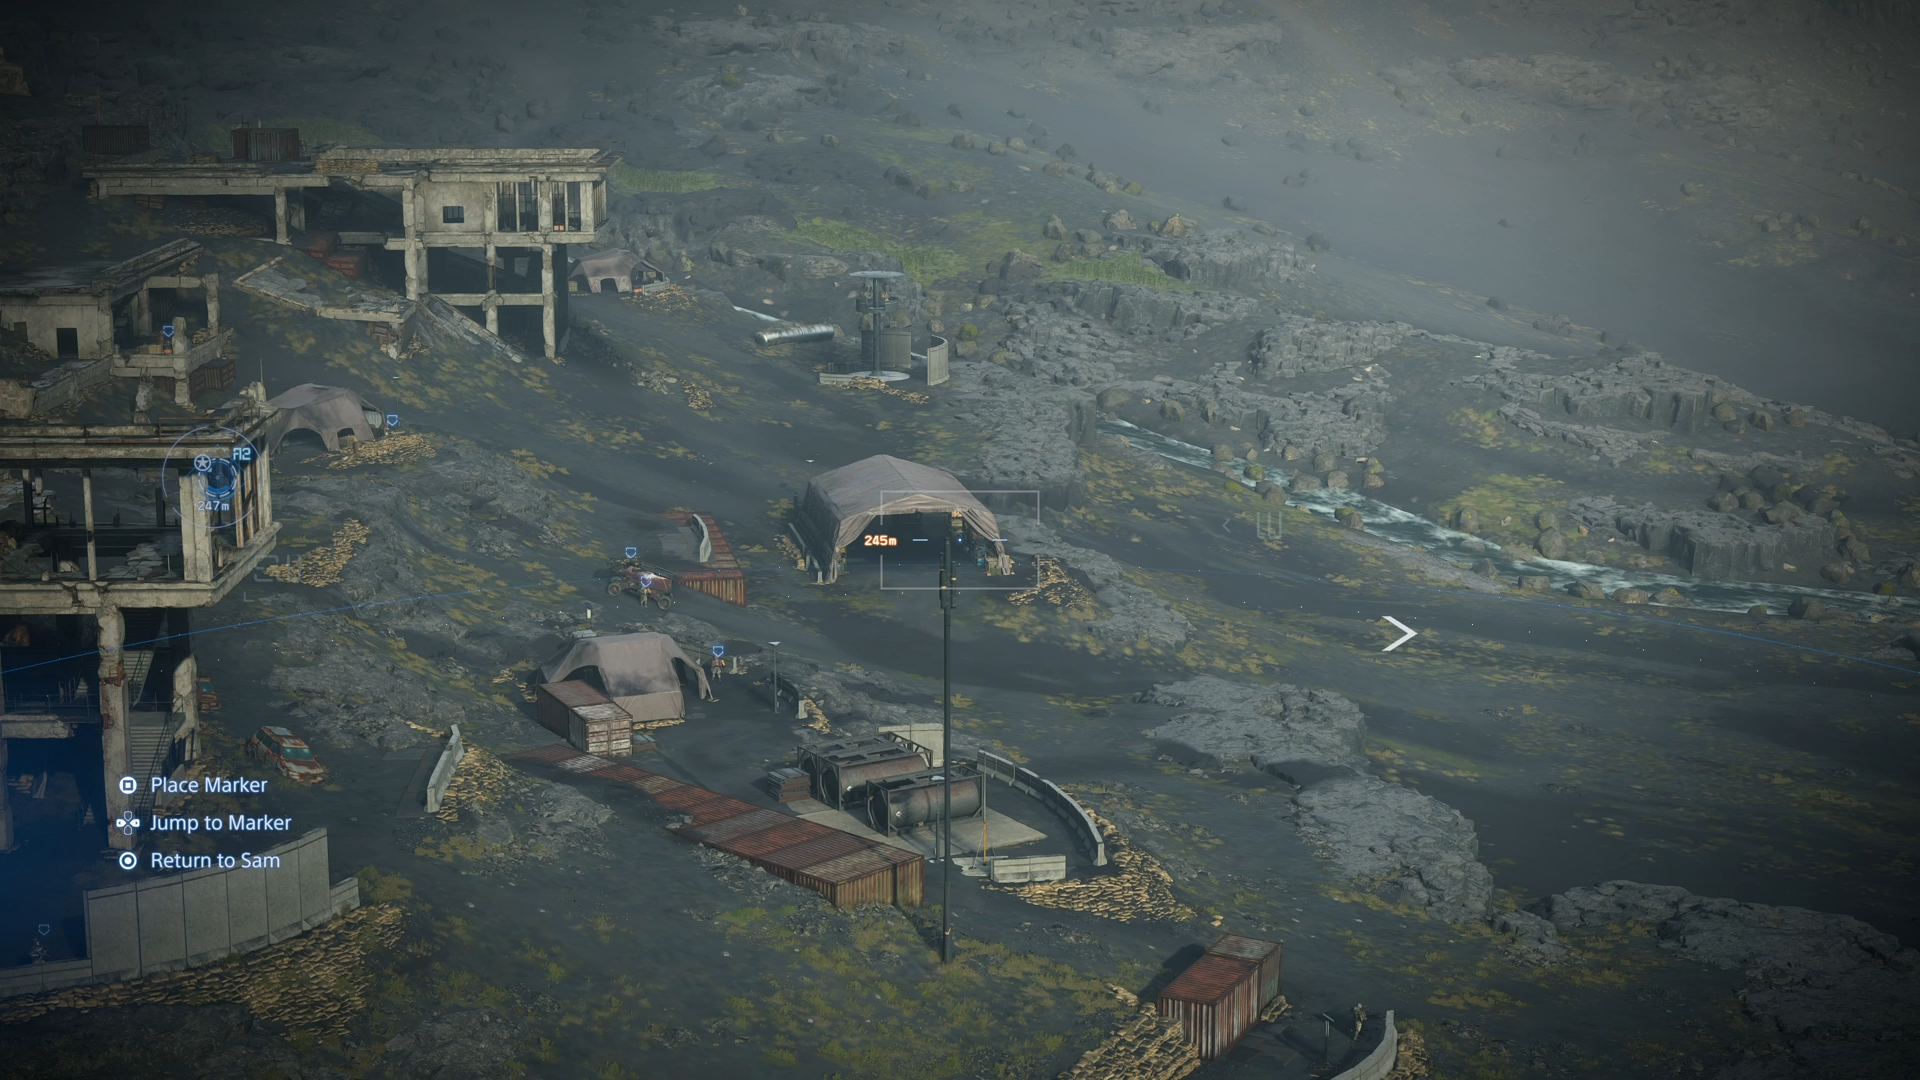
Rescue the Dowser’s Friend From the Armed Survivalists (Order 21)

Order 21 is a rescue mission where you need to rescue the Dowser’s friend from a mine that’s under the control of armed survivalists. Make sure you are equipped for combat before starting this assignment. This is because some of the enemies in the mine wear armor and are active skeletons. If you need ammo, consider using the Spare Ammo Container attachment for your backpack.
Once you are ready, go ahead and start the order mission. Don’t forget to bring in a Pickup Off-Roader so you can reach your destination as soon as possible. Travel to the marked location on your map, which will lead you to a heavily guarded facility. However, once you get close enough, keep in mind that the enemies will open fire at you. Fortunately, there are a lot of cargo crates you can use as cover.
Of course, while you are at it, don’t forget to loot the area. You can find a lot of resources lying around here, like blood bags. There should be a square concrete shelter near the area with barrels and storage boxes lying outside. The small shelter has one open window on the right and a door on the left. Once you head inside, you will find Dowser’s friend lying on the floor with his hands tied up.
Your next goal is to pack him up in a protective bag so you can carry him like cargo on your back. Now that you have the hostage, you need to get out of the armored survivalist camp and reach The Dowser. But to do that, you need to climb the mountain in front of the shelter where you found your friend. It’s going to be a long and slow climb up the mountain. If you mess up, you might slide down the slope and have to do it all over again. This is where your Terrain Traversal stat comes into play. Upgrading it will help you reduce the stamina cost when moving on rough terrains.
Once you are finally at the top, the journey towards The Dowser should be easier. Once you reach her bunker, you can then put her friend down as he makes a thumbs-up pose before falling unconscious again. This won’t be the first time you’ll have to rescue this person in the game. You’ll meet him again sometime in episode 8. Once the rescue mission is over, have The Dowser connect to the chiral network to complete the order mission. Afterward, Sam heads back to the DHV Magellan. A cutscene will start where you see Tomorrow arguing about wanting to leave. After the encounter, Sam heads to his room and takes a good night’s rest.
Search for Tomorrow (Order 22)
After last night’s argument with Tomorrow about her wanting to leave, she went missing from the DHV Magellan. Your task now is to search for her while dealing with mechanical hostiles along the way. This order mission tasks you with following the traces left by Tomorrow in hopes of locating her as soon as possible. The scanner will detect footprints that you can follow.
It’s a long walk, but after a while, you will encounter some hostile enemies, and you can finally have some action. After fighting the mechanical enemies for quite some time, a cutscene will start where Sam gets overwhelmed by one of them. Tomorrow, then, shows up to help.
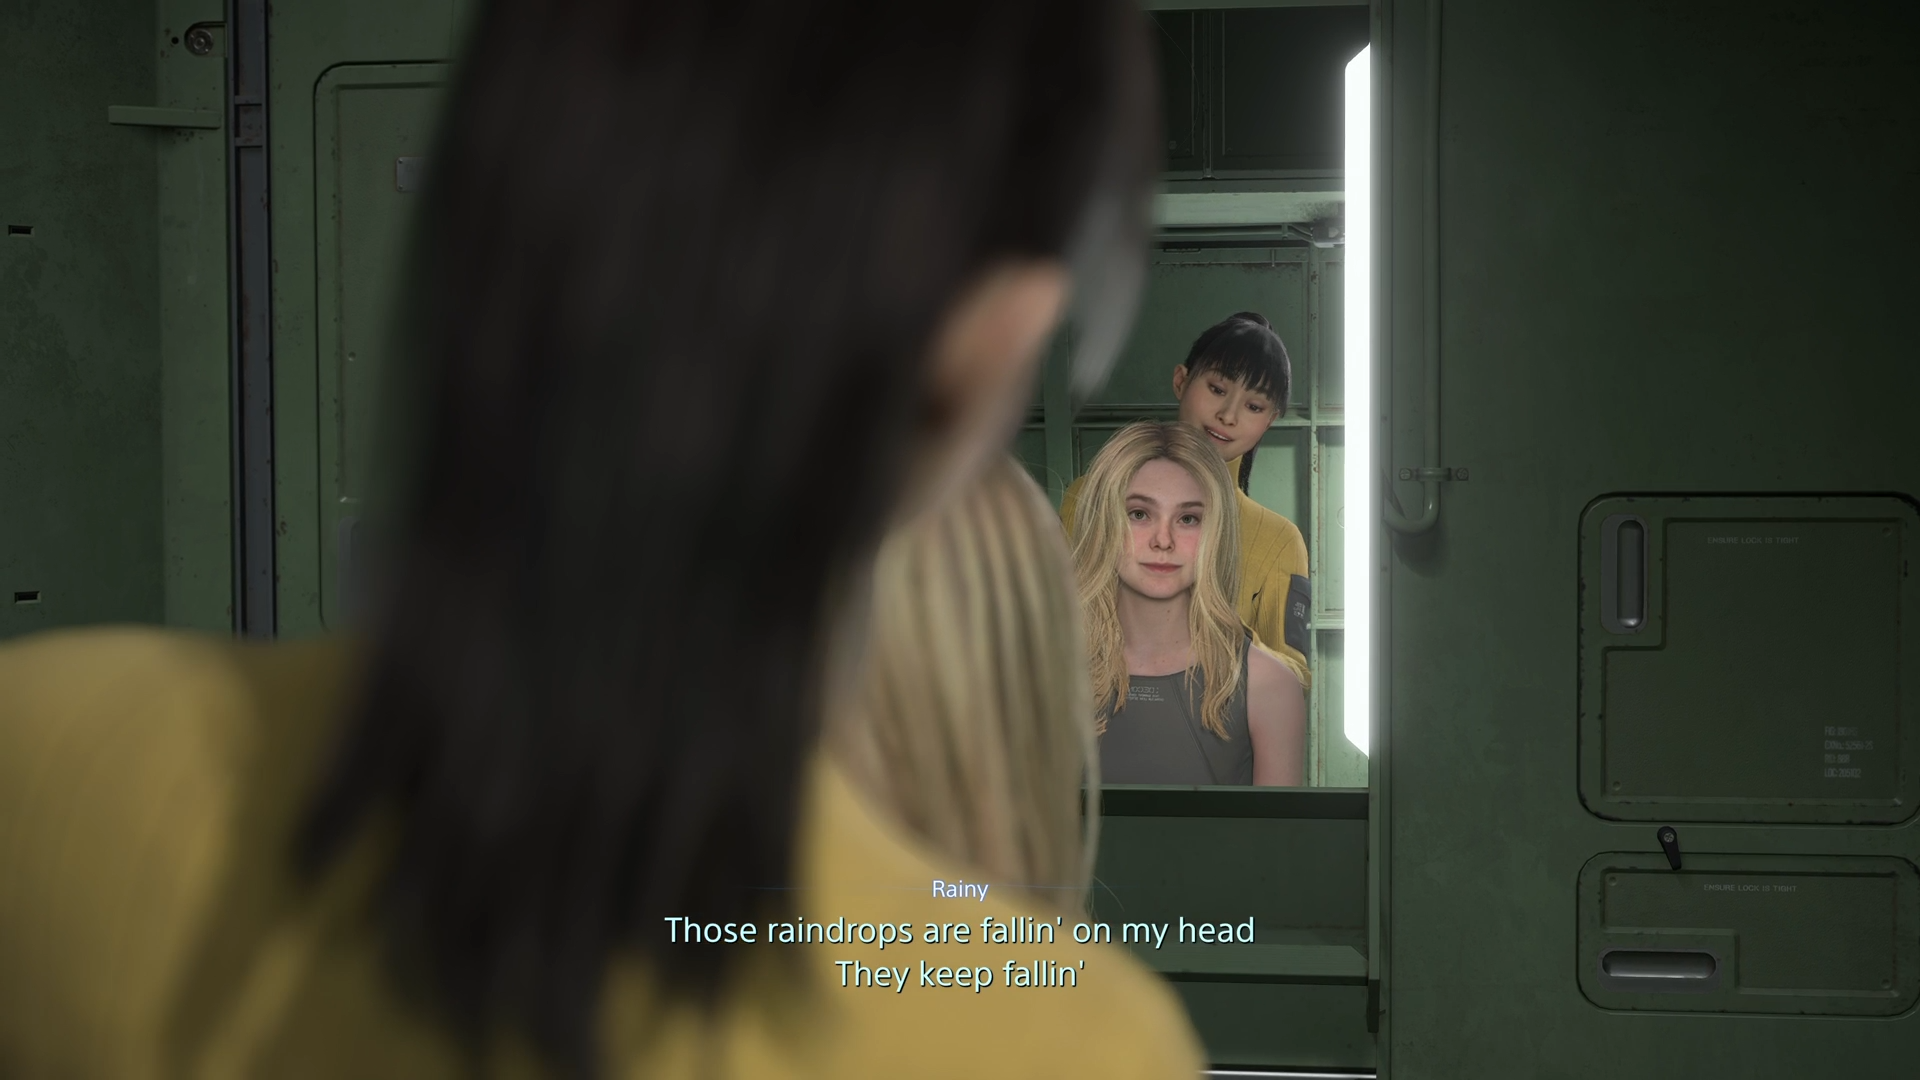
After clearing the enemy ambush, Sam, Dollman asks Tomorrow if she would want to stay with the DHV Magellan crew, as she has nowhere else to go. After a stroll, she agrees to head back as Sam gives her shoes back. The two had some more heartfelt conversations before heading back to the ship. Once they arrive, Rainy and Fragile invite Tomorrow to be part of the crew, their little family, which she happily accepts.
[Breakable Cargo] Deliver Tar Magnetite to Heartman’s Lab (Order 23)
![[Breakable Cargo] Deliver Tar Magnetite to Heartman's Lab (Order 23)](https://static.deltiasgaming.com/2025/07/Breakable-Cargo-Deliver-Tar-Magnetite-to-Heartmans-Lab-Order-23.png)
The final order of Death Stranding 2 Episode 6 is to deliver Tar Magnetite to Heartman’s Lab. However, transporting this cargo is not an easy task. This order is tagged as Breakable Cargo. This means you need to be very careful and avoid driving on rocky terrain or anything that might cause your cargo to shake too much. If you want, you can travel by following the shoreline to reach the marked location.

We provide the latest news and create guides for Death Stranding 2. Meanwhile, you can check out the following Death Stranding 2 articles or catch us playing games on YouTube: