In this extensive guide, we’ll explore how you can complete the Desert Perpetual raid in Destiny 2, including every encounter.
The Desert Perpetual Raid in Destiny 2 started on July 19, 2025. Players who managed to complete the raid in the first 48 hours of its release were able to claim exclusive rewards. However, even if you missed that opportunity, there are still plenty of rewards left for you to collect from it.
You only need to complete ‘The Edge of Fate’ campaign if you want to play through this particular raid. In this extensive guide, we’ll explore exactly how you can get through all of the encounters.
Walkthrough for the Desert Perpetual Raid in Destiny 2
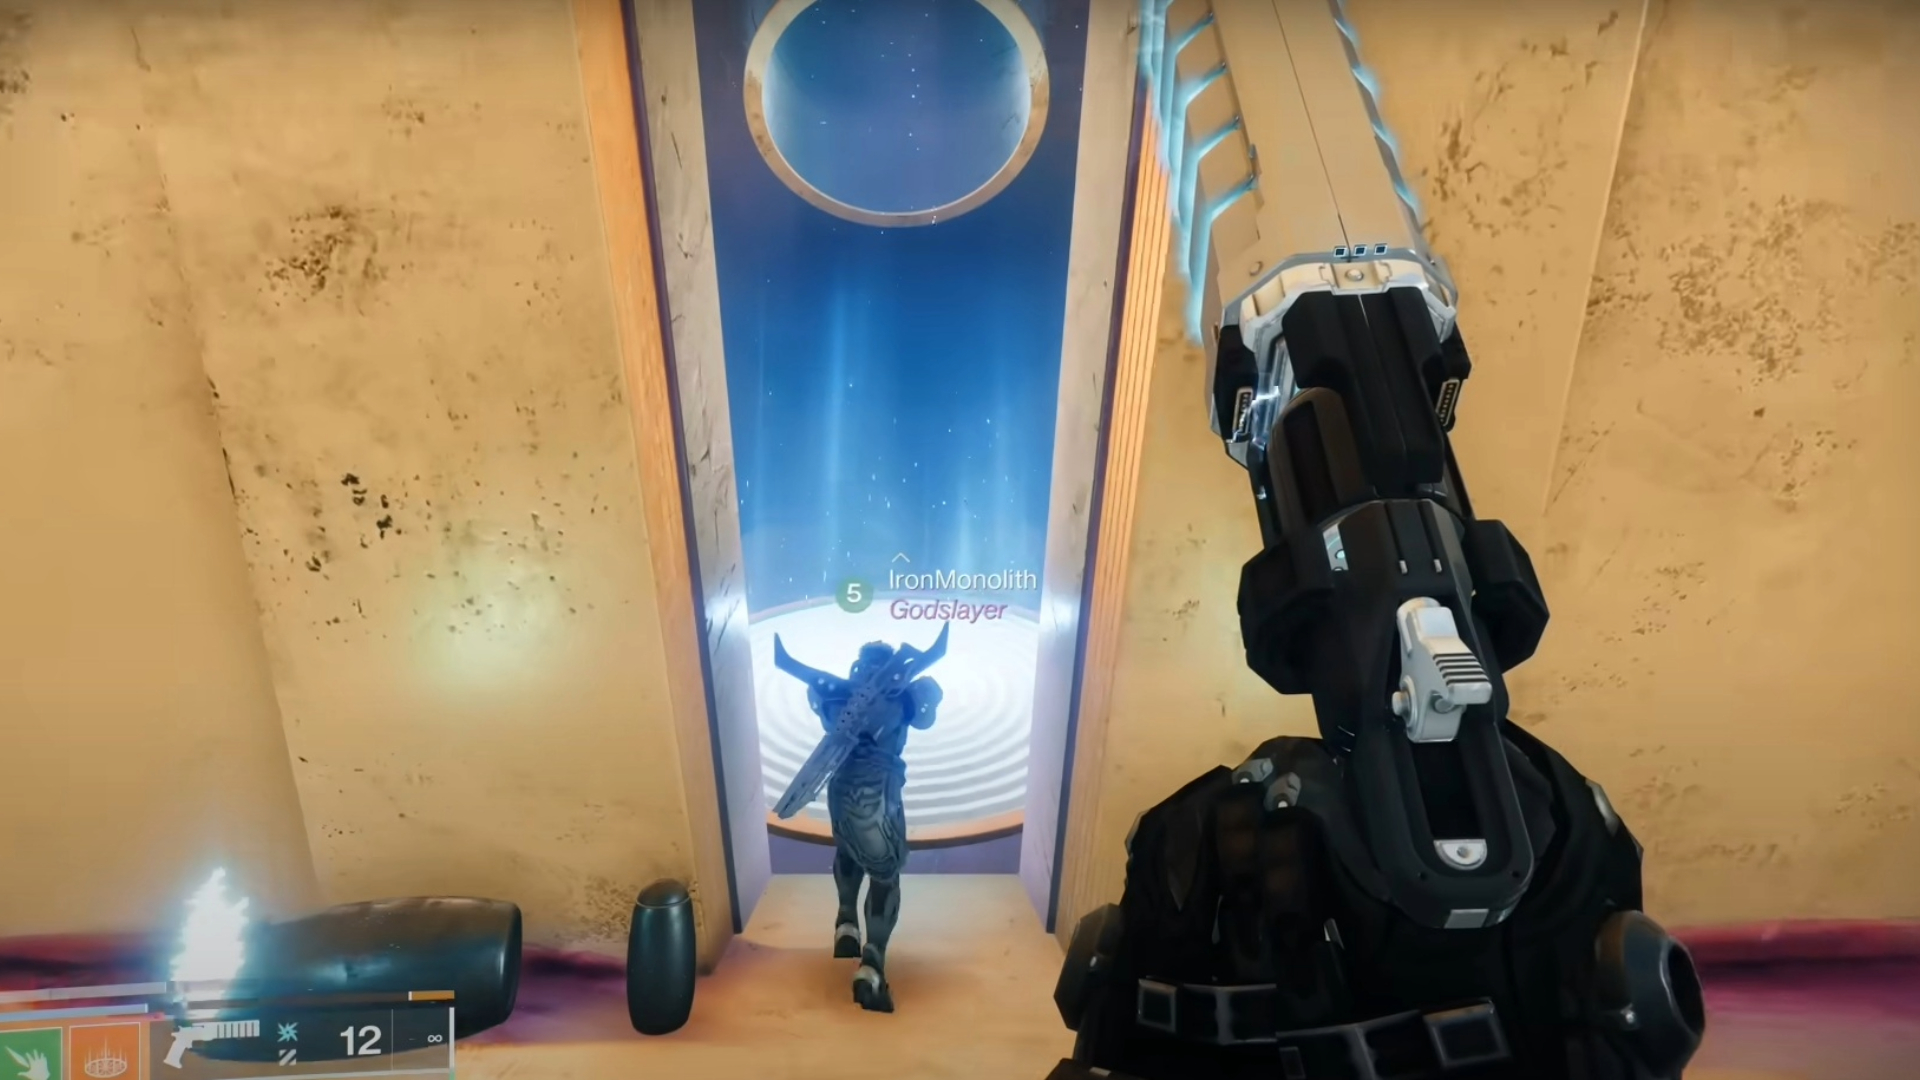
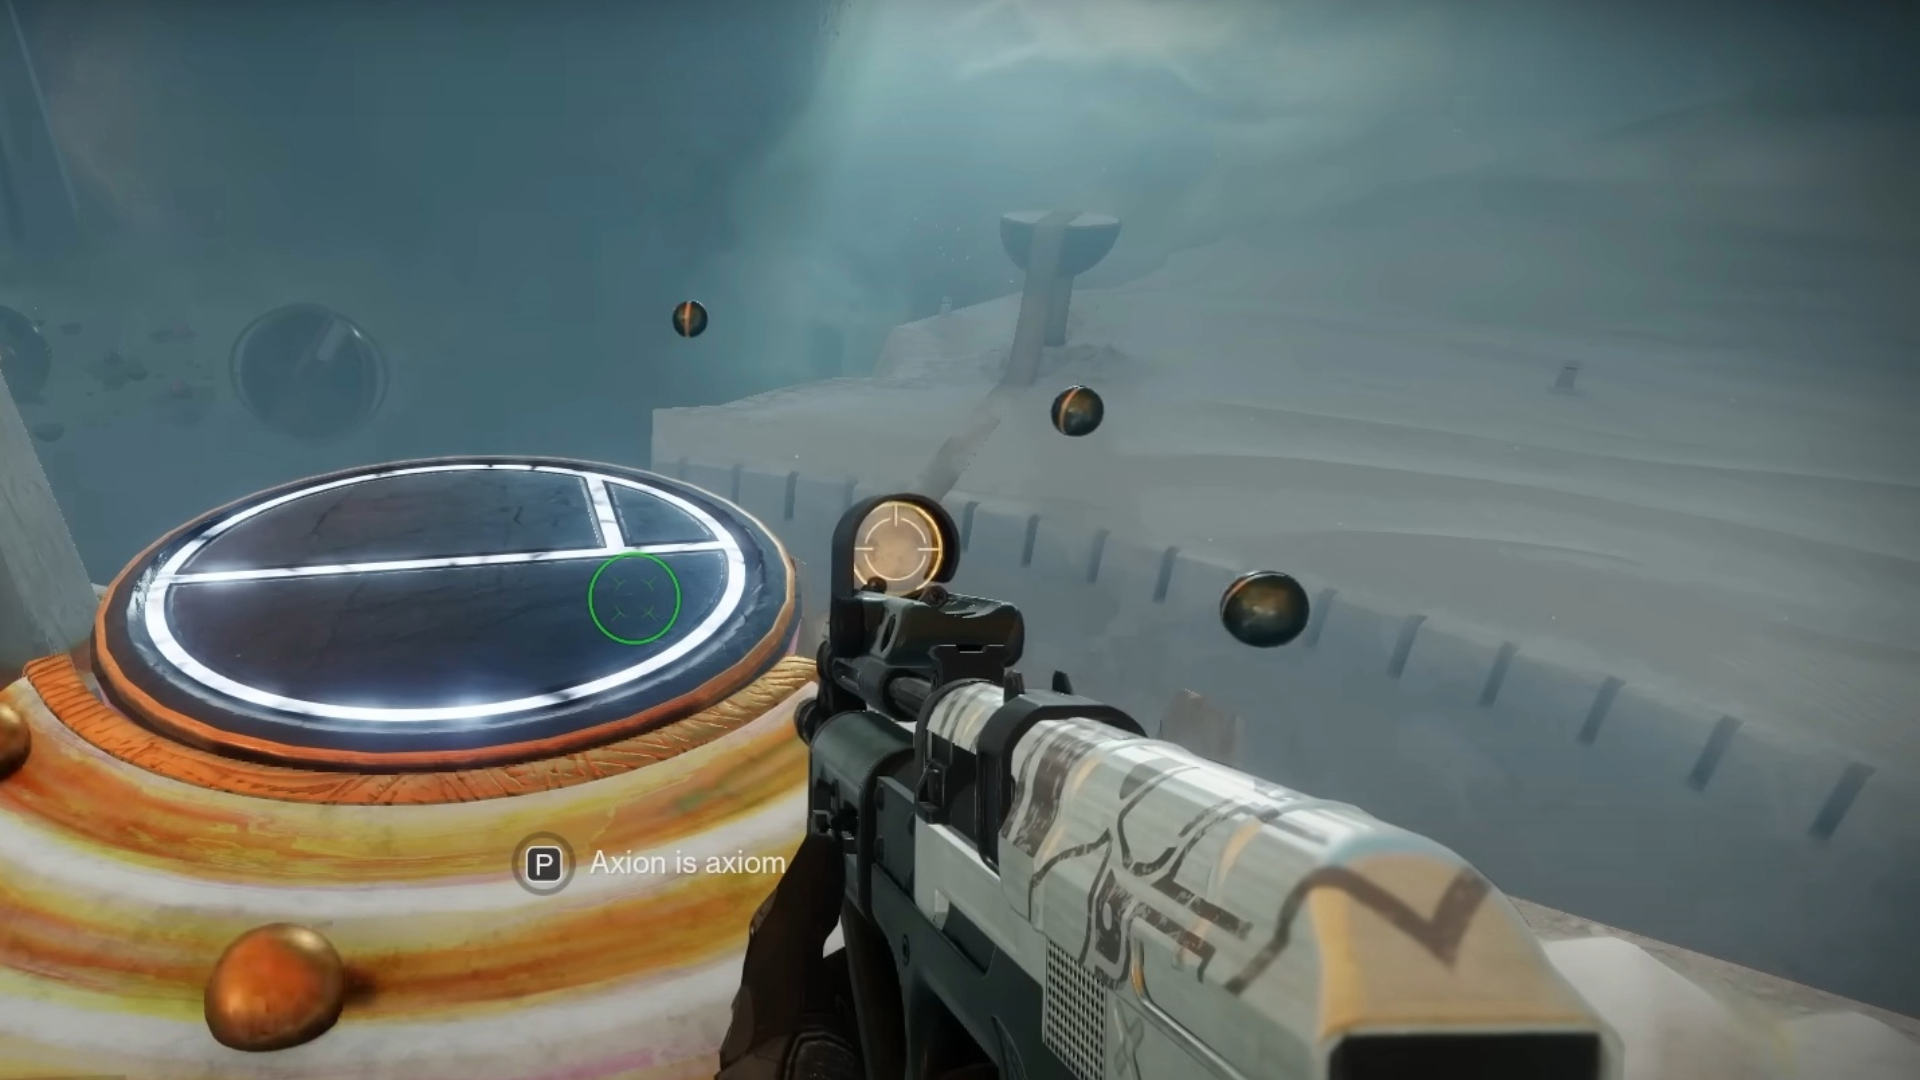
After entering the Desert Perpetual Raid, guardians will reach a central hub. From here, they will be able to choose one of the three bosses they want to fight first. Clear all of the enemies in this hub and then proceed to the tower in the middle of the area. Take the elevator up to reach a room where you can interact with one of three orbs. Depending on which orb you activate, you will encounter the first boss.
After every encounter is complete, you’ll have to return to this tower room and activate the next orb to begin the subsequent encounter. You can fight the final boss, Koregos, The Worldline, after completing the initial three encounters.
Iatros, Inward-Turned Encounter
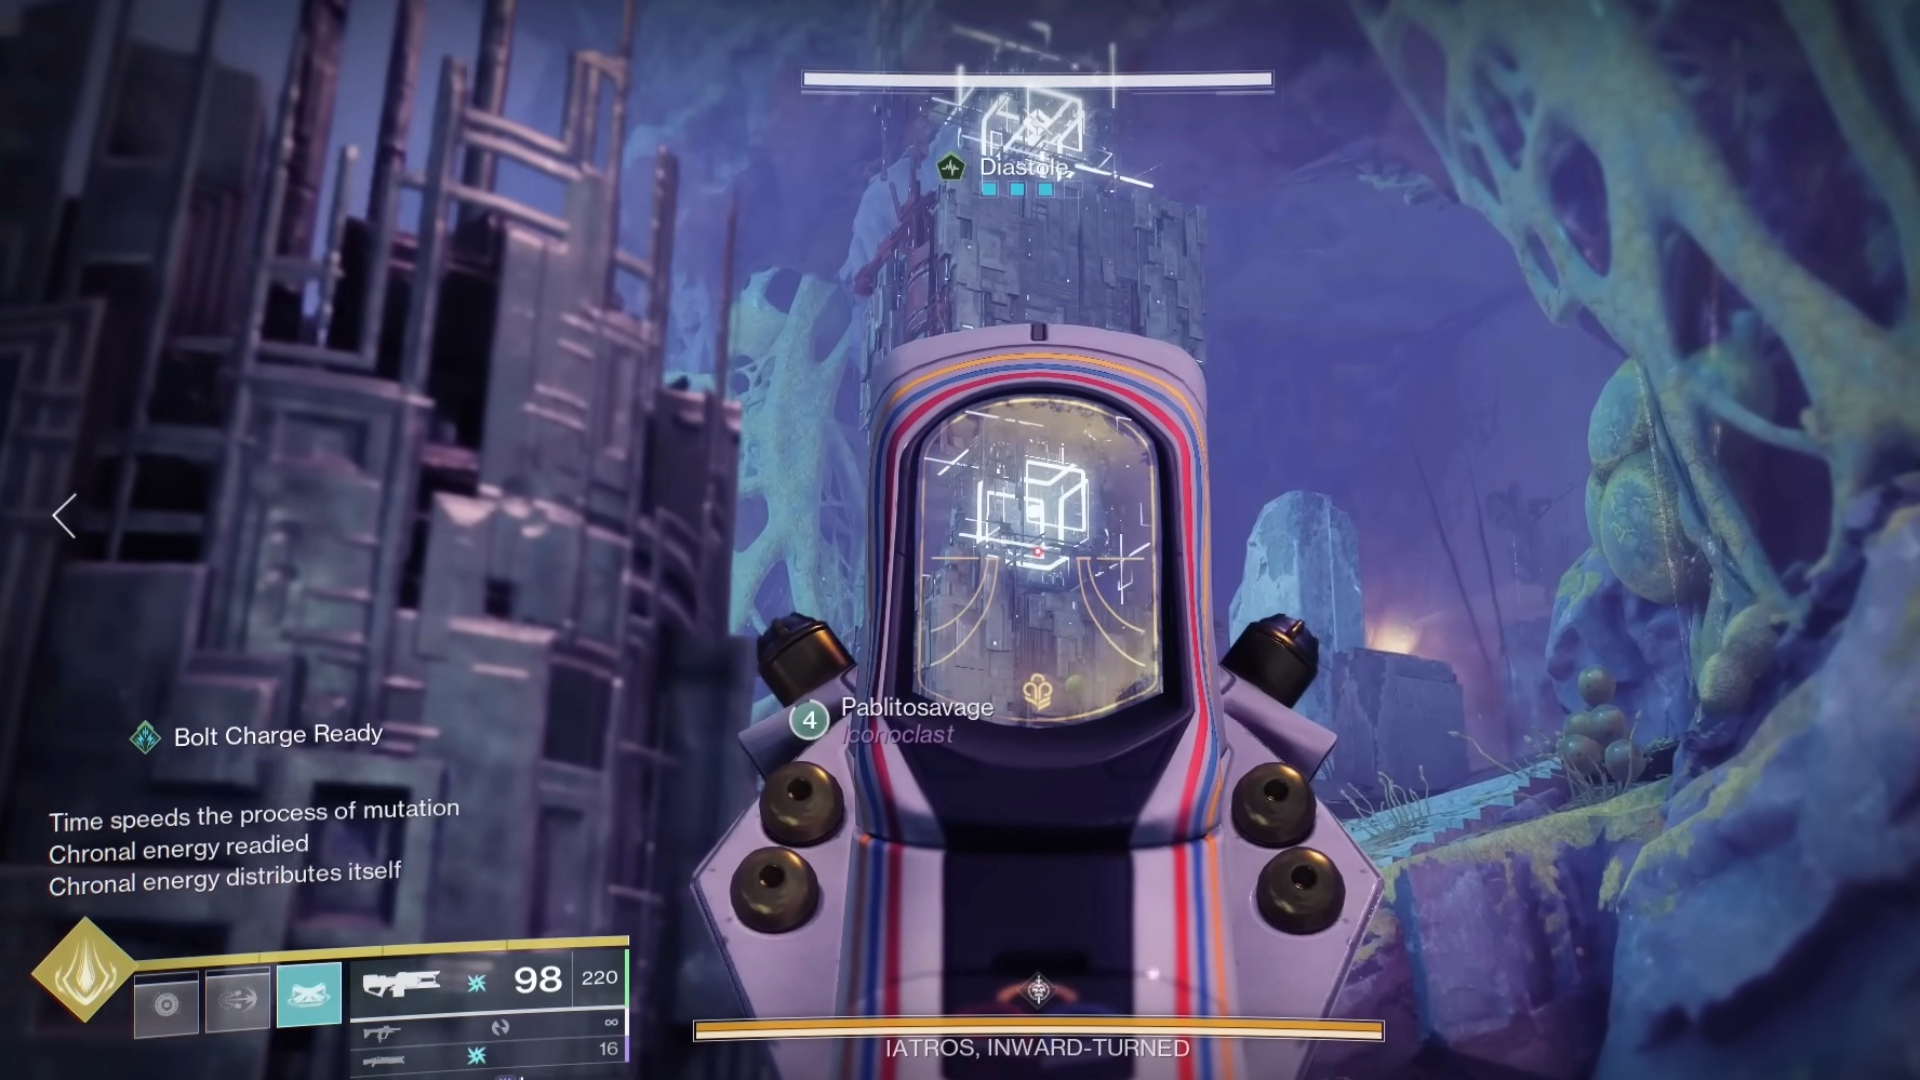
The most manageable of the bosses in this raid, Iatros is a Vex Wyvern inside a cramped arena that’s full of enemies. Here are some tips on the boss battle.
- Assign squad members to platforms and pillars before the encounter starts.
- Fight off enemies, including multiple Time’s Burden Minotaurs. Killing them will drop Chronons.
- Make sure every player grabs a couple of Chronons and heads through the outer platform purple hoops.
- Doing this will cause a Vex crystal to appear below the hoop, alongside beginning a phase timer and filling an hourglass.
- Focus on destroying the Vex crystal to proceed through the encounter.
- When you destroy the crystal, two of your team members receive the Absolute Temporality buff. Assign them as your platform jumpers.
- The remaining members need to shoot the Conflux Cube to spawn platforms they can scale.
- One of the players with the buff should get to platform 3 to grab the first glowing energy orb.
- Next, shoot the middle Conflux Cube for a second platform set to appear. Repeat the same process to grab the second glowing energy orb. Do this again and grab the final glowing energy orb.
As soon as you grab the final energy orb, the damage phase will begin. Check out the colored ring around Iatros to understand the right order to follow for damage based on color. For the White ring, follow the Mid, Bottom, and Top order. For the Blue Ring, shoot in the Bottom, Top, and Mid order. Lastly, for the Red ring, shoot in the Top, Mid, and Bottom order.
During the DPS phase, assign two players to defeat any new Time’s Burden Minotaurs that spawn. They can then collect the Chronons and bank them on the outer hoops to extend the damage phase. Doing this will also prevent the wipe mechanic. Keep in mind that you have to watch the Diastole gauge on the top of your screen. When all four of the squares in this gauge fill up, Iatros will unleash a powerful attack that can wipe out your entire squad.
Agraios, Inherent Encounter
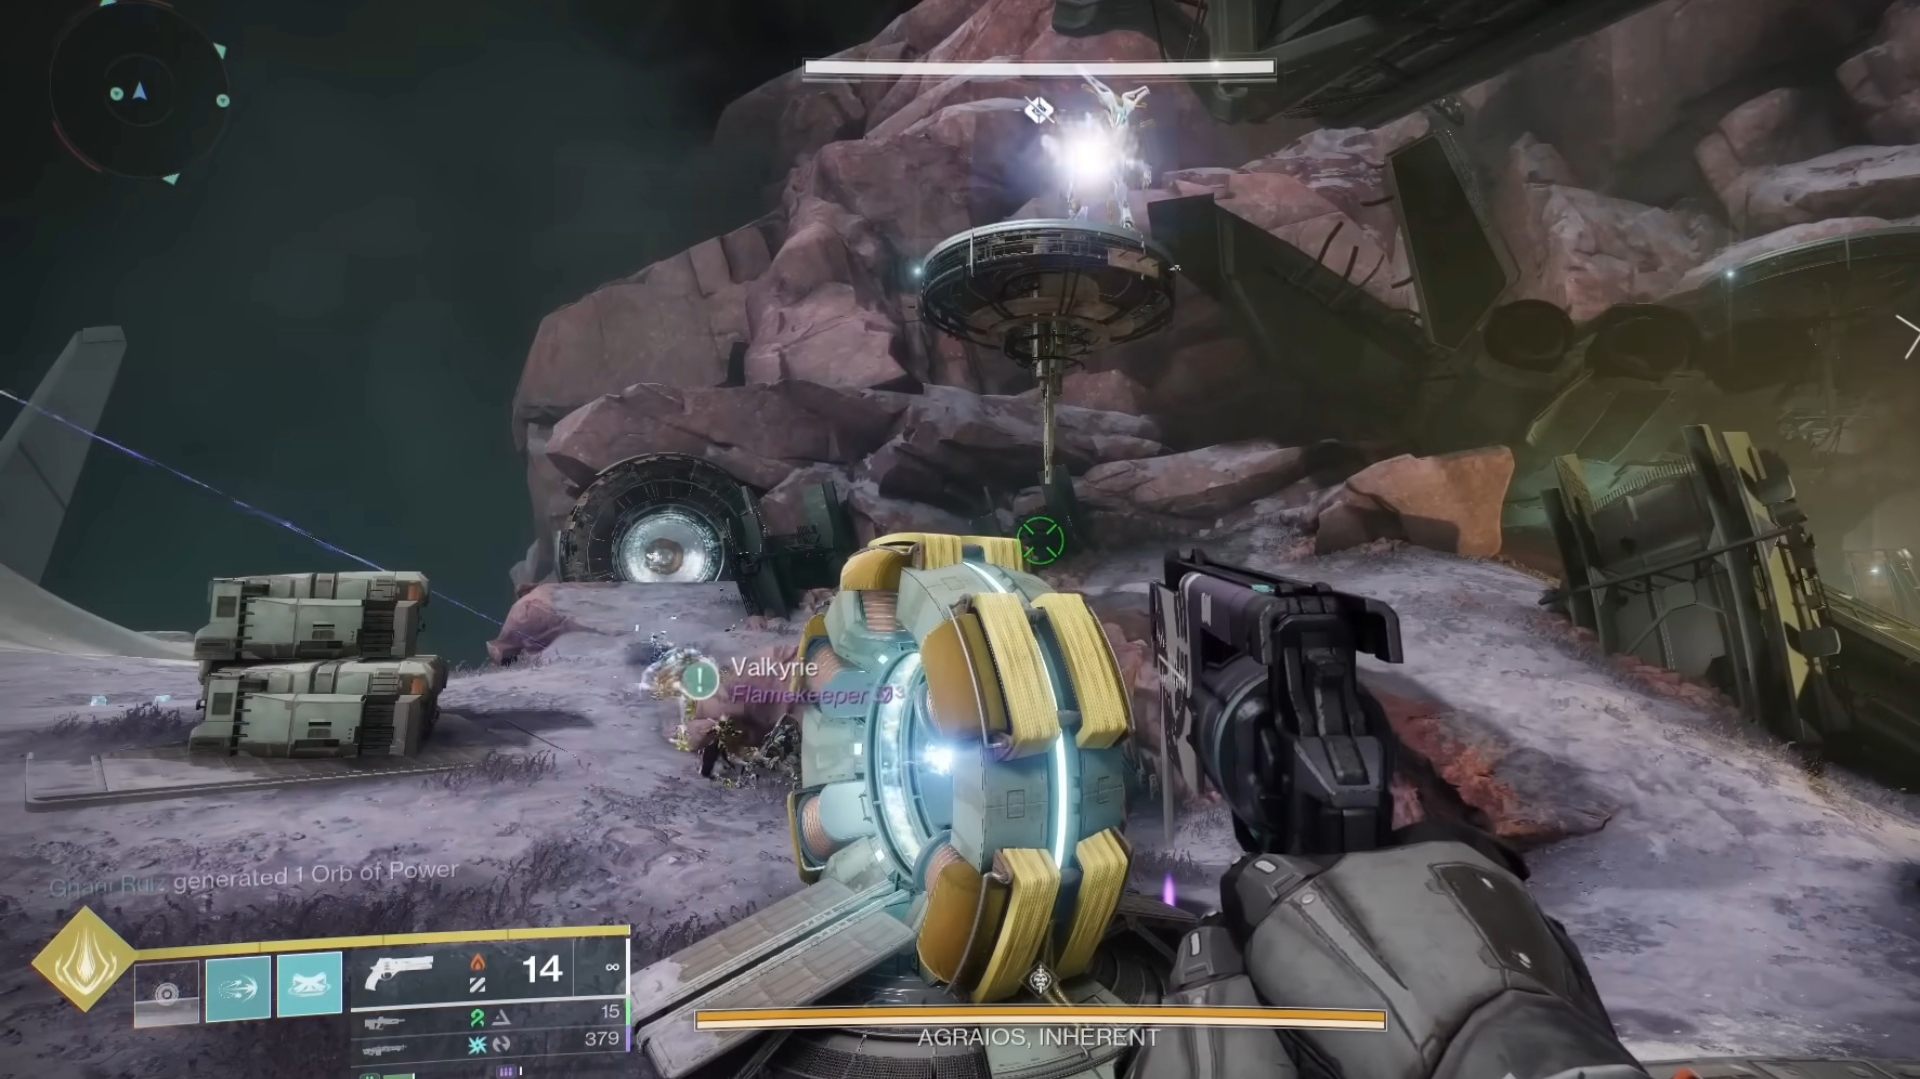
This fight begins when three players step on the middle plates and receive one of three buffs each: Constant, Absolute, or Cyclical. These buffs line up with the boss’s split forms. Each form will hover over separate plates around the arena. Your goal is to match the buffs with the right form of Agraios.
- Clear the field until a Hydra spawns and take it down as quickly as you can.
- Watch out for the Variable Elimination attack from one of the boss’s clones. If you’re caught in its sight, this laser shot can wipe you out instantly.
- The team member with the matching buff for that clone should head to the platform and use the alignment.
- If you can complete all five coils before the sniper attack triggers, you can choose which of the players with the matching buff should perform the dunk. However, if you’re too slow, the boss will force one of the players at random to do the dunk.
- After completing the buff alignment, two Time’s Burden Minotaurs will spawn. Kill them quickly and grab the Chronon they drop.
- After that, the two players who received a buff but didn’t dunk will see two of the five portals around the arena to be unlit. These are the portals that you need to charge.
- Four of the non-buffed players must grab a Chronon each. They must then run through the unlit portals as called out by the buffed players. Make sure not to touch the portal that’s lit, as your buffed teammates will communicate to you.
- After you’ve charged all four portals, the player who dunked their buff initially will now see all five portals as glowing. They will gain the activation buff.
- With the activation buff in place, they must run through all five portals in any order. After running through the fifth one, their grenade ability will change to a detain field.
- Now, that player has to stand clear of Agraios and use the detain field at the last possible instant before the boss snipes them. This will effectively block his snipe ability and pull the boss into the arena, beginning the damage phase.
Repeat the five-portal gauntlet and hit the boss with another detain field to extend the DPS timer. Keep in mind that you can refill the timer only twice per phase. If the timer runs out, Agraios will teleport away from the arena, and you’ll need to start all over again.
Also Read: Destiny 2: All Gear Tiers and How To Get Each
Epoptes, Lord of Quanta Encounter
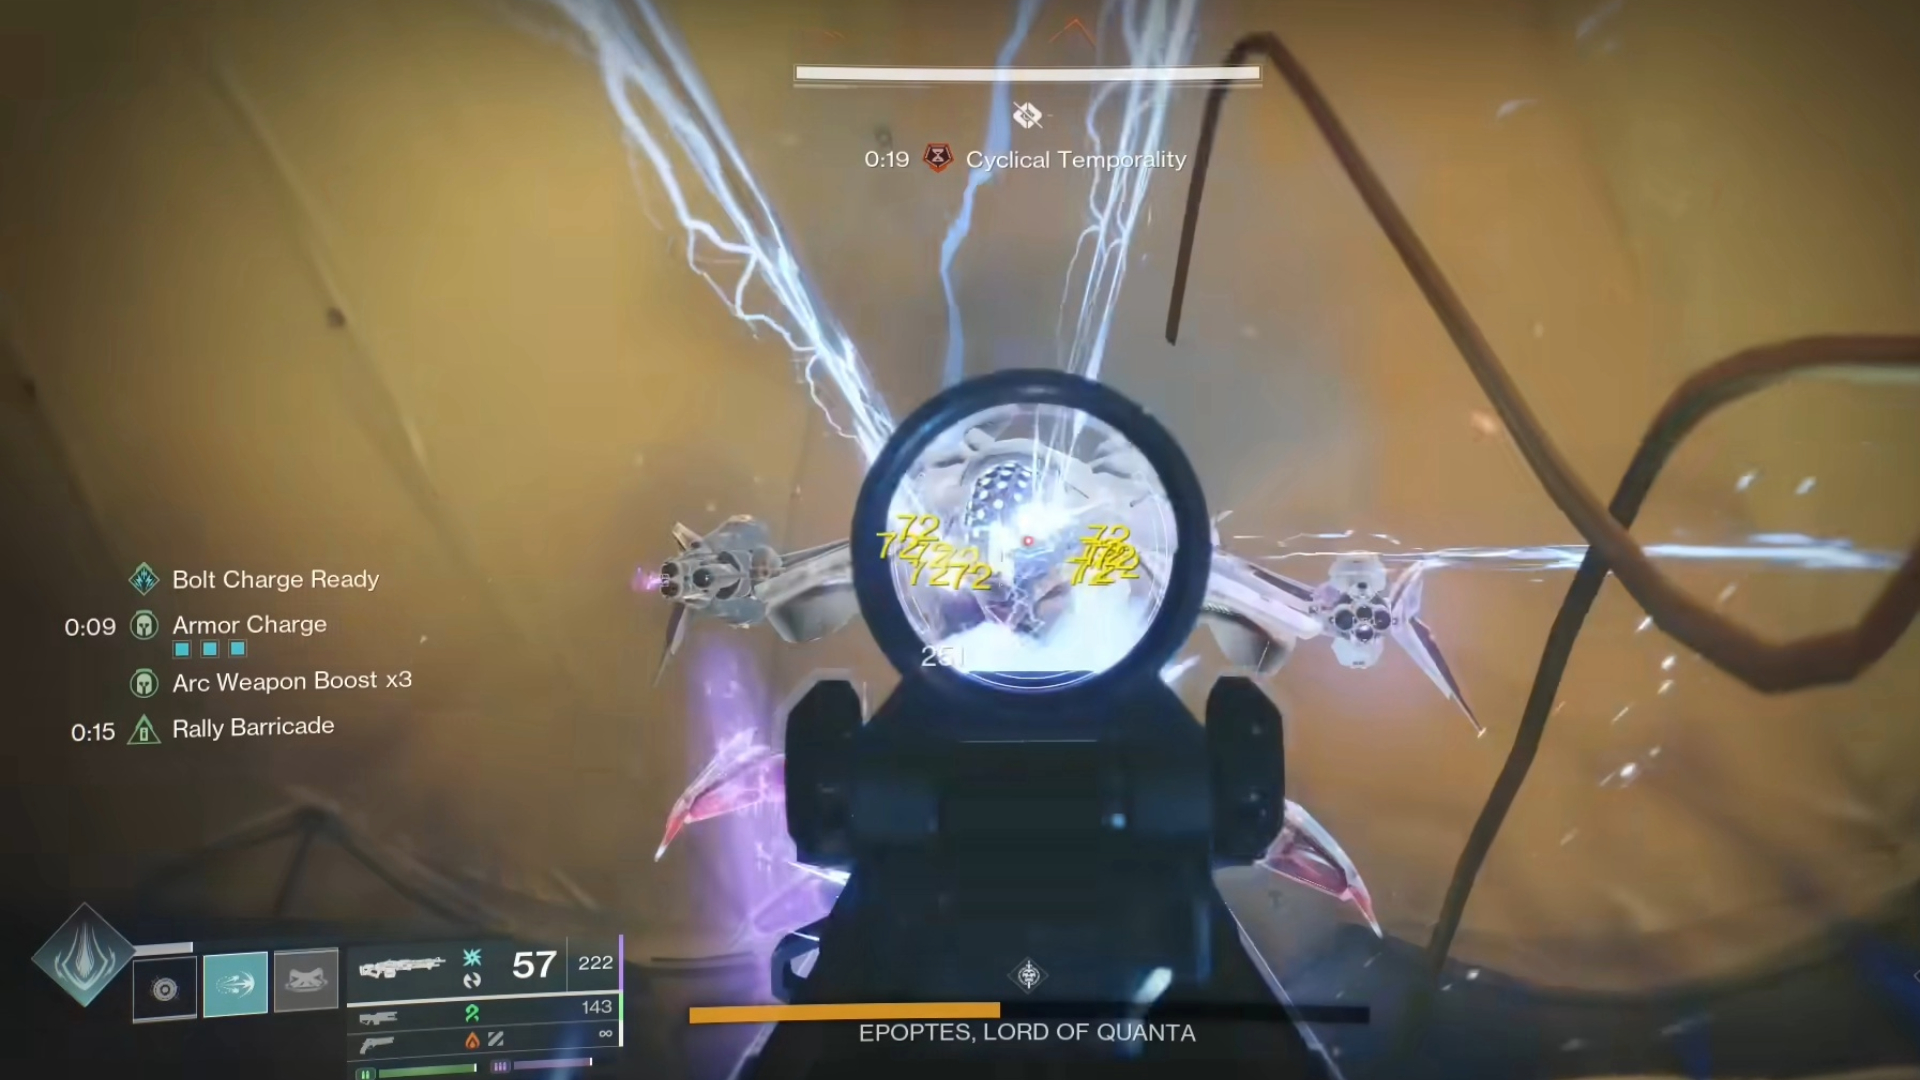
Players have to be much more technically sound for this encounter. For many teams, this encounter might take far longer than completing the Iatros encounter. Here’s how you can get through this portion of the Desert Perpetual Raid in Destiny 2.
- Divide your squad into three units of two players. Assign squads to enter rooms on the left and right. One squad should be in the center of the arena.
- As soon as you start the encounter, Time’s Magistrate Cyclopses will spawn on the left and right. Take them down quickly.
- One player on each side plate will receive the Constant Temporality buffs and then enter the Hydra rooms. The respective partners on each side will follow the buffed players to assist them.
- Inside each of the rooms, you will face off against Hydra bosses. Each hydra boss has a shield with seven glowing eyes. One square above these eyes will glow whenever a buffed player enters the room. The players in one room must communicate which of the squares lit up to the team on the opposite side. That team will shoot the eye that the opposite team called out to them. Similarly, the other team must also pass on which of the eyes lit inside their room to the opposite team.
- Repeat this process a total of four times, stepping onto the plate again if necessary to regain the buff.
- While the left and right teams are busy with the Hydra eye puzzle, the central team needs to enter Epoptes’ central light shield to start a symbol check.
- The central team will identify the missing stone slab symbol here and call that out to the teams on the left and right.
- A triangle of spheres will appear above each side’s Hydra. The left and right teams will have to shoot the correct triangle based on the information the central team relays to them.
After that, regroup in the central chamber and kill another set of Time’s Magistrates. Grab the Constant Temporality buffs again and go back to the Hydra rooms. Shoot out the remaining two eyes on each Hydra, followed by the central eye. Move to the central arena. The buffed players then need to shoot out the matching eyes of Epoptes’ main shield. This will begin the DPS phase.
Two random players will receive the Constant Temporality buffs, and these players have to shoot any new eyes that appear on Epoptes. The remaining team members will focus solely on damaging the boss. Repeat the process when the DPS phase ends, until Epoptes falls.
Koregos, The Worldline Encounter
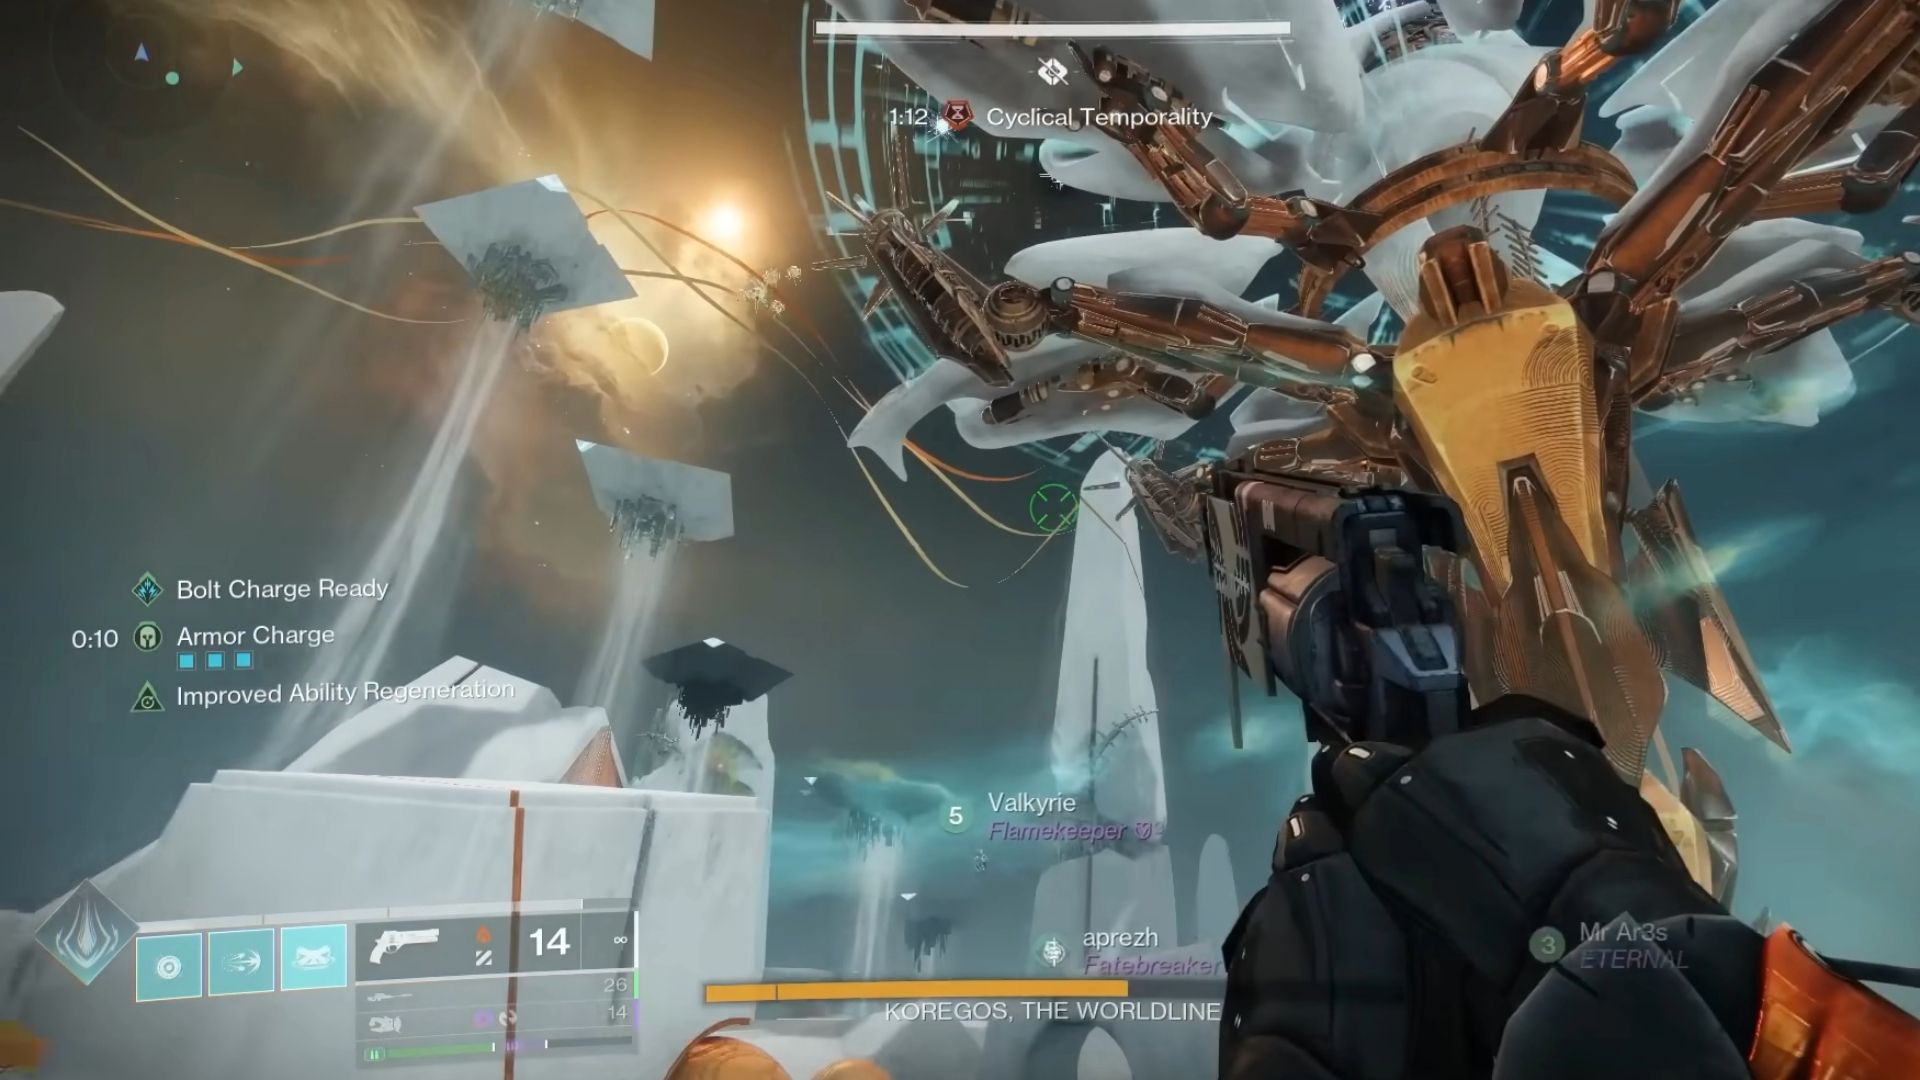
After taking down the three initial bosses, you will be able to trigger the final battle with Koregos. Here’s how to proceed.
- Koregos will spawn at the back of the room and call upon waves of enemies. Mines and an hourglass will also appear in the arena. You can take down the mines to grab a few Chronons.
- You also have to fight and take down two Hydra enemies quickly to begin the plate mechanics.
- After the Hydra enemies are down, three plates will appear. The left one offers the Constant buff, the middle one offers Absolute, and the right one offers Cyclical.
- Assign three players on the Constant plate, two players on the Cyclical, and one player on the Absolute plate.
- Constant players can disrupt the boss from using his wipe mechanic. Cyclical players are responsible for dunking Chronons. The Absolute player is crucial in solving all puzzles.
- While taking care of ads that appear, also keep in mind the laser attack from Koregos. If you do not break the line of sight, it has the capacity to kill you with one shot.
- One player from each plate needs to jump into the same glowing ring. This will give them the Temporal Oculus buff. With the buff active, the Absolute player sees which color of Chronon the team needs to deposit. Constant players will see the color of the floating mines across the arena. Cyclical players can determine which mines are real, since they only drop Chronon when destroyed.
- Only Absolute buffed players can destroy the mines, based on the information communicated to them by the Constant and Cyclical players. So, proper communication is key here.
- Cyclical players will retrieve the Unobserved Chronons, and dunk them inside the matching rings of the hourglass. Keep repeating this process of shooting mines and dunking the Chronons you get from them until the hourglass is full.
- During this time, Constant players have to remain vigilant. They are the ones who can shoot at the Harpy’s canon to prevent the boss from launching a wipe mechanic.
You can trigger the DPS phase by shooting at the Vex structure underneath the hourglass after it’s full. Platform onto Koregos, where you can see four canons that have now turned into totems. Every totem is surrounded by three cubes on the floor. Absolute players can see all three cubes, while Cyclical and Constant players see two each. Absolute players have to shoot at the cubes that both Constant and Cyclical players can see on each of the four totems. Do it correctly, and Koregos will open up for true damage.
Rings and colored buffs will appear at this point. One Guardian should acquire the buffs and run through the matching colored rings. Doing so will extend the damage period.
Also Read: Destiny 2: All Zero Hour Floor Puzzle Solutions
Thank you for reading the Destiny 2 Guide. We provide the latest news and create guides for Destiny 2. Also, watch us play games on Twitch or visit the YouTube channel!
 Reddit
 Email
Email
