Facebook
 Reddit
 Email
Email
Discover all collectibles in Doom The Dark Ages Chapter 14 Spire of Nerathul, including toys, codex, sigils, and resources.
The Doom The Dark Ages Chapter 14, titled Spire of Nerathul, is one of the longest campaigns in the game. You will have to complete various side tasks in order to make progress in this chapter.
With that in mind, you can also expect to find a plethora of collectibles and resources through exploration. With so many secrets to uncover, you might miss some while playing Doom The Dark Ages Chapter 14, Spire of Nerathul. Fortunately, you can just head to chapter select and replay this section of the game. With that said, here is a guide on where you can find all the collectibles and resources in this chapter.
Also Read: Doom The Dark Ages: All Collectibles in Chapter 13 (From Beyond)
Where To Find All Collectibles in Doom The Dark Ages Chapter 14 (Spire of Nerathul)?
Toy Locations
- The Arachnotron Toy is in the middle objective area. You need to use the boost pad to enter the shipwreck. Smash through the wooden boards with a shield charge, and you will find the toy hiding inside.
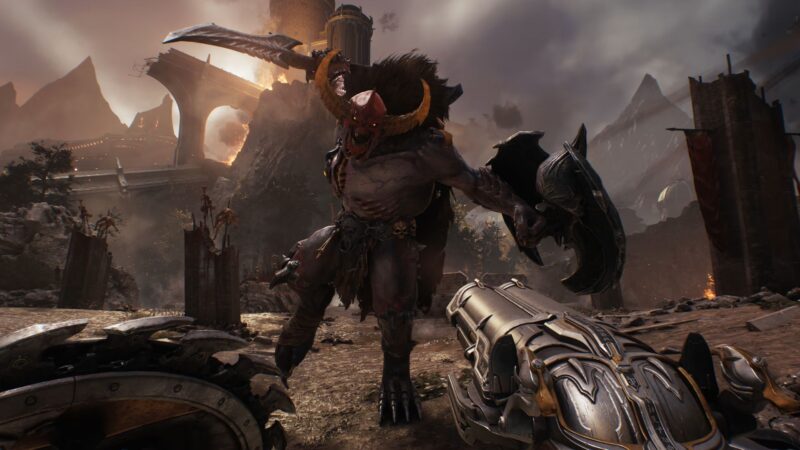
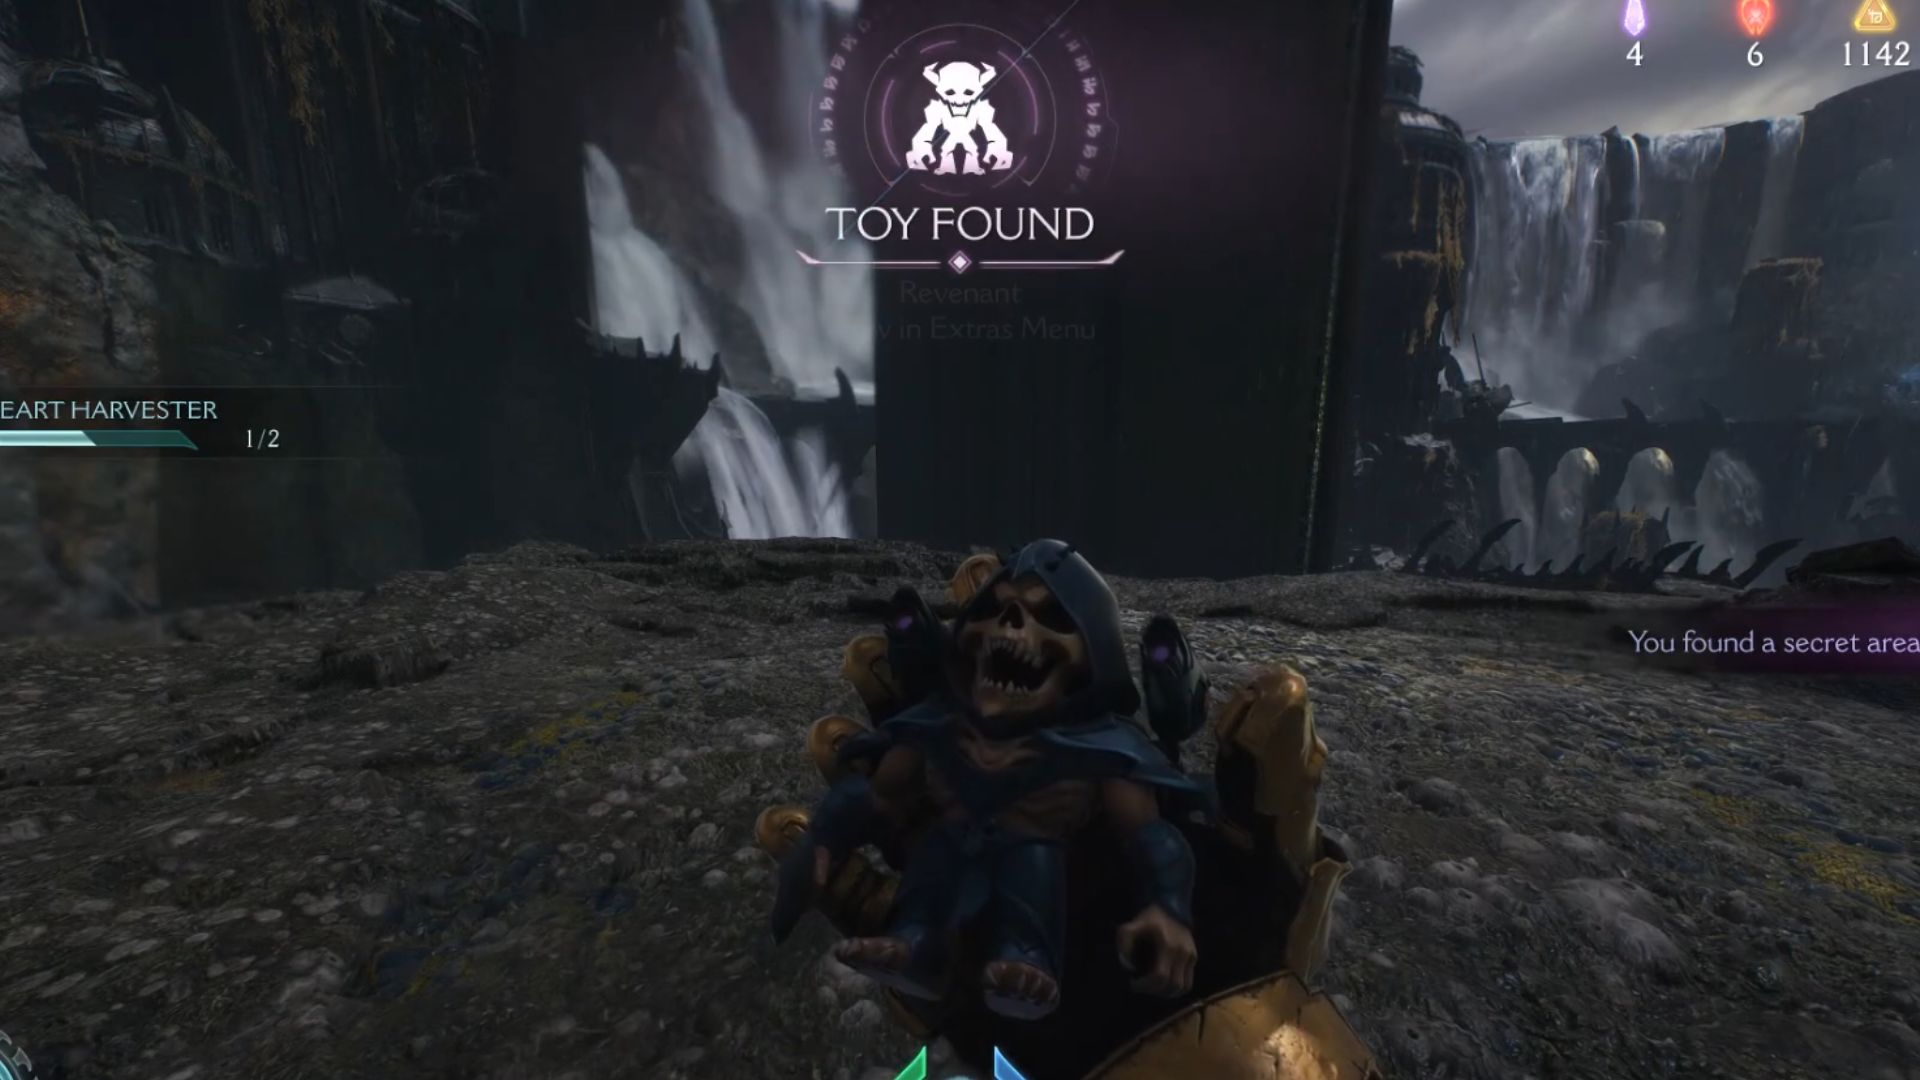
- The next one is the Revenant Toy, which is in the lower levels of the Spire. However, you will have to take on the Revenant miniboss before you can acquire this collectible.
Codex Entries
- The Spire of Nerathul Codex Entry is located near the edge of a cliff. To find it, carefully look over the ledge. You’ll need to descend cautiously to reach the platform below. Take your time and move slowly to avoid slipping past it.
- You’ll find the Serrat Codex Entry shortly after leaving the Serrat. Head left along the path, and you’ll come across it near a demonic statue along the way.
Life Sigils
- Make your way up the winding path to reach the summit, where a Life Sigil awaits. Stay alert. Hostile enemies are stationed in the area.
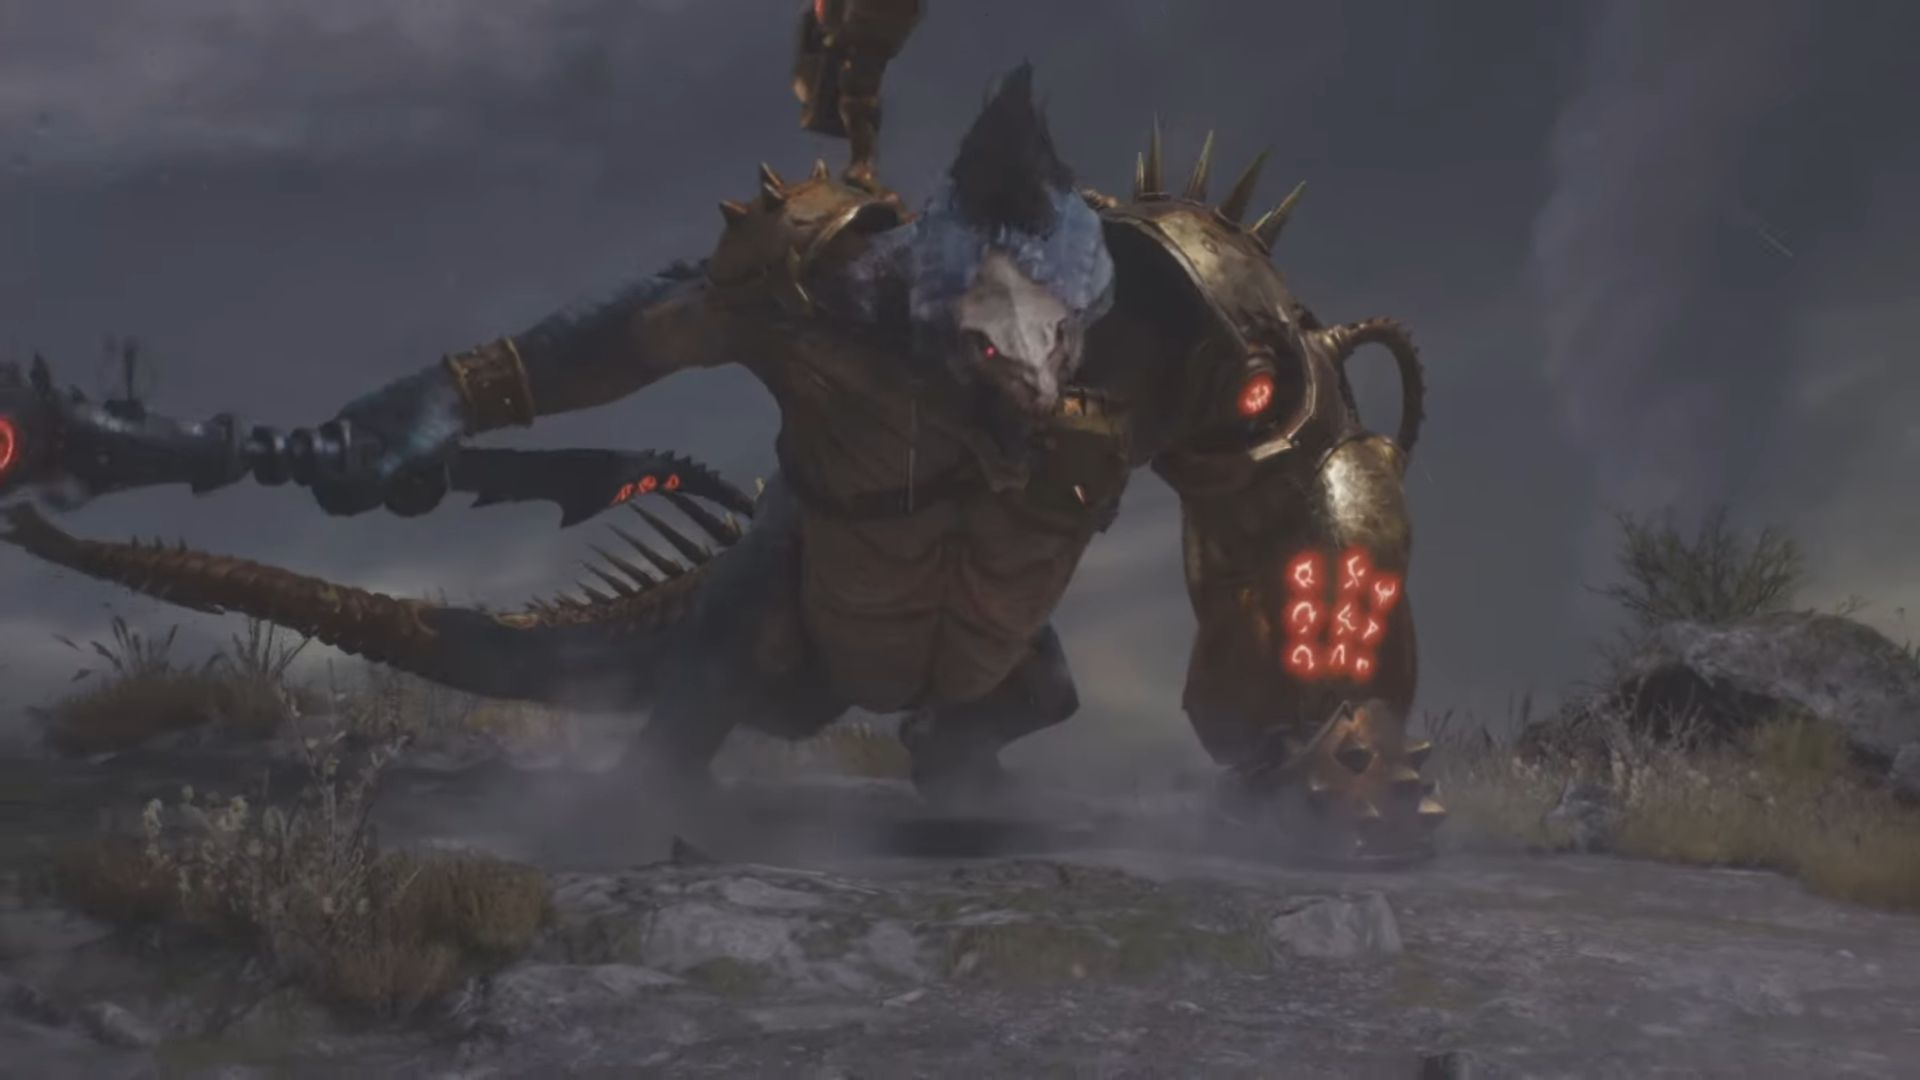
- Once you’ve taken down the Komodo Champion, jump down the nearby ledge to uncover a hidden area where the Life Sigil is located.
Demonic Essences
- Defeat the first leader demon you encounter in Chapter 14, Spire of Nerathul in Doom The Dark Ages to obtain the Demonic Essence – Health. Collecting it will boost your maximum health.
- The Demonic Essence – Ammo is obtained by defeating the second leader demon. This item will increase your maximum ammo capacity so you can let it rain bullets on demons more before needing to reload.
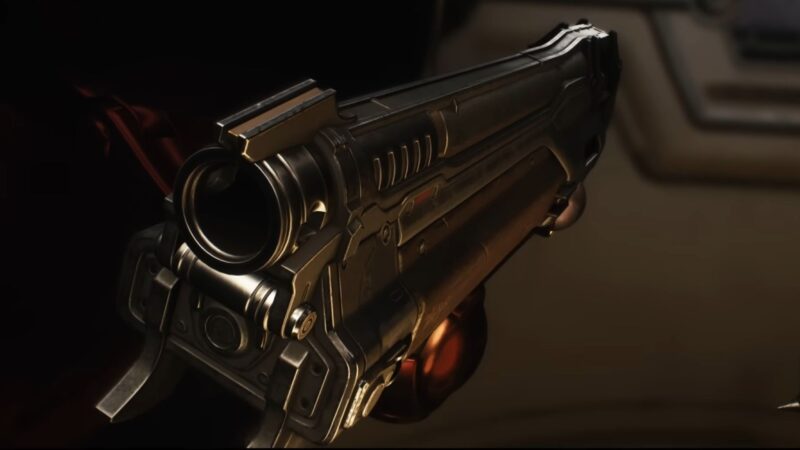
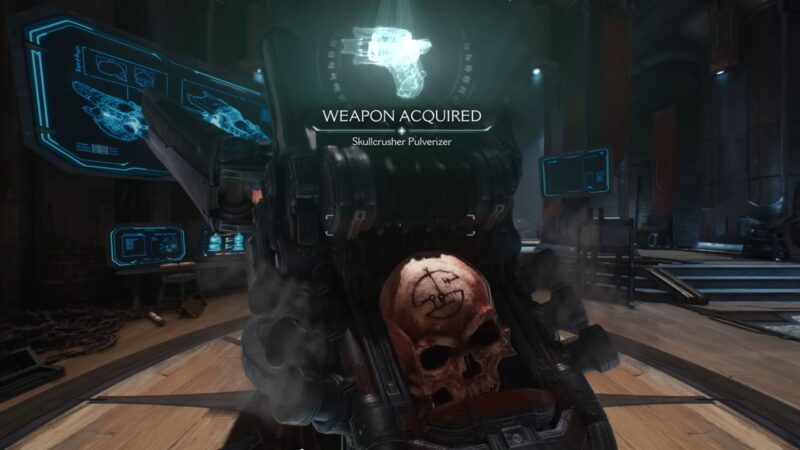
Weapon Skin
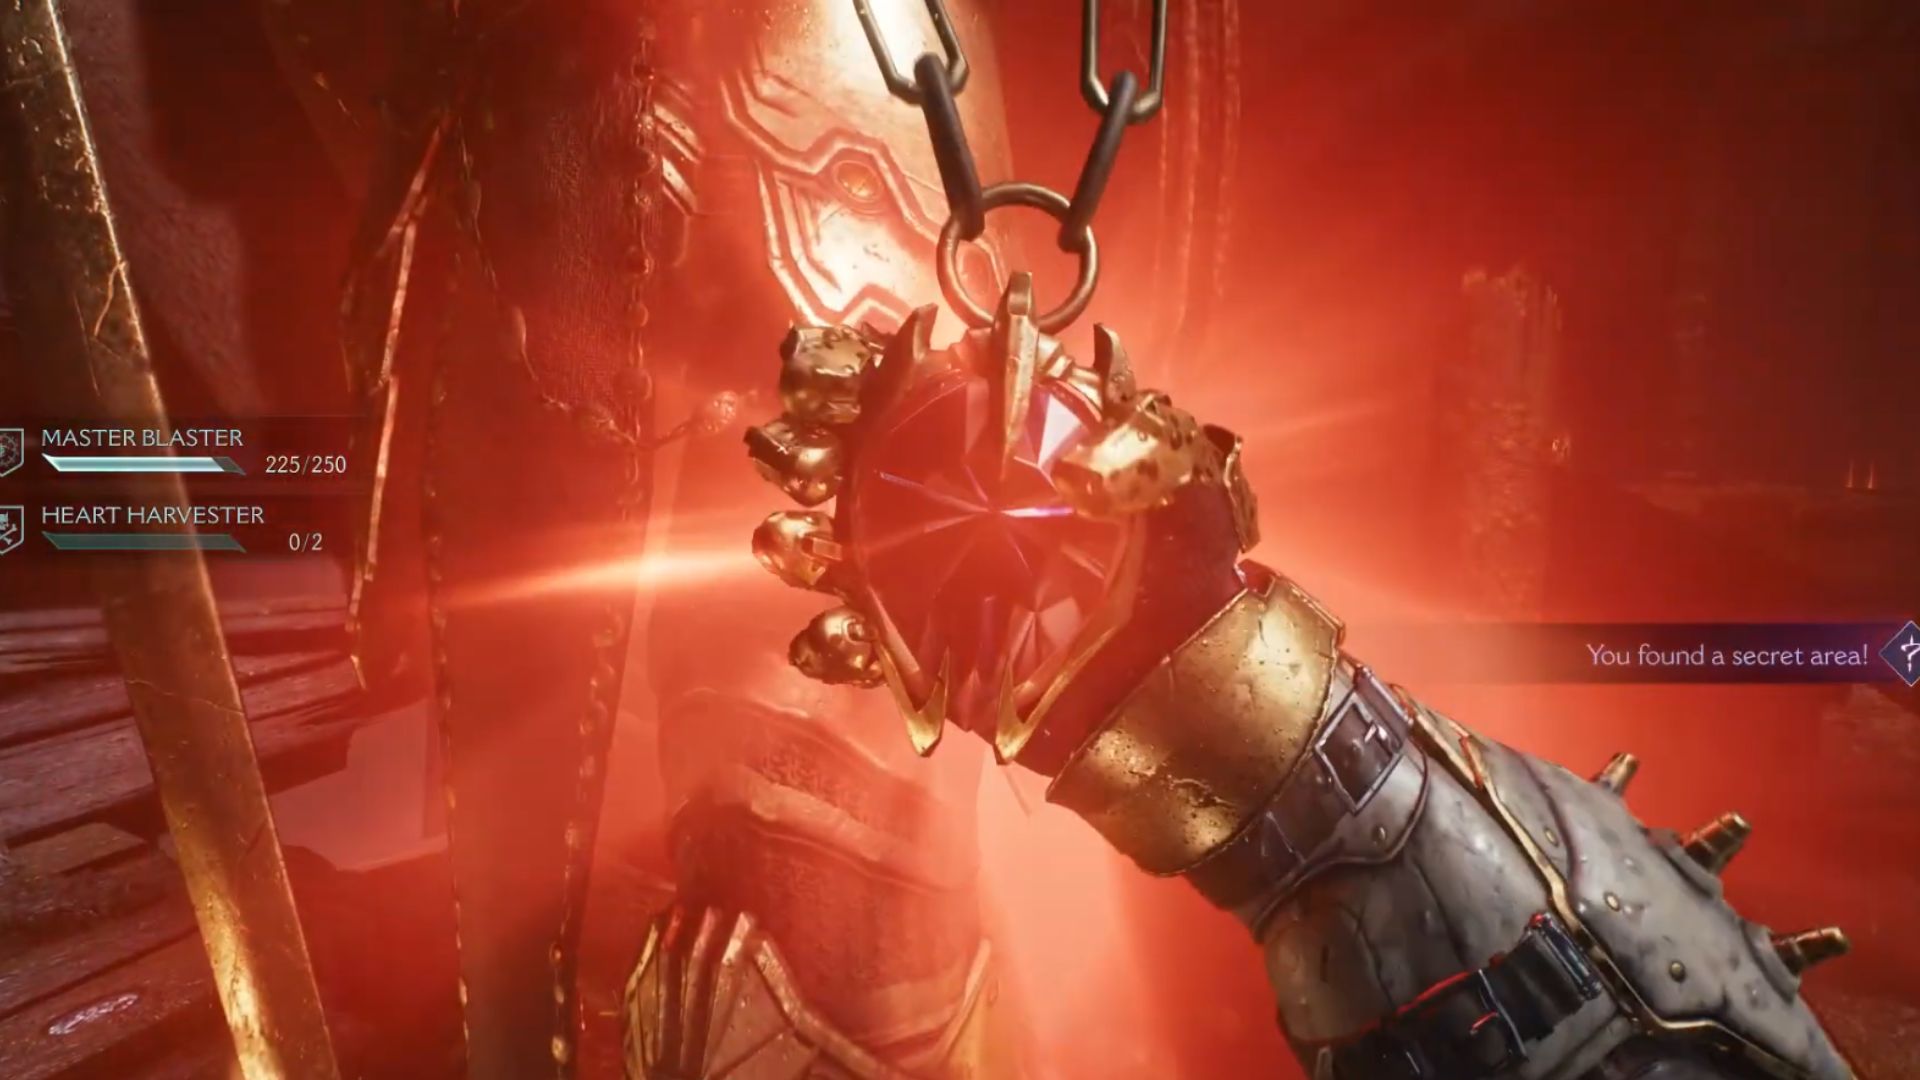
- You’ll unlock the Nightmare skin for the Grenade Launcher by completing the Master Blaster Mission Challenge, which involves dealing damage to demons using 250 Auto Turret rounds.
Read More: Doom The Dark Ages: All Collectibles in Chapter 8 (Abyssal Forest)
Resources in Doom The Dark Ages Chapter 14 Spire of Nerathul
For this chapter, there are a total of 359 gold and three Rubies you can find as you make progress into the missions:
Gold Trail and Caches

- 50 Gold
- Once the Komodo Champion is defeated, make your way up the hill to the island’s left side. Look for a ledge to drop down onto, where a chest containing a massive pile of gold awaits.
- 8 Gold
- Return to the map’s center and descend to the landing zone at the lowest depth. Move forward until you see water with two pillars rising from it. Jump in and dive through the hole behind the pillars to discover some gold.
- 16 Gold
- After obtaining the Heaven Splitter Shield Rune, head along the central path and turn left midway. Look down over the ledge to spot a platform where you can drop down and collect some gold.
- 12 Gold
- After ascending the ramp, look to the right for a spiral staircase. Climb it to find some gold and a Sentinel Shrine.
- 18 Gold
- Once the Stasis Emitter is deactivated, take the ramp on the left to discover some gold along the path through the tower.
- 26 Gold
- Return to your previous location and fly through a tunnel that leads to a hidden landing zone. Scattered throughout the area, you’ll find some gold bars waiting to be collected.
- 8 Gold:
- After landing in the designated area post-Hell Fighter challenge, continue forward until you spot a jump pad. Look around for a green corpse you can grapple onto. Doing so will lead you to a hidden stash of gold.
- 50 Gold:
- This Gold Cache is located close to the Arachnotron Toy collectible. Go down the ramp and step onto the bridge. There will be a jump pad on your right. Look down in that direction to spot another jump pad beside an explosive barrel hidden behind a wall. Shoot the barrel to break the wall, then drop down and enter the area to discover a chest with a large sum of gold.
- 5 Gold:
- Head toward the shipwreck. There should be a room filled with explosive barrels and Imp Stalkers. Look for an orange chain. Shooting it will release a crate that acts as a jump pad, allowing you to reach a hidden gold stash and a ruby.
- 18 Gold:
- Proceed until you drop from the wrecked ship. Then, turn back and make your way to the ledge to drop down once more. You’ll find 18 gold and a Life Sigil. Be ready, a Komodo Champion will attack as soon as you arrive.
- 5 Gold:
- Immediately after clearing a Gore Nest, head down the left side to find 5 gold tucked beneath the spot where you dropped.
- 5 Gold:
- Continue down the ramp, and you’ll come across another gold stash beside a fallen pillar.
- 5 Gold:
- Going past the pillar, make a left turn and check for a green body. Use it to grapple and drop down a ledge to grab a few gold bars.
- 13 Gold:
- Across from the Sentinel Shrine, there’s a building you can pass beneath, where you’ll find some gold and a Life Sigil.
- 15 Gold:
- Moving further and down the elevator, you’ll find some gold bars in the area. However, be ready, as there are enemies stationed here.
- 17 Gold:
- Once you’ve disabled the three Stasis Emitters, you’ll arrive at another landing zone. Go down the ramp, then turn back to find a path leading underneath to the other side. Follow it to collect 17 Gold
- 8 Gold:
- Right after getting the 17 gold, climb up a nearby ramp next to a climbable wall to find an additional 8 Gold.
- 16 Gold:
- Once you have the Ballistic Force Crossbow, take the elevator up. Continue forward until you reach a ramp, then drop down the ledge. Move left and descend into an area where some gold awaits behind a gate.
- 50 Gold:
- After getting the 16 gold, head back up the ramp. Check for an orange chain with a massive stone sculpture hanging on it. Use shield throw to hit the chain and drop the object down. You’ll see a chest with a massive pile of gold inside.
- 16 Gold:
- Continue forward until you find a large jump pad. After landing, leap to your right, where a stash of gold should be waiting nearby.
Also Read: Doom The Dark Ages: All Codex Locations
Ruby Locations
- Ruby #1
- Inside the underwater tunnel where you collected the Gold, follow it all the way to the end and surface inside the gated building you passed earlier. Don’t forget to pick up the Ruby.
- Ruby #2
- You collect this one alongside 5 gold bars in the shipwreck section.
- Ruby #3
- Keep flying down the tunnel until you reach another landing zone. Move into the open area, then enter the circular tower on your left. Defeat the demons inside, and you’ll be able to claim the Ruby.
Thank you for reading the article. We provide the latest news and create guides for Doom The Dark Ages. Also, watch Deltia play on Twitch or visit his YouTube channel!