Facebook
 Reddit
 Email
Email
Doing a 100% completion run? Here are all the Collectibles in Chapter 20 of Doom The Dark Ages that you can find to complete the chapter.
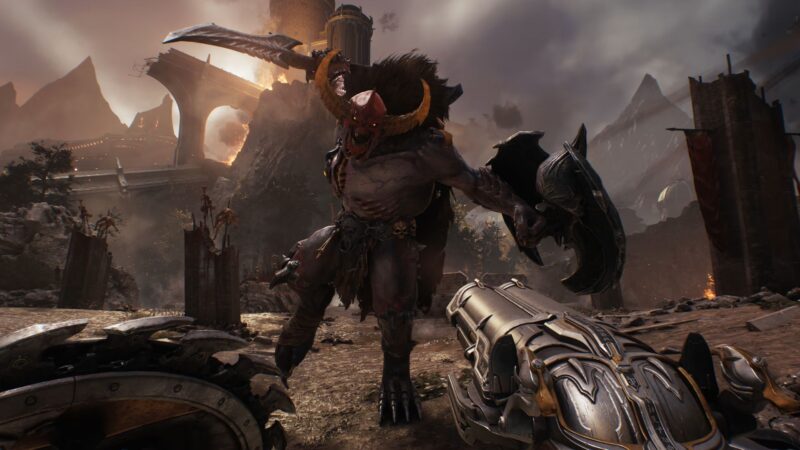
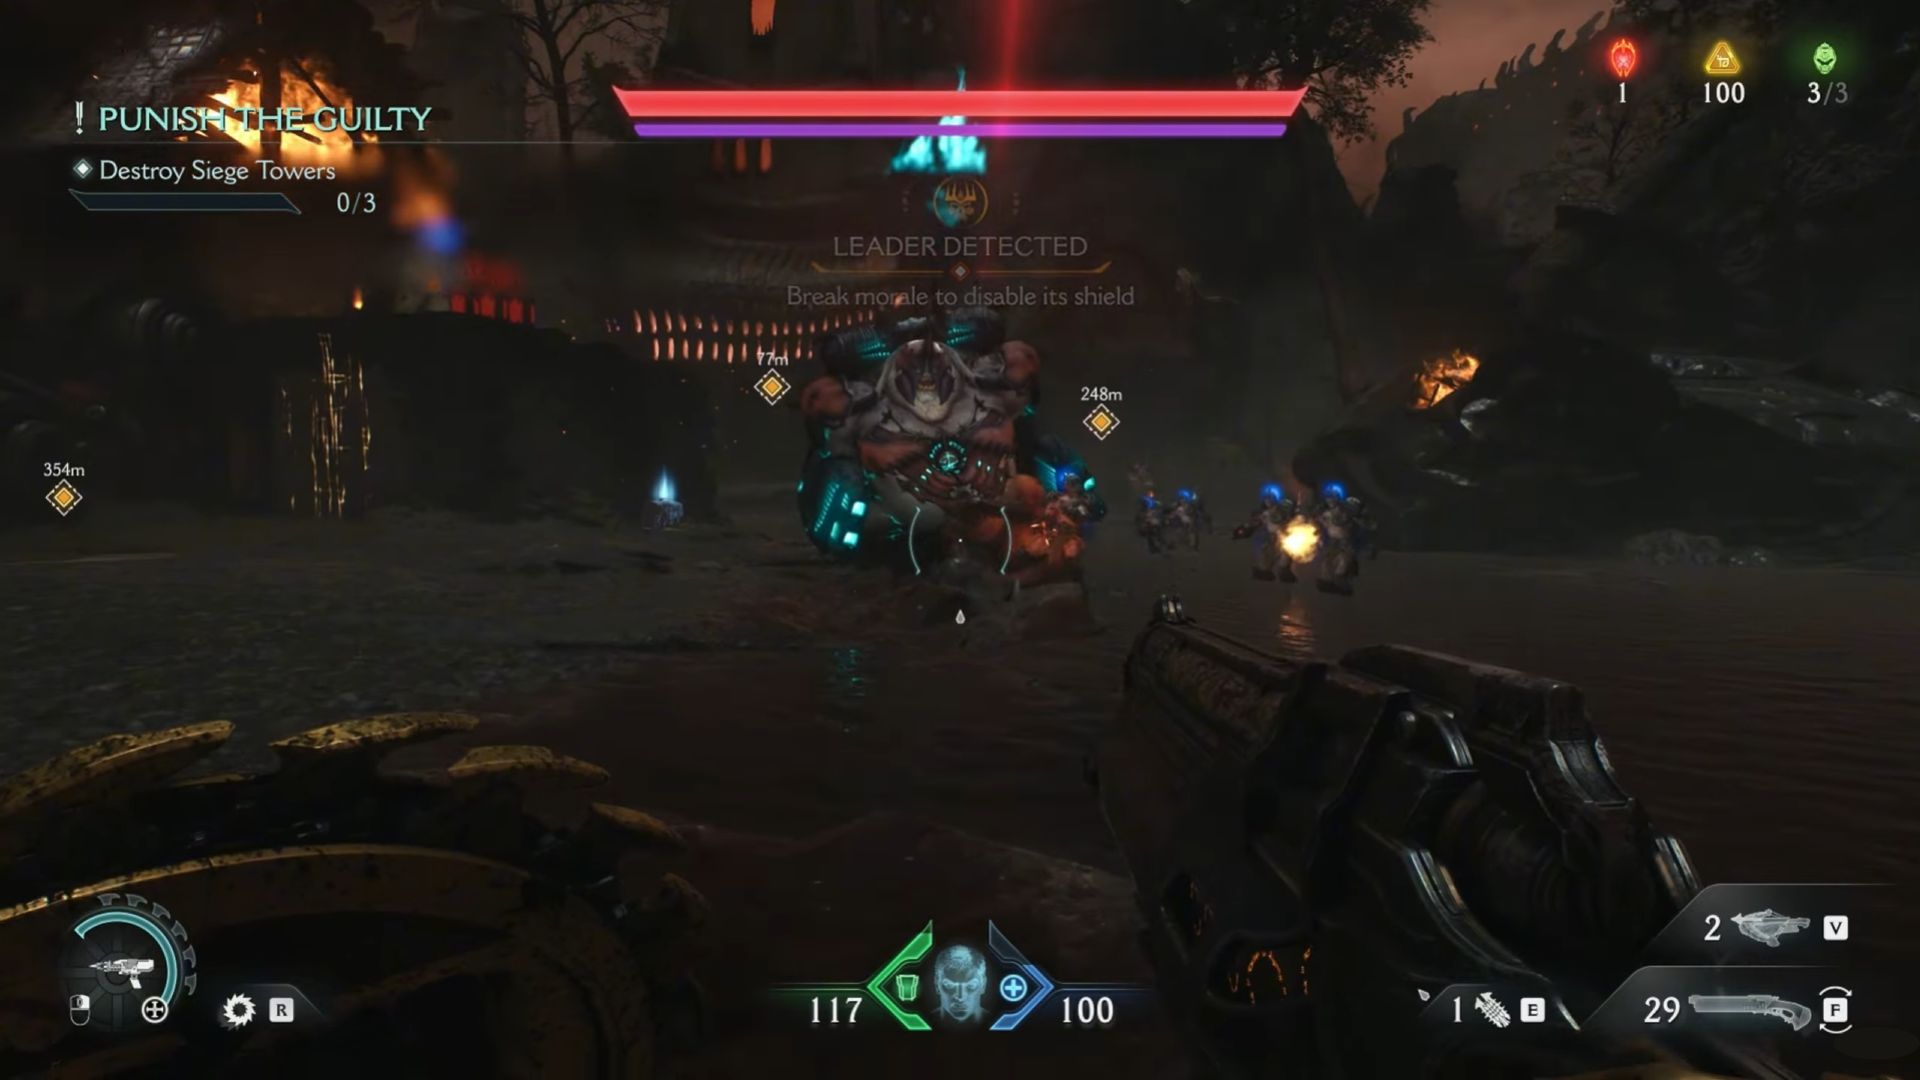
The Doom Slayer is back, now from the depths of hell in Chapter 20, aptly named Resurrection. Before the final fight, the Doom Slayer must complete a few objectives before doing what he does best. Hunting the Kreed Makyr and destroying the siege towers are some of the main objectives of this chapter. Here are all the collectibles and secrets you can find in Chapter 20 of Doom The Dark Ages.
The level is not too hard to navigate and has around 12 secrets, 27 collectible locations, and more. Upon reaching the end of the game, you will receive one of the final upgrades that will help you conclude the Doom Slayer’s battle for freedom.
All Collectibles in Chapter 20 (Resurrection) of Doom The Dark Ages
Below are all the collectibles and their locations to achieve 100% completion in Doom The Dark Ages:
| Collectible | Location |
| Demonic Essence (Health Upgrade) | The first red enemy mini-boss will have this upgrade. This is the final upgrade for your health. It also unlocks an achievement (Essential Health). |
| 6 Gold | Take a left from the mini-boss, you will see a path and a line of gold there. |
| 7 Gold | Follow the yellow objective marker on the left. You’ll find another 7 gold in a line. |
| Demonic Essence (Ammo Upgrade) | Toss your shield to destroy the red spikes blocking your path. Below will be a red mini-boss. Defeating the mini-boss will drop a Demonic Essence that upgrades your ammo. |
| 8 Gold & Yellow Key | In the mini-boss arena, there will be 8 gold on the left. Take the gold and follow the path to the top. There, you will also find a yellow key. |
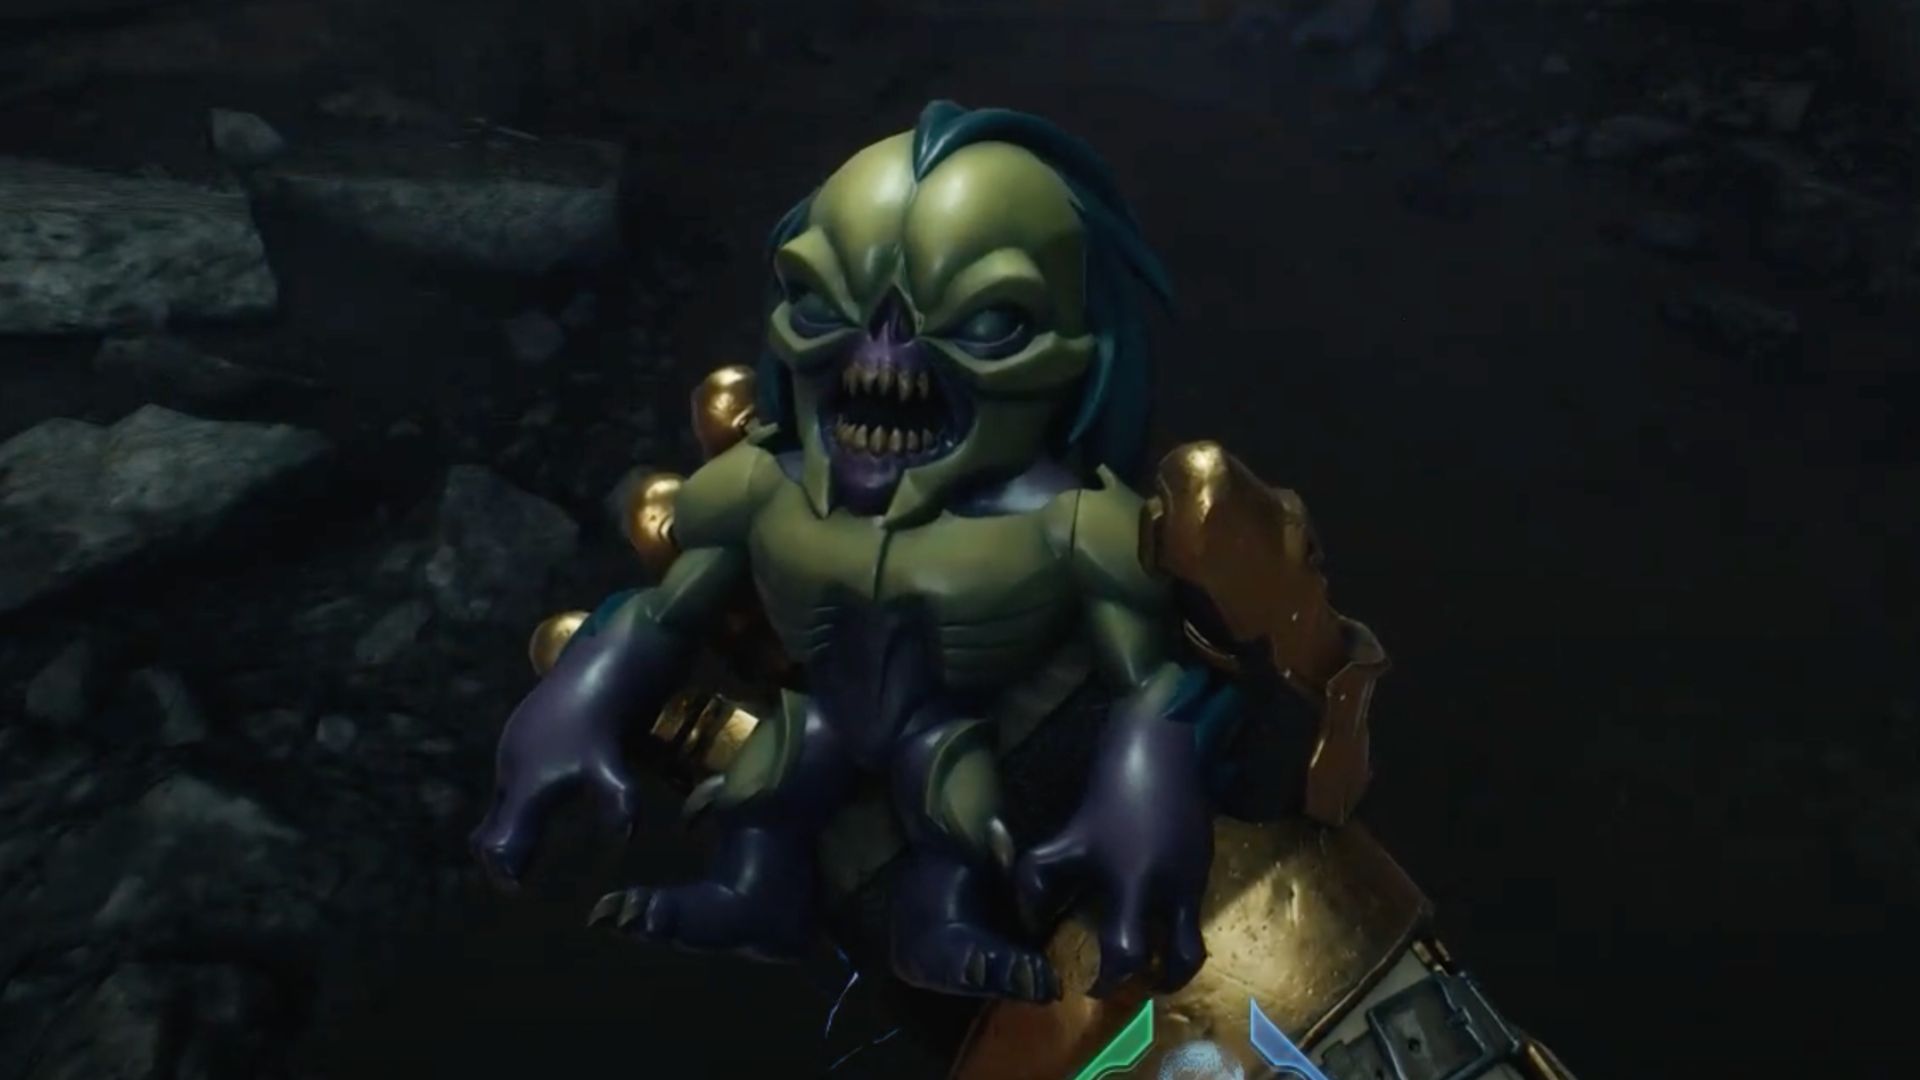
| Secret + Collectible Toy + Codex | Dropping from the ledge of the yellow key, you can unlock a gate. You will find all the items mentioned here. |
| 13 Gold | Returning to the previous mini-boss arena, go to the other end and climb up the wall. You will find 8 gold to your right and 5 more lined up. |
| 8 Gold + Cultist Circle + Wolf Statue + Secret | Keep going in the direction of the 5 gold. Throw your shield at the red gate. The unlocked room contains all the collectibles mentioned. Throw your shield at the wolf statue and enter the wraith stone room. For now, it is a secret, but you must destroy all 4 wolf statues to grab it. |
| Secret | Take the other exit from the wraith stone room and stick to your left. You will encounter some enemies. If you keep left, you’ll find a narrow path. At the end is a Life Sigil — another secret. |
| Artillery Cannon 1 + 8 Gold | Go back to the main path. You’ll hear artillery shots firing. Use your shield bash ability to destroy it and get the gold. |
| Wolf Statue 2 | You should see a wolf statue on the top left of the artillery cannon, on top of the cliff. |
| Wolf Statue 3 | Turn around and you will see two paths. Take the one that goes downhill. A wolf statue is waiting for you. The path is just below the black circle on your map. |
| 7 Gold | Going deeper into the trench, take a right when you see a path uphill. There will be 7 gold in the middle. |
| Wolf Statue 4 | After acquiring the 7 gold, look to your right. You will see the final wolf statue. |
| Wraith Stone 1 | With all wolf statues destroyed, go back to the wraith stone room and grab the wraith stone. |
| 8 Gold | Head back to the trench path. Turn right toward the previous mini-boss arena. You will find a stack of 8 gold. |
| Secret + 50 Gold | Turn around and go toward the other artillery cannon. The sound will help you navigate. You will see a bridge archway. Climb the wall to the right to enter the yellow gate. A gold chest is inside. |
| Artillery Cannon 2 + Secret + 5 Gold + Ravager Weapon Skin | The artillery cannon should now be in view. Destroy it with your shield to reveal a hole. Jump in and find all the collectibles. The weapon skin is at the end of the cave, just to the left of the jump pad. |
| 8 Gold | After jumping, use your shield bash at the wall. Climb up to the left wall to see an 8 gold stack. |
| 6 Gold | After picking up the previous gold, turn left and fall. You will directly fall to the 6 gold lying below. |
| Cultist Circle 2 | Following the gold path, you will see the Cultist Circle. Kill all the enemies to complete the objective. |
| 5 Gold | From the Circle, turn right and spot a wall. Climb it to get the 5 gold. |
| Ruby 1 | Drop down from the ledge of the 5 gold path. The Ruby is locked inside a red barrier. Beside it, spot a red glowing monster arm. Shield bash and defeat the enemies to acquire the Ruby. |
| Secret + Toy + Cultist Circle 3 + 50 Gold | From the Ruby spot, go north toward the third Wolf Statue. Look for the green shrine icon on your map and head there. Enemies are present in the corner along with a lid. Use the switch beside the lid to open up a secret area. Drop down and climb up one wall to spot a blue symbol. Throw your shield at it to open a new gate. Inside, you’ll find the toy collectible to your right. Backtrack to the blue wall behind the gate you just opened. Shield bash your way through. This leads to another locked gate. Use the switch beside it to raise a blue symbol. Climb the wall again, spot the raised blue symbol, and throw your shield at it. Go through the gate and interact with the valve, letting water fill the room. The gold chest will float to the top. Swim up, find the only open gate, and jump. The Cultist Circle should now be visible. Use the switch behind it to open the gate to the gold chest and collect it. To exit, climb up. |
| 14 Gold | Head in the opposite direction after climbing back up. A corridor to your right leads to a left turn, then to the exit above the green shrine. The gold is there. |
| 5 Gold | Drop down the ledge to find another 5 gold below. |
| Artillery Cannon 3 + 8 Gold | Go toward the yellow objective. When the path splits, take a left to spot the red enemy. Take out all enemies and destroy the artillery cannon. The gold will appear afterward. |
| Secret + 74 Gold + Blue Key | Turn right from the cannon and destroy the red spikes with your shield. Drop to the next room for the secret. Then go left into the water to find 5 gold. Proceed to a switch, swim up, and throw your shield at the blue symbol behind the right gate. Both gates will rise, allowing you to swim beneath. Find 10 more gold below. Drop to the next ledge, then shield bash the green wall. Turn right to find 6 gold and a valve switch. This floods the room. Swim back, jump to the platform with 3 gold, and climb the wall next to it to find the blue key. Climb the other wall too to spot a gold chest. |
| Secret + 12 Gold + Ruby 2 | From the gold chest, drop down and go straight to the blue gate. The blue key opens it and counts as a secret. Follow the gold to get the Ruby. |
| 25 Gold + Secret | Drop from the ledge right of the Ruby. You’ll fall on 5 gold. Don’t go to the boss fight yet. Turn around and find a cave with elevators. Go in and shield bash the blue wall to find the secret and 16 gold. Ride the elevator to find 4 more gold on the cliff. |
| 50 Gold | Drop from the cliff into a big cave. Spot the gold chest on your right. Shield bash the demon arm to summon enemies. Clear them to remove the barrier. |
| Secret + 8 Gold | Turn left from the gold chest and enter the nearest tunnel. Outside is a dark forest. Turn left at the first tree to find a blue wall. Shield bash through it for the secret. |
| Secret + Ruby 3 | Go back and move forward through the trees. On your left, find a blue gate, and defeat the enemies to find another Ruby. |
| 7 Gold | From the Ruby spot, turn left and climb up. This leads you to the boss fight’s starting area. Turn left near the red spikes to find 7 gold. |
| Demonic Essence-Armor | Head to the red encounter, and slay it. This drops you the Demonic Essence, which is the last armor upgrade. |
| Hell Fighter Ship 1 | Go to the yellow objective and mount your dragon. Fly to the main objective and destroy the first Hell Mouth. Flying forward, the Hell Fighter Ship will spawn. Reload checkpoints if needed. |
| Secret + Codex 2 | Continue the story. When you land on a spaceship, look behind once you gain control to find the Codex before entering. |
Thank you for reading the article. We provide the latest news and create guides for Doom The Dark Ages. Also, watch Deltia play on Twitch or visit his YouTube channel!