Facebook
 Reddit
 Email
Email
There are a lot of collectibles in Doom The Dark Ages Chapter 6 (Siege Part 1). Read this article to learn how to obtain them.

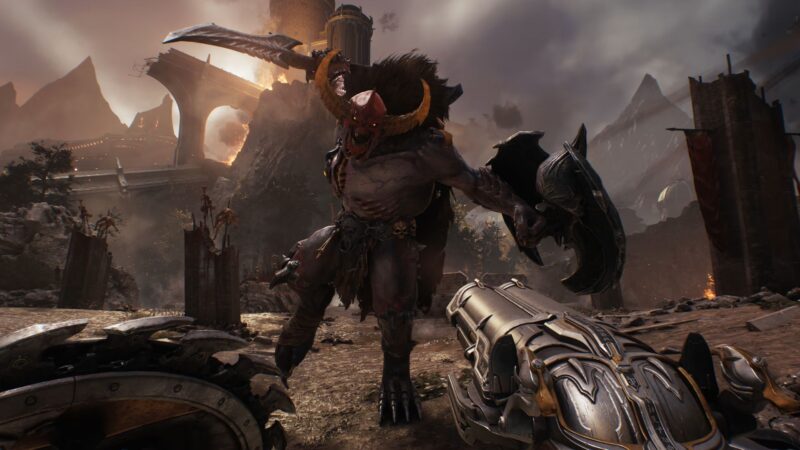
The story of Doom The Dark Ages is divided into many chapters, and chapter 6 has two parts. Both parts have so many different collectibles scattered throughout the area, and you would want to collect each one of them. From toys to rubies, there’s a lot to cover.
In this article, you will learn about all the collectibles in Doom The Dark Ages Chapter 6 (Siege Part I).
All Collectibles in Doom The Dark Ages Chapter 6 (Siege Part I)
Toys Location
Toy #1 (Slayer)
Before acquiring this toy, you’ll have to obtain the purple key. You can find this key at the base of the opening mountain near the sentinel shrine. Grab the key and get the Slayer toy by opening the gate just behind the key’s location.
Toy #2 (Mancubus)
Near the location shown in the image above, you will be able to locate a giant statue. Climb up to the statue, and collect the Mancubus toy from its feet.
Read more: Doom The Dark Ages: All Collectibles in Chapter 4 (Sentinel Barracks).
Rubies Location
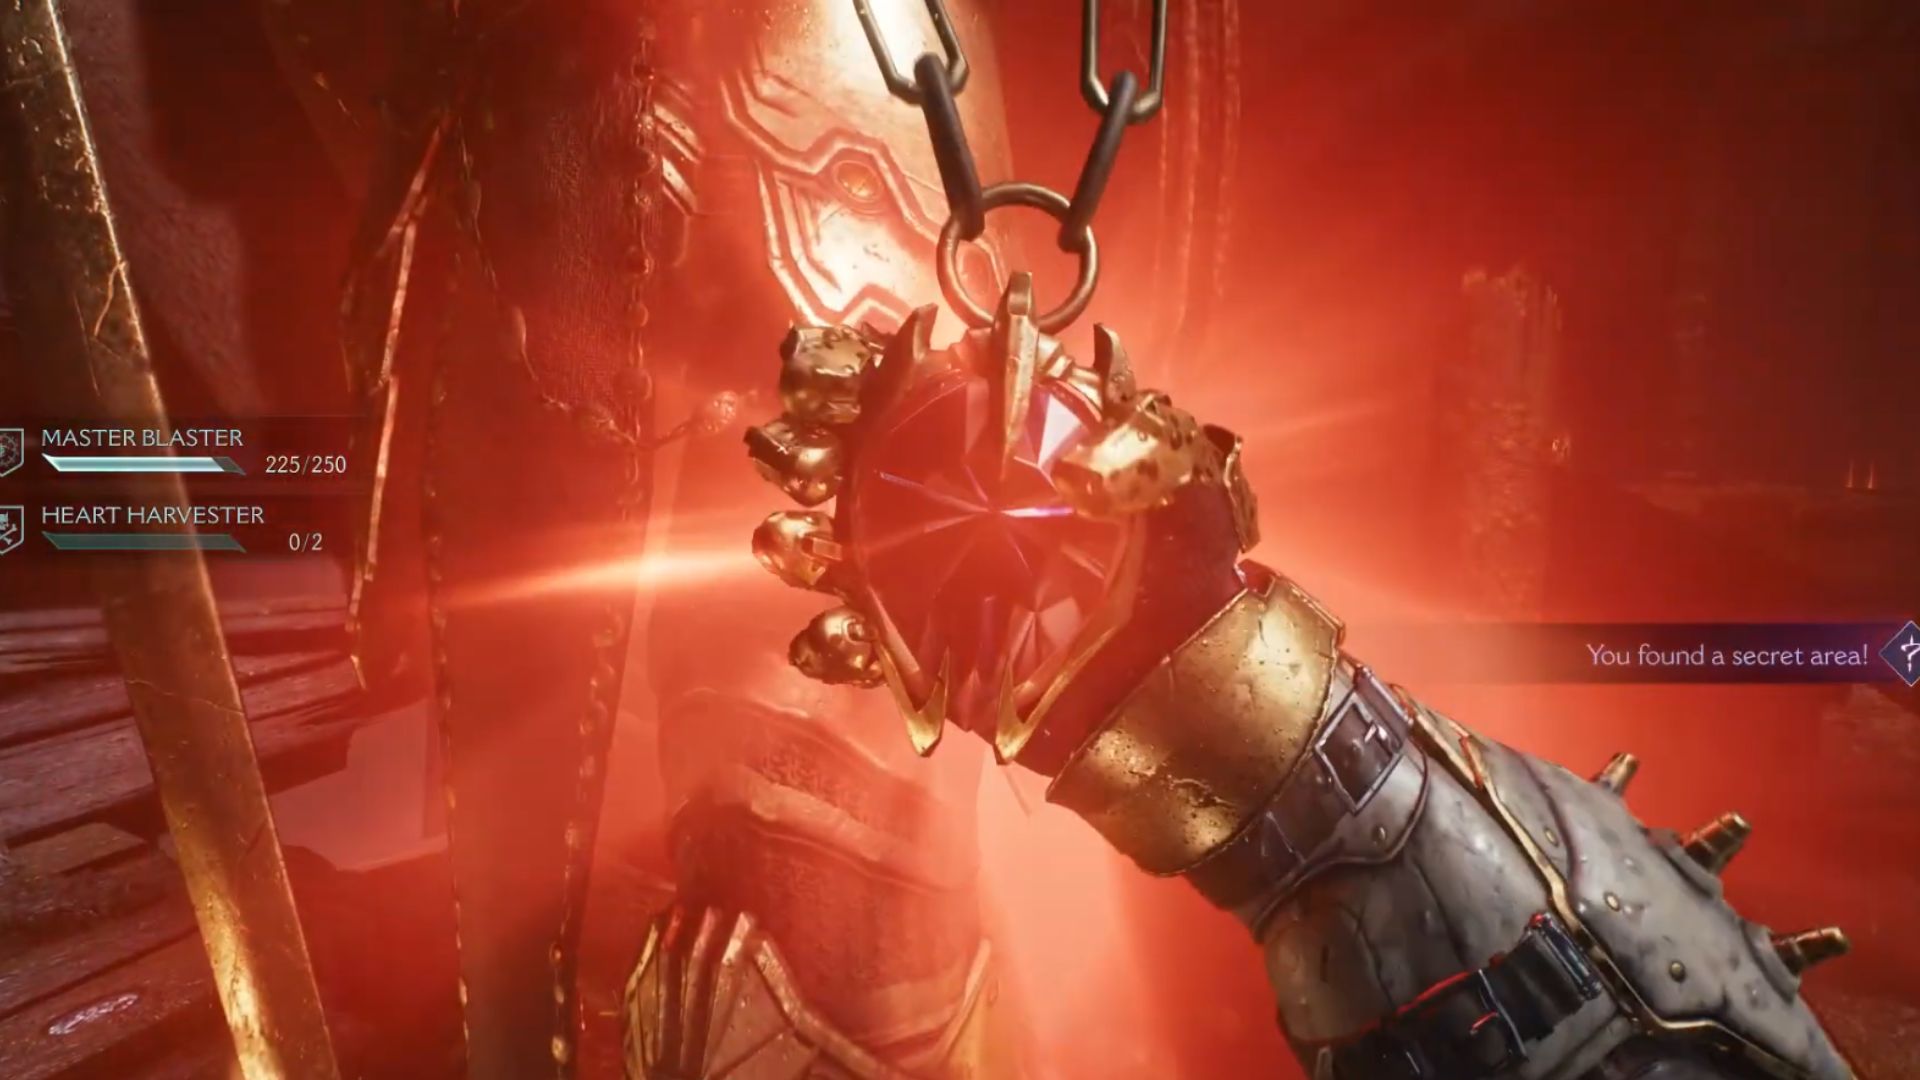
Ruby #1
The first ruby is found near the location of the purple key. Head down the path of the destroyed village and get to the riverbank. You will find three wolf statues, and destroying them will give you the first ruby.
Ruby #2
Take a right from the Slayer toy location and keep heading toward the left side of the map. Battle enemies just behind the shrine and grab the second ruby.
Ruby #3
When you go to the southwest side of the top left gore portal, you will find a climbable wall. Climb the wall, approach the water, and dive to get to the next surface. Follow the path and break the wooden wall to activate the switch. Head right and dive once again to collect the third ruby.
Ruby #4
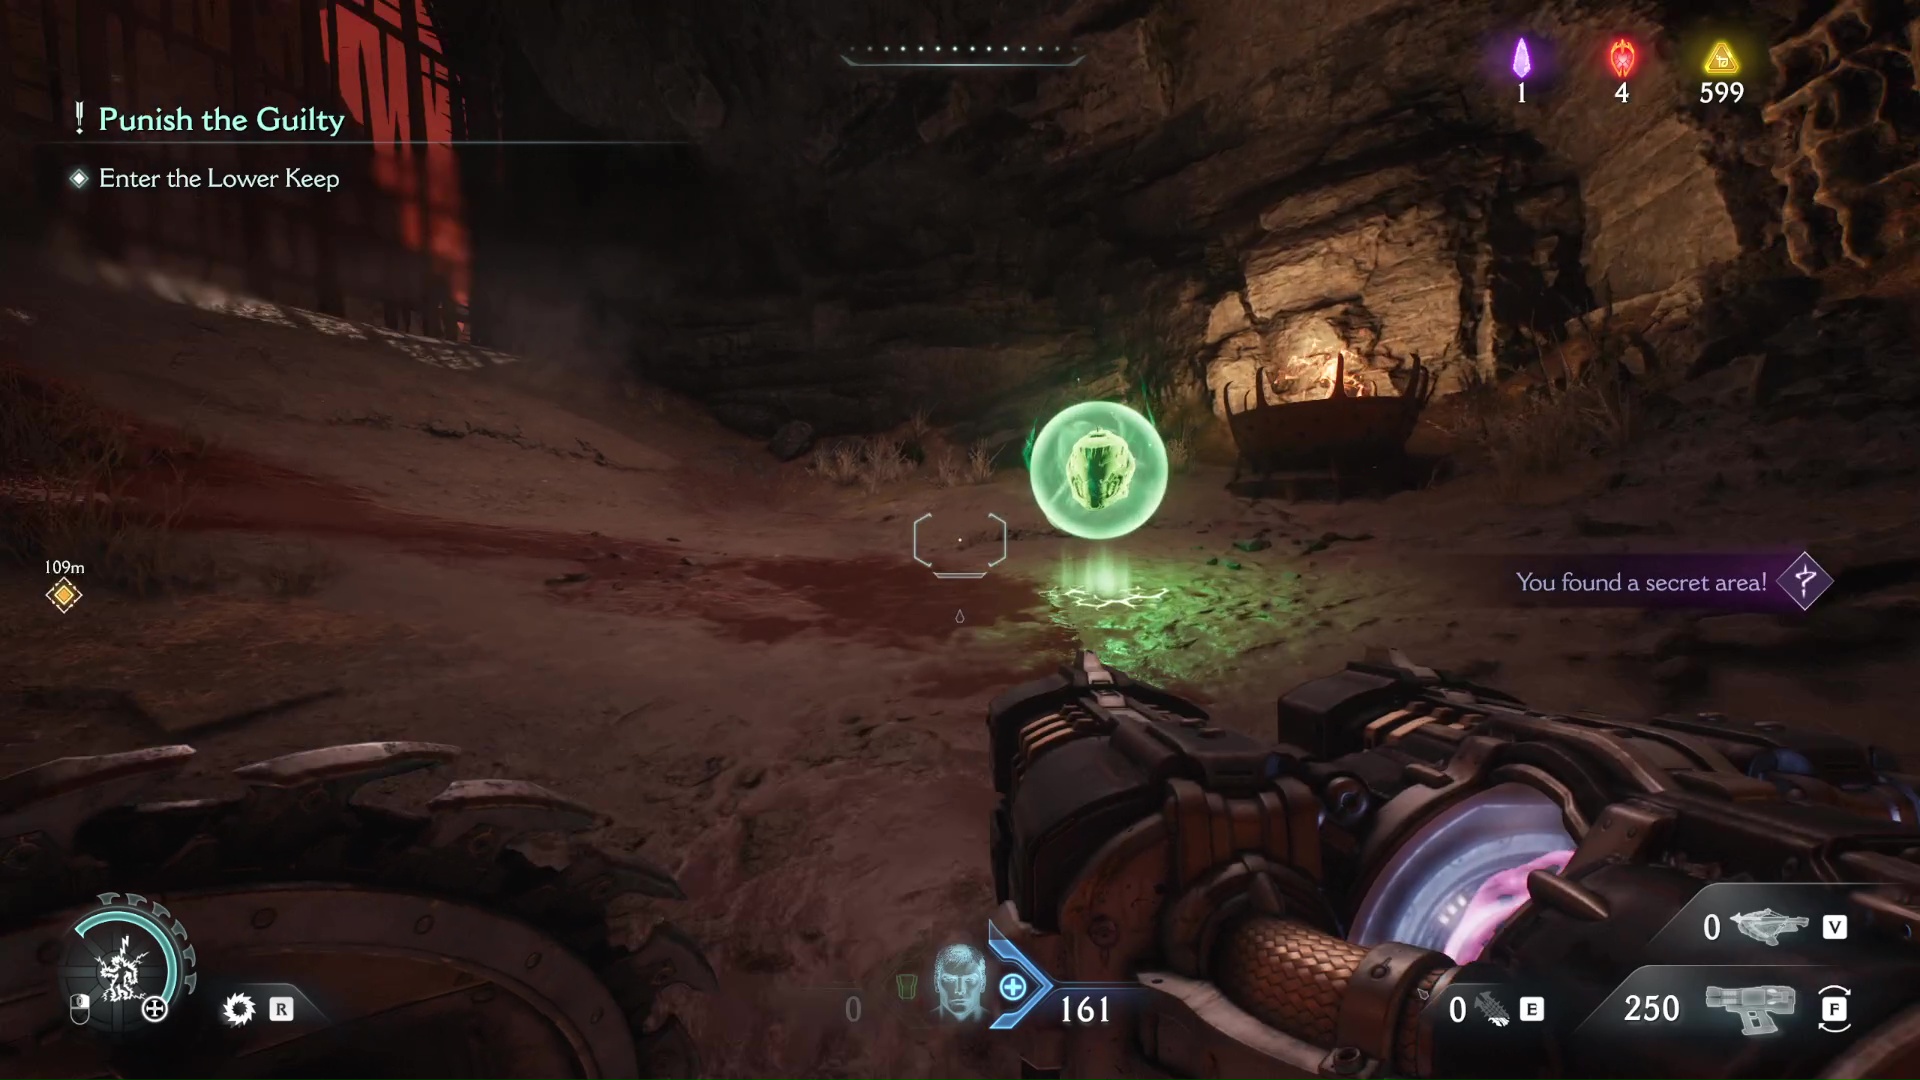
There’s a secret area behind the last gore portal. Go there and defeat all the enemies to open up an underground area. Head into the cave with a blue gate, and on your right, you will see a purple gate. Use the earlier acquired key to obtain the last ruby of this chapter.
Weapon Skin
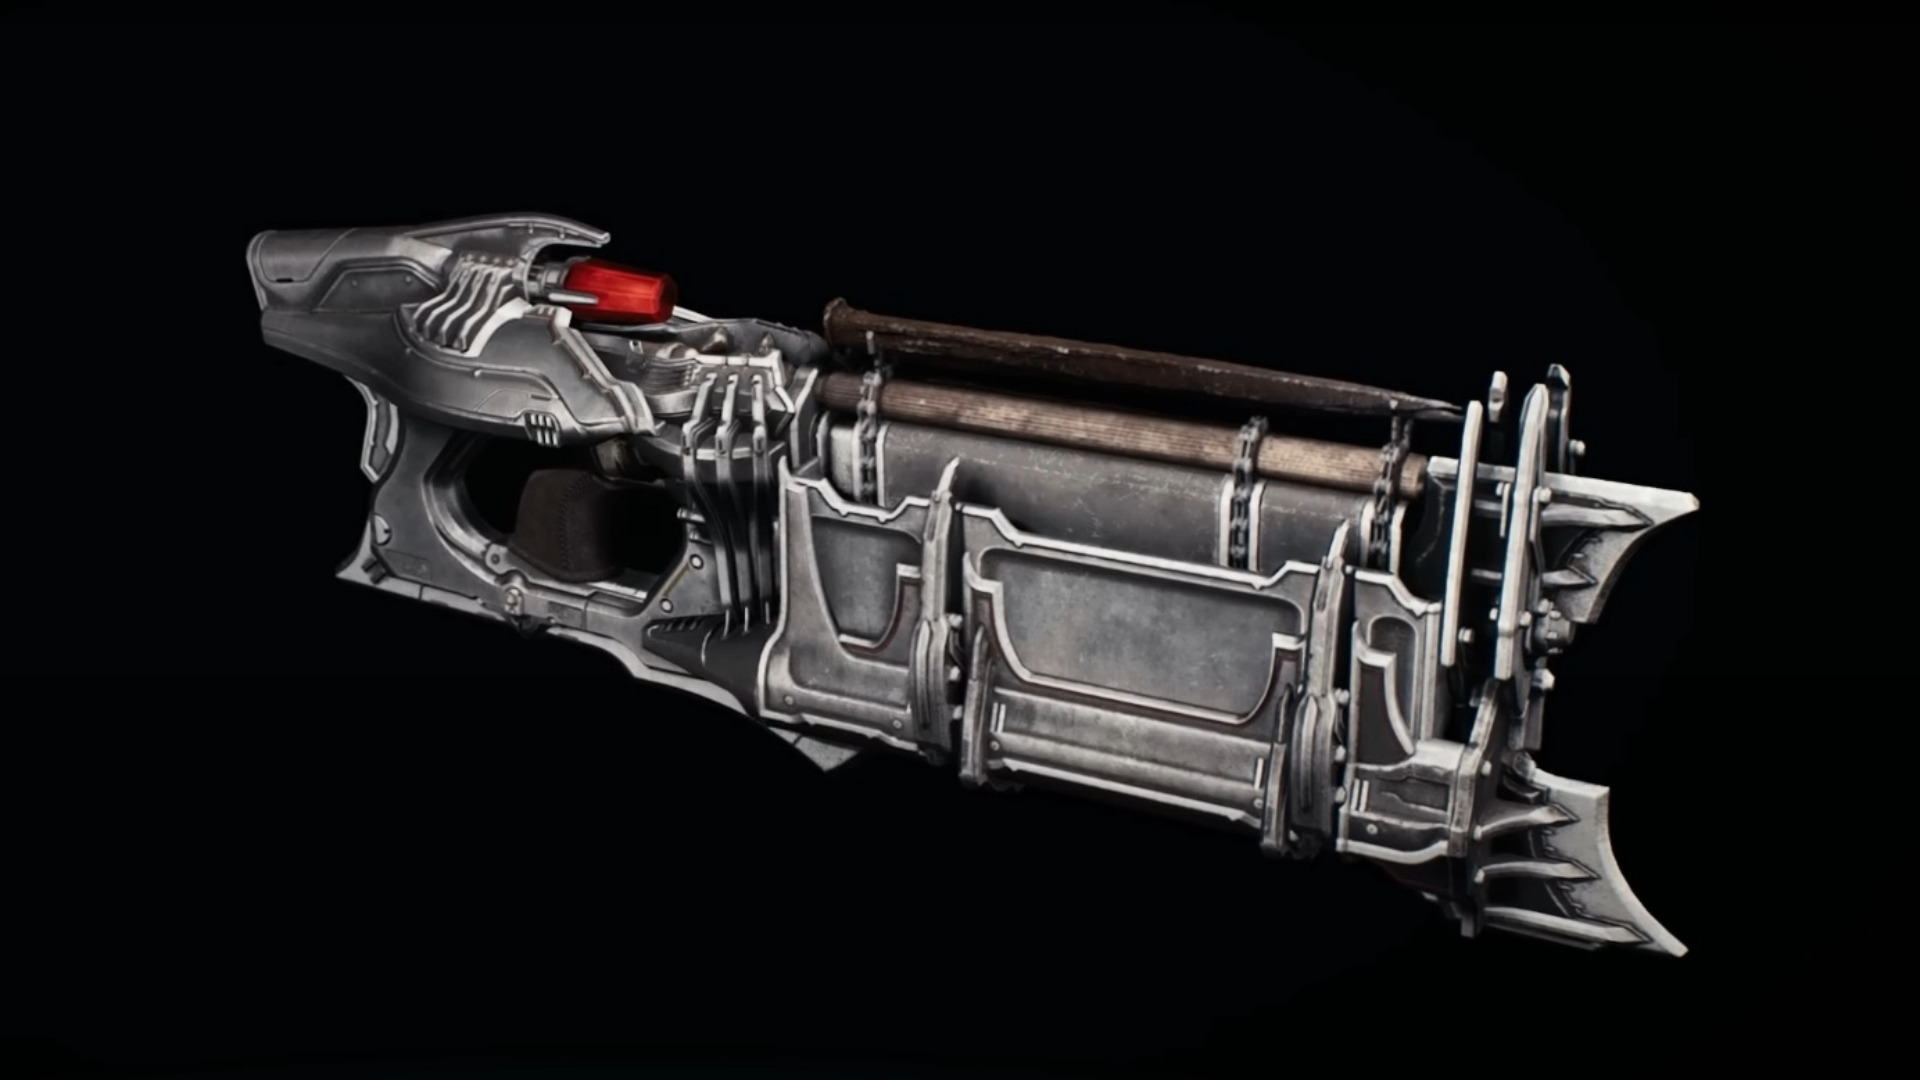
Just before heading for the third ruby, head in the opposite direction and follow the gold trail. You will approach a locked gate that is opened with the help of a purple key. Unlock the gate to acquire the Nightmare Impaler Skin.
Also read: Doom The Dark Ages: All Collectibles in Chapter 8 (Abyssal Forest).
Codex Entry
Siege—Part 1 Codex
You can find this codex in the vicinity of the fourth ruby while exiting the mine area. All you have to do is sprint jump on a nearby hill to grab this item.
Kreed Maykr Codex
Grab this codex by climbing up the cliffside near the sentinel shrine and Mancubus toy. Climb the cliffside and follow the trail of gold to get this item.
Life Sigils
Life Sigil #1
This life sigil is found near the waterfall that is flowing near an artillery in the south. Go beside the waterfall and grab the floating life sigil.
Life Sigil #2
Go to the feet of the giant statue to climb to the top of the cliff. You will find this item after climbing the cliff.
Life Sigil #3
This sigil is guarded by tentacles found near a sentinel shrine. Defeat the monster and grab your sigil.
Demonic Essence
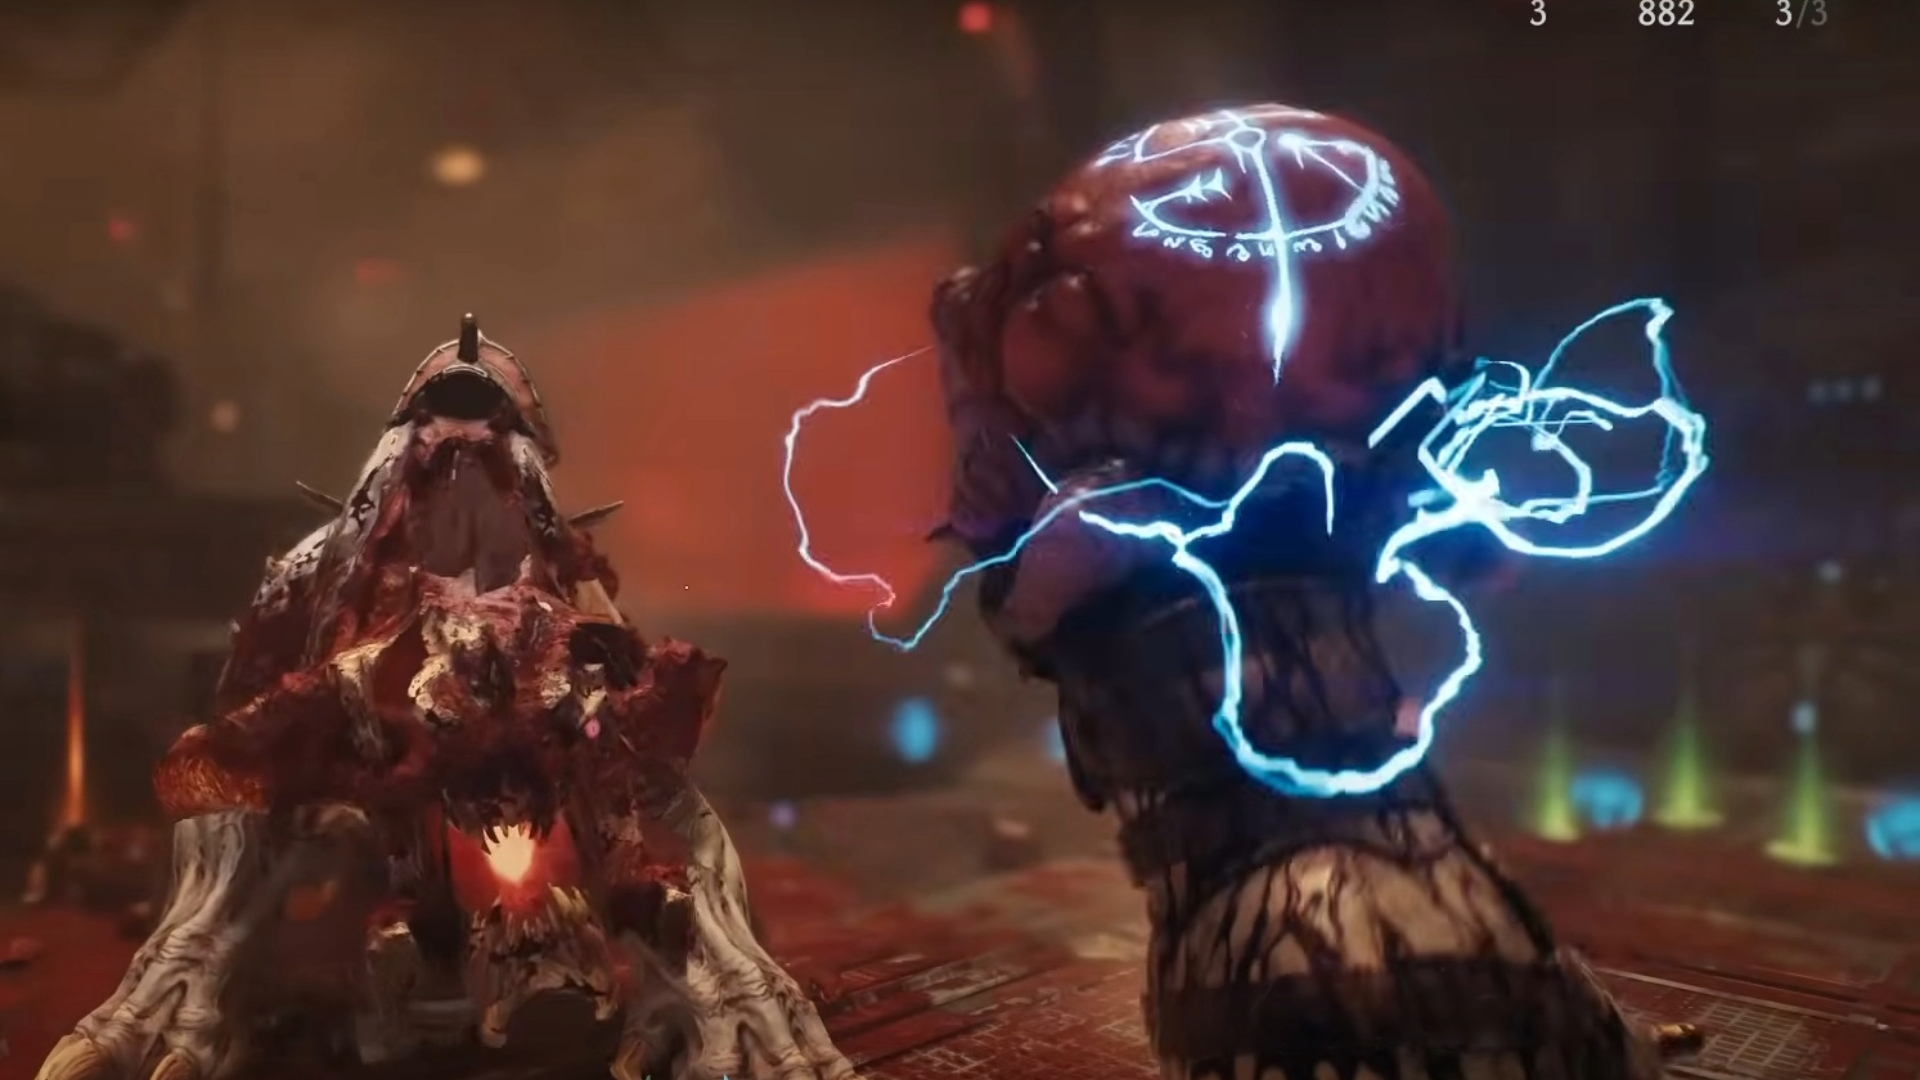
Armor—Demonic Essence
There’s a gore portal near a sentinel shrine in this chapter. Defeat the leader of that portal to reward yourself with the maximum armor upgrade.
Spike Ammo—Demonic Essence
This upgrade is also obtained by defeating the leader of a gore portal. As destroying gore portals is a crucial task, you will never miss these upgrades when playing Doom The Dark Ages.
You might also like: Doom The Dark Ages: All Collectibles in Chapter 13 (From Beyond).
Gold Caches
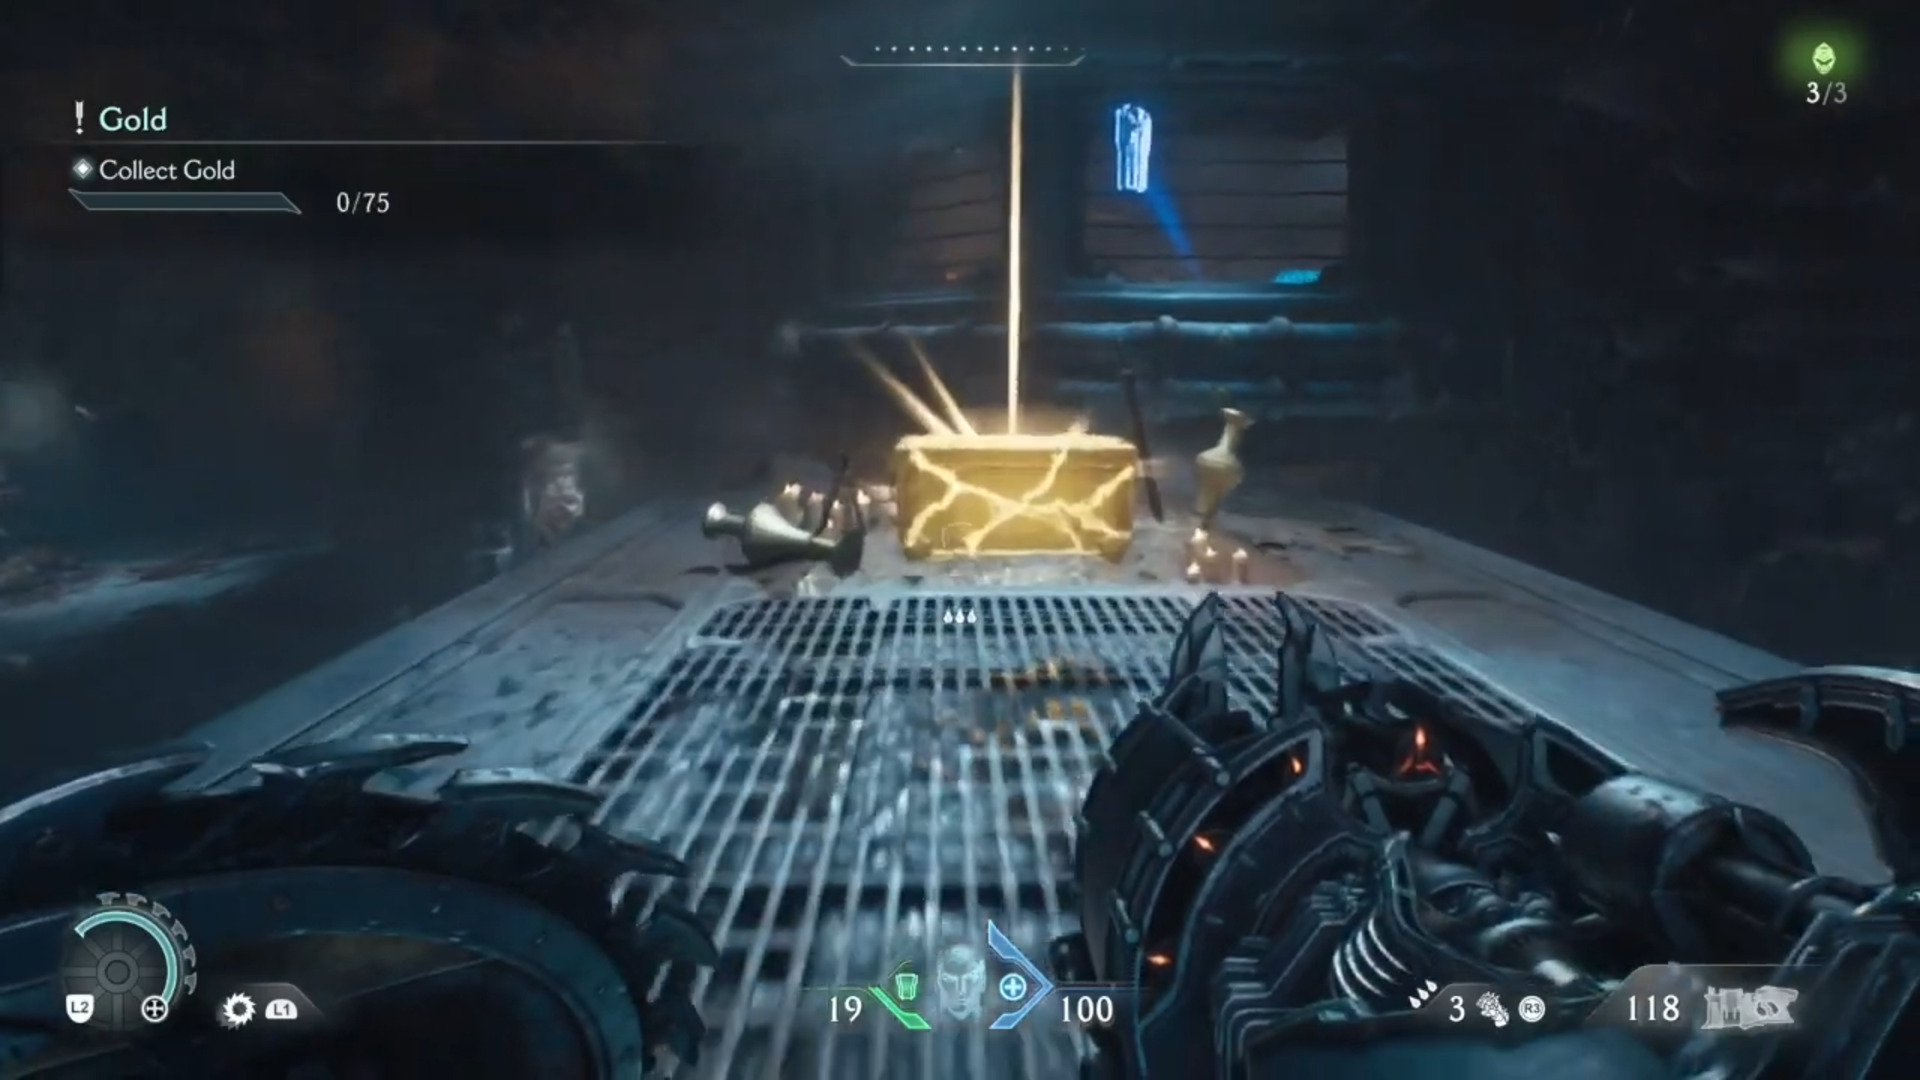
Almost every collectible has a gold trail leading to it, so you will grab most of the gold when collecting items. Aside from them, there are some gold chests and caches scattered across the chapter.
Cache #1
Found near one of the objectives. Look for a hidden nook in the mountain, and you will find a wooden wall. Use shield charge to break it and collect your gold.
Cache #2
Find the sentinel shrine that is near a secret portal. Use your shield to open the gate and access the metal box with the shield charge. Again, shield-charge the metal box to climb the platform. Break the wooden wall beside the lever to get the gold.
Cache #3
You can find a pile of gold near the location of Chainshot. Look for a blue-marked wall, and destroy it to grab the gold.
Chest #1
There’s a gold chest hiding behind a locked gate in a tower. Use the water to move and evade incoming attacks, and go to the end of the area to get inside the tower.
Chest #2
Find the sentinel shrine that is near a secret portal. Use your shield to open the gate and access the metal box with the shield charge. Again, shield charge the metal box to climb the platform. Break the wooden wall beside the lever to get the gold.
Chest #3
You’ll find another gold chest just opposite the Kreed Maykr Codex. Just climb up from the gold trail and grab your chest.
Thank you for reading the article. We provide the latest news and create guides for Doom The Dark Ages. Also, watch Deltia play on Twitch or visit his YouTube channel!