Facebook
 Reddit
 Email
Email
Discover all secrets in Doom The Dark Ages Chapter 16, Kar’Thul Marshes, with detailed steps, collectibles, and hidden locations.
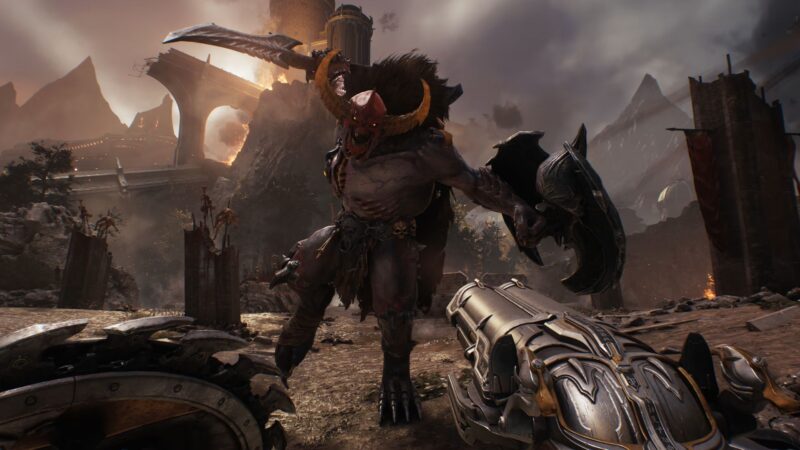
![All secret areas in Doom The Dark Ages Chapter 16 [Image via Bethesda Softworks]](https://static.deltiasgaming.com/2025/05/44.jpg)
In Chapter 16, the Kar’Thul Marshes present a set of carefully hidden collectibles. If you are aiming for full completion, these secrets are easy to miss without a clear path. Follow this guide to find each one at the right moment and avoid backtracking.
All Secrets in Doom The Dark Ages Chapter 16 (The Kar’Thul Marshes)
![Collect Demonic Essence (Ammo) [Image via Bethesda Softworks]](https://static.deltiasgaming.com/2025/05/43.jpg)
Secret 1
From the beginning of the mission, head right and hop onto a raised stone platform. On your left, you will notice a blue eye embedded in the wall. Throw your shield at it. A gate near the first enemy encounter opens.
Once you have collected the items there, return to where you first used your shield. This time, climb onto the opposite side and turn left. A small hill leads to a spot with seven pieces of gold.
Secret 2
Head to the far right of the map and enter through a gate. Walk the full loop in this section. Once you reach the starting point again, turn around and walk forward. A hidden path appears. This opens access to a stash containing 50 gold.
Exit via the nearby portal. On your right, there’s a climbable wall with some gold visible. Instead of following that path, go left. You will see two piles of gold above. Use your shield on the blue eye to unlock the gate near the earlier wall. Now you can reach the 16 gold pieces behind it.
Additional Pickups
Jump down from the gold area. Pass the locked gate and climb the small hill to your right. This leads to a red encounter with a leader guarding a relic. Defeating this enemy gives you your first Demonic Essence (Ammo) and a relic piece required for progression.
Continue forward, keeping right. You will find five gold pieces near a bridge made from black strings. Drop into the next enemy zone. Another set of eight gold sits visibly across the area. After grabbing it, turn left. You will enter a space with a round podium. Climb the wall to your right. Five more gold pieces lie just beyond a closed gate.
Bash through the gate nearby using your shield. Walk past the Sentinel Shrine. Ahead is the first glowing Wolf Statue and an armor pickup. Destroy the statue. Drop down behind it to find six gold pieces on the lower ground.
Secret 3
![A door below now opens, revealing the Battle Knight Toy. [Image via Bethesda Softworks]](https://static.deltiasgaming.com/2025/05/42.jpg)
Turn around and look for a narrow entrance nearby. Inside, a teleport takes you to a sealed room. In the middle is a pool. Jump in. At the bottom, you will land on a platform. From there, throw your shield through the gate.
Jump down again, line up with the pedestal, and throw your shield once more. Drop into the pool again to reach the platform. This time, access to the ruby and the secret room becomes available.
Additional Pickups
After leaving the secret chamber, move forward and climb the wall on your right. A pressure plate lies here. Step on it to reveal a red chain. Hit it with your shield. A door below now opens, revealing the Battle Knight Toy. Turn around and head forward. You will run into eight gold pieces. Nearby stands the second Wolf Statue. Destroy it to track progress toward the Wraithstone.
Secret 4
Climb up the nearby wall, turn left, and move forward. A pile of five gold pieces rests ahead. Drop into the cave just beyond. On your right is a group of three gold pieces. The tunnel here leads to the third Wolf Statue.
Additional Pickup
Close to a main objective marker, you will encounter another leader. Defeating this enemy provides a second Demonic Essence (Armor). After collecting the relic, move forward and take the left path. Stick to the trail. On your right, halfway through, is another eight gold pieces.
Near five blue health pickups, look to your left. A cliff holds the fourth Wolf Statue. Break it. From the statue’s position, turn and continue on the trail. Five more gold pieces are positioned near a massive gate.
Secret 5
![Gameplay screenshot from Doom The Dark Ages [Image via Bethesda Softworks]](https://static.deltiasgaming.com/2025/05/41.jpg)
Enter the gate to find a rotating room. Throw your shield at the blue eye to move it. Wait until the water is on the right and a block appears in the middle. Jump onto that block and rotate the room again while standing on it.
Now, aim for the green statue and hit it with your shield. This opens access to the hidden area containing the final 50 gold.
Additional Pickup
Leave through the portal and move forward. The fifth and final Wolf Statue is here. Break it. Now return to where you found Secret #4. Take the lower path. You will reach the Wraithstone, surrounded by all five wolf statues you have destroyed.
Thank you for reading the article. We provide the latest news and create guides for Doom The Dark Ages. Also, watch Deltia play on Twitch or visit his YouTube channel!