Facebook
 Reddit
 Email
Email
In this Doom The Dark Ages walkthrough guide, we shall help you descend into Hell in Chapter 10: The Forsaken Plains.
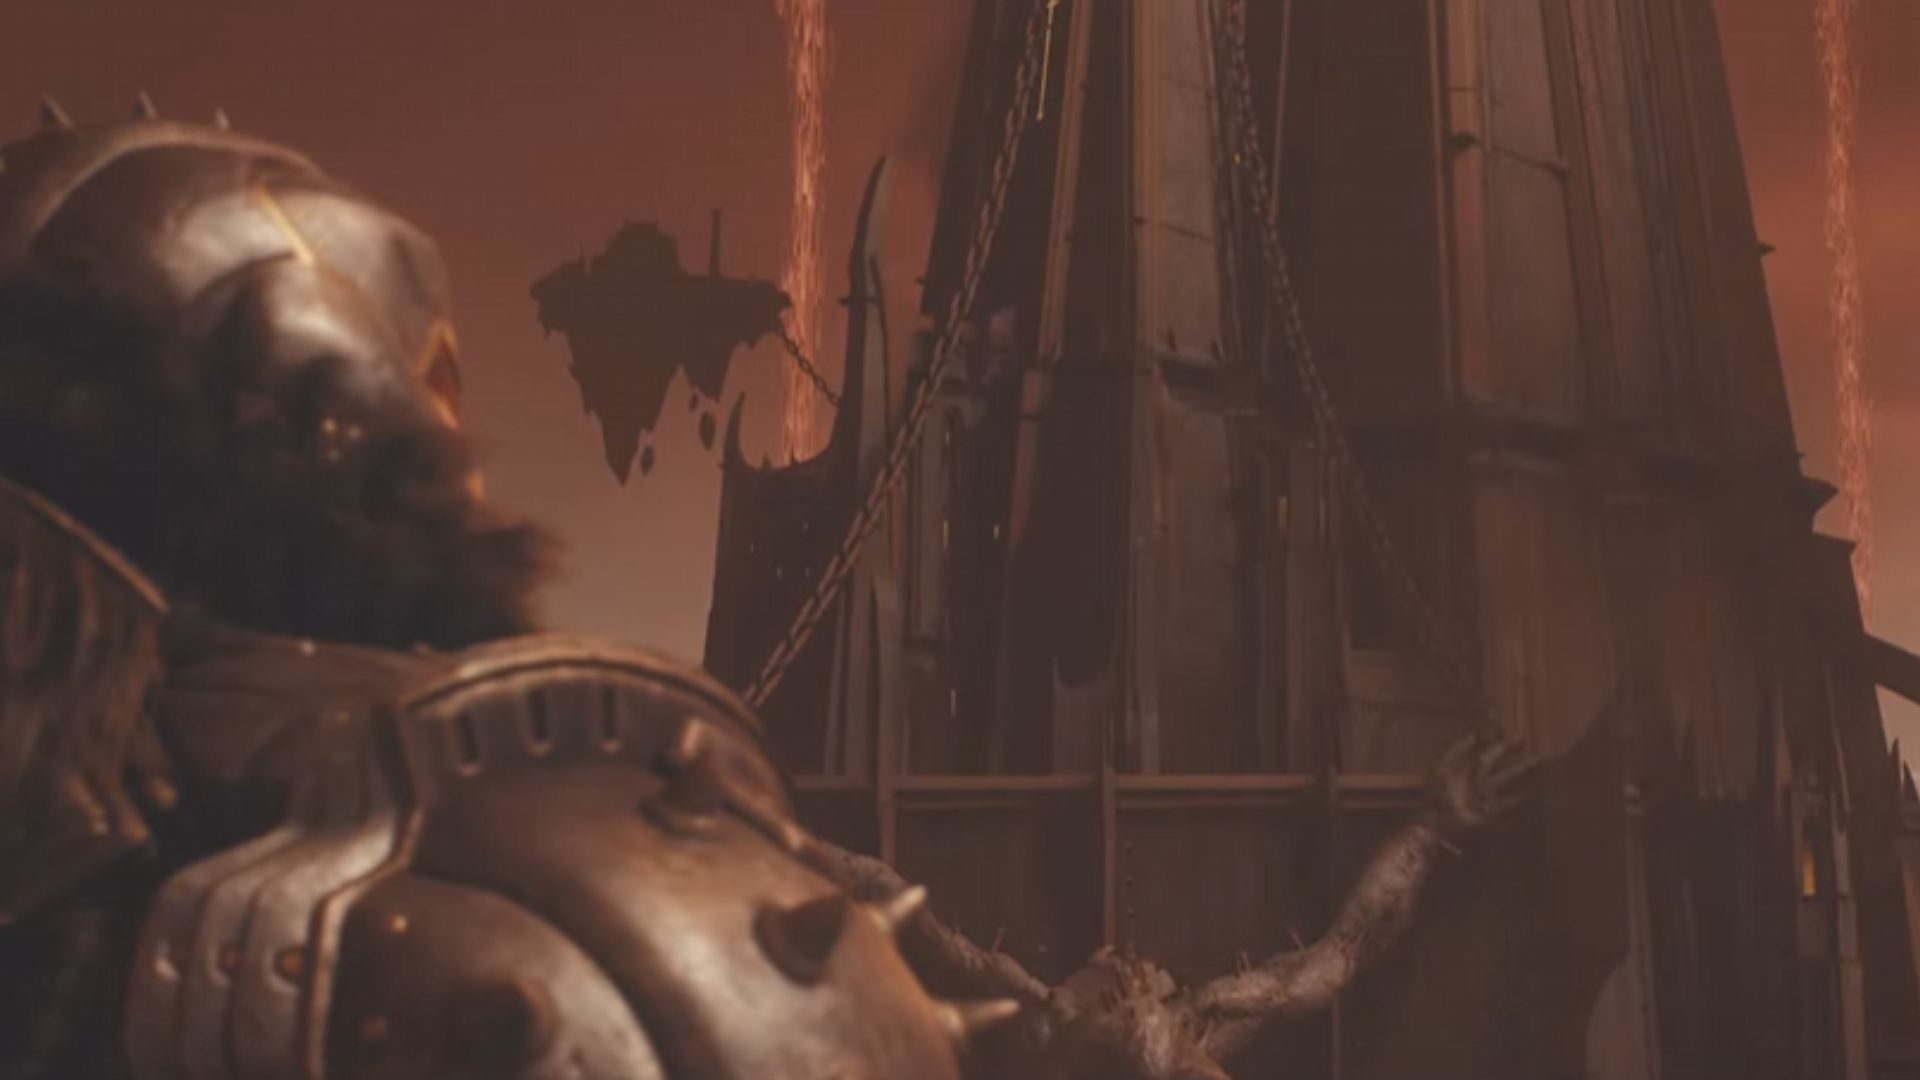
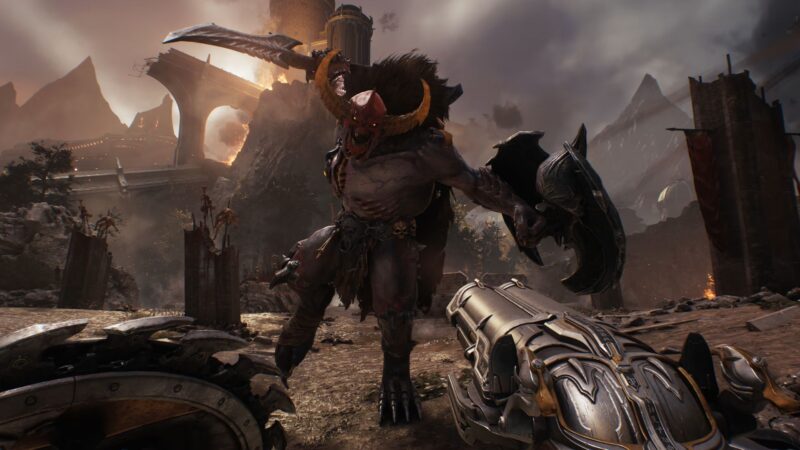
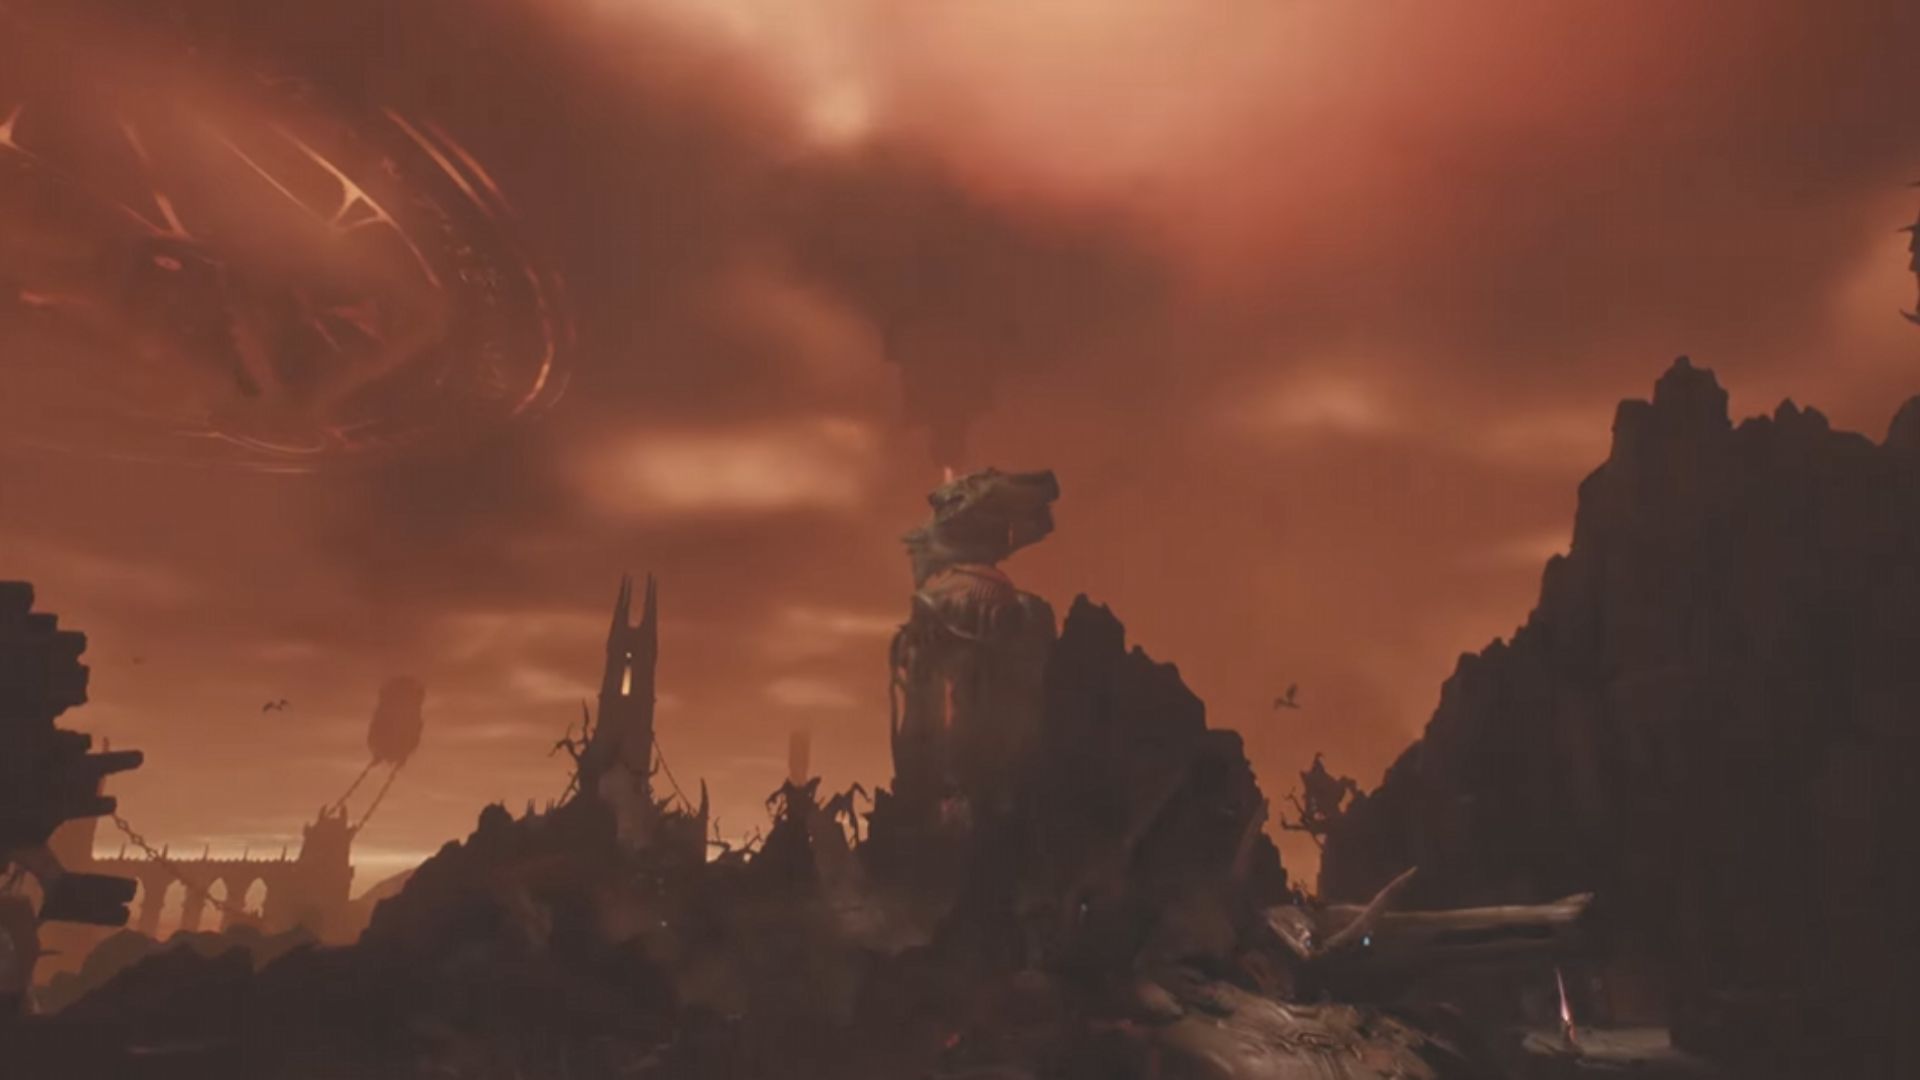
After a tremendous effort to harvest the energy of the Ancestors with the Ancestral Forge, the Slayer fights off an onslaught of demons and sets his sights on Hell and Ahzrak’s Fortress. Ahzrak is done playing games and wishes to launch an assault on Thira and the Slayer. The stakes are higher than ever, and it’s to kill or be killed.
Chapter 10, the Forsaken Plains, is one of the harder chapters in the game. Being in Hell, the hordes you face are plenty, emboldened by two Leader minibosses. If you’re struggling in this chapter, we have you covered. In this guide, we shall walk you through Chapter 10, The Forsaken Plains.
Related: DOOM The Dark Ages: Chapter 8 Abyssal Forest Walkthrough
Forsaken Plains Full Chapter Walkthrough in Doom The Dark Ages
Charging the Gate in the Forsaken Plains
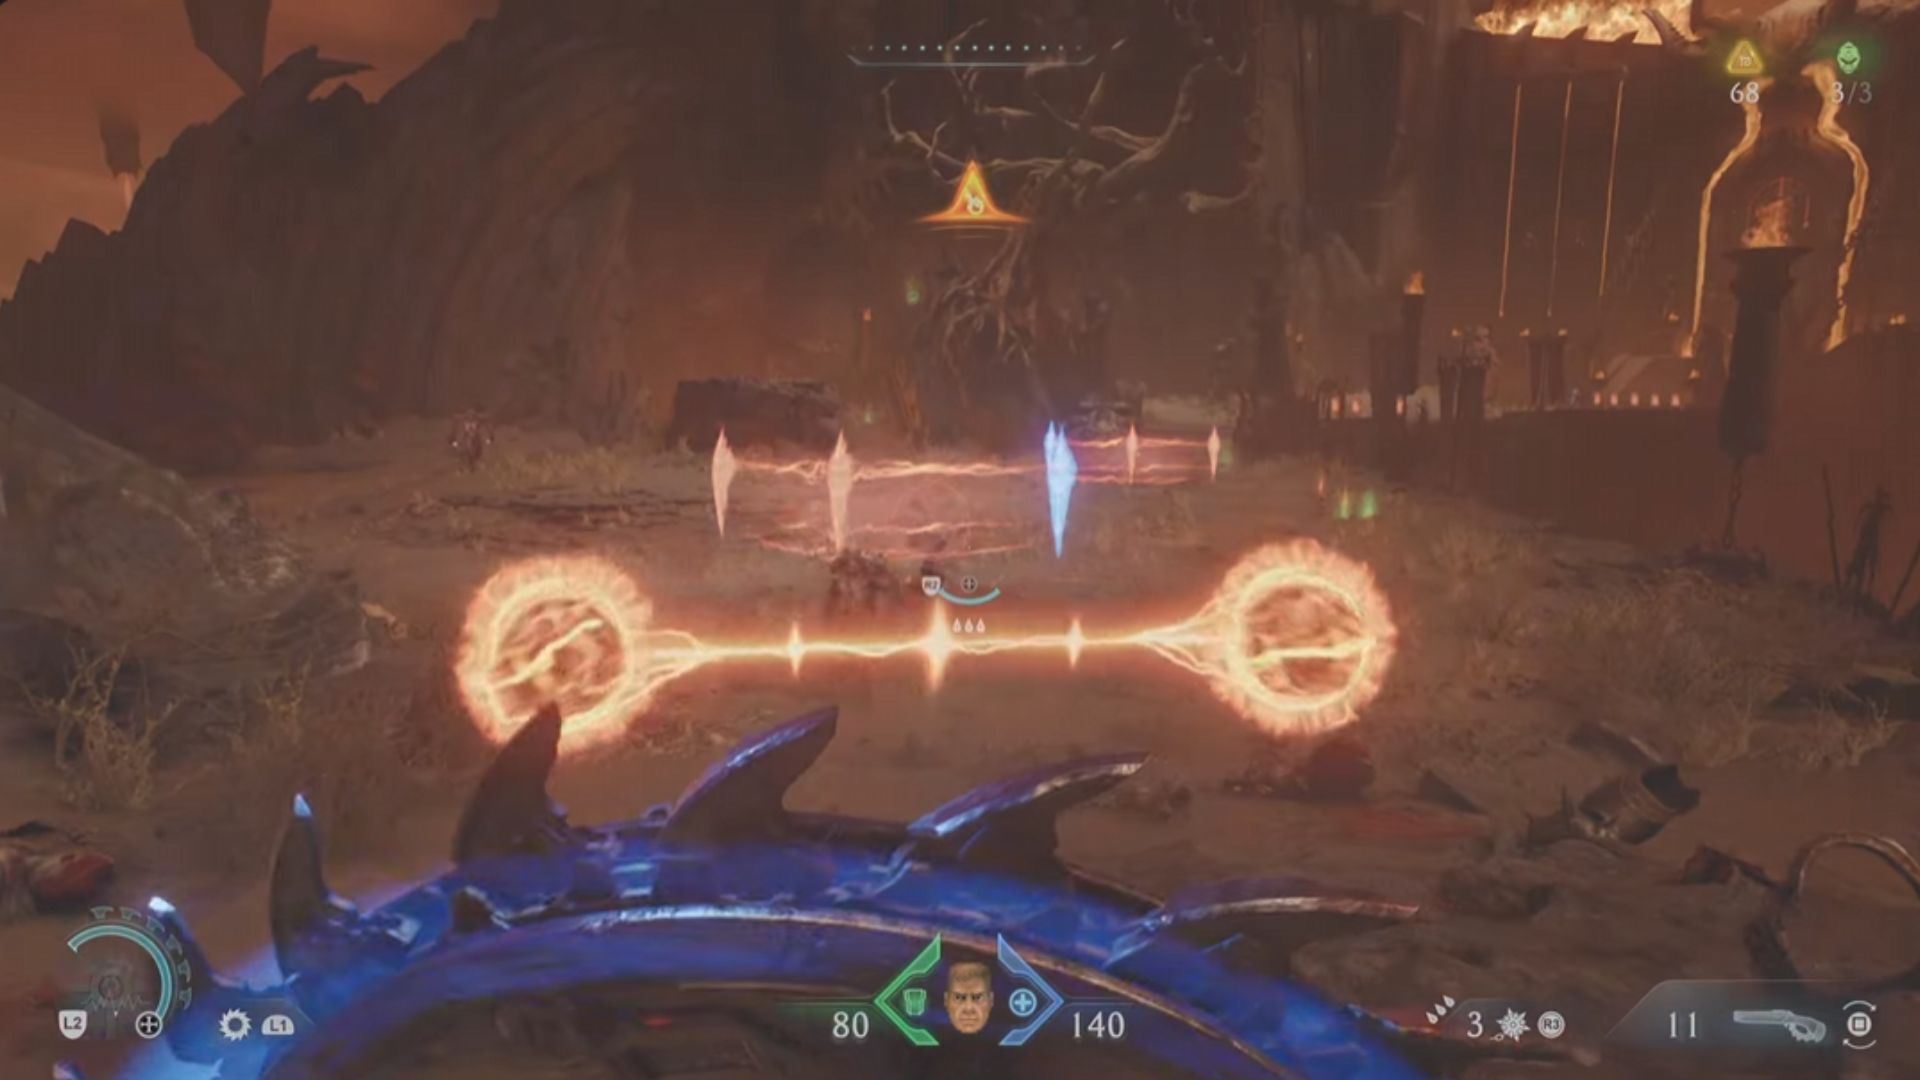
The Forsaken Plains chapter begins at the gates of Hell with Thira informing you to watch for damaged Atlans that you may need to repair to reach the target. Proceed through the linear path ahead and clear all the demons along the way. As you approach the gate, look to your left to find a grapple point. Grapple up to find a path leading to a Life Sigil. Along the path, you will find a Rocket Launcher. Equip the launcher and charge the gate to clear out the demons.
Destroy the First Hell Cannon
Also Read: DOOM The Dark Ages: How To Use the Automap
As you pass through the gate, a small cutscene will show you the locations of two Hell Cannons. Defeat the hordes that block your way and head through the tunnel to your right. Scale up the wall at the very end and immediately turn right and right again. You will find sets of flamethrower traps before you. Wait for the flames to turn off and run through to the elevator. The elevator will lead you above and to a Ruby.
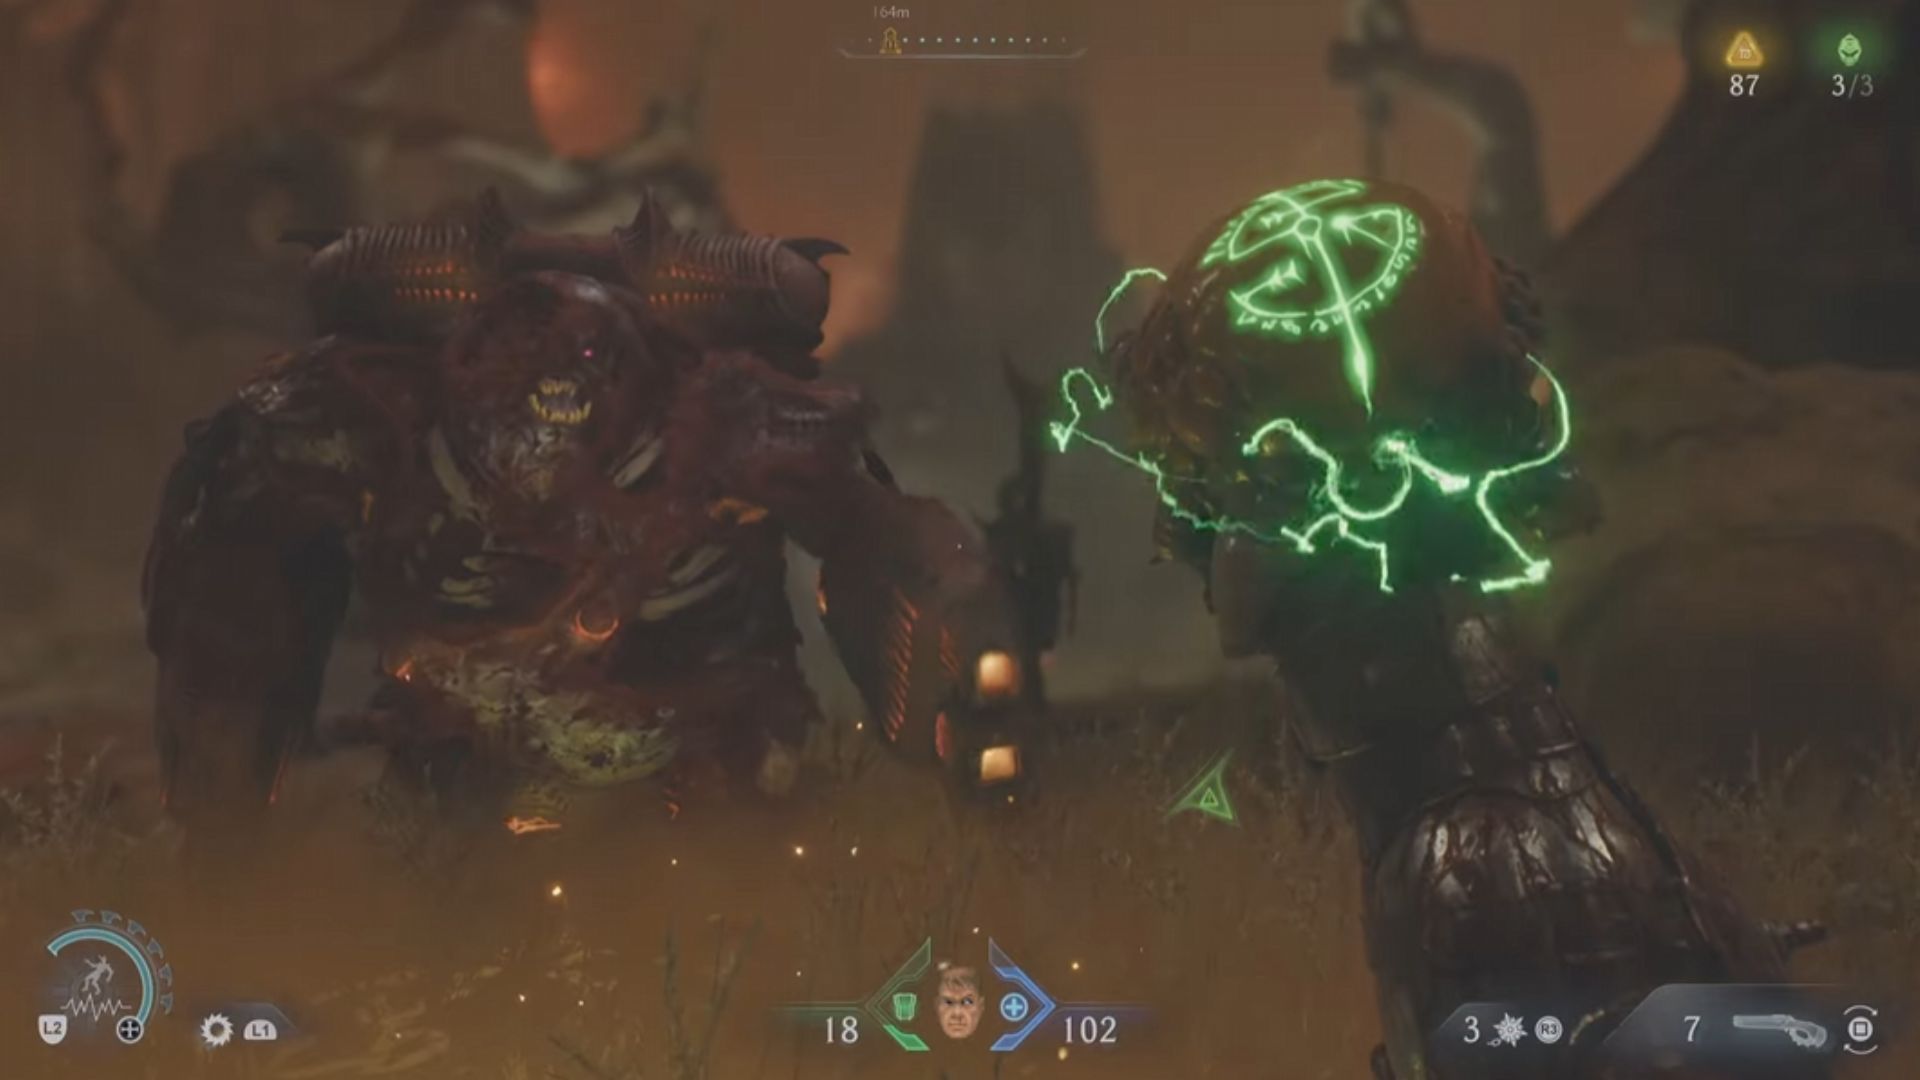
Head back to the initial path, and you will be swarmed by a Leader and his minions. Maneuver around the arena to dispatch minions and then rely on parries to finish the Leader. The Leader will drop an Armor upgrade. Use the series of jump boosters nearby to reach the first Hell Cannon, and then attack the green seal to disable the Hell Cannon.
Destroy the Second Hell Cannon
Follow the marker down the path to your right and clear out the hordes of enemies on the way to the second Hell Cannon. Defeat the Revenant along the way to get a Skull Ammo upgrade. Right after this horde, use the launcher to reach the next area and immediately follow the path on your right to unlock a skin.
Drop down below to find a Sentinel Shrine. Continue forward toward the objective marker till you reach a giant portcullis. Walk to the side and look up to find a grapple point. Grapple up and continue down the new path slowly. There are flame traps all over. Go past the traps and up the wall ahead. Take a left to discover a secret area. Now, take a right and take the left at the very end to discover a pit. Drop down the pit to find a secret key.
Trail the objective marker and you’ll come face to face with another Leader. Use the same strategy as before and beat the miniboss to unlock a Health upgrade. Go past the arena and into the tower ahead. Use the booster to head up and reach the second Hell Cannon. Destroy the cannon to complete the objective.
You May Like: Doom The Dark Ages: Achievements and Trophies for PC, Xbox, and PS
Obtain the Atlan Core and Power Up the Atlan

Head straight to the objective marker and into the chamber past the purple gate. This area has a horde of enemies, but it also has traps. Lure them towards you and take them out away from the traps. You will also find a Ruby in this room. Obtain the Ruby and open the gate beside it to exit into the open.
Take the path on the left and scale the wall on this path to reach the upper level. Continue towards the marker till you see a giant caged arena. It isn’t a cage but an arena closed off by skeletal ribs. You’ll be ambushed in here, so use the shrine outside to prepare. Inside, you’ll have plenty of health packs, so stay on the move to survive. You will also find a Wraithstone here. Kill everyone and proceed ahead to obtain the Atlan Core.
With the core in hand, proceed toward the objective marker. On your way, you will have to clear out one last horde. After you’re done, proceed to the Atlan and interact with it to complete the chapter.
Thank you for reading the article. We provide the latest news and create guides for Doom The Dark Ages. Also, watch Deltia play on Twitch or visit his YouTube channel!