Facebook
 Reddit
 Email
Email
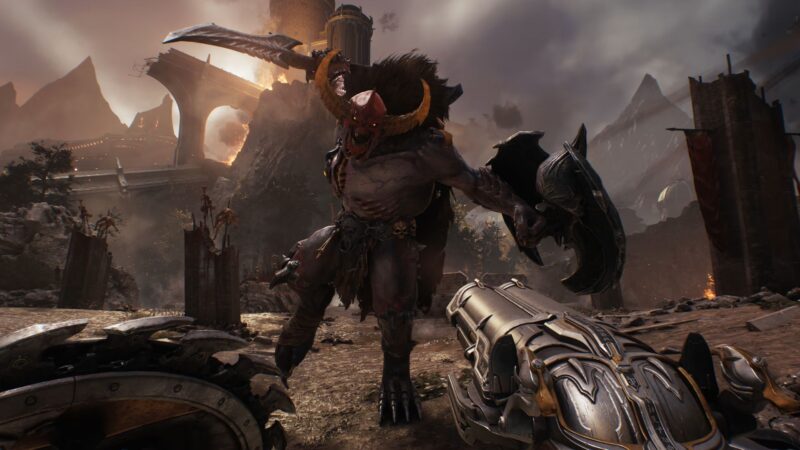
Chapter 15, City of Ry’uul of Doom The Dark Ages, continues Doom Slayer’s journey to save Thira. This guide will walk you through it.
If you are here, then you have progressed quite far in the campaign of DOOM: The Dark Ages, and know that it is a prequel title to 2016′ DOOM and 2020’s DOOM Eternal. Chapter 15 of The Dark Ages takes place after the events of Spire of Nerathul and essentially sees the Doom Slayer continue his expedition to save Commander Thira.
During the City of Ry’uul, players dive into platforming, puzzle solving, and slaying demons. This guide will walk you through it.
City of Ry’uul Full Chapter Walkthrough in Doom The Dark Ages
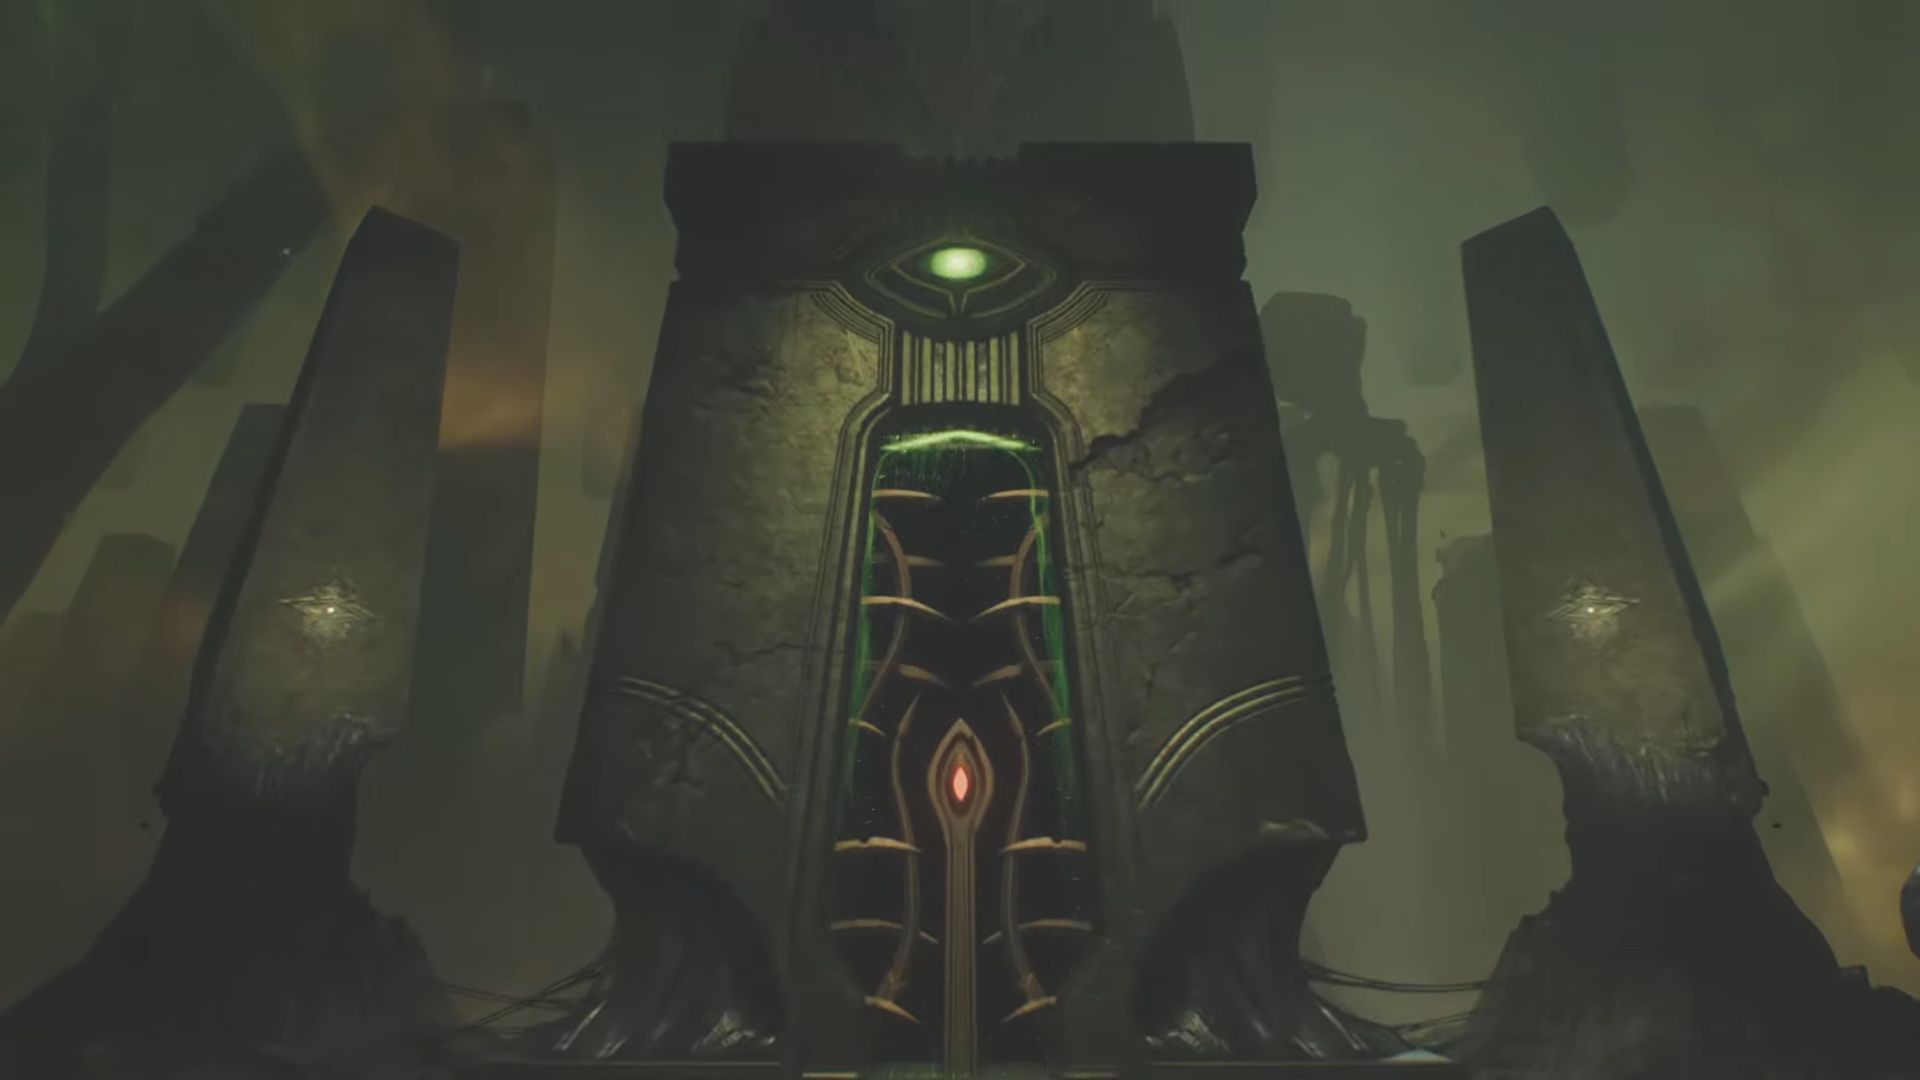
Activating the Portal
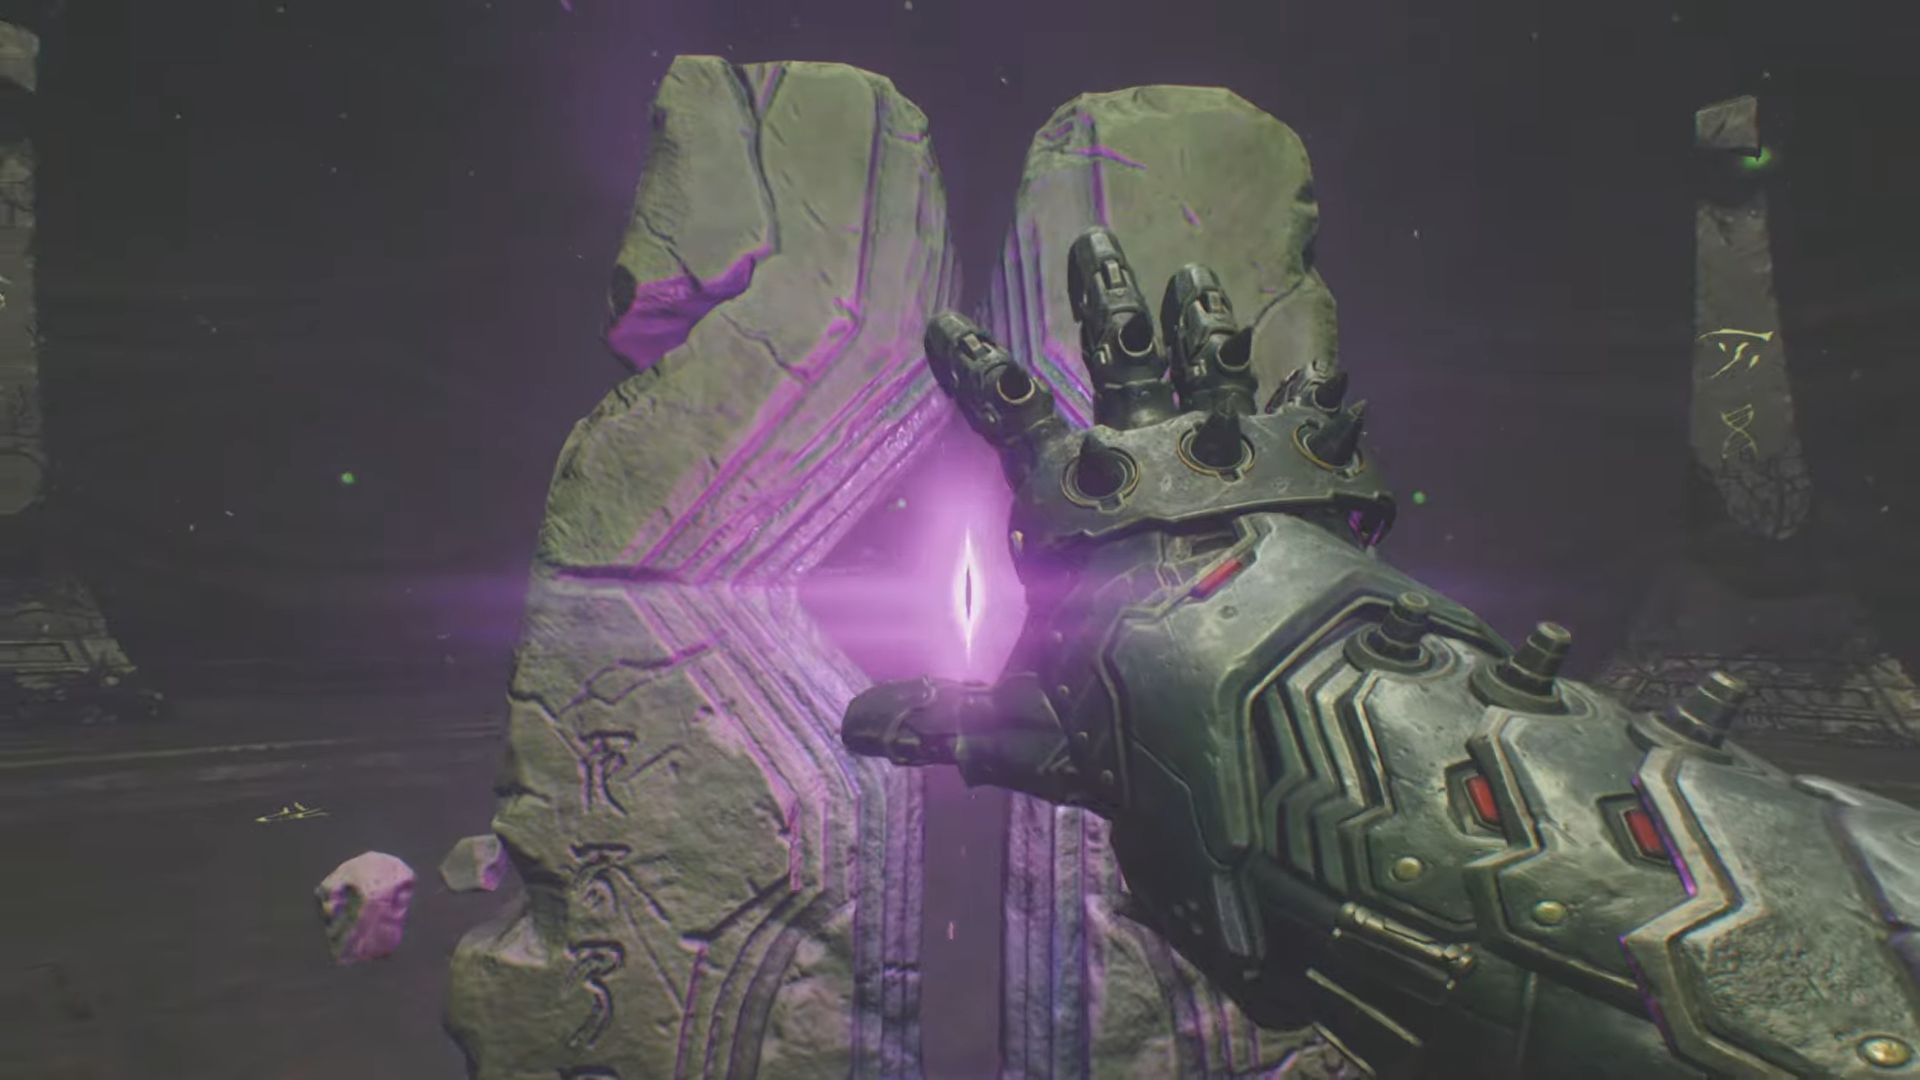
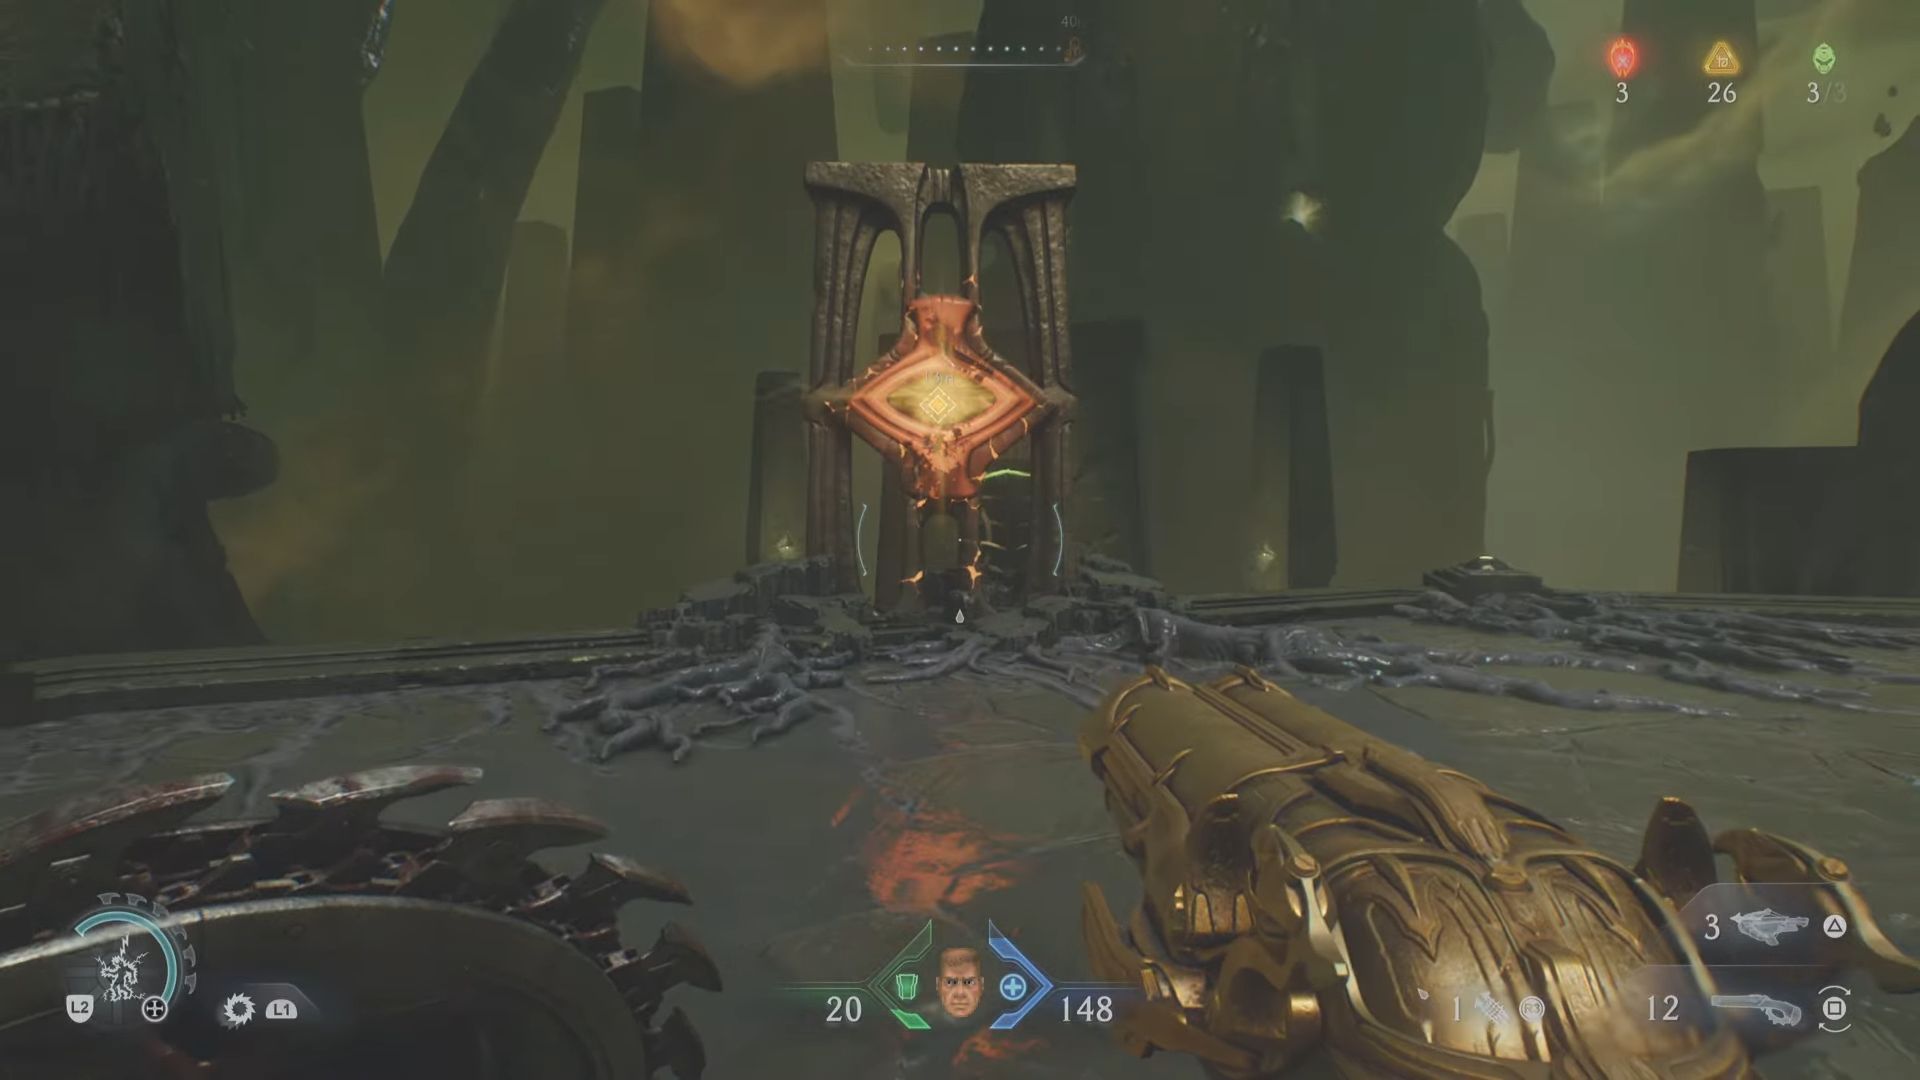
Chapter 15 in Doom The Dark Ages begins with Doom Slayer submerged in water. From here, swim towards the light until you reach some dry land. After the aquatic depths, you will reach an underground area with a rock podium before you. Approach and interact with it, and you will be elevated, where you will witness a big portal gate appear out of the blue. However, the portal will be locked.
The first thing you should do in this area is take a right from where you are standing and walk a little to reach the Sentinel Shrine to upgrade your weapons or shield. After that, go straight right from the portal gate to find the green sphere hanging in the air. This marks the beginning of the platforming part in Doom The Dark Ages. Shield Charge through the sphere, and it will launch you toward the next explorable area in chapter 15, City of Ry’uul.
The Door With The Green Circle
Once you have landed, head straight towards the gate and climb the wall to continue. Up the wall, you will see another green sphere. Now, you know what to do; use it to reach the next platform. There, you will find yet another green sphere; however, this one will launch you into an area filled with demons, so feel free to annihilate them.
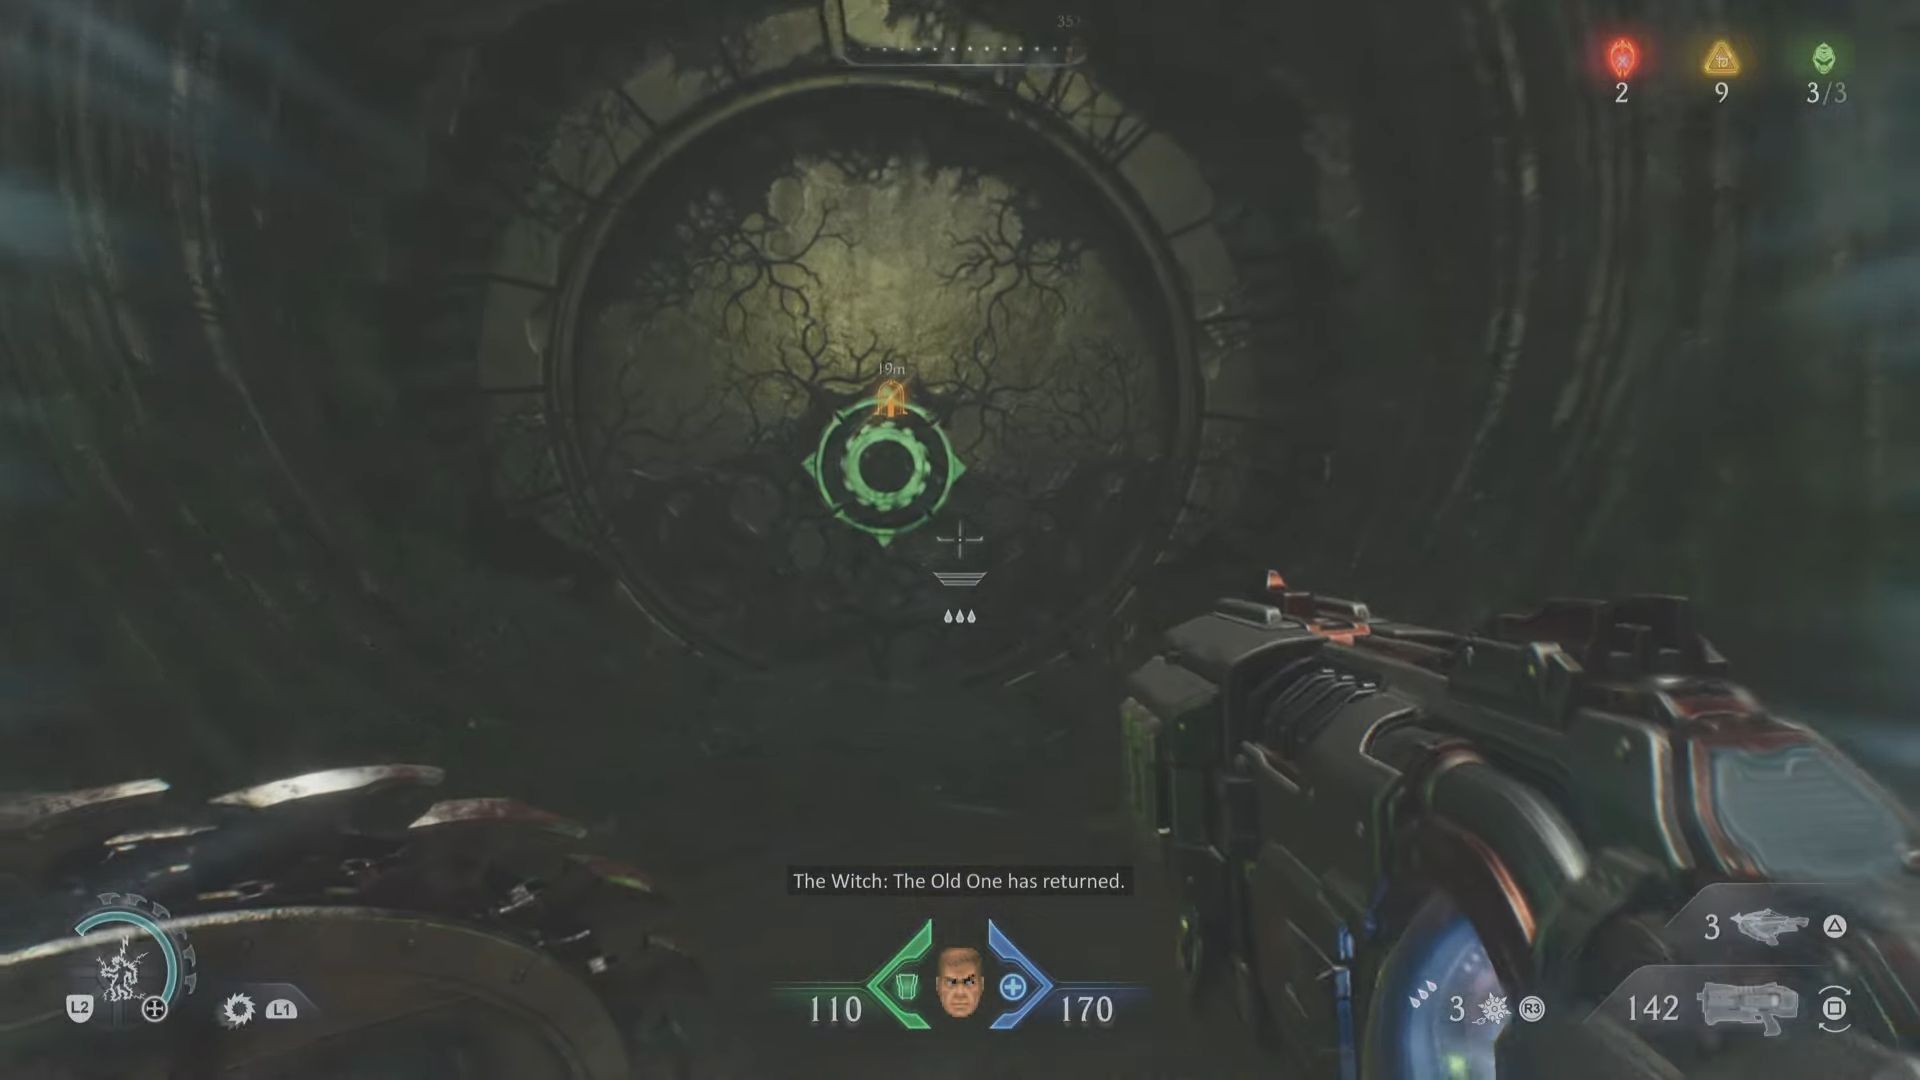
After slaying all the enemies, head towards the yellow marker. It will take you to a demonic structure with a green marking on the floor in front of it. Stand on the marking, and throw your shield at the structure to unlock the next area. Again, head straight towards the yellow marker. You will soon reach a door with a green circle on it, which you can smash through with your shield.
Then follow the path to enter the somewhat open area. From here, take a left and walk a bit further to the cliff before you. Soon after that, you will see enemies spawning and the music kicking in. Once all are dead, use the blue jumping pad to reach the platform above. Then, simply keep following the yellow marker. You will then come across a circular gate with water inside it. Pass through it to reach the other side.
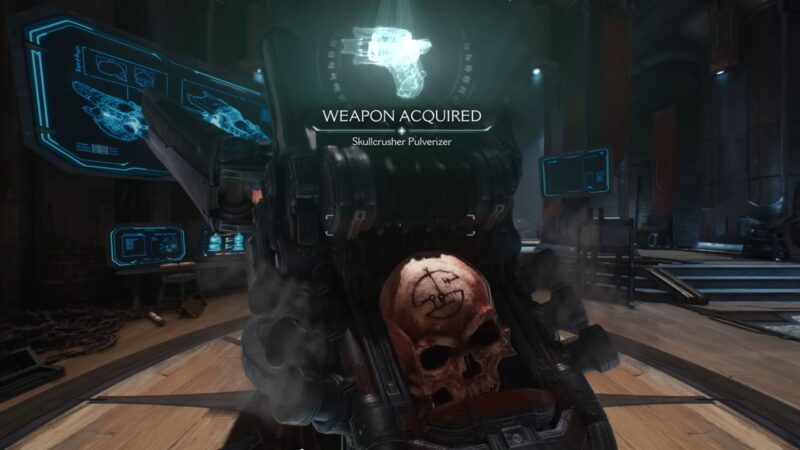
Acquiring the Dreadmace
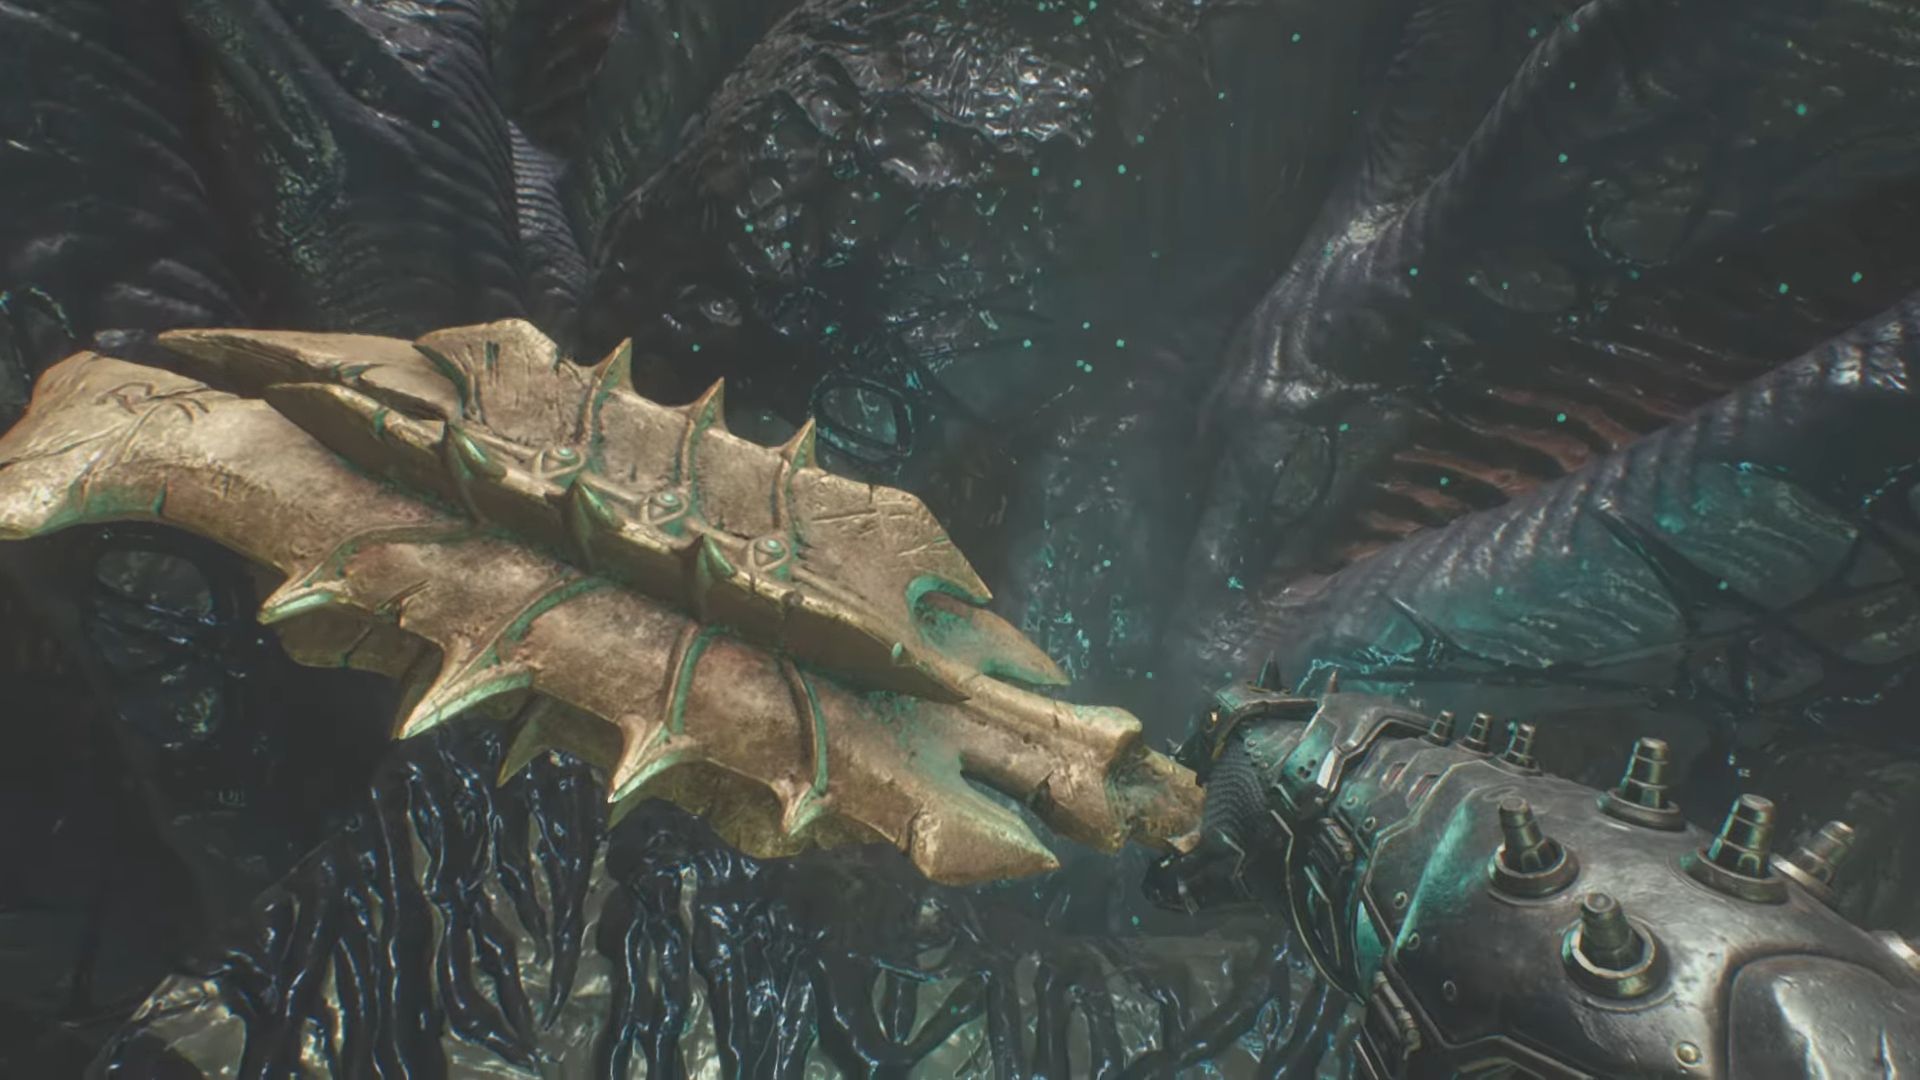
Once you have done so, take a left and move forward until you see a giant stone monolith. Under it will be a new weapon for you, the Dreadmace. It is a powerful weapon that can restore ammo in your weapons with a successful hit. The moment you take the Dreadmace, enemies will start attacking you. Think of it as a testing ground for the newly acquired melee weapon.
After smashing the demons to pieces with the Dreadmace. You will notice a locked gate blocking your way to the quest marker. Now, look to the left to spot a blue marking on the wall above you. Hit it with your shield, and your platform will be elevated closer to the gate. However, the job is not done. Climb the wall opposite the gate, and look to your left to hit the same blue marking again. Once the platform comes up, dive into the water chasm below it.
The Elevated Platform Puzzle
After that, swim safely between the blocks trying to smash you, and eventually, you will reach the surface again. There you will find a Ruby. Now, head towards the exit to the right to reach the platform again. Now, activate the elevated platform with the blue marking and climb the wall like before. There, you will find a structure and a green demonic sign on the floor, similar to the one you encountered before.
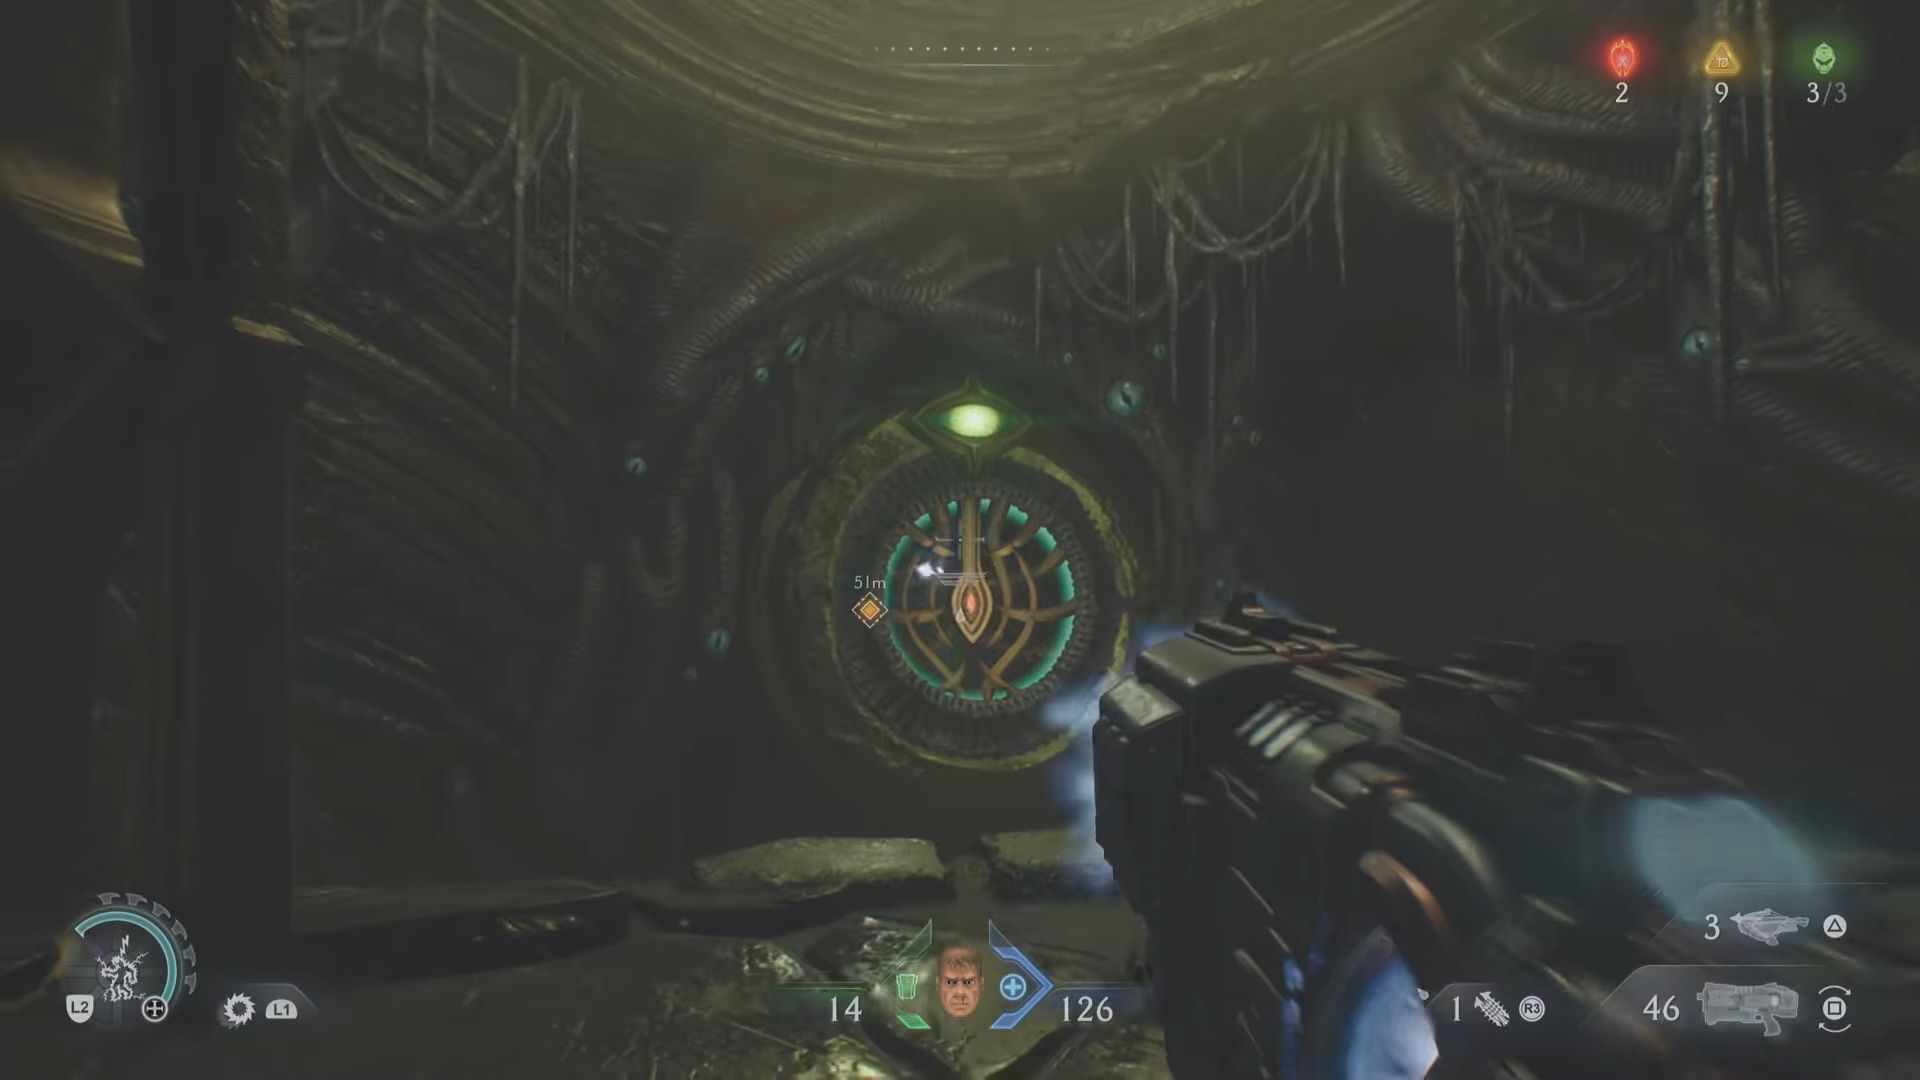
It works the same way, stand on the marking and throw your shield at the structure. It will break the locked gate that is blocking your path. Then, jump through the gate, cross the little aquatic chasm, and you will enter an area with more demons. After ripping your enemies to shreds, keep following the quest marker until you fall to an area below, and find a room with a big cylindrical structure in it.
The Two Pillars Puzzle

Look to its left, and hit the blue marking with your shield. It will make a different structure come up, and this one will be climbable. So, go up and jump into the water in front of you. When you come out on the other side, you will see a breakable chain glowing orange. Destroy it to drop the block it is attached to and jump down to the platform below. Then hit the blue marking to make the first structure come up.
After that, you will see a green circle on the side of the block. It means that you can shield-charge it. Do exactly that, and the block will slide toward the cylindrical structure, so you can easily climb it. Then keep following the quest marker until you reach another stone structure with a purple light. Interacting with it will take you straight to the next area, where demons will ambush you.
Once you are done killing them, smash through the wall with the green circle, go up the jumping pad, and climb the wall to move forward. You will come across more green spheres that you can launch yourself through. After landing on the next platform, walk a bit and then look to your left, and climb up the wall. After continuing a bit more, you will find a deactivated jump pad on the floor to the right. To activate it, take the climbable wall to the left side.
Unlocking the Portal
There, you will find an opening to a blue marker on the left side. Hit it with your shield, and the jump pad will activate. Once you have taken the jump pad to reach the upper level, you must fight some demons before moving on. Then take the green sphere to reach the next area. There, defeat your enemies and climb up the wall. Then go towards the quest marker, you will find a Wraithstone and another structure next to it.
It is the same one from the early stages of the level. Activate it, smash it with your shield, and the big Portal Gate will open. However, the moment you do it, the area in front of the portal will be swarmed with enemies, so you will have to deal with them first. Additionally, you can also find a Ruby if you take the jump pad at the far left side of the arena. Once you are done, enter the big portal to complete Doom The Dark Ages Chapter 15: City of Ry’uul.
Thank you for reading the article. We provide the latest news and create guides for Doom The Dark Ages. Also, watch Deltia play on Twitch or visit his YouTube channel!