Facebook
 Reddit
 Email
Email
In this guide, we’ll explore how you can complete ‘Takezo the Unrivalled’ in Ghost of Yotei, which is one of the Myth Quests.
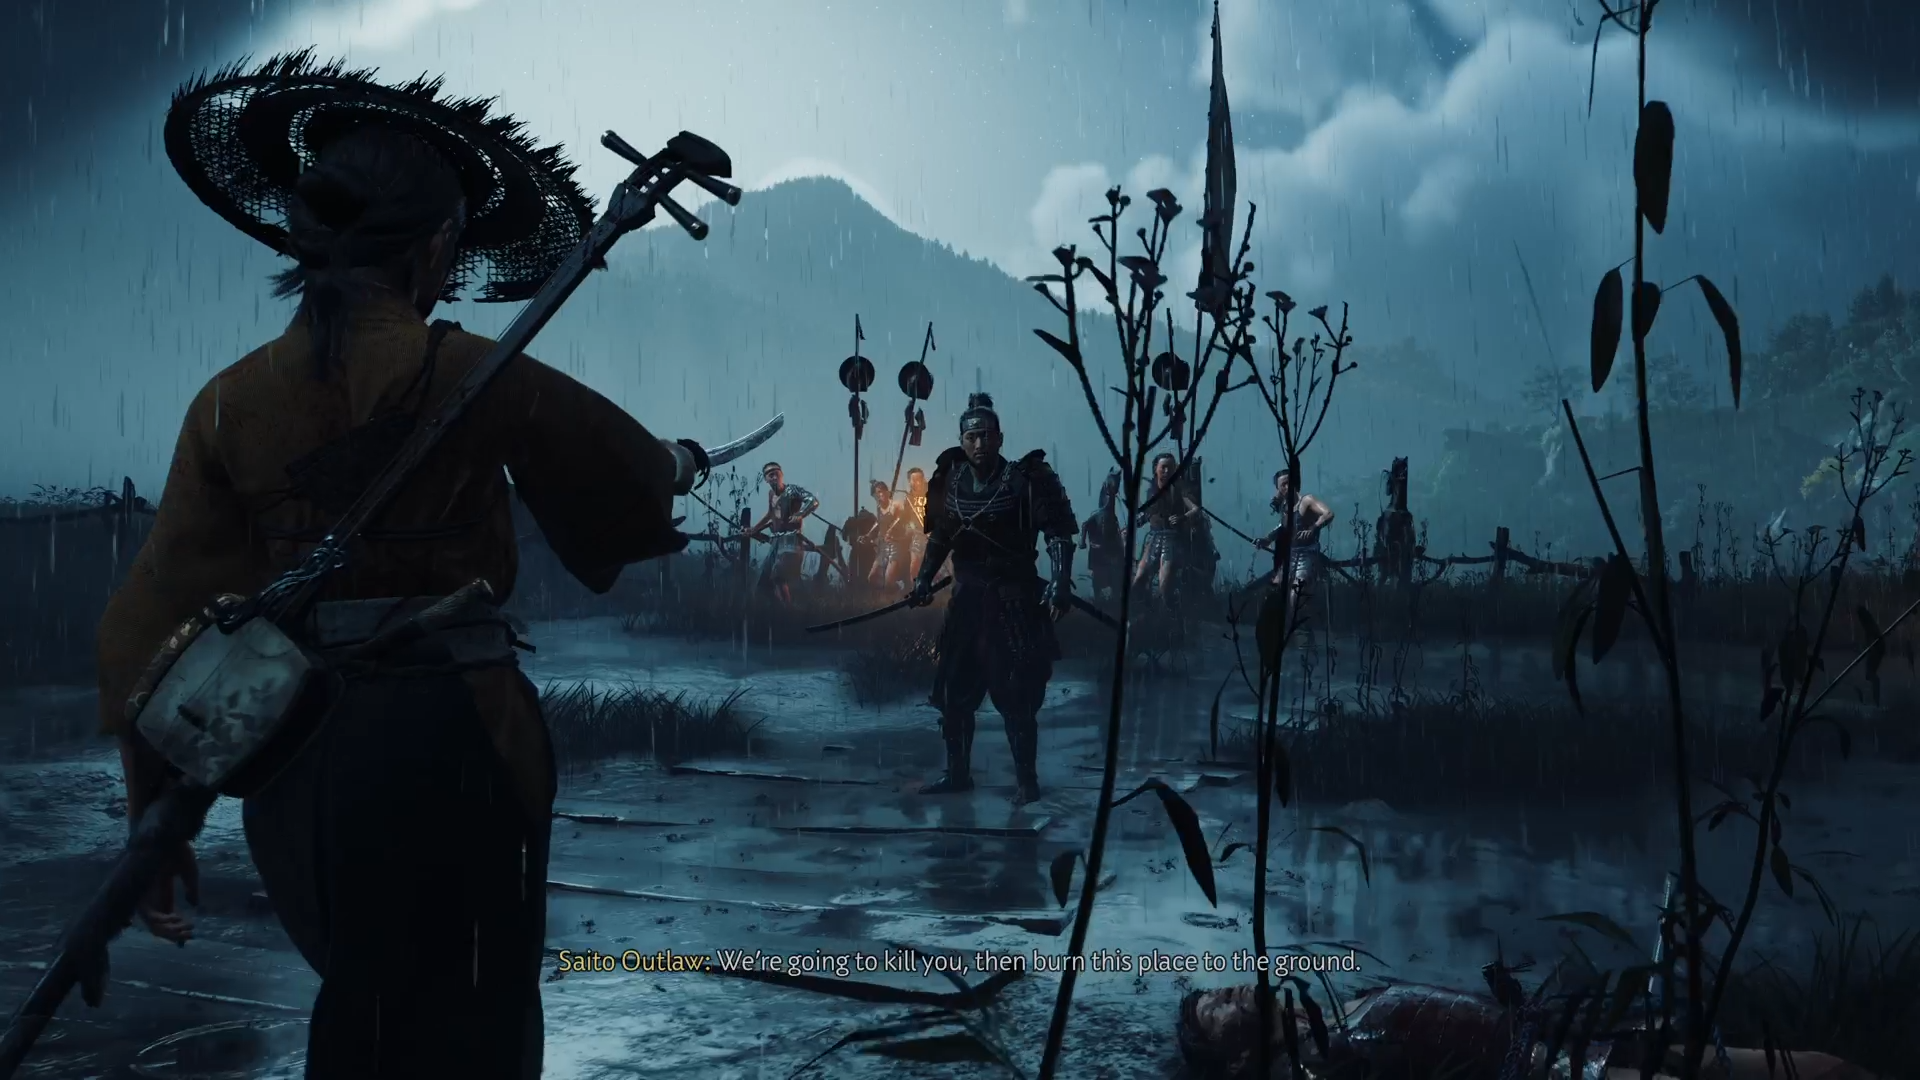
Takezo the Unrivalled in Ghost of Yotei is a Myth Quest that takes place during the first chapter, The Lone Wolf. It’s a quest that involves dueling five of Takezo’s disciples at the Dueling Tree before you can finally take on the man himself. Even though it’s a side tale, you shouldn’t avoid this one, as it unlocks a powerful Dual Katana attack by the end. Here is a complete guide for the Myth Quest.
How To Start Takezo the Unrivalled in Ghost of Yotei
The quest becomes available after the prologue. To start, all you need to do is face off and defeat any of the five disciples of Takezo at one of the Dueling Trees. Once that happens, the other Dueling Trees will start appearing across the Ezo map. Each of these is tied to one of the disciples. You must complete five of them before you can have a battle with Takezo himself.
Also Read: Ghost of Yotei The Blind Stranger Walkthrough (Side Quest)
Takezo the Unrivalled in Ghost of Yotei: Fighting the Disciples
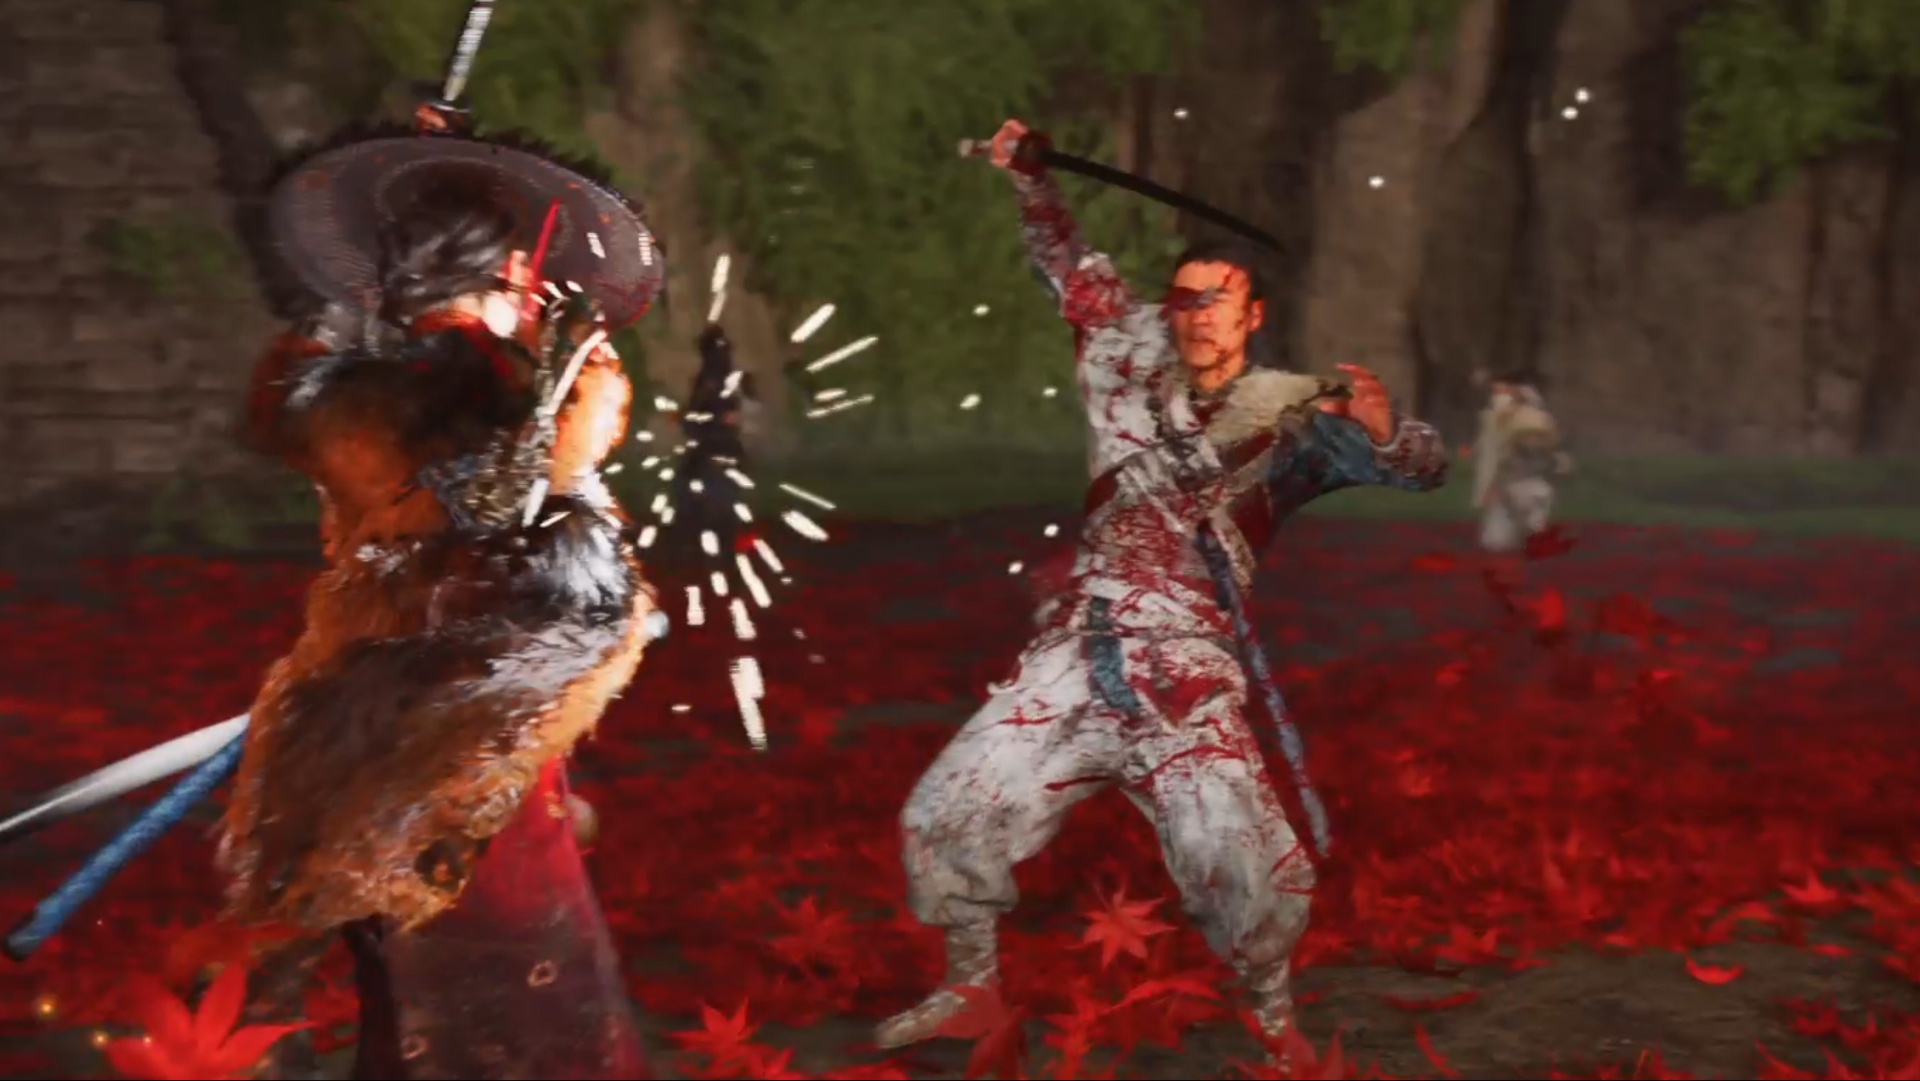
The quest involves two phases. In the first phase, you’ll need to locate and fight five of Takezo’s disciples at the Dueling Trees. The second phase involves fighting Takezo. Let’s take a look at how you should proceed.
Dueling Tree 1
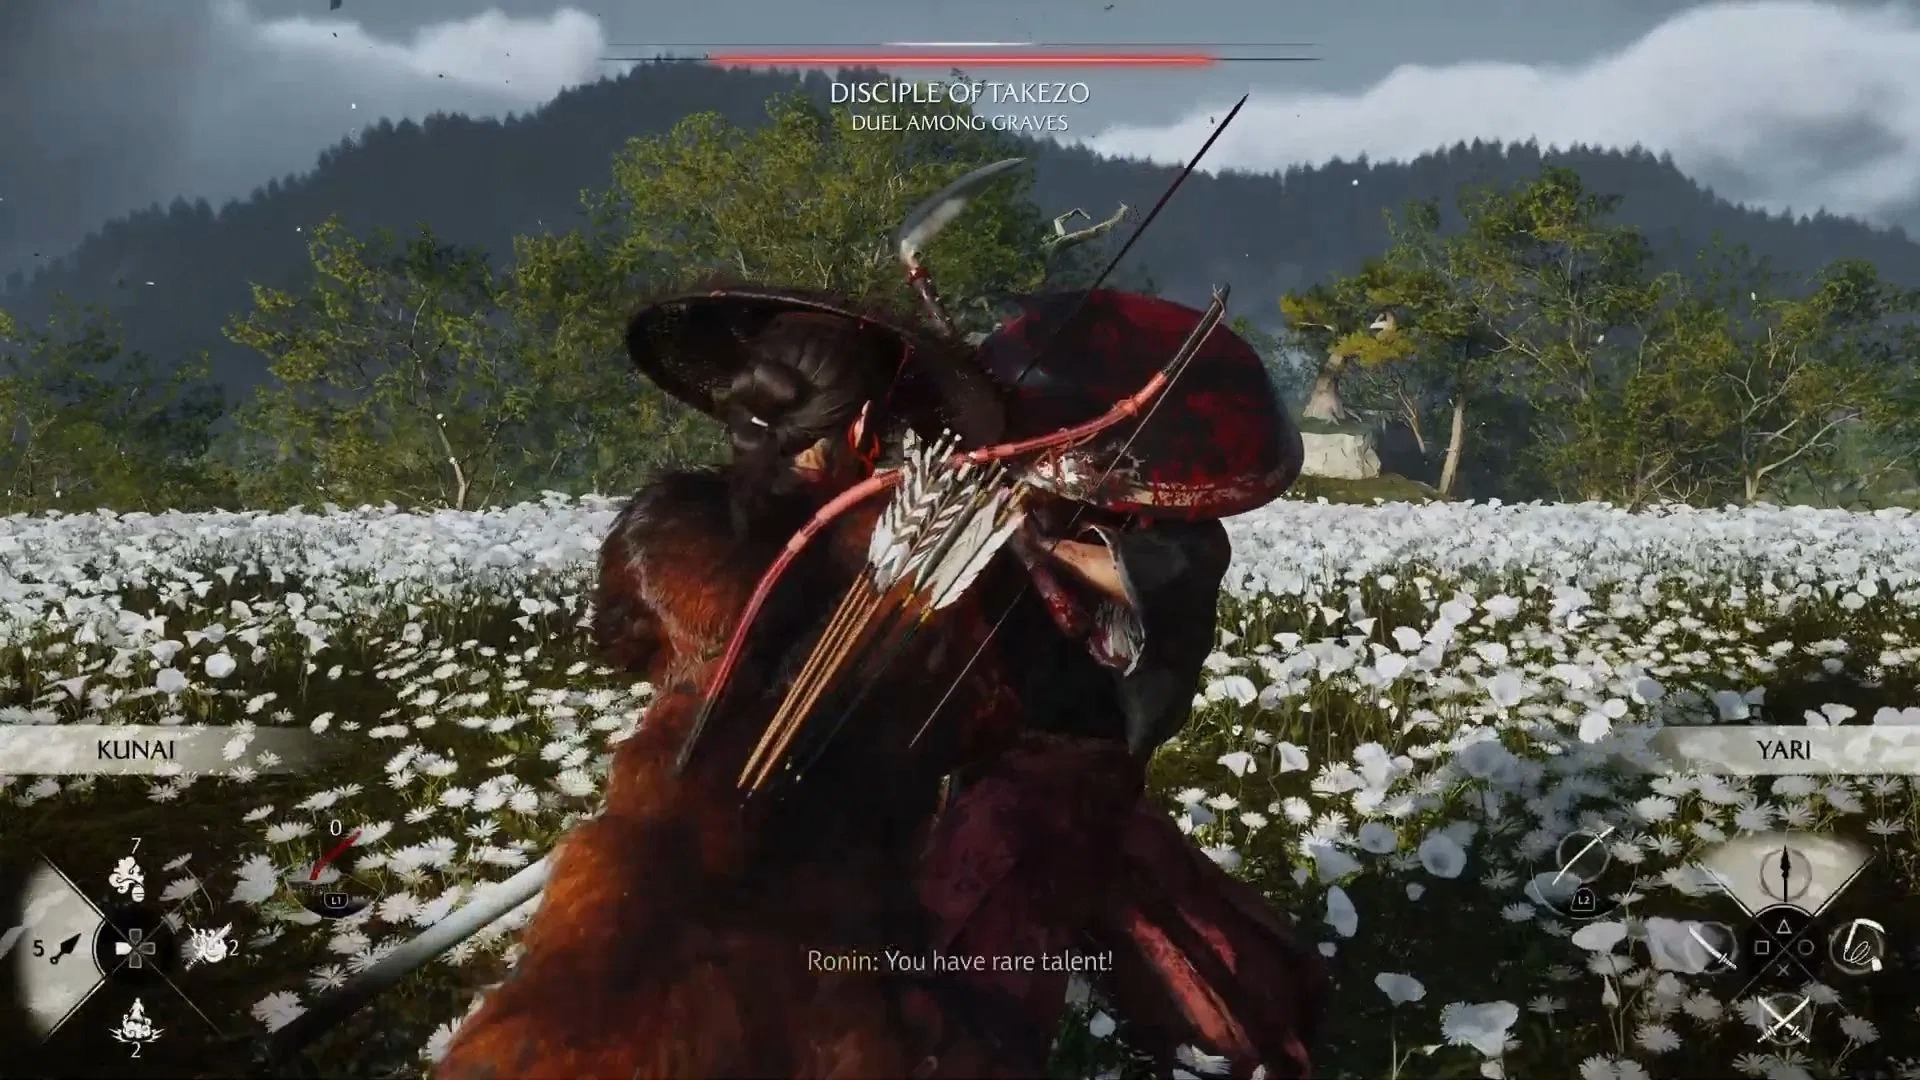
Reach the white flower field just south of the Shikotsu River in the Yotei Grasslands. This is where you’ll run into the first disciple. After a cutscene, the fight will begin. You can parry most of his attacks. However, some attacks have the red glint, and Atsu must dodge out of the way of those.
Mostly, he will mix up overhead slash attacks and stabs. Once the fight is over, you’ll receive Takezo’s Charm of the Unrelenting Warrior. Equipping this item will increase your damage when you have low HP.
Dueling Tree 2
To find this opponent, head to the northwestern corner of the Yotei Grasslands. Once again, a battle begins as soon as you approach the disciple. In this fight, watch out for the feint where he crouches down as if to unleash a strike. Don’t fall for it and try to parry this incoming attack, since the enemy will perform a quickstep before they lash out. Wait for the blade to actually come towards you before you take defensive or evasive maneuvers.
Also, he will use three back-to-back thrust attacks. So, you’ll need to time your parries perfectly here or risk losing all of your health. After you’ve drained the disciple’s health considerably, he’ll start using a spear. The weapon gives him greater reach, and you have to watch out for the quick thrust attacks during this phase of the fight. You’ll get Takezo’s Charm of Renewed Determination once you beat this disciple. The item will enable spirit buildup whenever Atsu takes damage.
Dueling Tree 3
The next opponent is across a gap in the cliffside in the northwest Tokachi Range. When the fight begins, you’ll notice that several of his attacks are unblockable. However, some of his slash attacks you can parry. So, make sure you study his attack patterns to predict when he’s about to unleash red or blue glint attacks. From time to time, he’ll rush in toward you with spinning attacks. Make sure you sidestep when this happens, as that’s safer than trying to parry.
Later on in the fight, the enemy will begin using a Kama. You can either rely on your mastery of Yari techniques or simply dodge and parry to get through this phase of the fight. Defeating him gives you Takezo’s Charm of Bold Deflection. This one improves stagger damage after parrying enemy attacks.
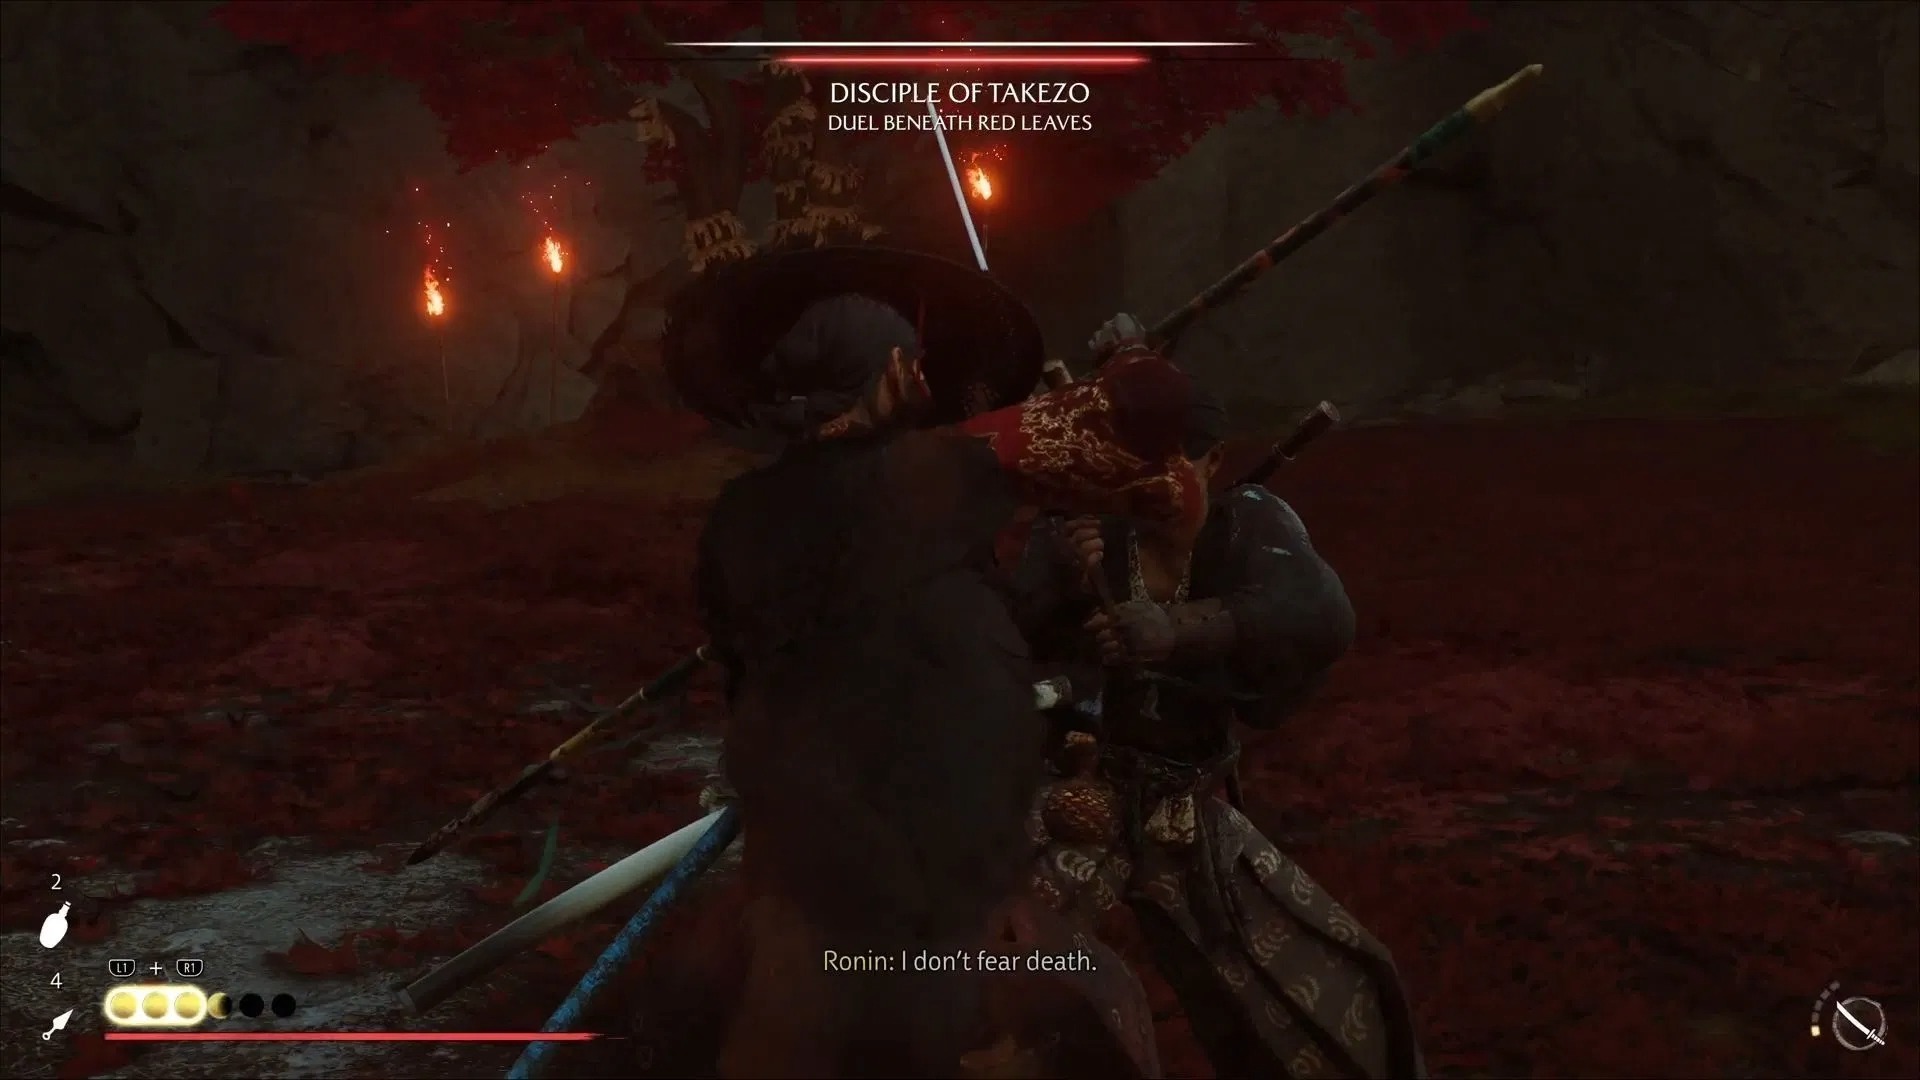
Dueling Tree 4
Head south from the Tomamu Marshlands to find this disciple sitting under a cave. He’ll prioritize red glint power attacks that you can’t really block. So, sidestepping is the best way to avoid those attacks. Wait for an opportunity to counterattack. He also has a sheathed attack, which is slow and gives you plenty of time to parry if you don’t panic.
After a bit of damage to his health, he’ll change to dual Kama. However, he doesn’t have any other surprises up his sleeve. Stun him with the Metsubishi before unloading on him while he recovers. You’ll get Takezo’s Charm of Bracing Victory as a reward for completing this encounter. If you equip it, the charm will restore Atsu’s health upon defeating staggered enemies.
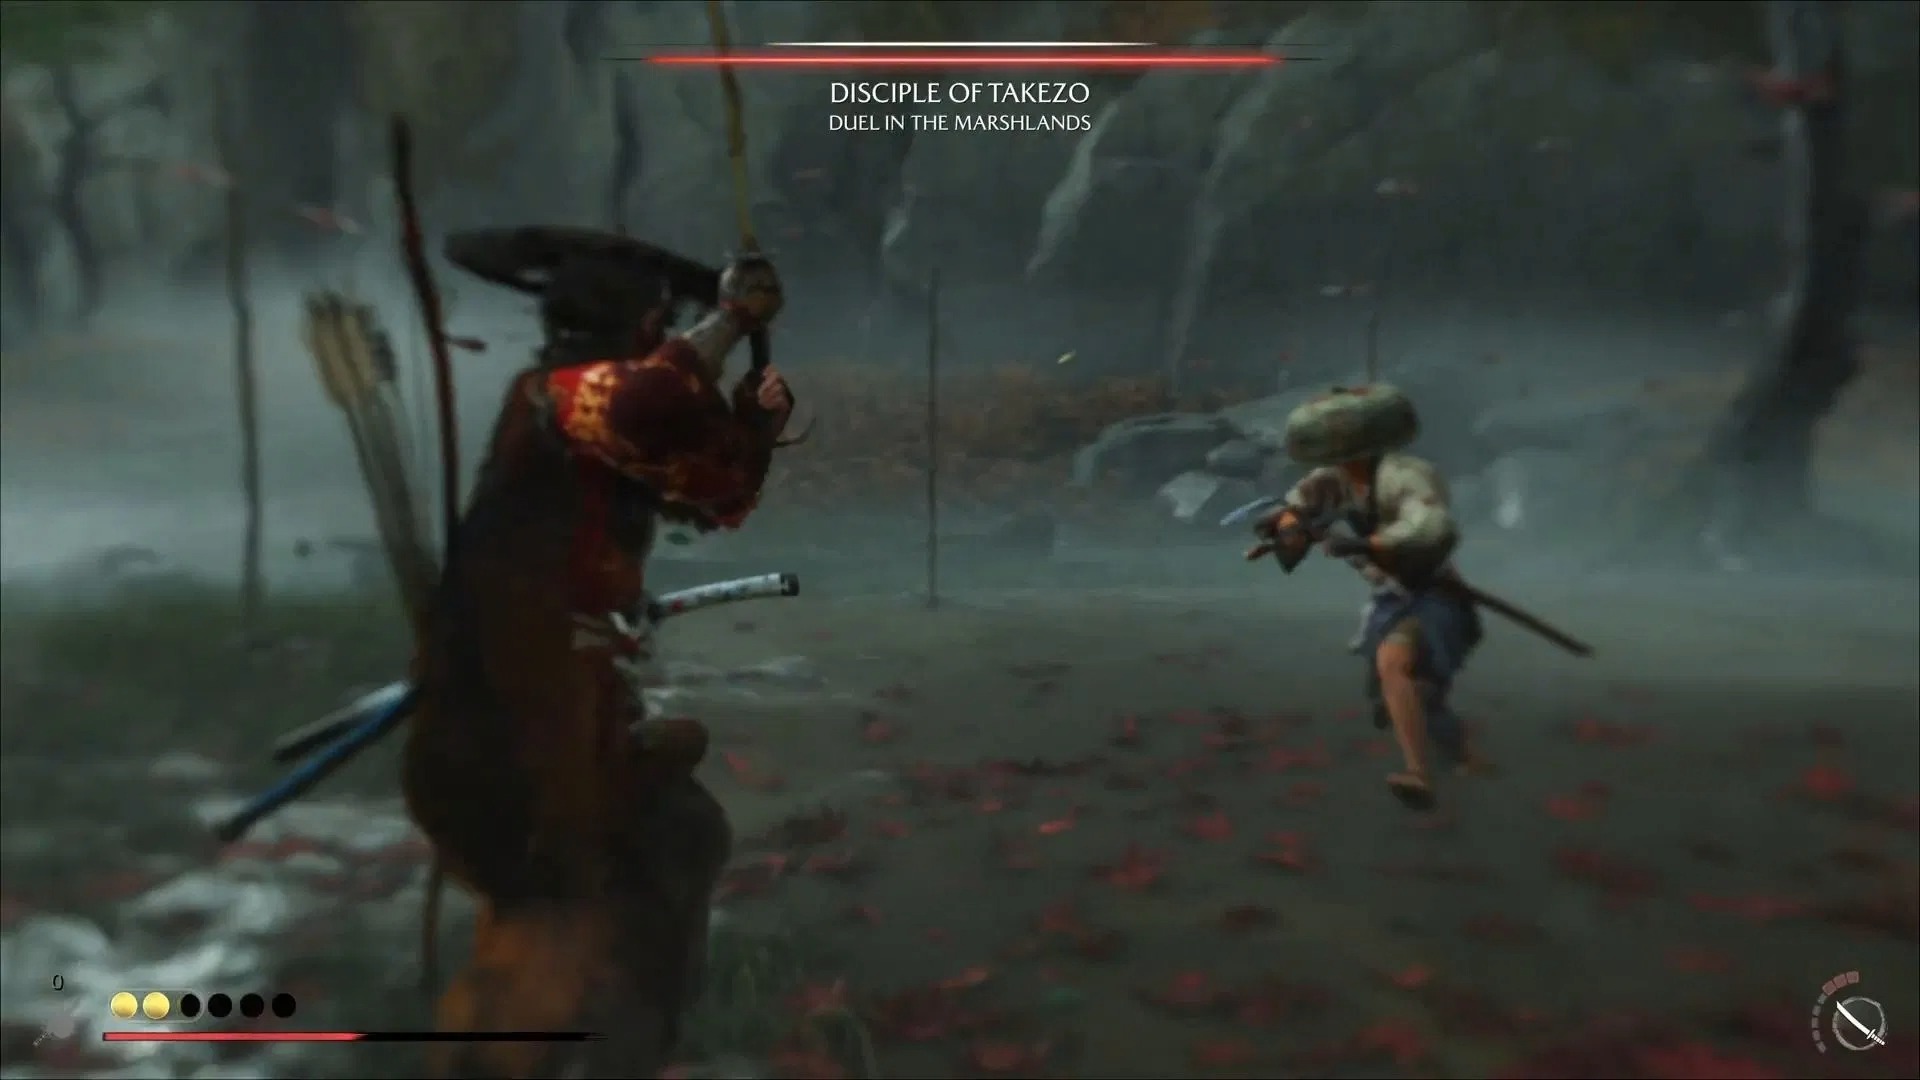
Dueling Tree 5
The final disciple is at Niikappu Falls in the northeast Tokachi Range. This disciple doesn’t start off the battle with a Katana. Instead, he uses a spear. Although the attacks come slowly, they can be difficult to read and avoid. We suggest sidestepping instead of trying to perfect your parry timings here. Around halfway through the fight, he’ll switch to a Katana.
During this phase, the disciple mixes up unblockable attacks with the blue glint slashes that you can parry. Patiently dodge out of the way of the former and wait for the right time to parry the latter attack types. You will receive Takezo’s Charm of the Stout Heart once you defeat this opponent. Equip it to improve the effectiveness of Atsu’s healing.
Also Read: Story and Ending of Ghost of Yotei Explained
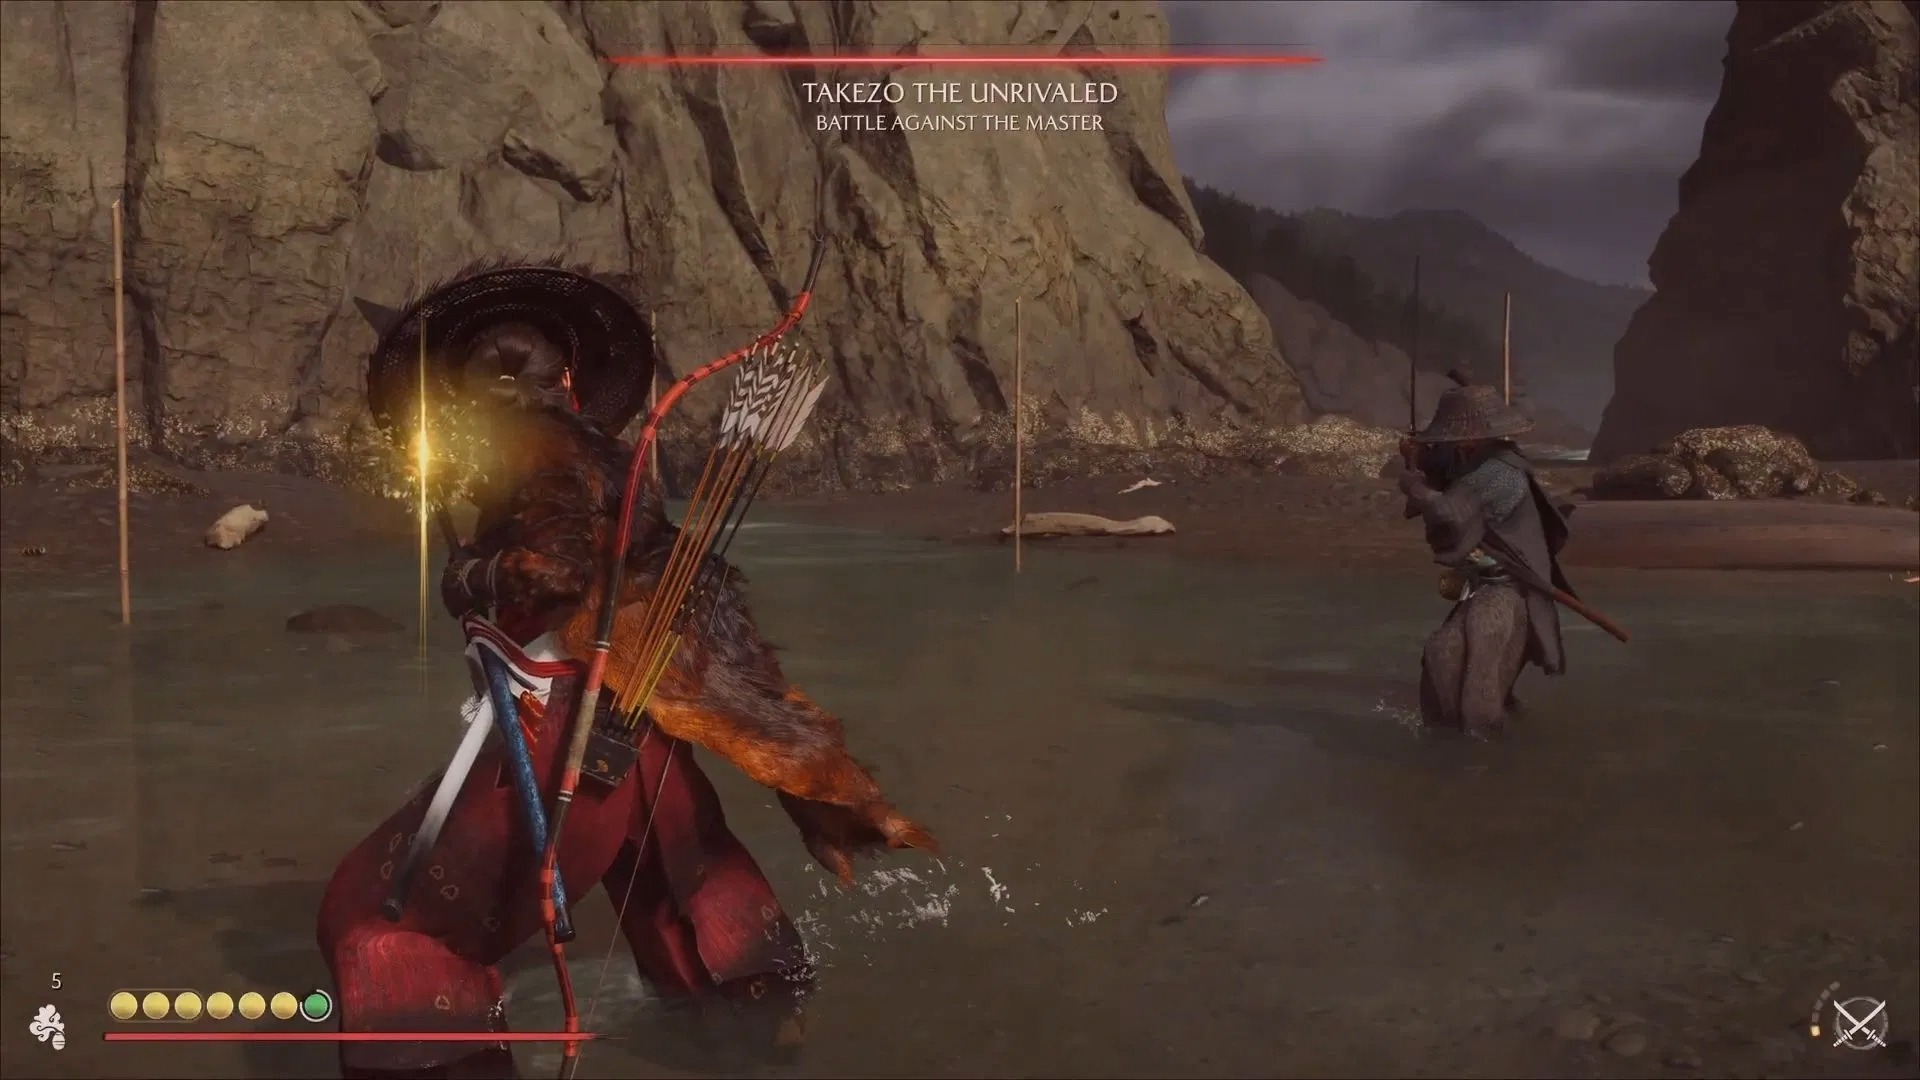
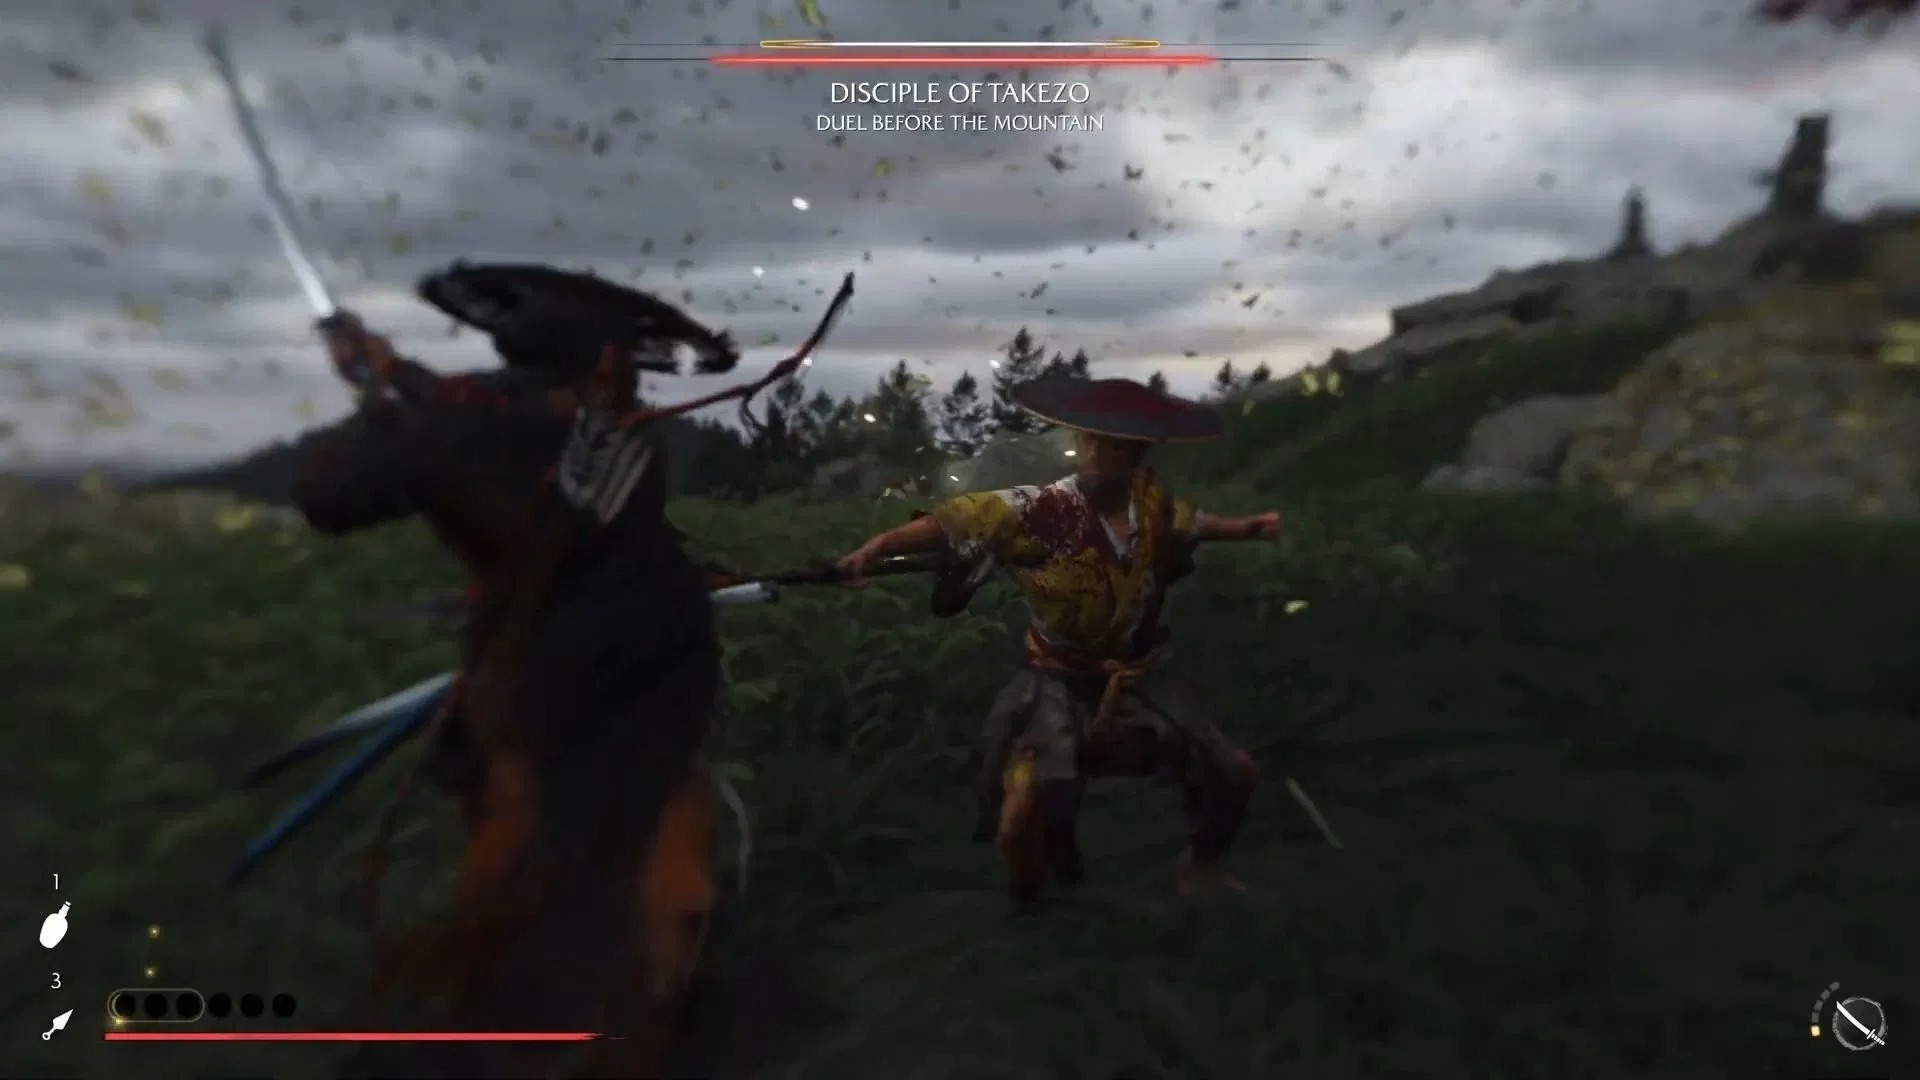
Fighting Takezo
After all five Disciples are down, the quest will take you to the southern part of the Yotei Grasslands, toward a coastal tree. When you reach the place, interact with the stump to trigger the battle with Takezo. The enemy has two distinct phases.
Phase 1
During the first phase, you’ll have to be careful of the following attack types:
- Triple stabs: Parry or avoid each of the stabs, all of which come back-to-back.
- Shoulder slice: He will launch a shoulder slice that you simply cannot block. Sidestep at the right instant, or the hit could eat away most of your HP.
- Sheathed attack: This is yet another unblockable attack that you should dodge.
- Kicks: The opponent will kick you while you’re in the middle of a combo. These can be annoying and difficult to avoid.
After causing enough damage to Takezo, the first phase will conclude, and the fight will reset.
Phase 2
In this phase, Takezo changes things up by quickly swapping between his Katana and an Oar. Whenever he swaps weapons, he’ll perform a sheathed attack that you won’t be able to block. So, dodge out of the way of those. Besides that, his Oar attacks usually have a blue glint but are slow. So, make sure you don’t hit parry too soon.
After you manage to get the opponent down to a quarter of his HP, the battle will end. Instead, he’ll teach you Takezo’s Dual Slash, which is a move you can perform using the Dual Katana. Simply press triangle and circle on your controller at the same time to perform this one.
After the fight, Takezo will challenge you to a rematch atop Mount Yotei. However, for that, you’ll need to equip all five of the charms you received by defeating Takezo’s disciples. Since additional charm slots only open up later on in the game, you won’t be able to initiate the rematch right away.
Rewards for Completing Takezo the Unrivalled in Ghost of Yotei
After the fight with Takezo, the Myth Quest will come to an end. You will receive the following:
- Dual Katana Spirit Attack
Also Read: Ghost of Yotei: How To Lock On Enemies?

We provide the latest news and create guides for Ghost of Yotei. Meanwhile, you can check out the following articles or catch us on YouTube: