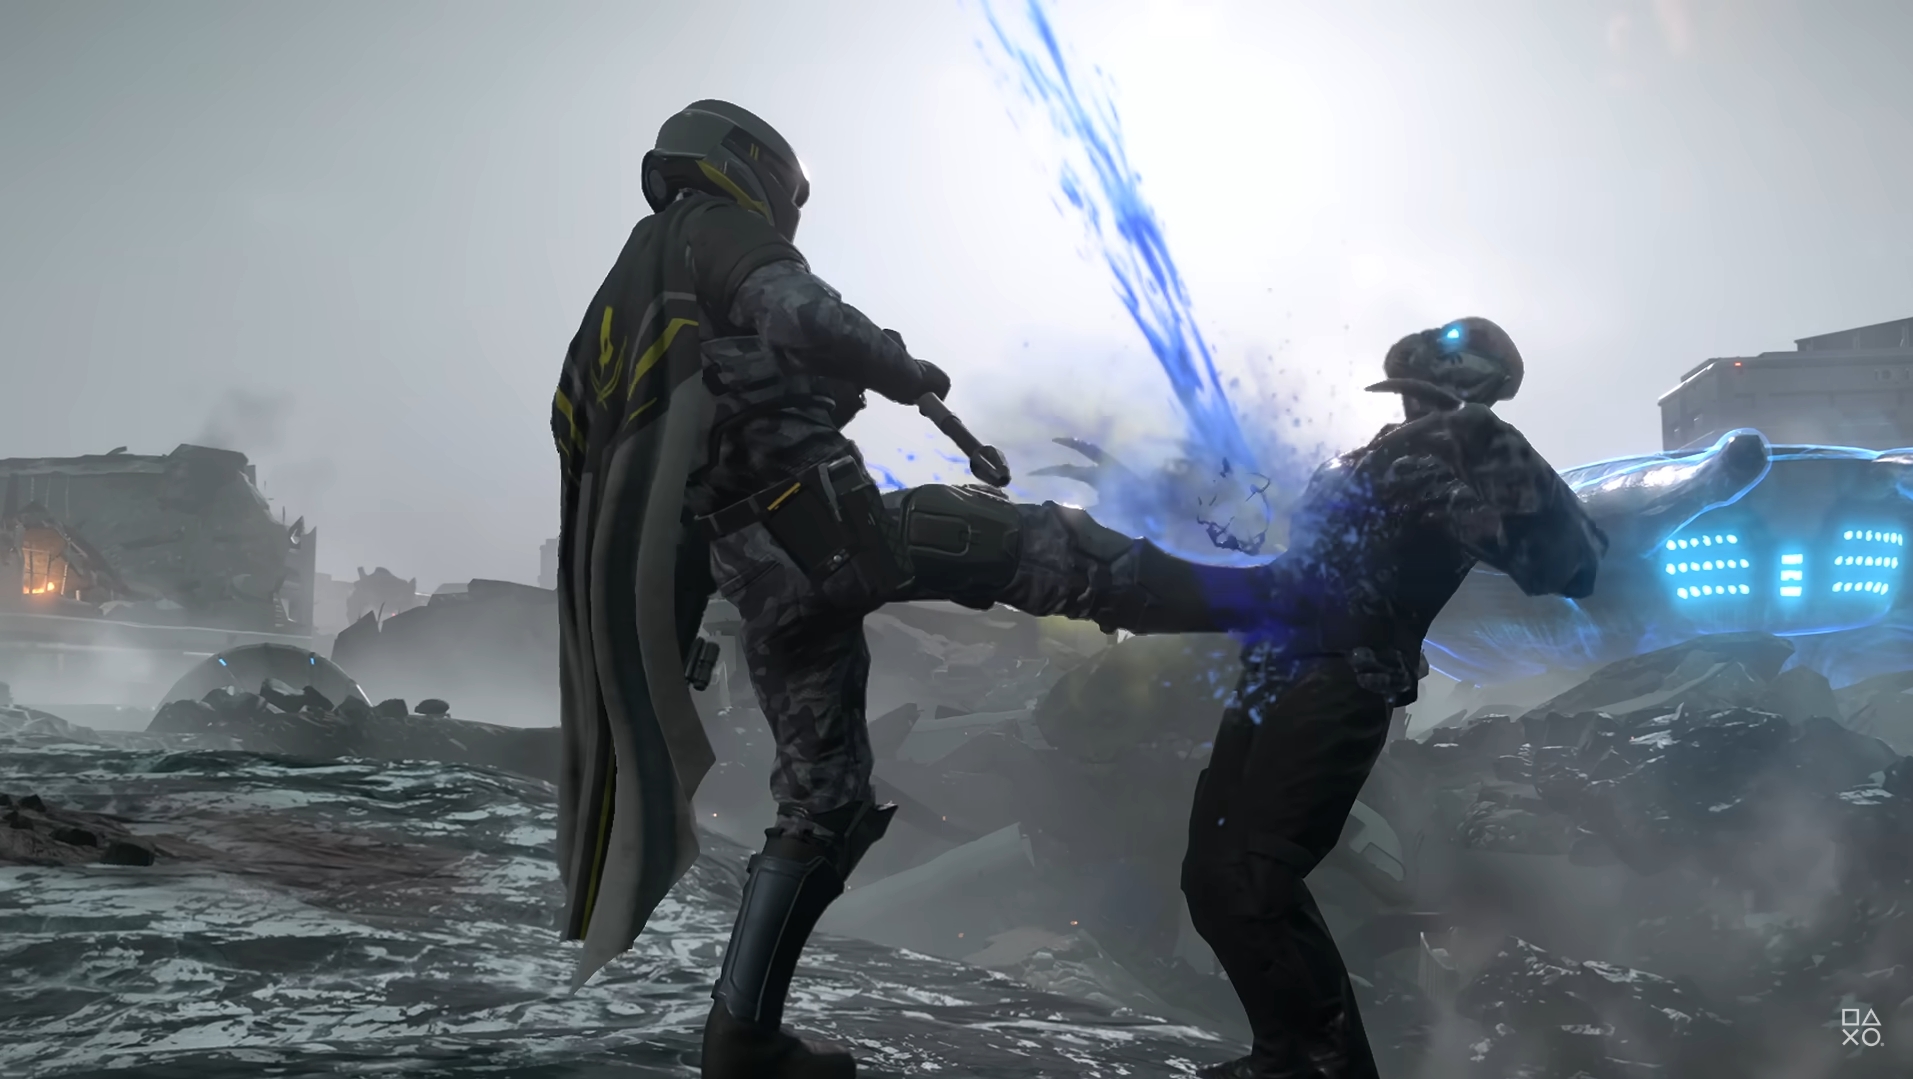
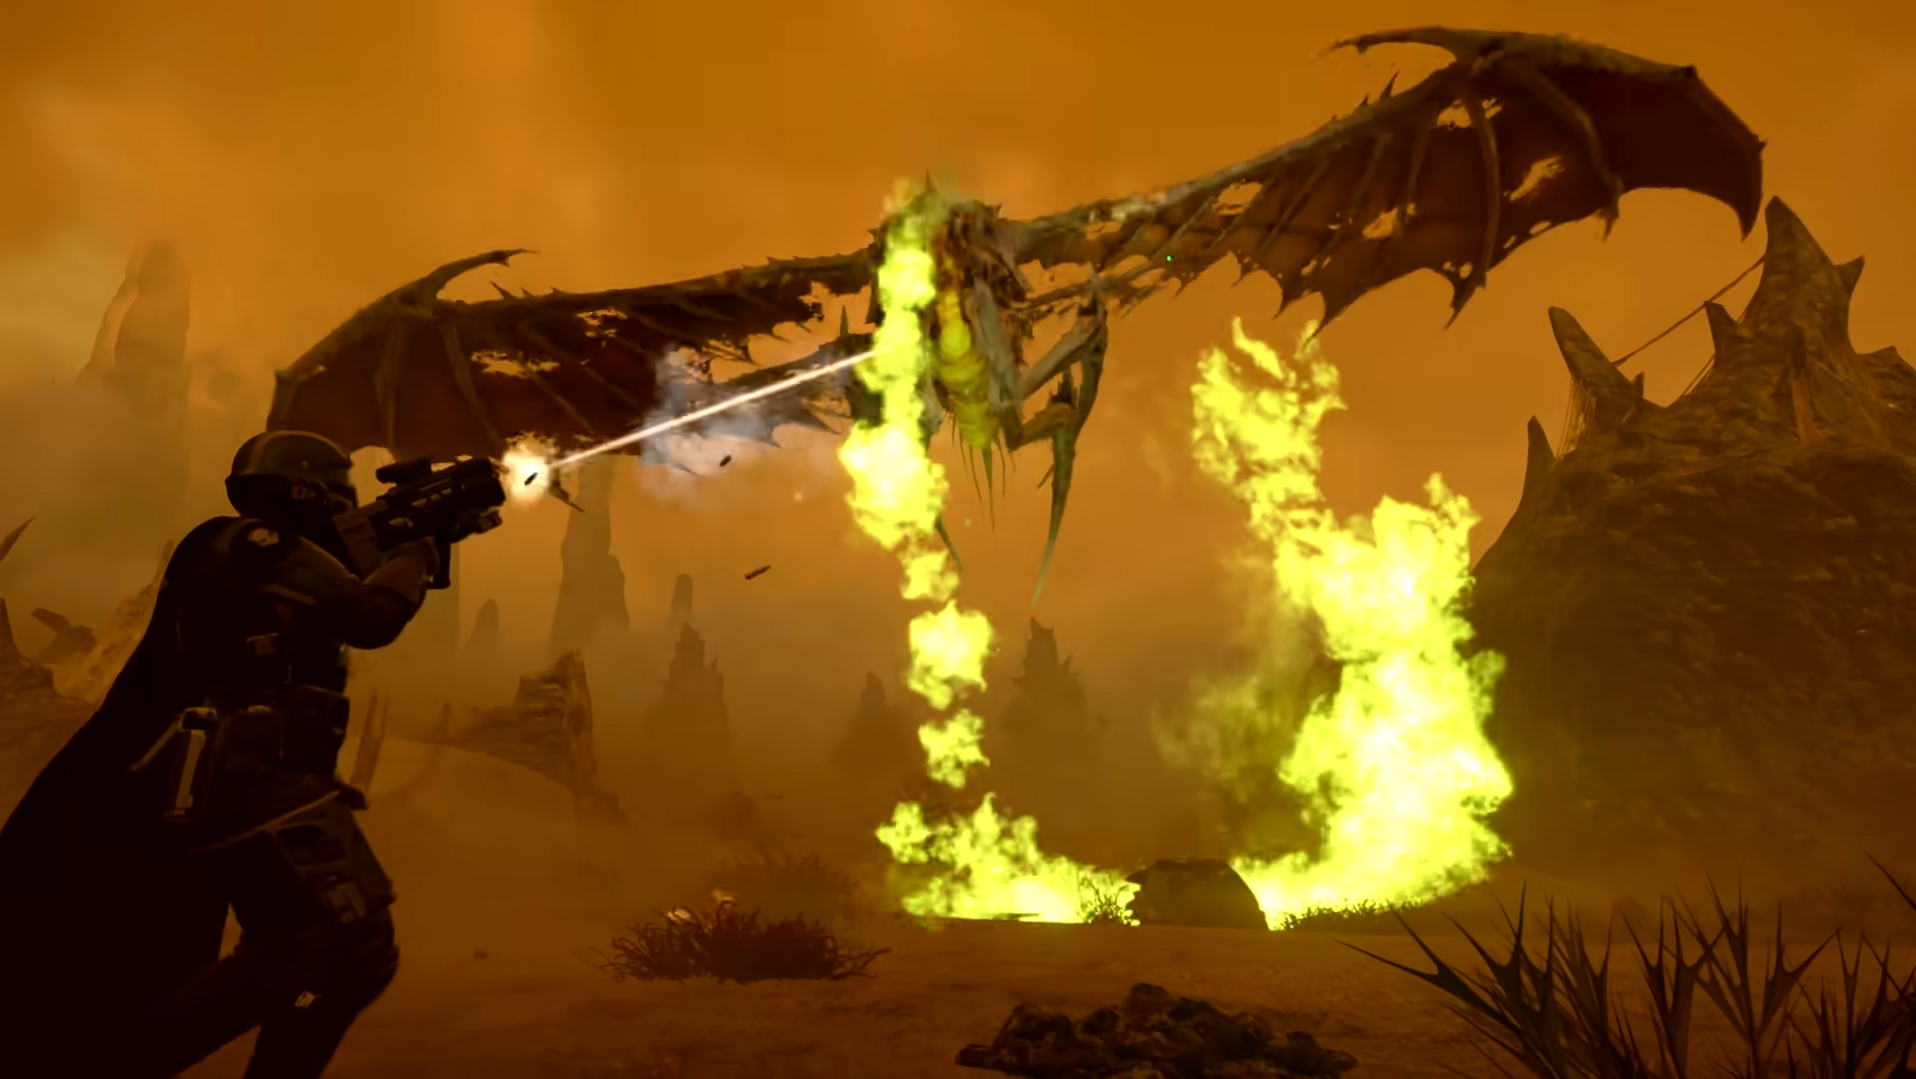
Discover how to use a loadout made largely of Eagle Strategems in Helldivers 2 against the Terminids, Automatons, and Illuminate.

The Eagle provides close air support to Helldivers during operations with its cannons, rockets, and bombs. The armaments the Eagle carries are determined by the stratagems picked before the mission. What if you were to choose only Eagle Stratagems to fully deck out the aircraft?
Although it may not be a highly optimized strategy, using such a loadout is incredibly entertaining and introduces a unique playstyle. When all Eagle Stratagems are available, you are all-powerful, calling in all manner of devastation upon the battlefield. However, when the Eagle withdraws to rearm, you have to rely on small arms and pick fights very carefully.
Also Read: Helldivers 2: Best Support Builds and Loadouts
Best Eagle Builds for Helldivers 2
Recommended Stratagems
Solo
| Terminids | Automatons | Illuminate |
|---|---|---|
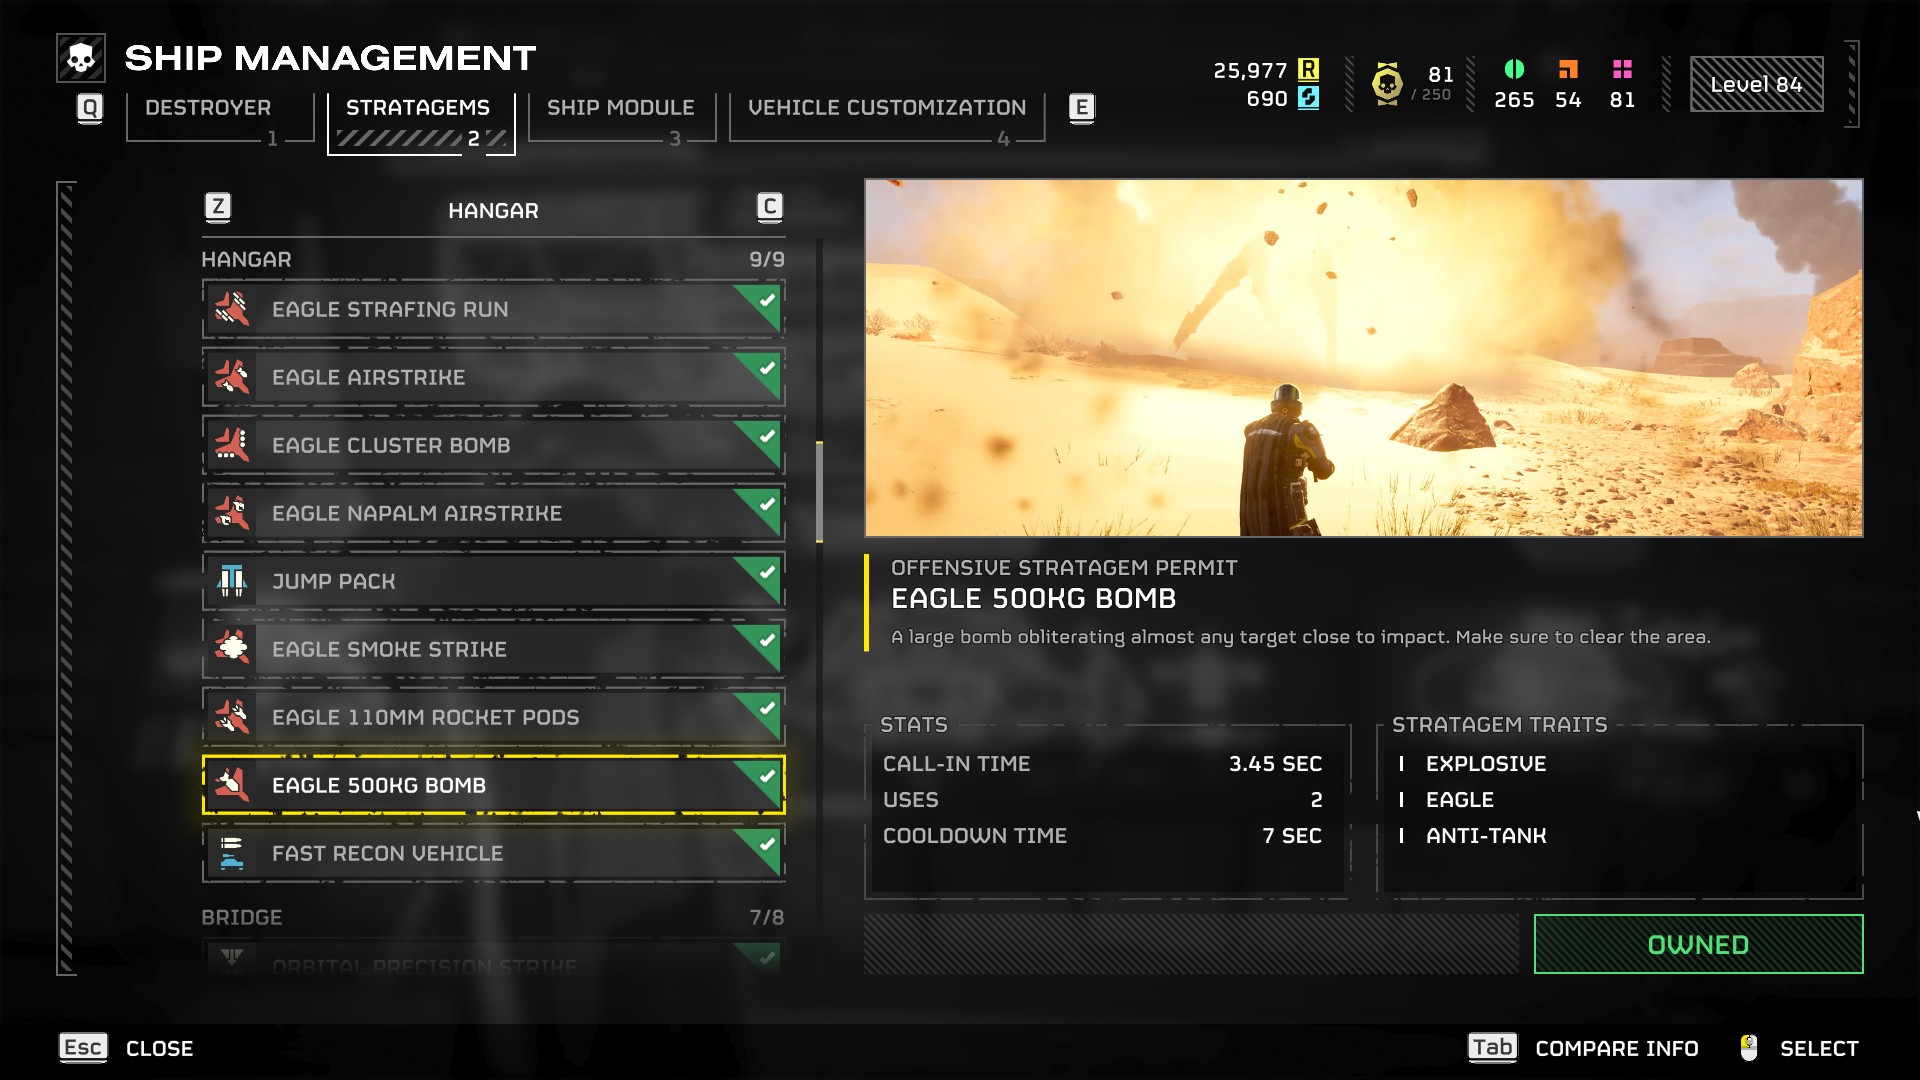
| Eagle 500kg Bomb | Eagle 500kg Bomb | Eagle 500kg Bomb |
| Eagle Strafing Run | Eagle Smoke Strike | Eagle Strafing Run |
| Eagle Napalm Airstrike | Eagle Cluster Bomb | Eagle 110mm Rocket Pods |
| Jump Pack / Disposable Anti-Tank | Recoilless Rifle / Shield Backpack | Guard Dog / HMG |
Playing all-Eagle in Solo is inadvisable since you won’t have teammates to round out the build. Therefore, you’ll have to choose one weapon or backpack to hold your own when you have to stand and fight.
Multiplayer
| Terminids | Automatons | Illuminate |
|---|---|---|
| Eagle 500kg Bomb | Eagle 500kg Bomb | Eagle 500kg Bomb |
| Eagle Napalm Airstrike | Eagle Airstrike | Eagle Napalm Airstrike |
| Eagle Cluster Bomb | Eagle Cluster Bomb | Eagle Strafing Run |
| Eagle Strafing Run | Eagle 110mm Rocket Pods | Eagle 110mm Rocket Pods |
An all-Eagle build is perfectly viable in multiplayer, even at Helldive and Super Helldive difficulties. You can get support weapons by picking up the guns found on the map. You can also ask teammates to call in their backpacks or weapons for you once they are off cooldown. This playstyle introduces endless variety with different weapon and backpack loadouts every match, with the only constant being the Eagle overhead.
Terminids
The Eagle build is the least effective against the Terminids because of their speed and preference for melee. In the middle of combat, they will afford you very little breathing room to call in Eagle strikes. To use Eagle effectively against the Terminids, you’ll have to memorize the stratagem codes and input them quickly.
During solo play, you should forgo the Napalm Airstrike in favor of either a Jump Pack or a similar mobility stratagem. The Jump Pack will give you space to launch stratagems and position yourself on high ground where the bugs can’t reach you. Alternatively, equipping an anti-tank weapon will allow you to deal with Chargers and Bile Titans effectively, rather than running away when you’re out of Thermite grenades and the 500kg bomb is on cooldown.
Automatons
The Automatons are the most vulnerable to the Eagle build, with slow-moving units that give you plenty of time to line up stratagem throws. Since napalm isn’t effective against the bots, switch it out for the Eagle Airstrike. This stratagem drops bombs in a horizontal line in front of your position, destroying smaller targets and dealing serious damage to heavies.
During solo play, the Eagle Smoke Strike will allow you to avoid unnecessary engagements and play more stealthily. We can switch out the Cluster Bombs for the Smoke Strike, as the Eagle Airstrike performs a similar role but with more versatility.
Illuminate
The Eagle build is excellent against the Illuminate, as airstrikes can deal with both swarms of Voteless and the elites with ease. The Eagle Strafing Run is particularly excellent when used down urban streets, which make for ideal killboxes for the Eagle’s cannons. The mobs of Voteless are particularly flammable, and none of them will make it through the corridor of fire created by an Eagle Napalm Airstrike.
Recommended Strategy
- Call in the Eagle Napalm Airstrike defensively whenever enemy reinforcements arrive or you encounter a large patrol. The wall of flame will thin out small-medium enemy numbers considerably.
- The Eagle Strafing Run recharges quickly and gives you a different attack vector as it strafes the ground straight ahead from its placement. The strike can be used most efficiently when the targets form a line while chasing you.
- The Eagle Cluster Bomb provides massive AoE damage, which decimates small–medium enemies and can deal significant damage to heavier units as well.
- Use the Eagle Airstrike to damage heavy enemies or to destroy enemy buildings like Shrieker Nests, Mortar Emplacements, and Automaton Fabricators.
- The Eagle 500kg Bomb should be reserved for the biggest threats in every matchup. These include Bile Titans, Factory Striders, Harvesters, or massive hordes of enemies.
Tips and Tricks for Helldivers 2 Eagle Build
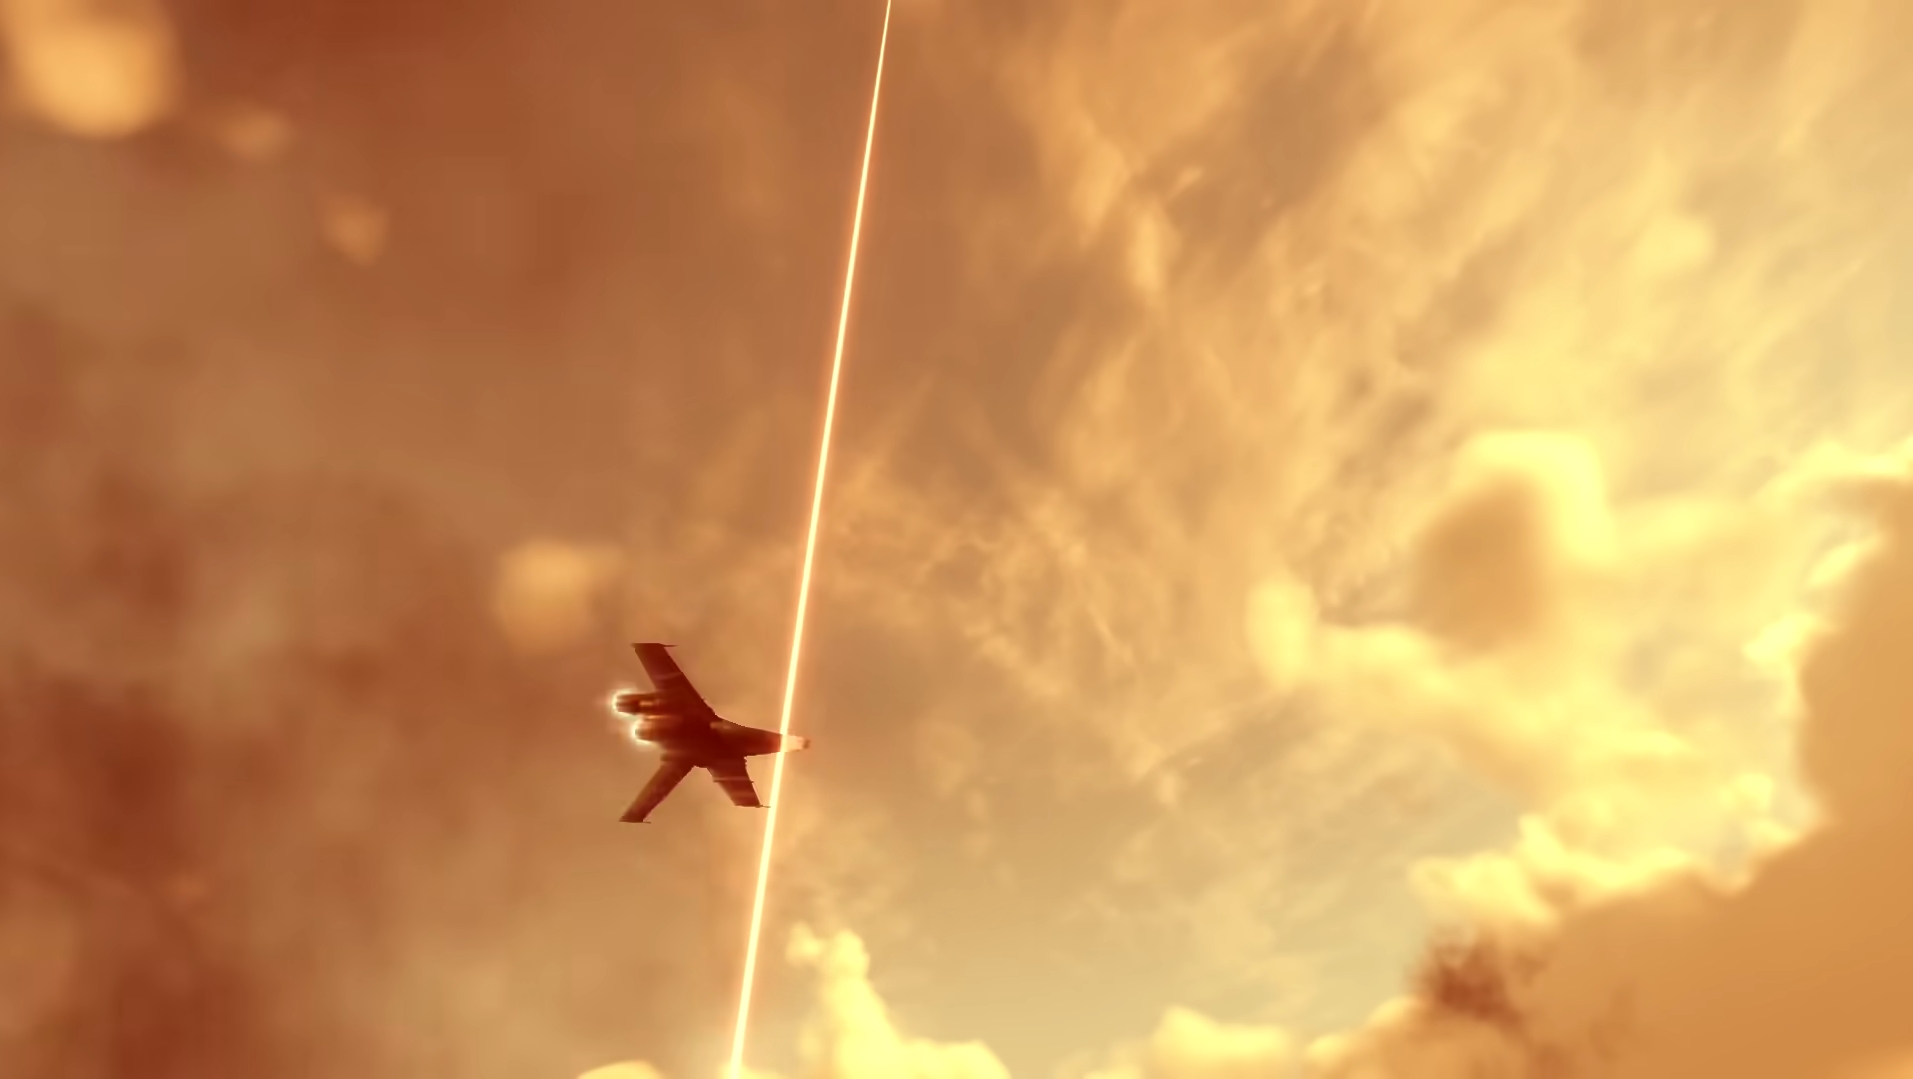
- Rearm the Eagle after most of your stratagems are used up, and enemy reinforcements have recently been cleared. The ideal time to rearm is when you are working on an objective and out of combat.
- Eagle 110mm Rocket Pods target the biggest enemy in the area. You just have to throw the stratagem in a target’s general vicinity.
- Destroy the shields of a Harvester before calling in an airstrike on it. If you don’t, the shield will absorb most of the strike’s damage.
- Call in Eagle Cluster Bombs when the Automaton and Illuminate reinforcements land. They are grouped closely together and will take massive damage from it.
- The hitbox of the Harvesters makes the Eagle 110mm Rocket Pods ineffective against them.
- A Strafing Run can destroy a landed Illuminate Warp Ship after its shields are taken down.
- The ‘Expanded Weapons Bay’ ship upgrade will allow you to call in two 500kg Bombs before the Eagle has to rearm.

Thank you for reading the article. We provide the latest news and create guides for Helldivers 2. Also, check out our YouTube channel!
 Reddit
 Email
Email
