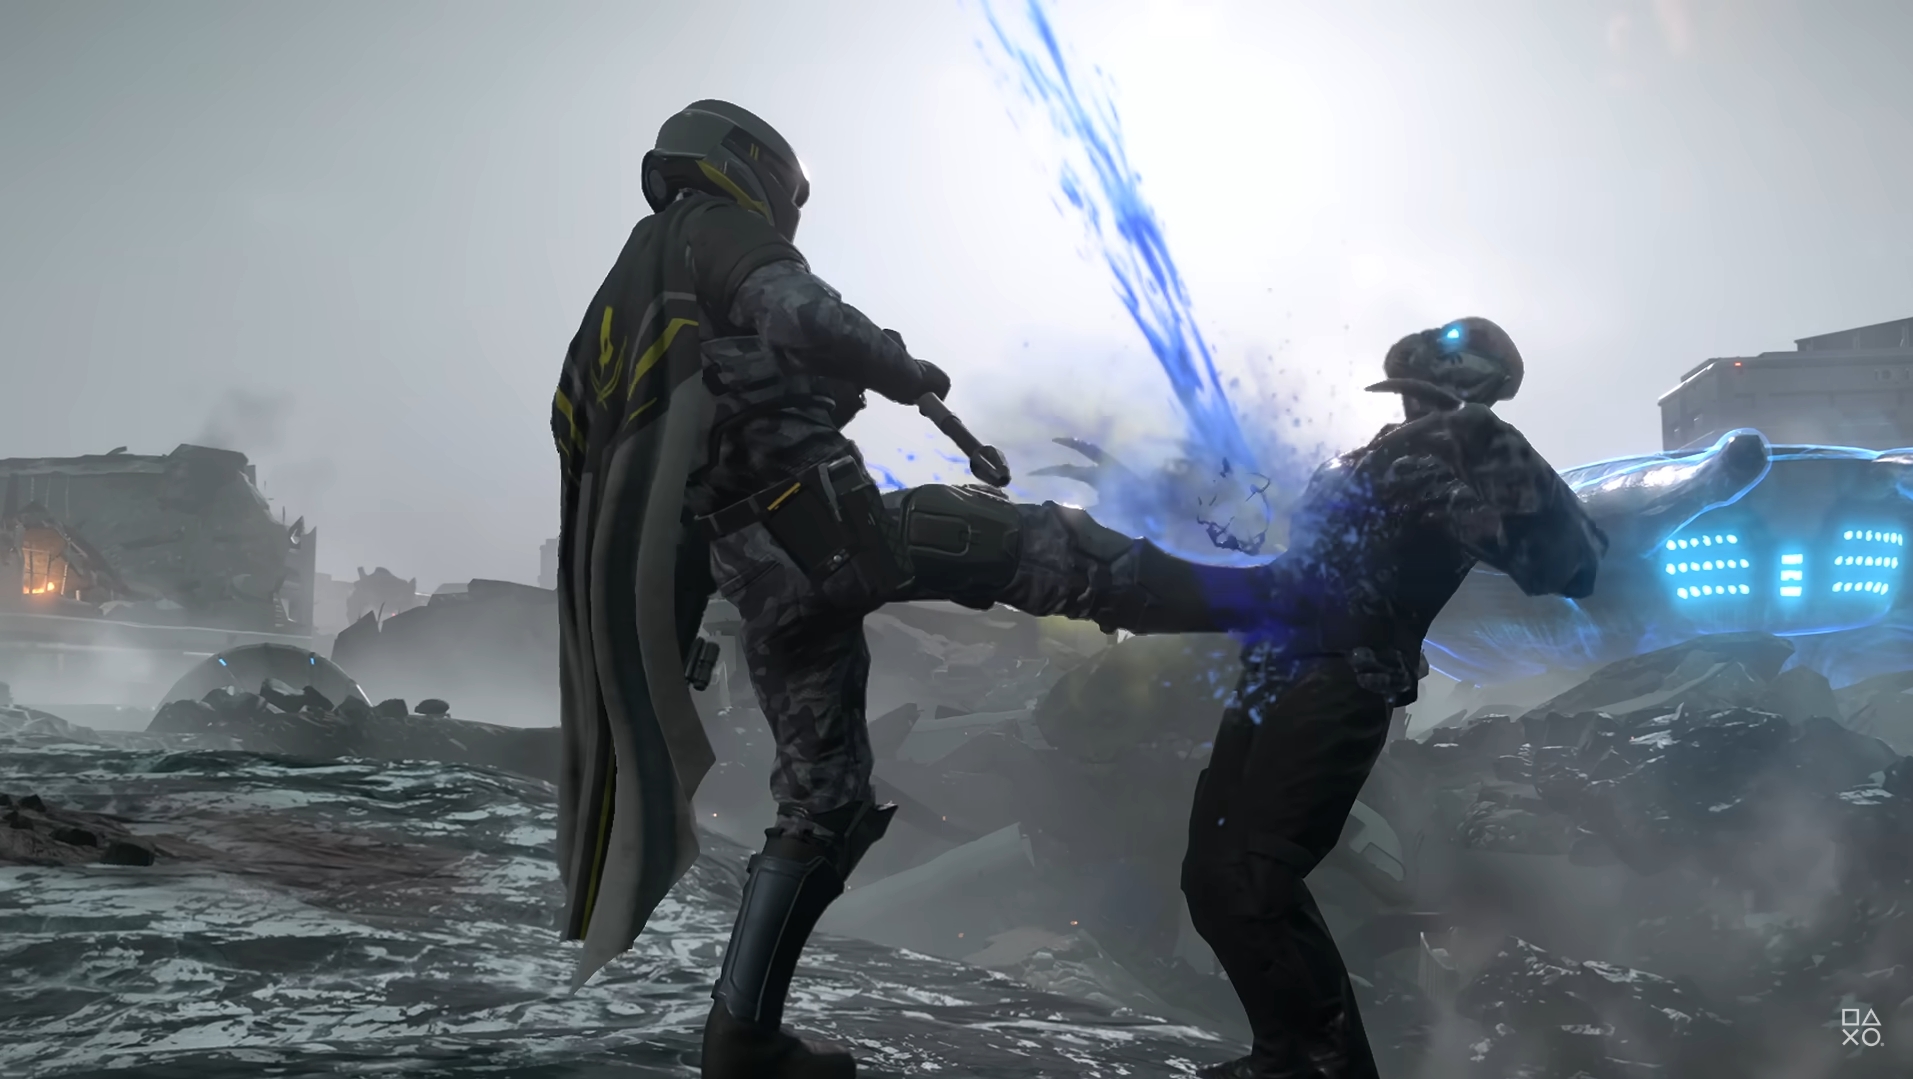
Discover the best support builds in Helldivers 2 to fortify your squad against the Terminids, Automatons, and Illuminate.
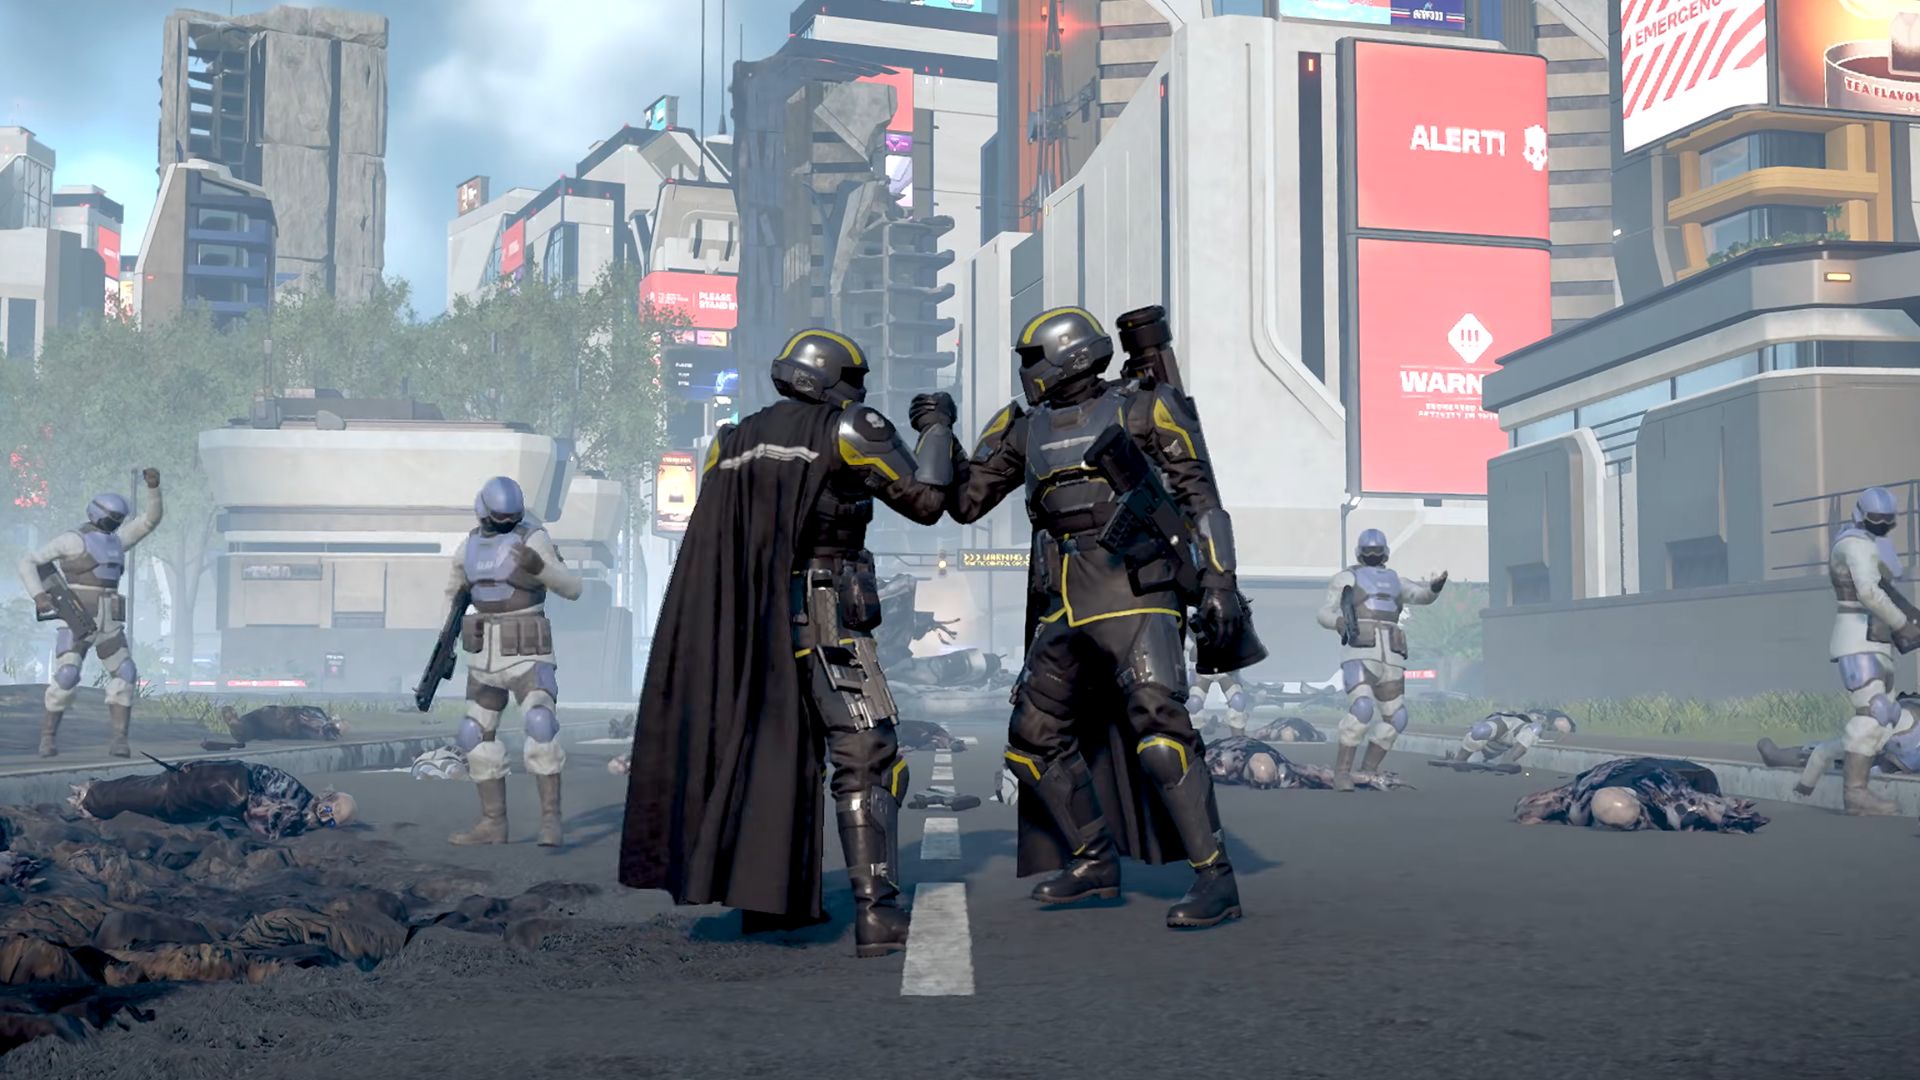
Support build users in Helldivers 2 forgo flashy orbital bombardments and covenants with the eagle pilot in favor of tactical turret placement, restocking munitions, and increasing team survivability. There is nothing more democratic than sacrificing your own raw DPS output to sustain fellow Helldivers, mission after mission.
Playing the role of support in multiplayer is highly rewarding because of the required teamplay. You protect and resupply teammates while banking on them to take down the heaviest of threats. Learn how to consistently become the backbone of your team with our support builds for all three enemy factions, working at Helldive and Super Helldive difficulties.
Helldivers 2: Best Automatons Support Build
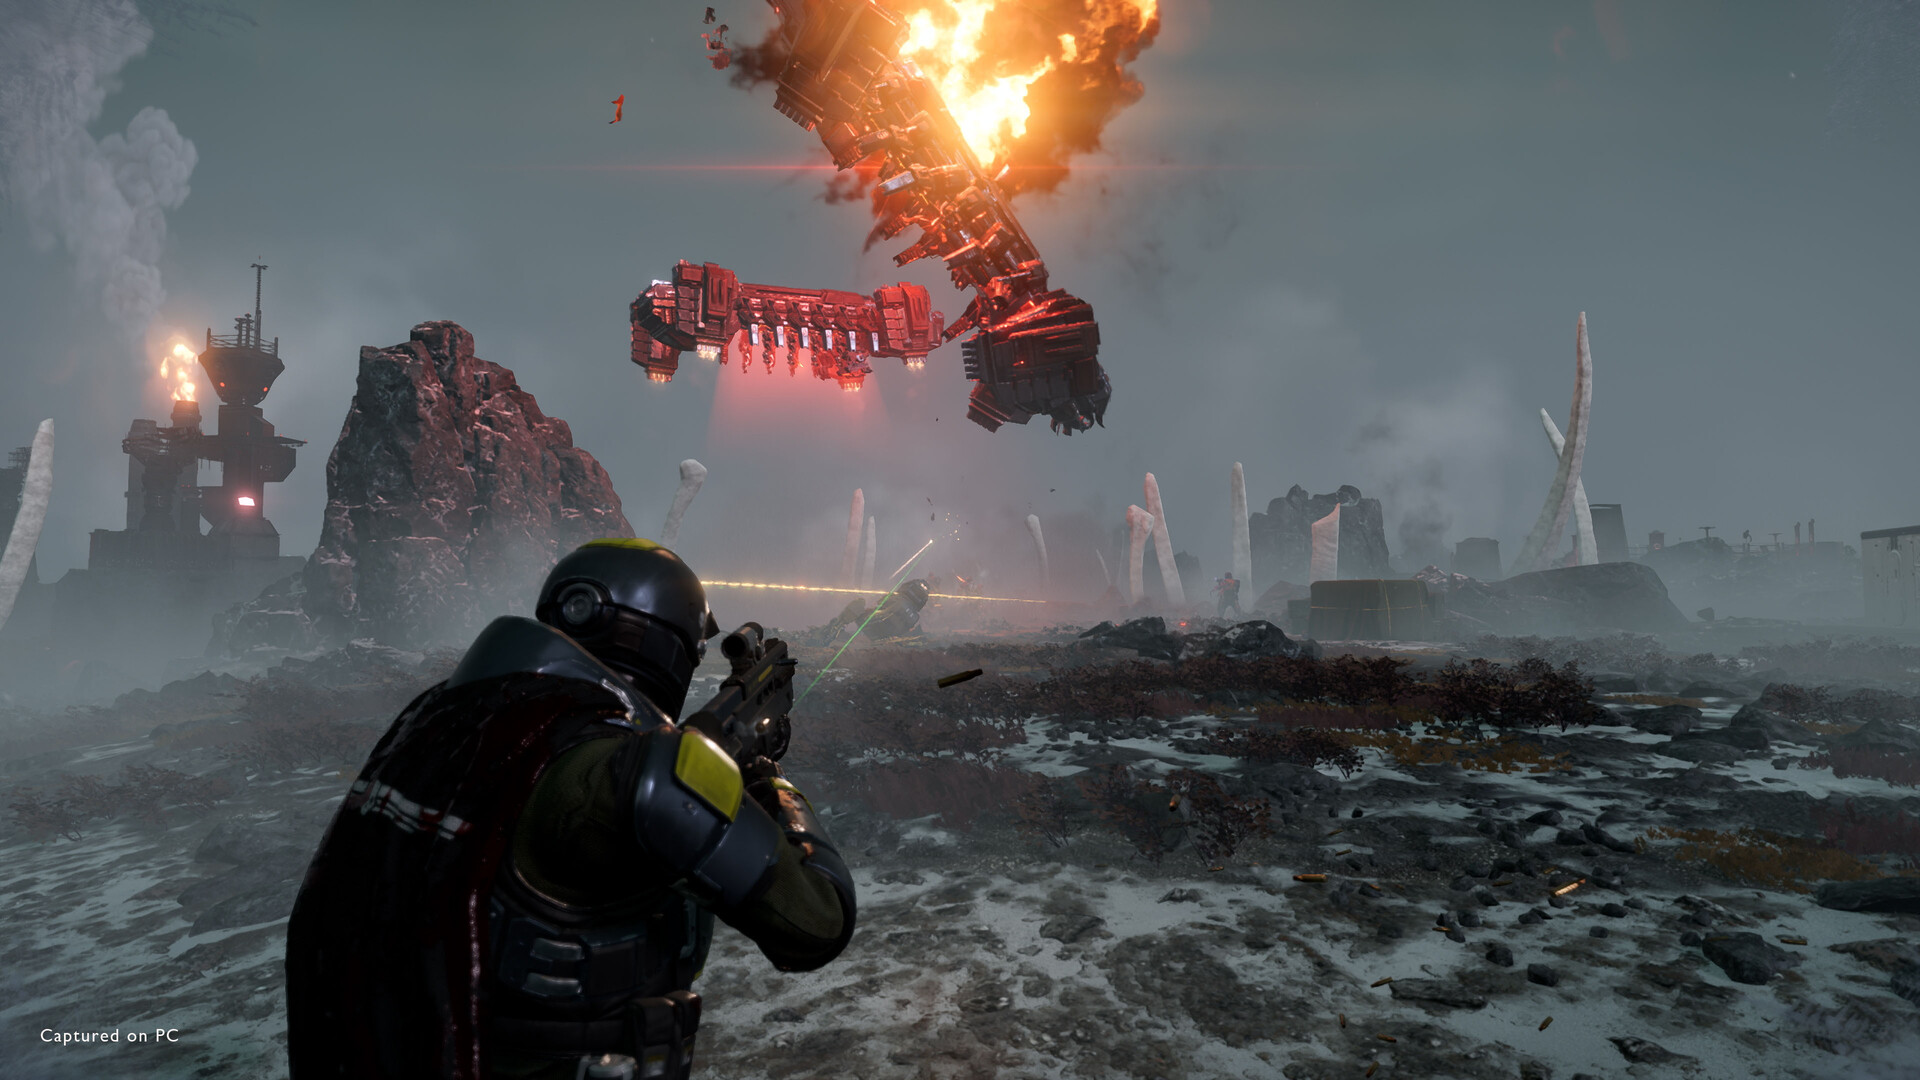
Support builds are extremely effective against the Automatons, giving your squad breathing room and laying down heavy fire against the metallic legion.
Recommended Weapons
| Type | Loadout 1 | Loadout 2 | Loadout 3 | Loadout 4 |
|---|---|---|---|---|
| Primary | Eruptor | Exploding Crossbow | Scorcher | Diligence Counter Sniper |
| Secondary | Redeemer/Verdict | P-4 Senator/Redeemer | P-4 Senator/Redeemer | Grenade Pistol/Ultimatum |
| Throwable | G-16 Impact | G-16 Impact | G-16 Impact | G-123 Thermite |
Loadout 1 contains the most powerful primary weapon against the Bots, the Eruptor bolt-action rifle, with heavy armor penetration and AoE shrapnel damage. This loadout can take out all Automaton threats up to and including Hulks.
The Exploding Crossbow in Loadout 2 makes short work of all small and medium threats, including Striders. If you have it, the P-4 Senator can destroy Hulks by shooting their weak spot, covering for the crossbow’s lack of heavy armor penetration.
The primary weapons in Loadout 3 and Loadout 4 are available to all players regardless of Warbonds. The Scorcher lets you shoot wildly and still cause significant damage with its AoE, while the Diligence Counter Sniper rewards headshots with instant kills on small-medium bots.
Also Read: Helldivers 2 Stratagems Tier List
Recommended Stratagems
- Shield Generator Relay
- Cooldown: 77s
- HMG Emplacement
- Cooldown: 154s
- Mortar Sentry / EMS Mortar Sentry
- Cooldown: 154s
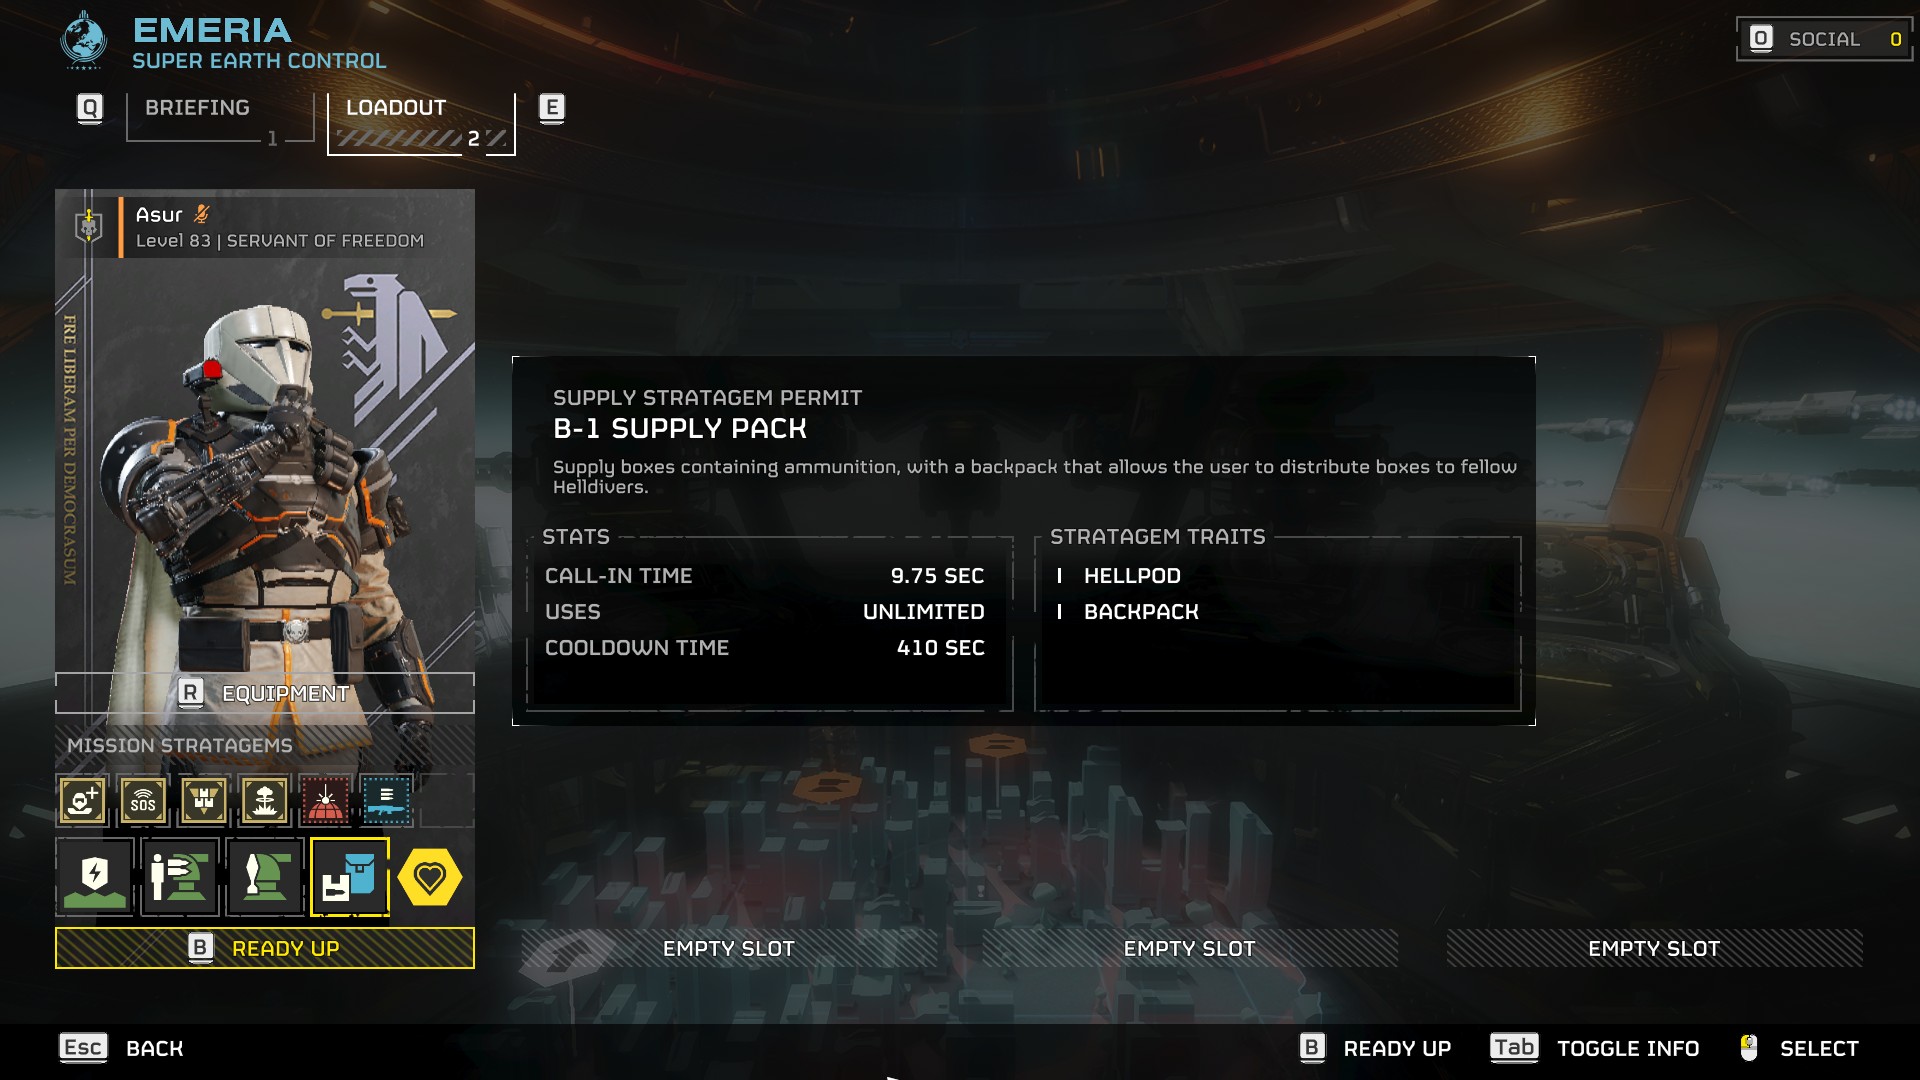
- Shield Generator Backpack / Supply Pack
- Cooldown: 410s
Use the EMS Mortar Sentry if you or your teammates frequently die to the Mortar Sentry’s friendly fire. The Shield Generator Backpack is recommended for beginners and intermediate players to increase survivability.
If you play at an advanced level and can manage without the Shield Generator Backpack, use the Supply Pack. The Supply Pack provides ammunition and stims to yourself and teammates. Use it to frequently resupply ammo to teammates with support weapons and stim low-health Helldivers.
Why You Shouldn’t Equip a Weapon Stratagem
Two of the support builds in this guide don’t have weapon stratagems. You can pick up support weapons found on the map or called in by your teammates. If you bring a weapon stratagem, it only needs to be used once, wasting a precious stratagem slot you could have used to provide consistent support.
Therefore, it is ideal if you play with a friend who is bringing a weapon stratagem that doesn’t have a backpack attachment, like a Quasar Cannon. Alternatively, you can ask randomly matched teammates to drop a weapon for you when their stratagem is off cooldown.
This strategy introduces a unique flavor to every match, as you’ll be using a variety of support weapons resourced from the map or teammates. Additionally, the capability of frequently calling in HMG emplacements reduces the impact of not possessing a support weapon in the early game.
Recommended Strategy
Begin the mission by calling down a Shield Generator Backpack or Supply Pack for a teammate who doesn’t have a backpack. This is an ideal time to share your backpack stratagem because when it is off cooldown later, you’ll likely be in the middle of a heated firefight.
As a support specialist against the Automatons, you will be scanning the battlefield for ideal spots to create a pocket of safety with the Shield Generator Relay. Look for elevated positions with good vantage over approaching enemies, but not too close to them.
Once the shield is placed, call in the HMG Emplacement within it. You or a teammate can man the HMG to gun down all varieties of bots in quick succession. If the bots are a fair distance away, place the Mortar Sentry within the shield as well, since it won’t have an opportunity to deal friendly fire.
Tips and Tricks for Helldivers 2 Automatons Support Build
- The Shield Generator Relay will be off cooldown twice as fast as the HMG. Throw the shield generator stratagem over to your teammates when they are completing an objective or taking heavy fire.
- You can place the Mortar Sentry behind rocks and within mountain passes where patrols won’t find them easily. Once set up at a safe location, these sentries rain down shells in a large radius around them. If you have the turret ammunition capacity upgrade, they usually continue to fire until you place another sentry.
- Use the HMG Emplacement to target the turrets on a Factory Strider.
- The HMG Emplacement can shoot at the weak spot of a Hulk, the red slit at its center, to destroy it with a few rounds.
- Resupplying with the Supply Pack also refills grenades, so feel free to spam the throwables whenever needed.
- The Supply Pack works extremely well with an HMG, which has heavy armor penetration but low ammo. If you’re playing with a friend, ask them to bring the HMG while you provide the Supply Pack.
Helldivers 2: Best Terminid Support Build
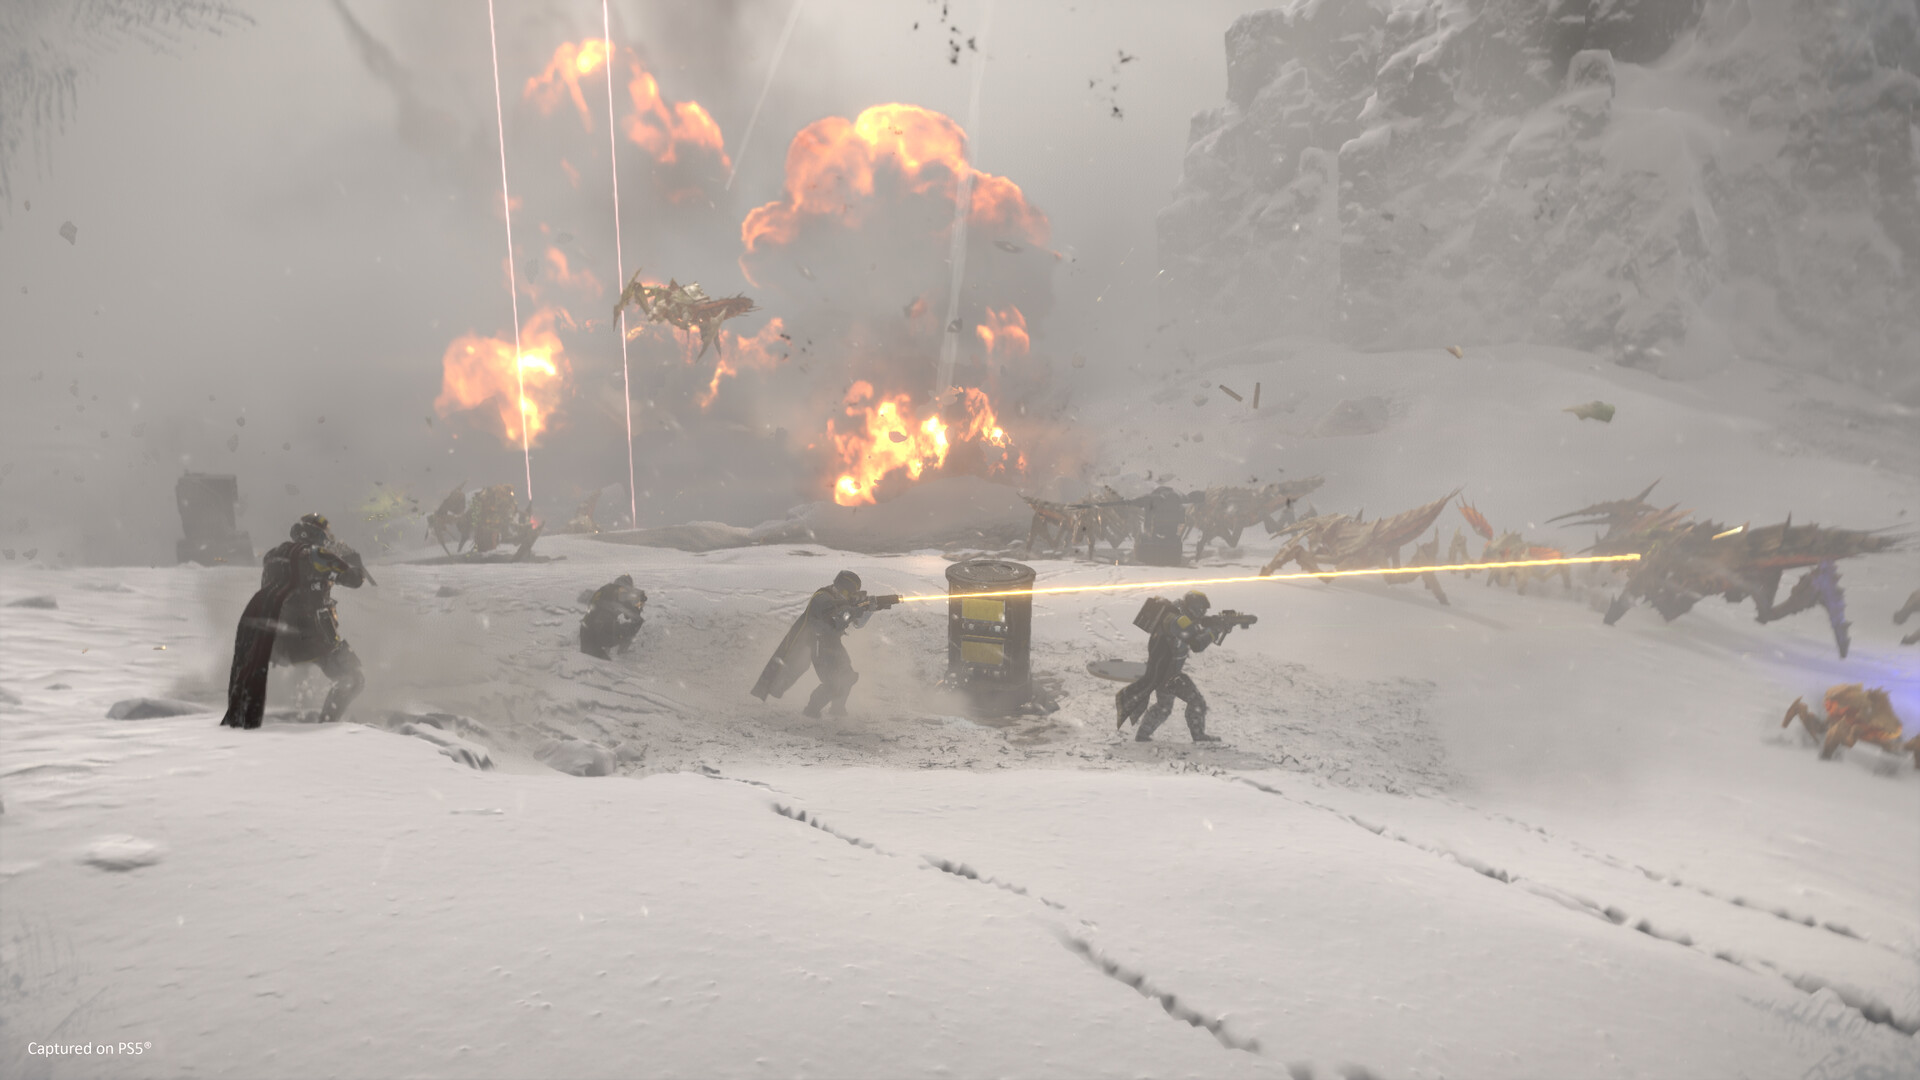
The Support Build for Terminids aims to keep the number of small bugs in check while having the capacity to deal with heavier threats. Your supporting role involves tactically placing turrets, increasing team mobility, and possibly stimming teammates from a distance.
Recommended Weapons
| Type | Loadout 1 | Loadout 2 | Loadout 3 | Loadout 4 |
|---|---|---|---|---|
| Primary | Blitzer | Breaker Incendiary | Liberator Concussive | Liberator Carbine |
| Secondary | Stim Pistol | Grenade Pistol | Grenade Pistol | Senator |
| Throwable | G-16 Impact | G-123 Thermite | G-123 Thermite | G-16 Impact |
The Blitzer is a dependable weapon to take out small to medium Terminids. Breaker Incendiary is particularly effective against small targets like hunters, wiping out entire swarms with a few bursts from the auto shotgun and the fiery damage over time.
The Liberator Concussive and Liberator Carbine are effective at longer range, with the former stunning enemies and the latter boasting a furious rate of fire.
In any build that you choose, you need to have either the Grenade Pistol or Impact grenades to close bug holes during a mission. Thermite grenades can kill Chargers and damage Bile Titans.
Also Read: Helldivers 2 Best Super Credits Farming Method
Recommended Stratagems
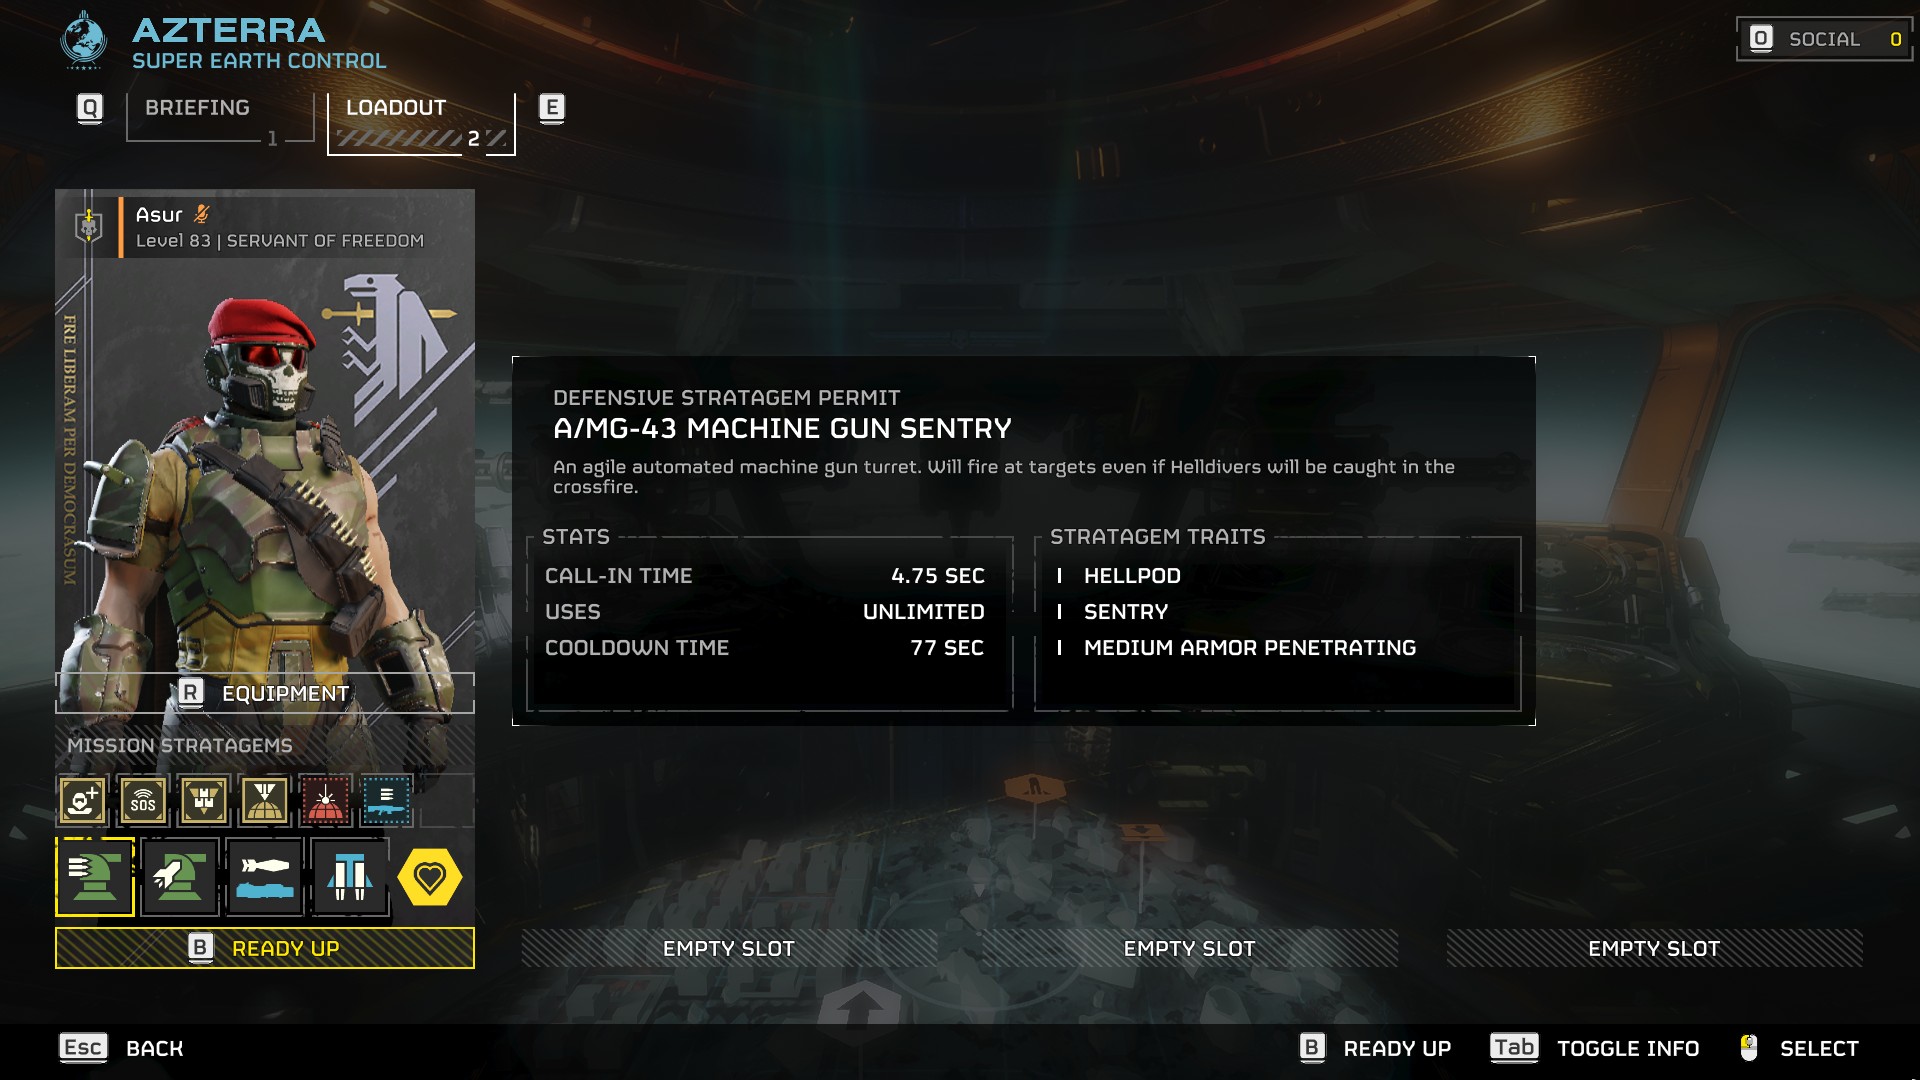
- Machine Gun Sentry
- Cooldown: 77s
- Rocket Sentry
- Cooldown: 128s
- Expendable Anti-Tank
- Cooldown: 64s
- Jump Pack / Hover Pack
- Cooldown: 410s
The Machine Gun Sentry has a short cooldown and can dispatch small to medium enemies quickly. Compared with the Gatling Sentry, the Machine Gun Sentry uses ammo efficiently, causes fewer friendly fire incidents, and is available for every bug breach.
The Rocket Sentry and Expendable Anti-Tank are must-haves to deal with heavily armored enemies like Chargers, Bile Titans, and Impalers. The Rocket Sentry has a larger ammo capacity than the Auto Cannon Sentry and can deal with smaller targets easily because of its AoE damage. The Expendable Anti-Tank has a short cooldown, allowing loadout flexibility to carry other weapons and backpacks.
The Jump Pack and Hover Pack are invaluable for staying out of reach against most bugs. They allow you to better position yourself on higher ground. From your vantage point, you can shoot enemies safely and deploy turrets with tactical placement.
If a friend can drop a Quasar Cannon for you, you can forgo the Expendable Anti-Tank and choose the Autocannon Sentry or HMG Emplacement.
Recommended Strategy
Start the mission by offering your Jump Pack to a teammate without a backpack. You may not have the time to do so when it comes off cooldown later. Call in the Expendable Anti-Tank and carry one of the launchers with you, leaving the other for a fellow Helldiver.
- Place the Machine Gun Sentry whenever there’s a bug breach, you come across a patrol, reach an objective, or defend a location.
- Call in the Expendable Anti-Tank every time an armored target appears or when you reach an objective. If you fire only one, carry the other one for future use. If you already have one, call it in for a teammate who needs it.
- Keep a lookout for support weapons on the battlefield, such as the Machine Gun, Arc Thrower, or Flamethrower found in vaults. Use these as primaries while intermittently calling in Expendable Anti-Tank for armored targets.
- Conserve the Rocket Sentry for large enemy waves or the threat of multiple armored enemies like Bile Titans. Ideally, throw the stratagem on higher ground or locations where smaller bugs won’t reach the turret.
Tips and Tricks for Helldivers 2 Terminid Support Build
- Aim for headshots on heavy armored enemies with the Expendable Anti-Tank. Landing successful headshots on Chargers and Bile Titans can one-shot them. When the Bile Titan’s mouth opens to spit acid, shoot the rocket inside it to kill it instantly.
- The Stim Pistol has an effective range of 200m.
- Use the Machine Gun Sentry as soon as it is off cooldown to get the most out of it. Placing it on higher ground also reduces the chance of friendly fire. The sentry excels against Shrikers, the flying Terminids.
- Expendable Anti-Tank can also be used to destroy bug holes, Shriker Nests, and Spore Spewers.
- You can use the Jump Pack to reach the top of buildings, containers, and rocks, placing you out of reach for most bugs.
- Jump Packs launch you further while sprinting and moving from higher to lower ground.
Helldivers 2: Best Illuminate Support Build

The Illuminate are a challenging foe that field both ranged and melee enemies. A Support Build to challenge them requires handling mobs of Voteless while still maintaining the capability to deal with elite enemies like Overseers and Harvesters.
Recommended Weapons
| Type | Loadout 1 | Loadout 2 | Loadout 3 |
|---|---|---|---|
| Primary | Scorcher | Purifier | Eruptor |
| Secondary | Redeemer/Verdict | Redeemer/Verdict | Redeemer/Verdict |
| Throwable | Gas/Incendiary Impact | Gas/Incendiary Impact | Gas/Incendiary Impact |
All three loadouts are adept at taking out large clusters of Voteless with primary weapons and grenades, dealing AoE damage. Use the secondary weapons if the Voteless get close to avoid damaging yourself. The Scorcher and Eruptor are also particularly effective against Overseers.
Recommended Stratagems
- HMG
- Cooldown: 410s
- Supply Pack / Guard Dog
- Cooldown: 410s
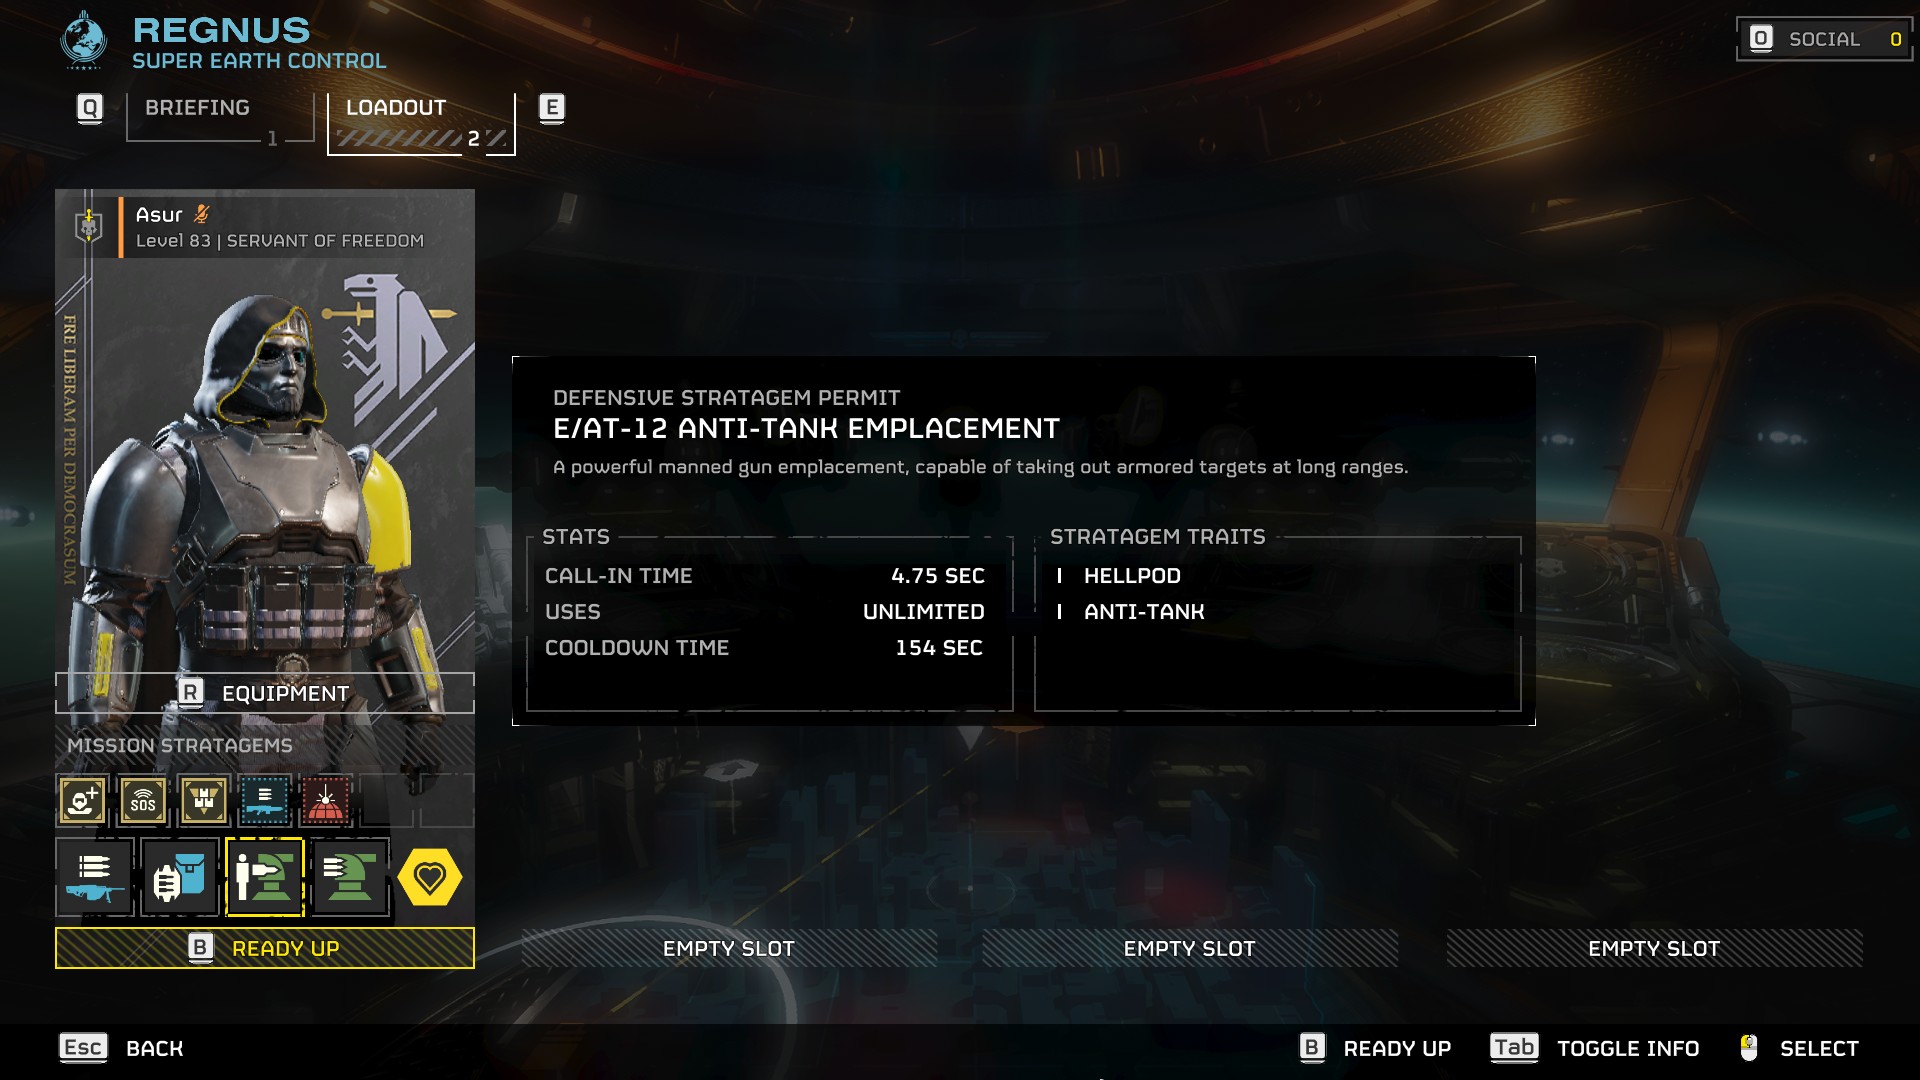
- Anti-Tank Emplacement / HMG Emplacement
- Cooldown: 154s
- Machine Gun Sentry
- Cooldown: 77s
Bring the Supply Pack if you want to use the HMG against all foes. If you plan to use the HMG only against elite enemies like Overseers, Fleshmob, and Harvesters, bring the Guard Dog instead to easily tear through swathes of Voteless.
The HMG is effective against nearly everything the Illuminate can throw at you. It can bring down Voteless, Overseers, Fleshmobs, and Harvesters, and only struggles against their air units. This is where the Anti-Tank Emplacement comes in.
The Anti-Tank Emplacement should perhaps be renamed the anti-air emplacement, given its effectiveness against Warp Ships and Leviathans. It also excels in taking down several Fleshmobs and Harvesters. If you don’t have the Anti-Tank Emplacement, the HMG Emplacement can fulfill a similar role with increased effectiveness against smaller targets.
The Machine Gun Sentry is ideal for thinning out the hordes fielded against you at Helldive and Super Helldive difficulties. Its short cooldown means you don’t have to worry too much about positioning and can throw the stratagem down at the first sign of trouble.
Recommended Strategy
Start the mission by checking whether any teammate lacks a backpack. Call in the Supply Pack or Guard Dog for them. You won’t need it for yourself immediately, and it will be ready to deploy once more after roughly seven minutes.
- Set up the Anti-Tank Emplacement at a relatively safe spot when a Watcher spots your team and calls in reinforcements. You can use it to destroy the incoming Warp Ships.
- Place the Machine Gun Sentry at every objective location and on street junctions crowded with Voteless to benefit from its fire support. Deploy it to provide covering fire when using the Anti-Tank Emplacement.
- Seek cover whenever a Harvester spots you or a Leviathan flies overhead.
- Prioritize resupplying ammo to teammates with anti-tank weapons such as Recoilless Rifles, Spears, or Autocannons.
Tips and Tricks for Helldivers 2 Illuminate Support Build
- The HMG can bring down Harvesters if you shoot them in the leg joint.
- Crouching or going prone will reduce the HMG’s recoil considerably.
- While using the Anti-Tank Emplacement, shoot the Warp Ship at its center when it opens its bottom hatch to deploy troops. Doing so will destroy it immediately without letting it spawn enemies.
- Shooting an Elevated (flying) Overseer’s backpack will cause it to explode, instantly killing the elite.
- Deploy the Machine Gun Sentry at a higher or lower ground than you when using the Anti-Tank Emplacement to avoid friendly fire.
Note: All cooldown times for stratagems account for ‘Synthetic Supplementation’ and ‘Morale Augmentation’ Ship Module Upgrades.

Thank you for reading the article. We provide the latest news and create guides for Helldivers 2. Also, check out our YouTube channel!
 Reddit
 Email
Email
