Facebook
 Reddit
 Email
Email
Everything you need to know about the chat stickers in Monster Hunter Wilds, how to use them, edit options, and more.
Monster Hunter has always had a major focus on the social aspect of its moment-to-moment gameplay. In fact, the series was initially conceived as an MMO-like with mandatory multiplayer. However, to make it more accessible to players globally and increase its shelf life, Capcom decided to make multiplayer an optional aspect.
That said, even to this day, the Monster Hunter series is designed with multiplayer in mind, despite featuring a robust single-player experience. In Monster Hunter Wilds, the social aspect of the “monster hunting experience” has got a major facelift, with better lobby management, faster co-op, and the new sticker editing system.
Stickers have been a staple of the Monster Hunter series since 2018’s MH World. These served as a quick way for Hunters to express their thoughts or ideas without having to rely on voice chat or gestures. And now in MH Wilds, you can even edit the stickers. However, as is the case with most Monster Hunter things, it’s not immediately obvious how you can do so.
Here’s a comprehensive guide going over everything you need to know about Stickers in Monster Hunter Wilds.
How To Access Stickers in Monster Hunter Wilds
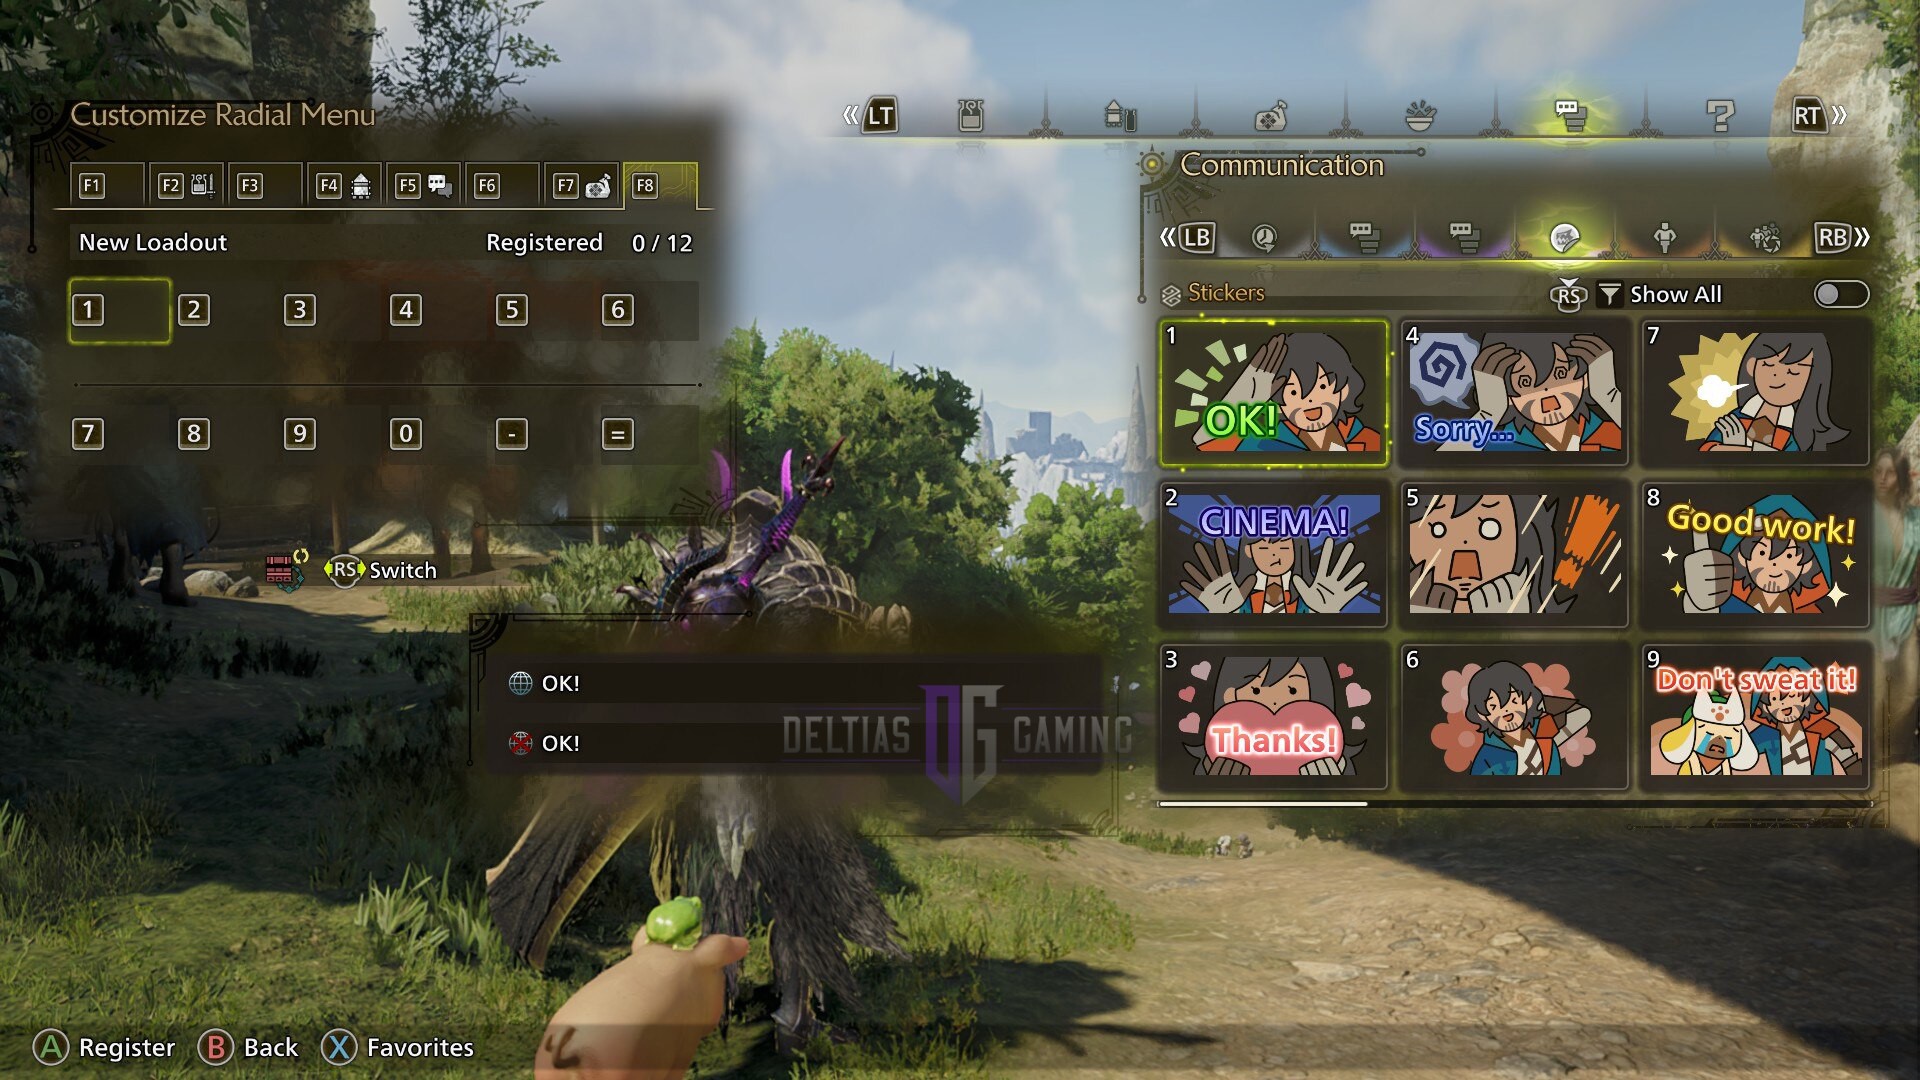
Stickers can be accessed via the Communication tab from the main menu. To use a Sticker in multiplayer, you first need to add it to your Radial Menu. To do so, head to the Customize Radial Menu option in the Items and Equipment tab of the main menu. From there, you can either edit the preset tabs or create your custom Radial Menu roster and add Stickers there.
After you select a slot in the Radial Menu, go to the Communications tab, and there you will find Stickers. Assign the Sticker you want to use to your Radial Menu to use it during gameplay. You can also create a roster exclusively for Stickers and also rename it.
Do note that the Radial Menu is also used for Healing, SOS, and other key gameplay elements. That said, here are the steps to access Stickers in Monster Hunter Wilds:
- Open the menu screen during gameplay.
- Head to Customize Radial Menu under the Items and Equipment tab.
- Inside the Radial Menu options, head to Communications to use Stickers.
- Assign Stickers to the Radial Menu to use them during regular gameplay.
Stickers have a preset text, alongside a template. However, if you want to use a Sticker’s template but with a different text, you can edit it. Do note that there are limitations to what you can use in the Sticker texts, owing to the game’s ESRB/PEGI rating.
How To Edit Sticker Texts
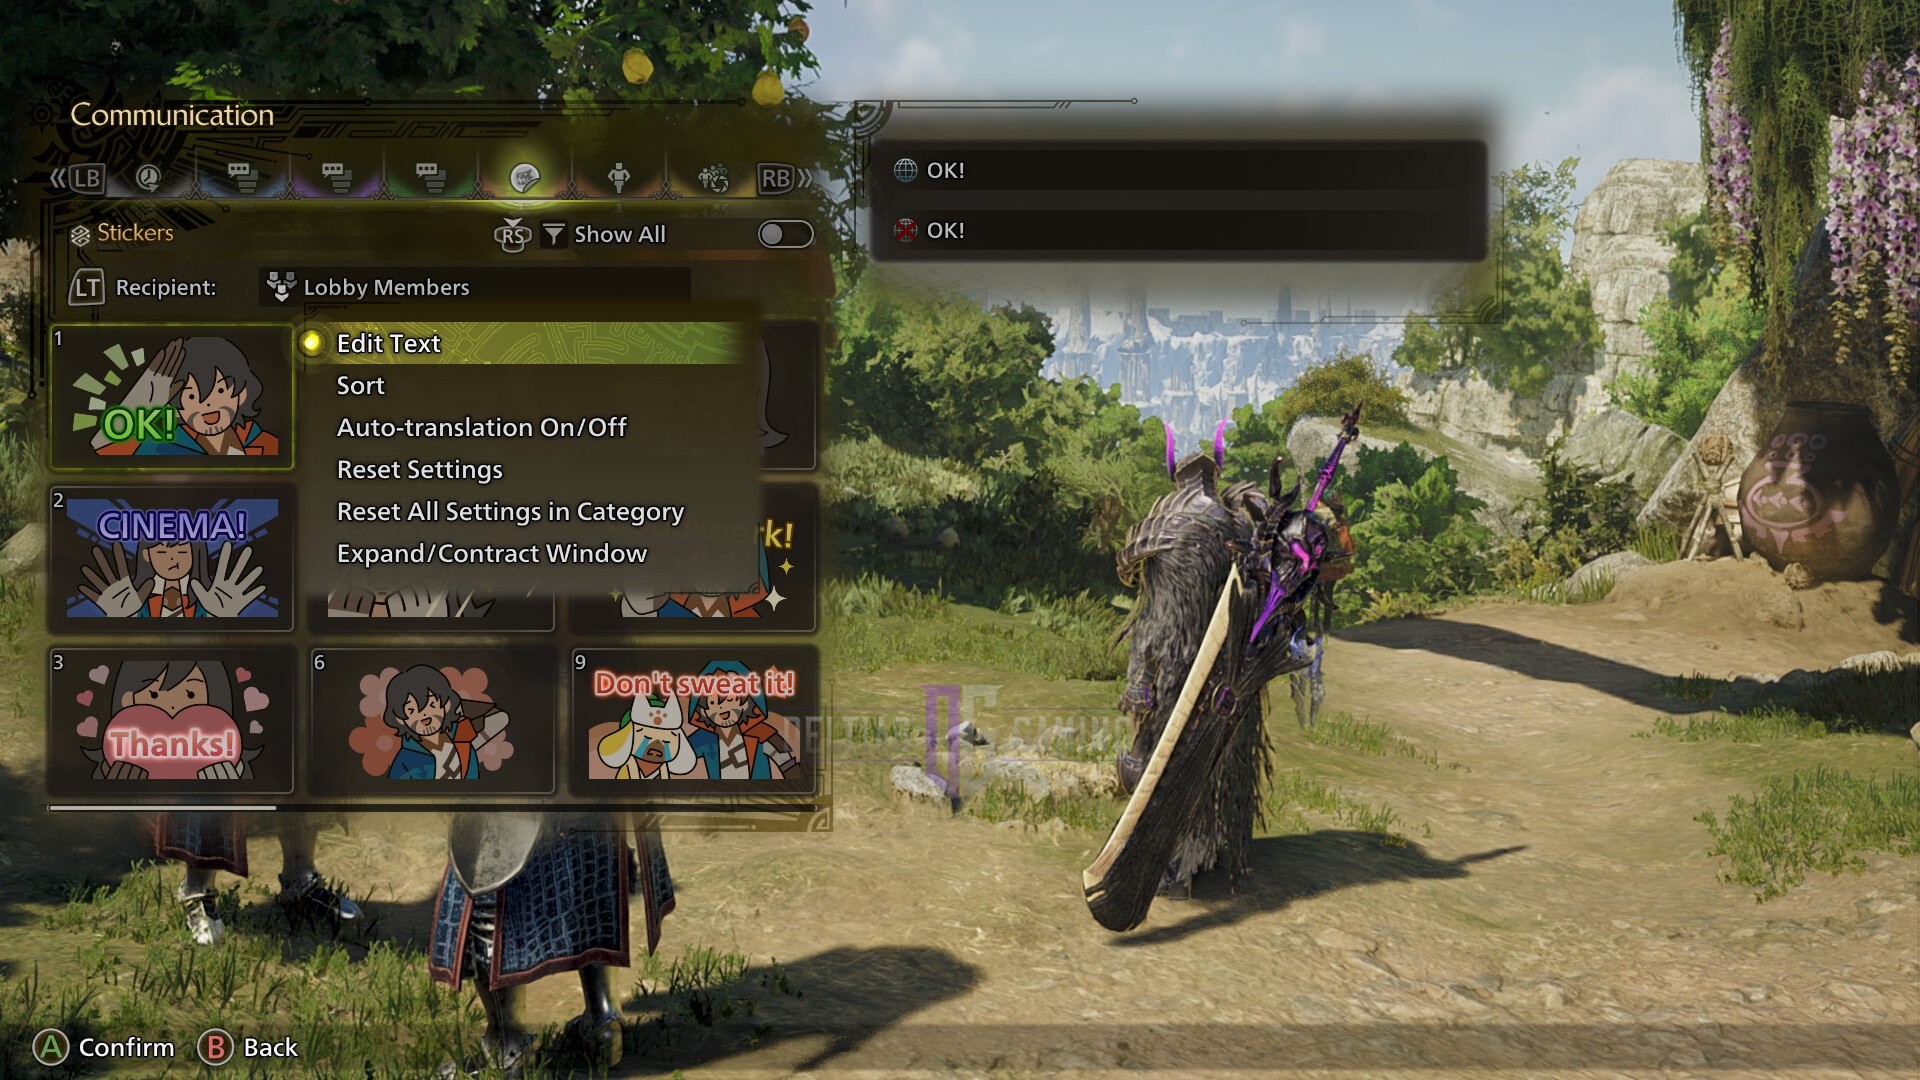
To edit Stickers, head to the Communication tab. From there, select, the Sticker you want to edit and then write the text for your selected Sticker. Your edited Sticker will show up as the default in the Radial Menu options.
Here are the steps to edit Stickers in Monster Hunter Wilds:
- Open the main menu during gameplay.
- Head to the Communications tab.
- Under Communications, choose Stickers.
- Select the Sticker you want to edit and press Y or Triangle (on Xbox or PlayStation controllers, respectively) to open the edit menu.
- From the edit menu, select Edit Text to add custom text to the Sticker.
- Once you add a custom text, save the changes and add the Sticker to your Radial Menu.
Looking For More?
Thank you for reading the Monster Hunter Wilds article. We provide the latest news and create guides for Baldur’s Gate 3, Starfield, ARK Survival Ascended, and more. Also, watch Deltia play games on Twitch or visit his YouTube channel!