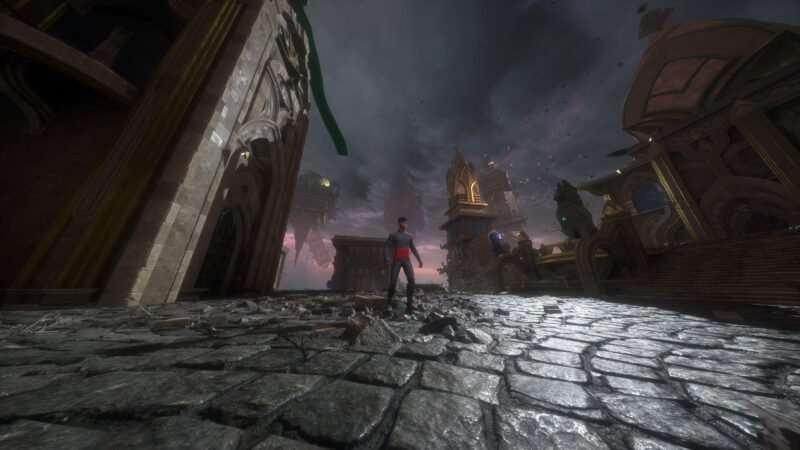
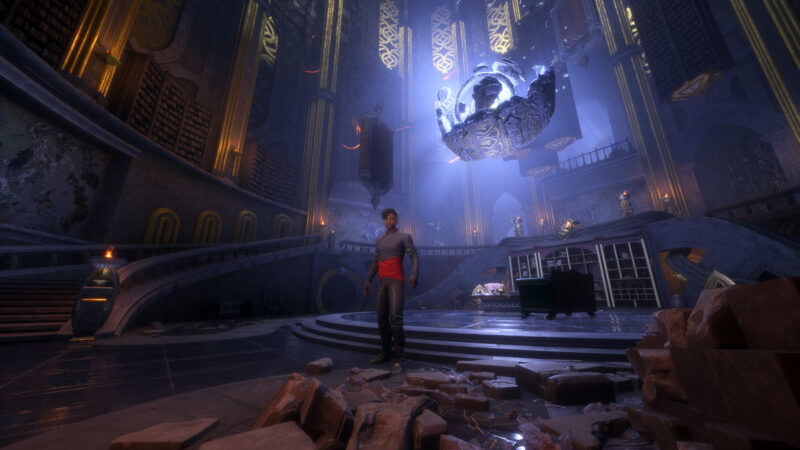
The library passage can give some loot that may prove useful to Rook. Learn how to solve the statue pairing puzzle to get to it.
The library passage in the Lighthouse is a hidden location that only opens once you solve a puzzle during your second quest in Dragon Age: The Veilguard. After the prologue, you are left to explore their new safehouse in the Fade. This happens because the quest Shadows of Ancient Arlathan expects you to rally up with your companions.
However, you have the full opportunity to explore the Lighthouse first. And we highly recommend you do so. You may not be able to complete the entire puzzle until Chapter 8 (we will explain it further below).
One of the statues holds a note telling you the library passage will only open when three pairings meet face-to-face. This can be confusing at first, but it talks about the statues, including the one on which you found this note. Each statue has a pair and they need to be facing each other.
How to Solve the Statue Pairing Puzzle in Dragon Age: The Veilguard
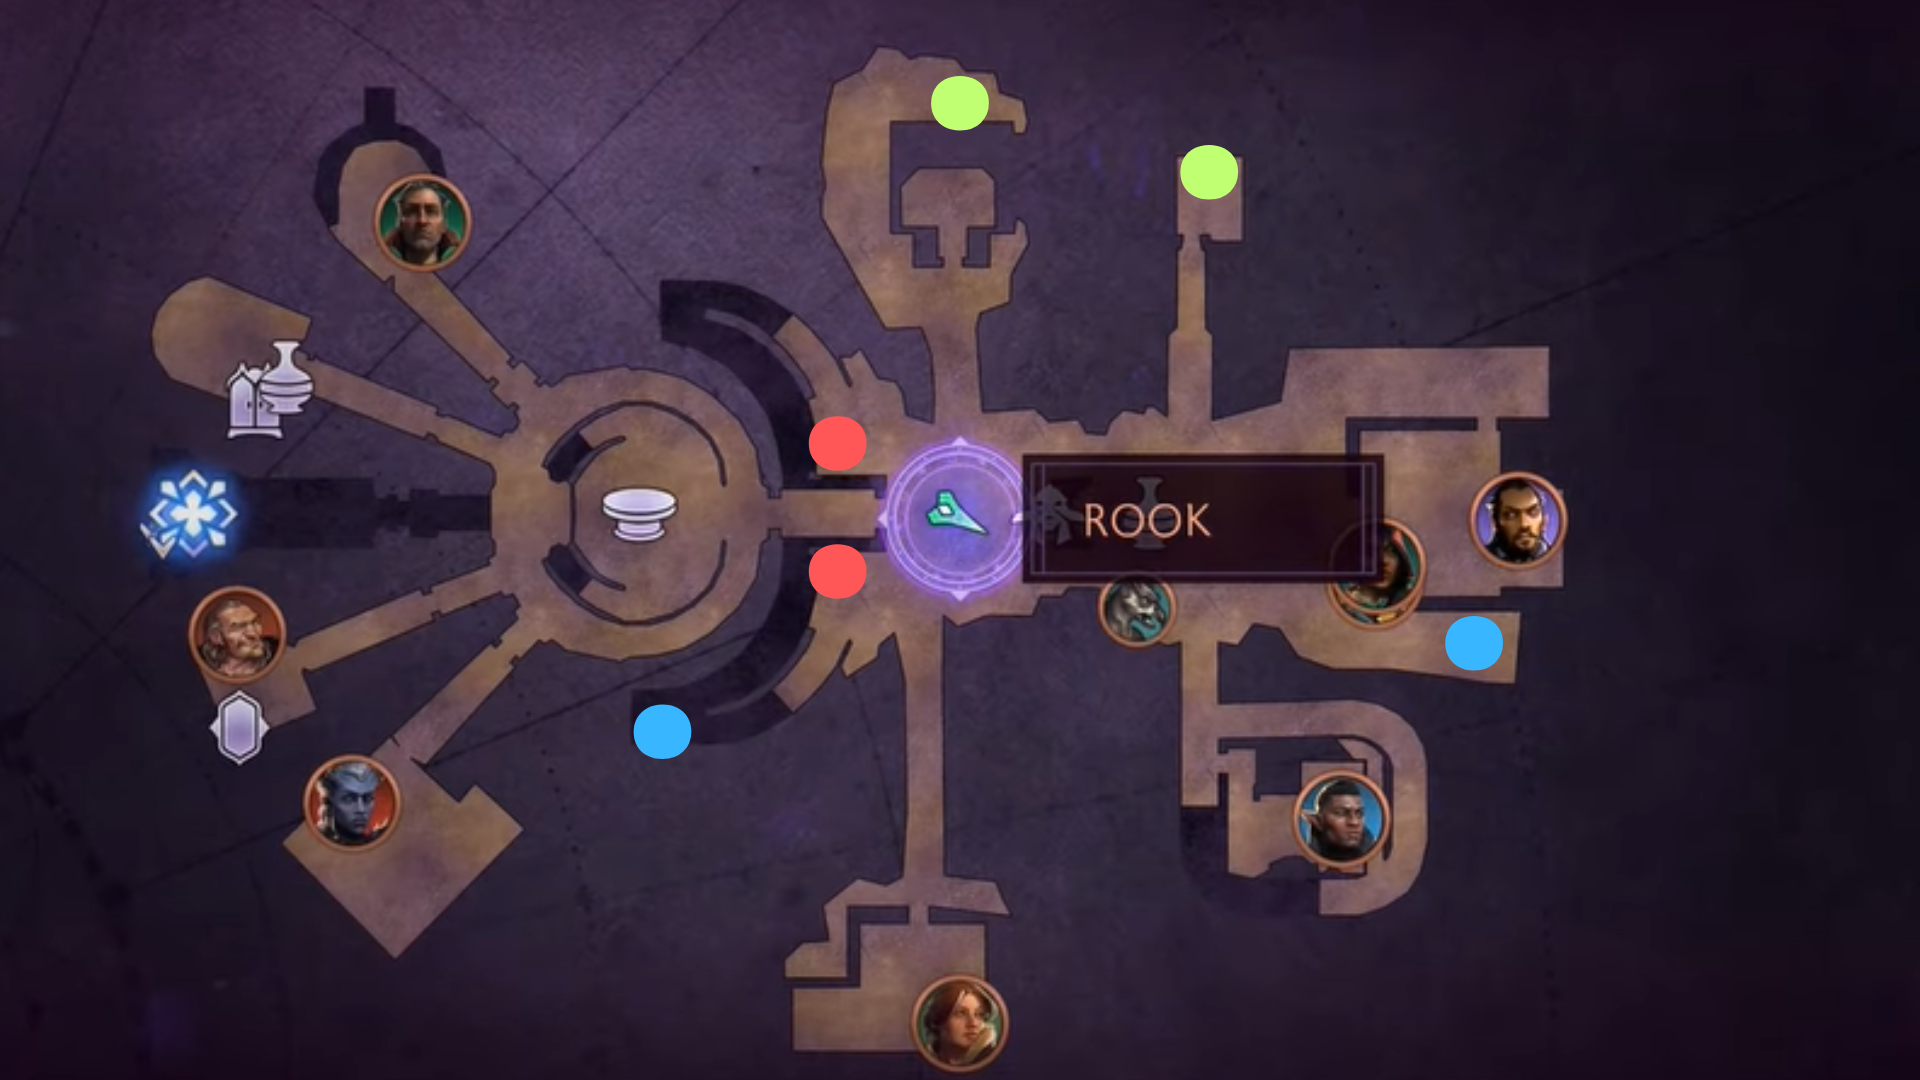
NOTE: We have marked all the pairs using the same color.
The First Pair of Statues
Leave the main Lighthouse room as shown on the map above. There will be a (red) pair right above you. Turn left and take the stairs sticking out of the main building. As you follow the pathway, two statues will be hanging out together in the middle. Interact with them until they are facing inward and staring at each other.
Also read: Max Level in Dragon Age The Veilguard
The Second Pair of Statues
Continue down the same pathway until the end of it where you will find one of the second pair of statues, marked blue on the map above. Interact until it is facing out in the open toward the big building in the front where its other half is also standing. Now, head over to the other marked location but don’t enter the building just yet. Instead, turn right and climb the flight of stairs stuck to its right wall. Turn this statue towards the open area and this pair will also be complete.
The Last Pair of Statues
Return to your first spot and turn left (not toward the back). There will be another building on a floating island. Don’t enter it. Instead, get down and go around it to find another statue (marked green on the map above). Turn it and make it face the statue standing at a slight distance. Leave this area, turn left, and take one more left. When you see a small flight of stairs heading into another structure, don’t climb it. Instead, drop down on the ledge below. There’s a significant gap from where you can slip into the void. Jump to avoid falling in between. Run alongside the small pathway, reach the last statue, and let it face its friend.
Read more: Dragon Age: The Veilguard Progression Systems
How to Open the Library Passage in Dragon Age: The Veilguard
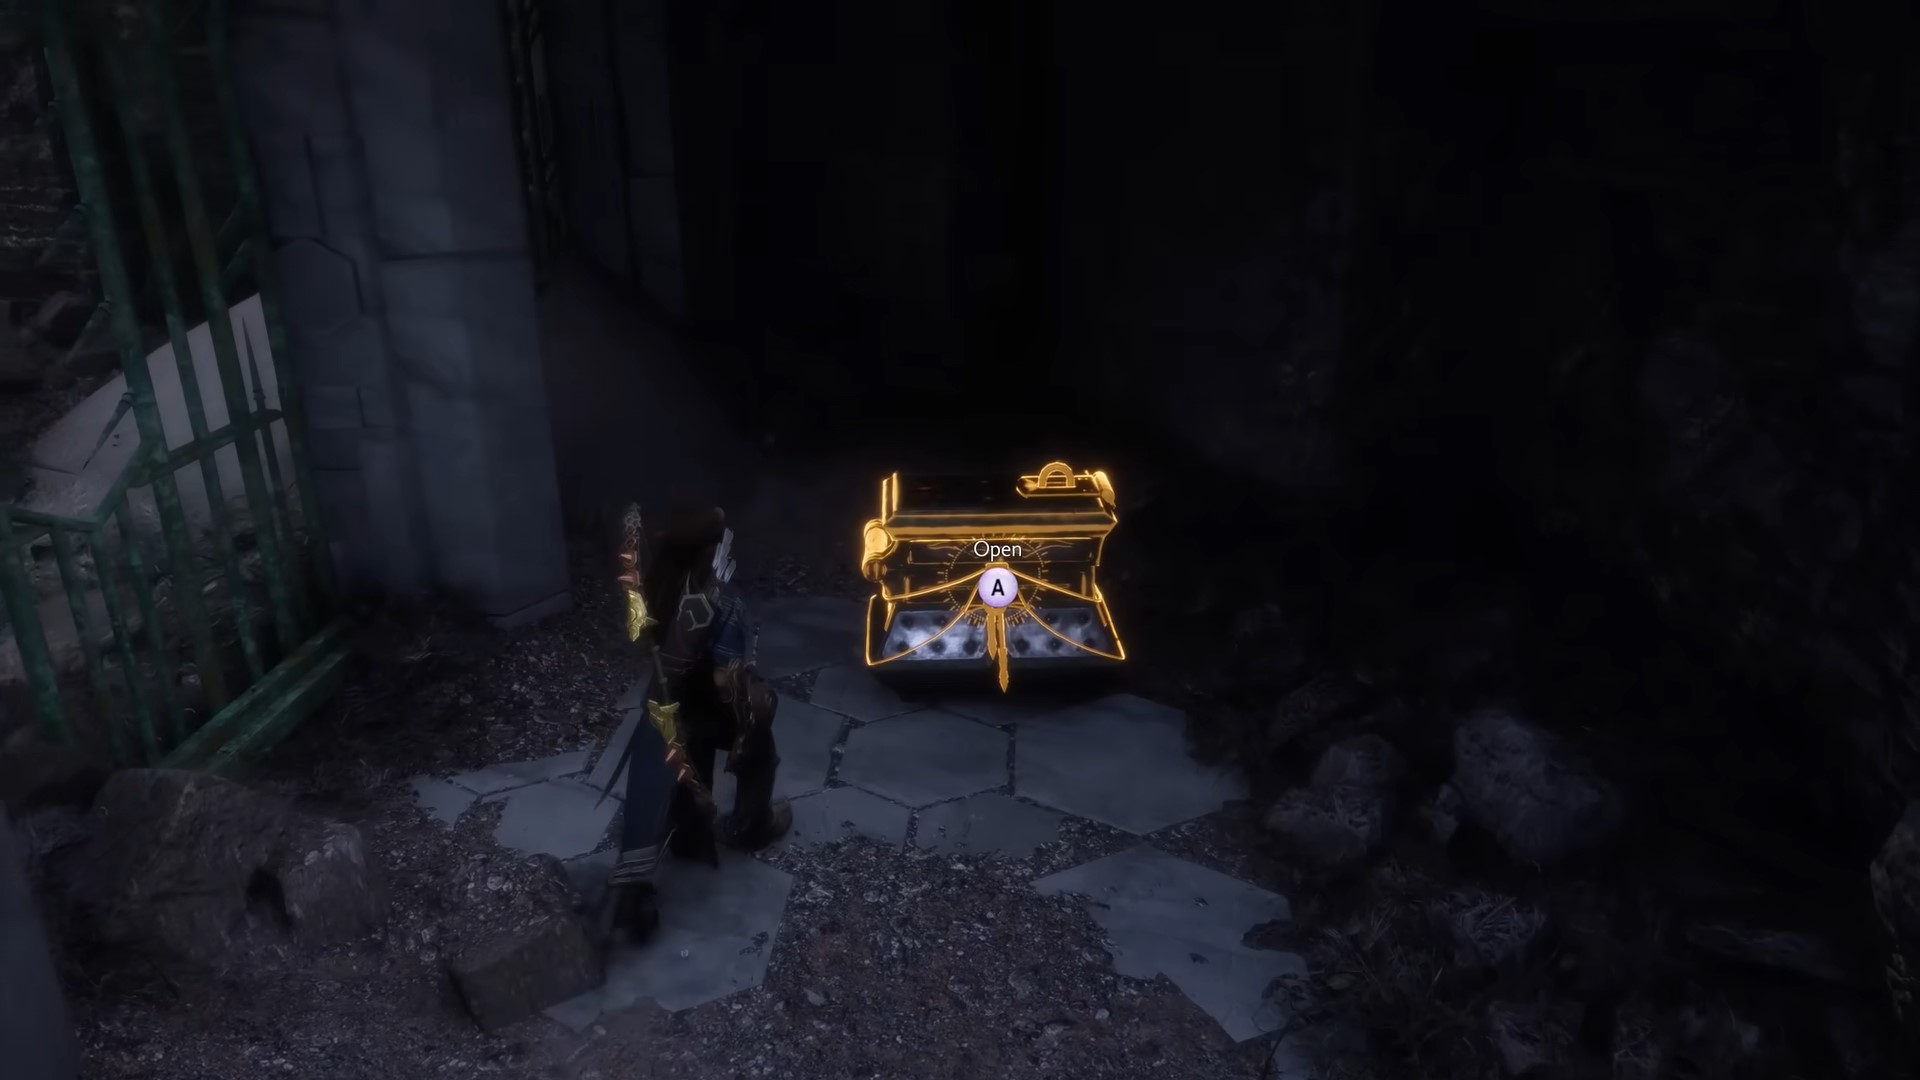
Head into the library building where you came from. Upon entering, turn right into the small tunnel you see (do NOT climb the stairs). In the end, there will be a spacious room filled with loot to pick up. However, there’s more to the story. There is a little vault in front of the piano with two holders on each side.
We discovered that once you have completed the Shades of the Blight quest in Chapter 8, you can return to the room to find a wisp near the piano. Pass through it to let it start following you. Stand near one of the holders so it can sit on the respective one. A dialogue will play out. Examine the note on the vault afterward.
Now, head out of the Library Passage and back to the location of the statues that we marked red on the map. A wisp will be waiting there for you. Run through it and it shall automatically start following you. Head back to the secret room and let the wisp rest on the empty handle. A portal will now open in place of the blocked vault. Enter it, turn right, and interact with the blue object nearby to complete the puzzle.
There will be a small reward and a trophy/achievement called Nostalgia Trip. The rest of the reward was scattered in the secret room itself that you can collect now if you hadn’t already.
Looking For More?
Thank you for reading the article. We provide the latest news and create guides for Baldur’s Gate 3, Starfield, ARK Survival Ascended, and more. Also, watch Deltia play games on Twitch or visit his YouTube channel!
 Reddit
 Email
Email
