Facebook
 Reddit
 Email
Email
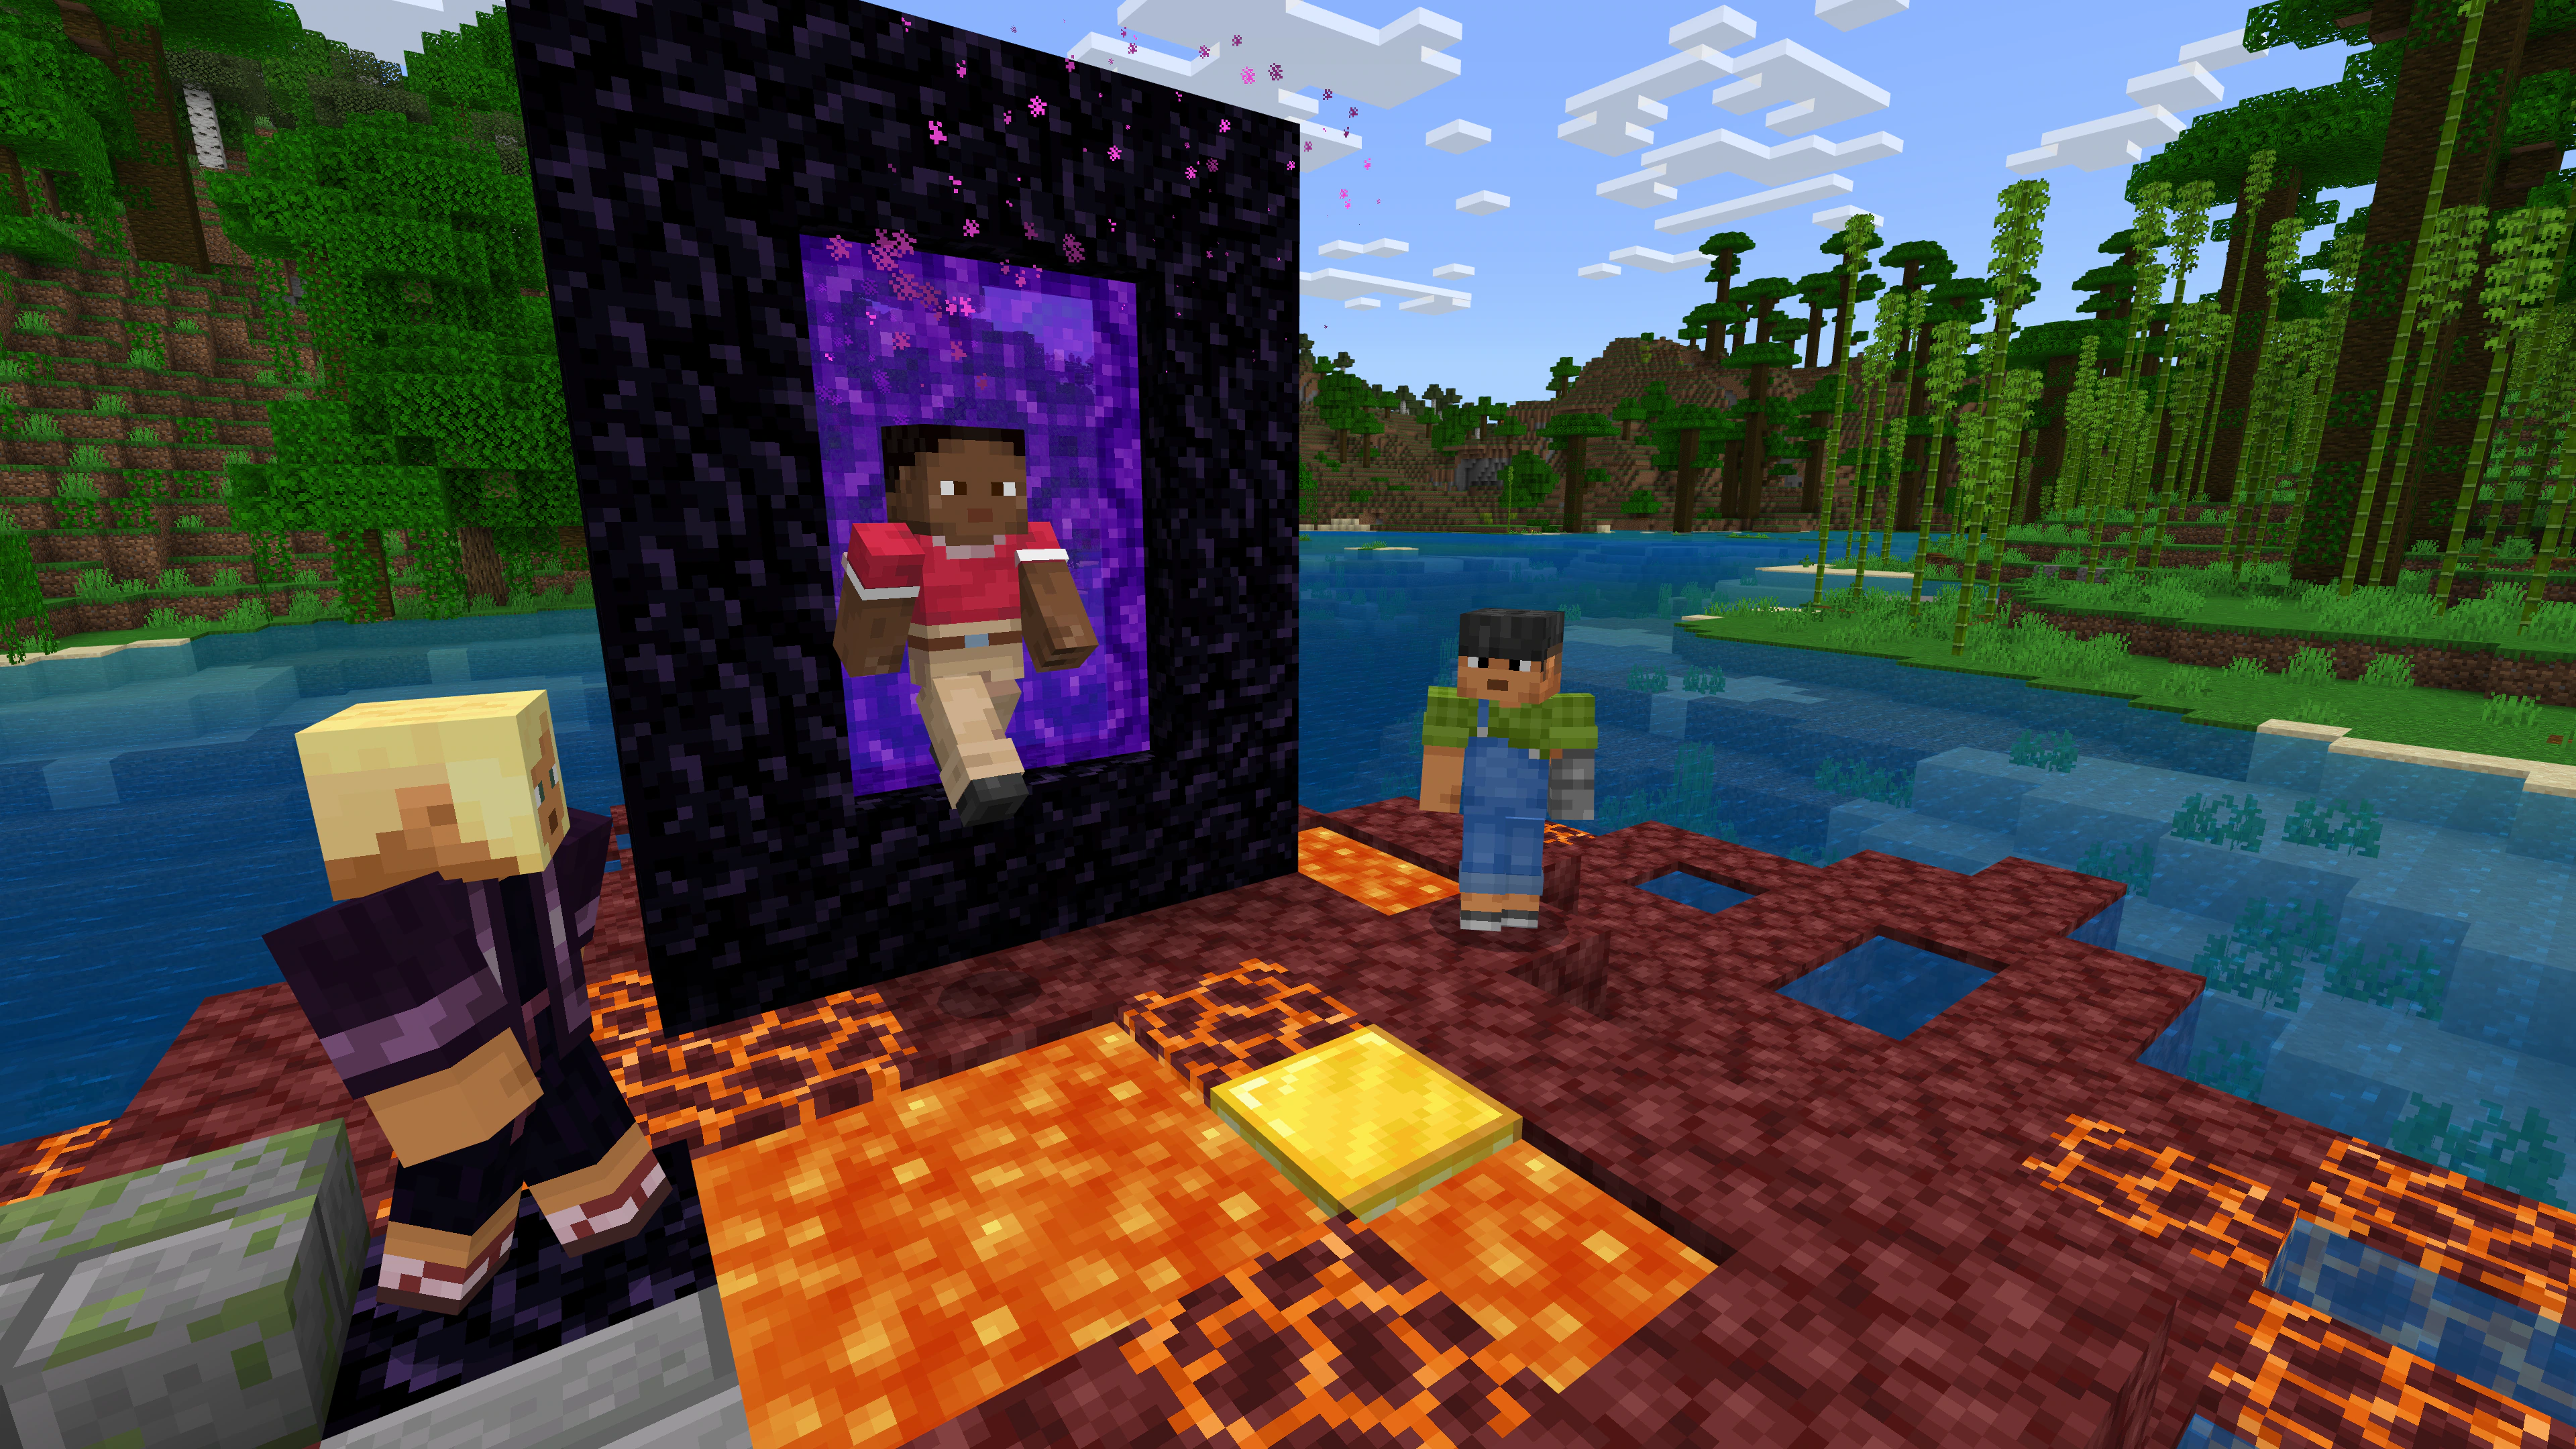
This guide explains how to download and install skins step-by-step in Mojang Studios’ hit sandbox game Minecraft.

Minecraft, the Mojang Studios’ massive hit sandbox game allows players to switch their skins. Since the sandbox game doesn’t feature any specific characters, players can use the official skins from Minecraft to customize their appearance.
Additionally, there are a wide collection of skins available online for players. Fortunately, most of these are free and can be downloaded from various websites. Downloading and installing skins in Minecraft is straightforward, and we have outlined the process step-by-step in this article.
Related: Is Minecraft Free-To-Play?
How To Download Minecraft Skins
As mentioned above, there are plenty of websites available out there offering free Minecraft skins. You can just search for Minecraft skins on the browser to access them. Websites like Skindex offer a wide range of Minecraft skins. You can scroll down the page to choose one from them.
Additionally, use the search option to find the exact skin you are looking for by entering names such as ‘Ninja’, ‘Knight’, ‘Vampire’, or anything else. Once you find your desired skin, click on the skin and then hit the download option. The skin will be downloaded in .‘png’ format.
Read More: Is Minecraft Worth Playing in 2025?
How to Install and Use Skins on Minecraft
Minecraft comes in two different editions: Java Edition and Bedrock Edition. While the process of downloading skins is the same for both editions, the installation process differs slightly. Below are the steps to install and use skins for both editions.
Installing Skins on Java Edition
- Open the ‘Minecraft Launcher’
- Select the ‘Java Edition’ and you will find a section called ‘Skins’ on the right. This section shows all your previously installed skins along with the one you are currently equipped.
- To install a new skin, hit the ‘New Skin’ option, which opens up the Add New Skin menu.
- Enter a name for your skin.
- Then hit the browse option to upload the skin file from your file manager. Upon successful upload, your skin on the left side will be updated to the new skin.
- Click ‘Save’ or ‘Save & Use’ to save and apply your skin.
- You can also choose your preferred model: Classic or Slim.
- You can switch to any of your installed skins in the ‘‘Skins’ section by clicking the ‘Use’ option.
That’s it, you have equipped your newly downloaded skin in Minecraft.
Installing Skins on Bedrock Edition
- Launch Minecraft Bedrock Edition.
- Click on the ‘Dressing Room’ option and then select ‘Edit Character’
- Switch to the ‘Classic Skins’ tab and open the ‘Owned’ menu to access the ‘Import’ option.
- Click on Import > Choose New Skin.
- Browse and upload your downloaded skin file from your device.
- After uploading, select either the Classic or Slim model to proceed.
That’s it! Your new skin is now equipped, and you can also view it in the main menu.
Looking For More?
Thank you for reading the article. We provide the latest news and create guides for Baldur’s Gate 3, Starfield, ARK Survival Ascended, and more. Also, watch Deltia play games on Twitch or visit his YouTube channel!