Facebook
 Reddit
 Email
Email
Accidentally deleted files from your SSD? Learn about free and paid recovery tools that might just save your data—even after Shift + Delete.
Losing essential data from your SSD can feel overwhelming. At times, this can happen due to a power failure or accidentally deleting files, such as the permanent delete (Shift + Del). It can trigger a lot of emotions, but staying calm in this kind of situation is mandatory.
If the file loss occurs on a drive where your system partition is located, then it’s best to turn off your PC or laptop, resort to an alternative device, and then find solutions there. Because an SSD involves numerous parameters, you cannot recover data from it as easily as you can from an HDD. This guide will walk you through both free and paid recovery solutions that can ultimately help you achieve a successful recovery.
Note: This article does not guarantee recovery success. For the best possible result, visiting the SSD’s vendor and requesting recovery is beneficial. These methods are available for end-users to use. Ultimately, if your files don’t get recovered, you can inform the vendors that you’ve tried all that and it still hasn’t worked, which would give you an advantage. They would then know precisely what could be done to retrieve it.
Understanding SSD Data Recovery Challenges
As mentioned earlier, it is best to turn off the PC where the affected SSD is used as a system drive. This implies constant read and write operations, which is problematic for a successful recovery process. You see, SSDs do not require defragmenting like HDDs do. The reason? Windows enables the TRIM command by default to maintain SSD performance and longevity.
When you delete a file, the TRIM command immediately marks its data blocks as available for new information and begins erasing them to maintain drive performance. This is precisely why defragmentation is not needed on an SSD and exactly why it complicates things if you continue using your drive after a file is deleted.
Windows 10/11 TRIM through weekly optimization routines, but in case of deletion, this is triggered instantly. When you empty your Recycle Bin or use Shift+Delete, the operating system sends instant deletion triggers through the AHCI or NVMe interface. Professional data recovery services ask you how long ago the file was deleted; in short, they mean, how long have you used the drive? Depending on your answer, they apply their patented methods to retrieve your files.
Free SSD Data Recovery Options
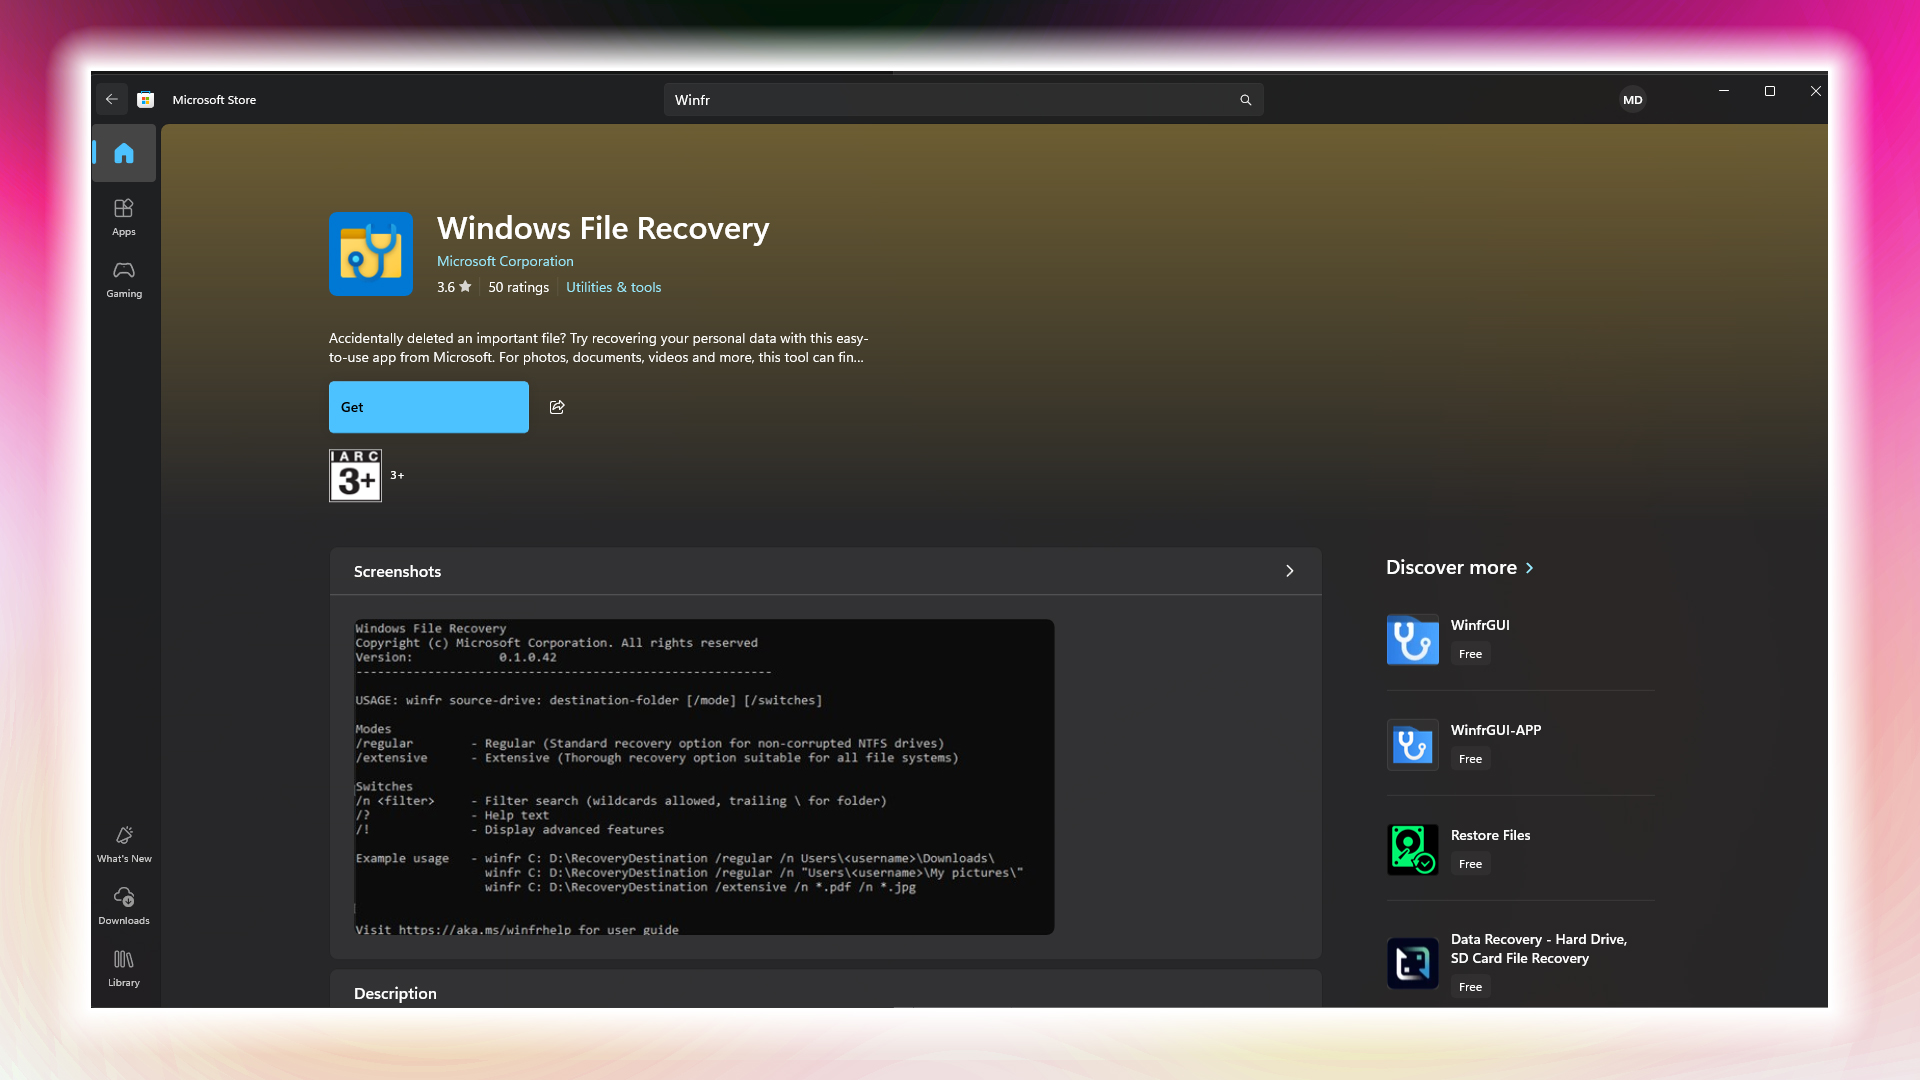
Microsoft Windows File Recovery (WinFR) is a free recovery agent and a built-in solution for you. You can download this free command-line tool from the Microsoft Store.
How to Use Windows File Recovery:
- Open Command Prompt as an administrator
- Use the basic syntax: winfr source-drive: destination-drive: /mode /switches
- For NTFS drives, use Regular mode for recently deleted files
- For older deletions or formatted drives, use the Extensive mode
Example Commands:
- Recover JPEG files: winfr C: E: /regular /n *.jpg
- Recover Documents folder: winfr C: E: /regular /n \Users\<username>\Documents\
- Recover all document types: winfr C: E: /segment /n *.doc* /n *.pdf /n *.xls
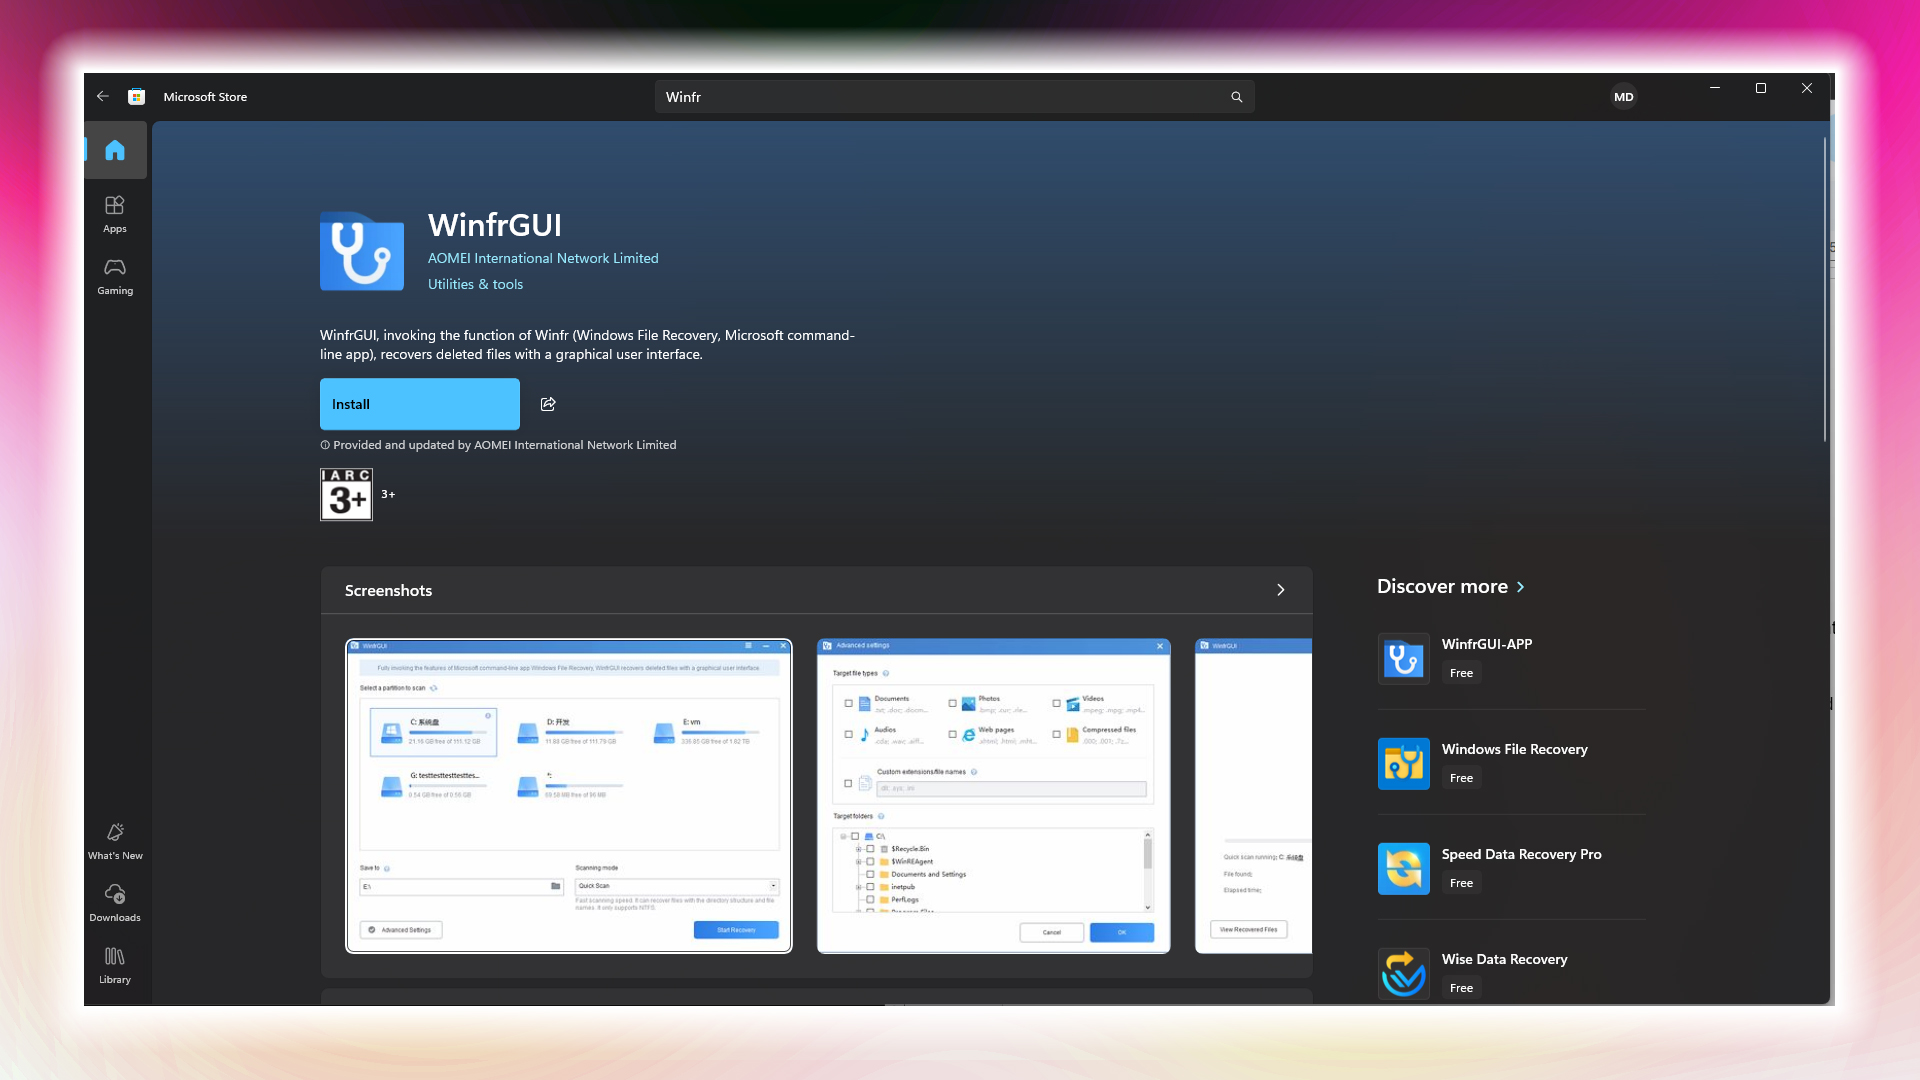
Alternatively, you can try WinFR GUI; to do this, open the Microsoft Store and download it. However, it offers more flexibility than regular WinFR, such as deep scanning and scanning for videos and archives, making it more like premium recovery software but free of cost.
Paid SSD Data Recovery Options
There are numerous paid recovery options available, from which we’ve selected the two most popular, boasting a high success rate.
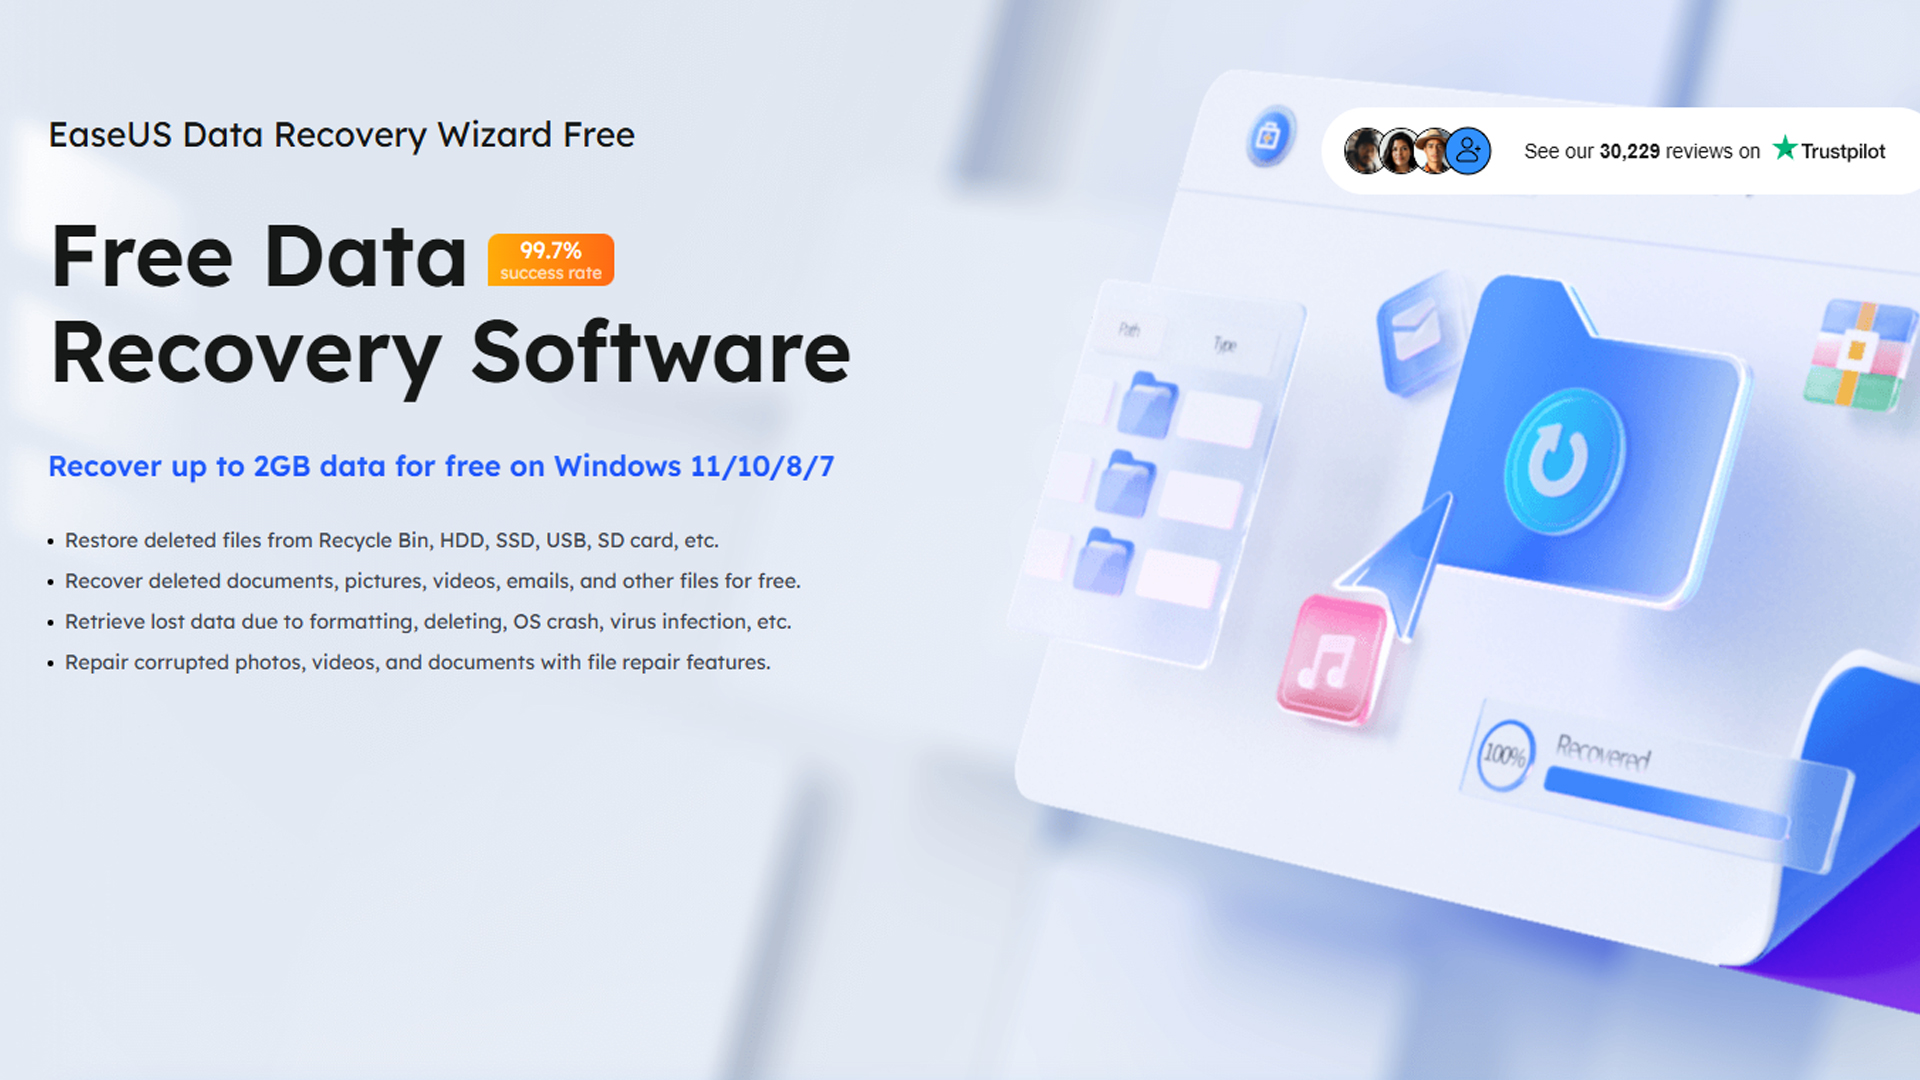
1. EaseUS Data Recovery Wizard
Out of all the other recovery options, EaseUS offers a free 2GB limit for recovery. If your file sizes are less than 2GB, give this a try. Nevertheless, EaseUS Data Recovery Wizard, once purchased, allows for unlimited recoveries and features unique scanning algorithms. The deep scan can recover files for you, provided you haven’t used the drive extensively, moved files to it, or downloaded content onto that drive.
2. R-Studio
Just like EaseUS, R-Studio also features unique algorithms, including forensic-level recovery tools. But it’s pricey. The success rate of any recovery wizard, free or paid, depends on whether the drive was left alone or extensively used.
Choosing Your Recovery Method
Here is a quick guide on what to do in various situations you may currently be in. You will need to purchase software to format drives and recover data from corrupted drives.
Recent Deletions:
- Start with Windows File Recovery or WinfrGUI
- Try EaseUS if the file is less than 2GB
Formatted Drives:
- Use the extensive scanning modes in all tools
- Consider TestDisk for severe formatting cases
- Try multiple tools if the first attempt fails
Corrupted SSDs:
- Start with professional tools like R-Studio
- Use deep scanning options
- Consider professional recovery services if these DIY methods fail.
Recovery Best Practices and How To Be Safe
Below are a few best practices that you can follow to increase the success rate of your data recovery. Also, we’ve mentioned a few guidelines that, if followed, will reduce recovery failures. It won’t directly prevent your data from getting lost, but you will have multiple copies so that when the original is lost, the copy can be restored.
- Always recover to a different drive – Never save recovered files back to the source SSD
- Use external storage – Save recovered files to an external drive or a different partition.
- Scan multiple times – Different tools may find different files.
- Verify recovered files – Check that recovered files open properly.
- Use Another System – If the lost file was on the system drive, switch the affected SSD to another PC or laptop as a secondary drive, then perform the recovery.
- Visit a Professional Recovery Service – If all else fails and you have no luck with recovery (which usually happens when recovery software displays an indefinite waiting time), consider visiting a professional recovery service.
Prevention Strategies
- Make regular backups, use cloud services, or back up to a reliable local drive.
- Utilize S.M.A.R.T. monitoring tools to track SSD health, ensuring you are prepared from the outset.
- Leave 10-20% of SSD capacity free for optimal performance
- Don’t ever defrag your SSD
- Keep firmware updated to prevent corruption issues
- Use proper shutdown procedures to prevent power-related corruption. Use a UPS for this
Conclusion
That wraps up the guide for SSD data recovery. Panicking and downloading things unknowingly can hamper the recovery process. There’s a 90% chance that DIY methods can recover your data if you’ve followed everything mentioned here, but if you’re still unsuccessful. It’s okay to give up DIY approaches, but consider visiting a professional recovery service. Tell them what you have done in detail, and they will help you recover your files.
We provide the latest news and “How To’s” for Tech content. Meanwhile, you can check out the following articles related to PC GPUs, CPU and GPU comparisons, mobile phones, and more:
- 5 Best Air Coolers for CPUs in 2025
- ASUS TUF Gaming F16 Release Date, Specifications, Price, and More
- iPhone 16e vs iPhone SE (3rd Gen): Which One To Buy in 2025?
- Powerbeats Pro 2 vs AirPods Pro 2: Which One To Get in 2025
- RTX 5070 Ti vs. RTX 4070 Super: Specs, Price and More Compared
- Windows 11: How To Disable Lock Screen Widgets