Facebook
 Reddit
 Email
Email
Learn all you need to know to complete the Death Stranding 2 Episode 1 in our step-by-step walkthrough guide.
![The beginning of Death Stranding 2 Episode 1 [Source: Kojima Productions/Deltias Gaming]](https://static.deltiasgaming.com/2025/06/Screenshot-5203.png)
- Death Stranding 2 Episode 1: How To Complete
- Return Home With Lou (Prologue)
- Deliver the Chiral Network Gateway To C1 – Ciudad Nudo del Norte
- Deliver One Or More Remote Medical Units To Villa Libre
- Recover All Chiral Density Gauges Stolen By Bandits
- Defeat The BTs Near The Former Geophysics Research Lab And Deliver The Prototype MP Bullets To The Lab
- Defeat the giant BT
- Deliver The Present For Lou
Death Stranding 2 begins with Episode 1 – Sam. Our walkthrough provides all the mission objectives of this episode, how you can go about completing them, and how the story goes.
If you are new to the Death Stranding franchise or have forgotten about the first chapter, check out our story recap to get a grasp on what’s going on in this strange, wonderful world from Hideo Kojima. Given this is a walkthrough, expect spoilers for what happens in Episode 1.
Death Stranding 2 Episode 1: How To Complete
Return Home With Lou (Prologue)
![Return to Sam's Shelter [Source: Kojima Productions/Deltias Gaming]](https://static.deltiasgaming.com/2025/06/Screenshot-5277.png)
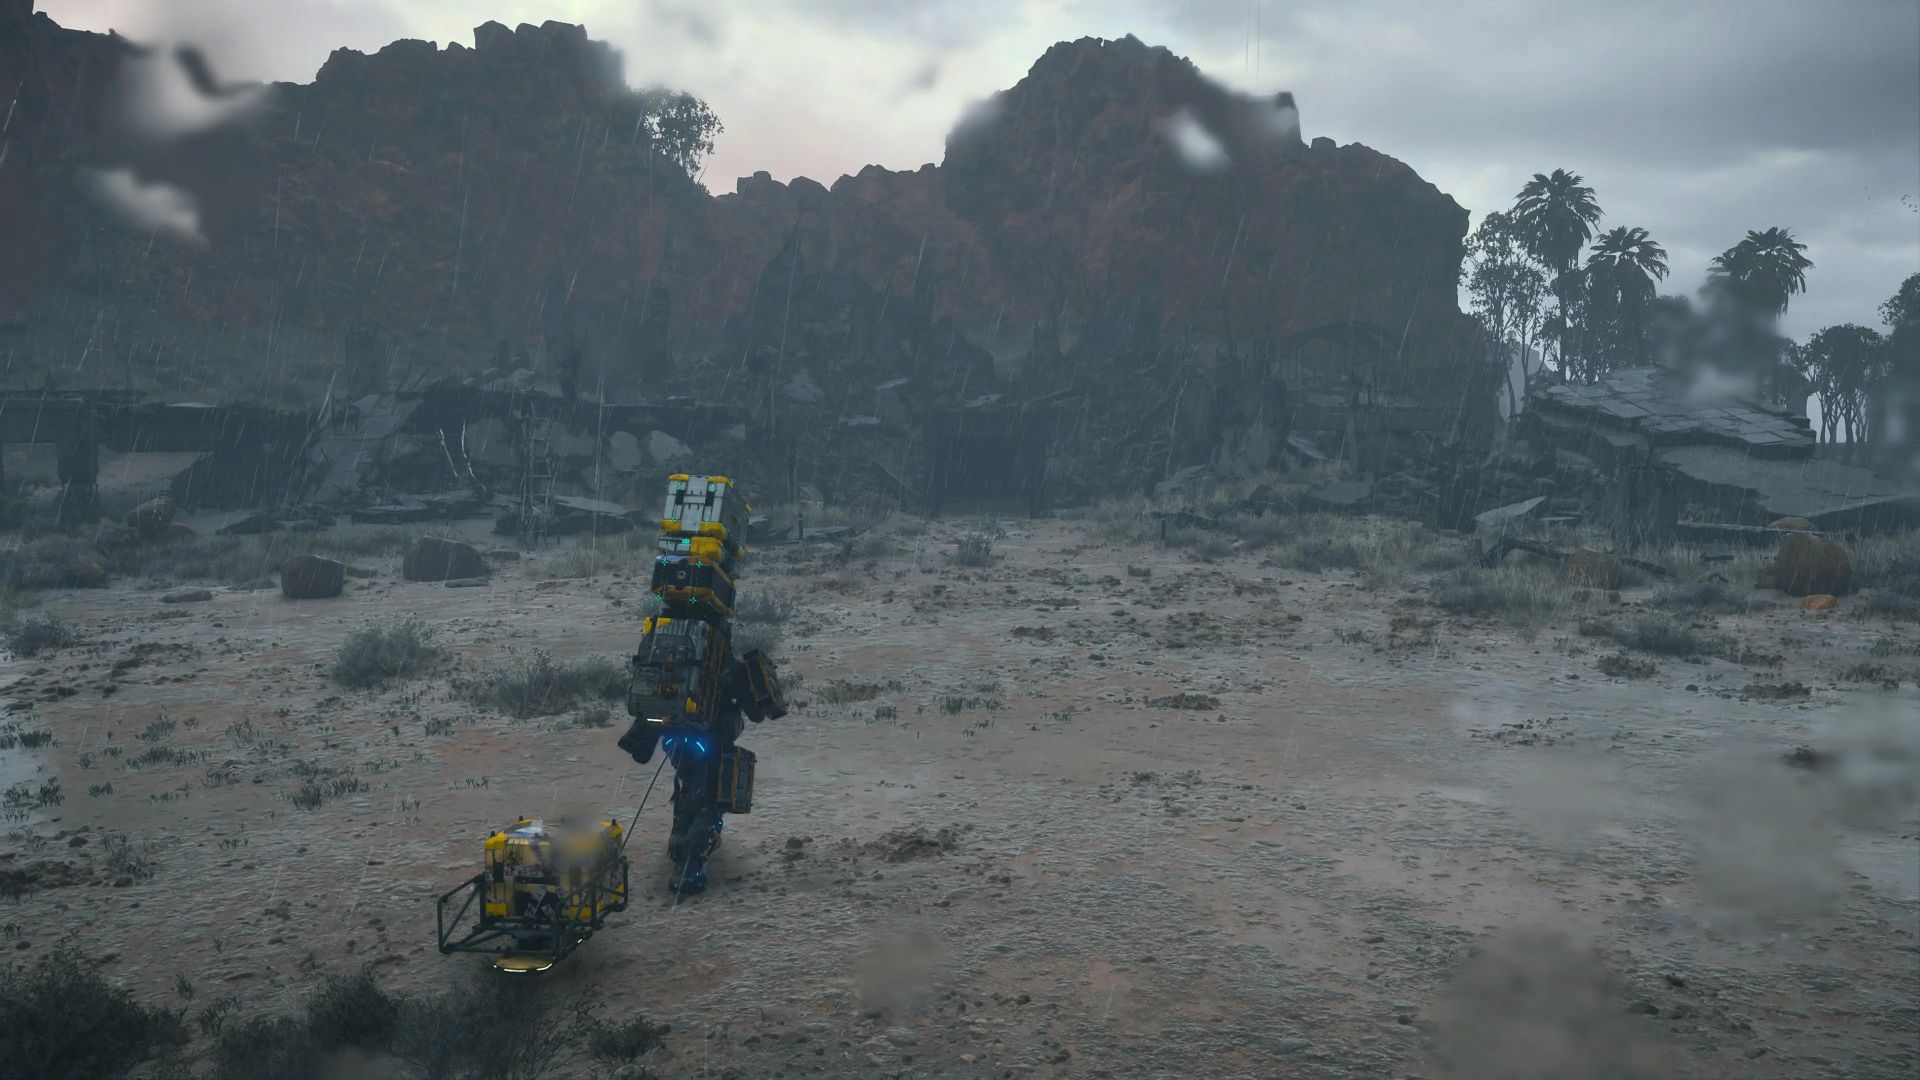
The game starts with this segment, as Sam and Lou are sitting atop a hill. The song in the background is Minus Sixty One from Woodkid. Your task is to navigate the rugged terrain ahead (ridges and valleys) and make your way to home (Sam’e shelter).
Completing this is quite straightforward, as you will just have to traverse the ground and go to the shelter. Use your Odradek (Press L1) to scan and gauge the terrain ahead. You will be encountering Gate Quakes, one of which will trouble Lou. Hold L1 and hit down on the D-pad to interact with Lou. Then gently rock your controller to Soothe Lou. If you fall down or get off balance, it will agitate Lou. Hold L1 and R1 to steady yourself whenever necessary.
Timefall will start about halfway through the journey. You will also have to cross a small river before getting to Sam’s shelter.
You can put a ladder across to make your way over quickly (hold right on the D-pad, select tools on the top left corner of the wheel, and then scroll to ladder to equip). Once equipped, hold L2 to decide where you will place the ladder and Press R2 to place it. You can also wade through the river, but that will cost more stamina, and you will have to walk against the current, adjusting your direction accordingly.
As you reach the shelter, a short cutscene plays of BTs appearing around the location. These are illusions – protective measures put in place by Sam to deter anyone who comes near. Sam will go ahead and trigger a switch, which will turn off the illusion and reveal the gate of the shelter. Both Sam and Lou will step inside.
![Sam and Lou [Source: Kojima Productions/Deltias Gaming]](https://static.deltiasgaming.com/2025/06/Screenshot-5278.png)
We get a glimpse of the life of Sam and Lou. Meanwhile, Fragile appears with a proposition for Sam. She is able to neuter the illusions and step right in. She provides crucial information regarding what’s going on with UCA, Bridges, herself, and the present predicament. Without going too much into what she says, Fragile proposes that Sam help the UCA and the Drawbridge in connecting all of Mexico to the chiral network.
His goal will be to reach a lab in southern Mexico where Deadman is currently located. The latter has something he wants to tell Sam in person. Furthermore, they are anticipating a giant BT to appear in the area and would like Sam’s help in dispatching it.
![Fragile is taking care of Lou [Source: Kojima Productions/Deltias Gaming]](https://static.deltiasgaming.com/2025/06/Screenshot-5287.png)
You have a few conversation threads to exhaust here before you are given the option to say yes or no. If you choose no, the screen will go dark, restart back at where this cutscene began with the record player, and zoom into a picture on the wall that is the exact scene of Fragile and Sam. You will again be given the option.
If you choose no, the same sequence will begin, but this time the image chosen is right where the game began with Sam and Lou atop the hill. Rest assured, the game doesn’t force you to play through that section again. You are snapped back to the choice yet again, but this time, you can only choose to say yes.
Fragile will decide to stay back and take care of Lou. This kicks off Episode 1 in Death Stranding 2.
Deliver the Chiral Network Gateway To C1 – Ciudad Nudo del Norte
![Bandits [Source: Kojima Productions/Deltias Gaming]](https://static.deltiasgaming.com/2025/06/Screenshot-5281.png)
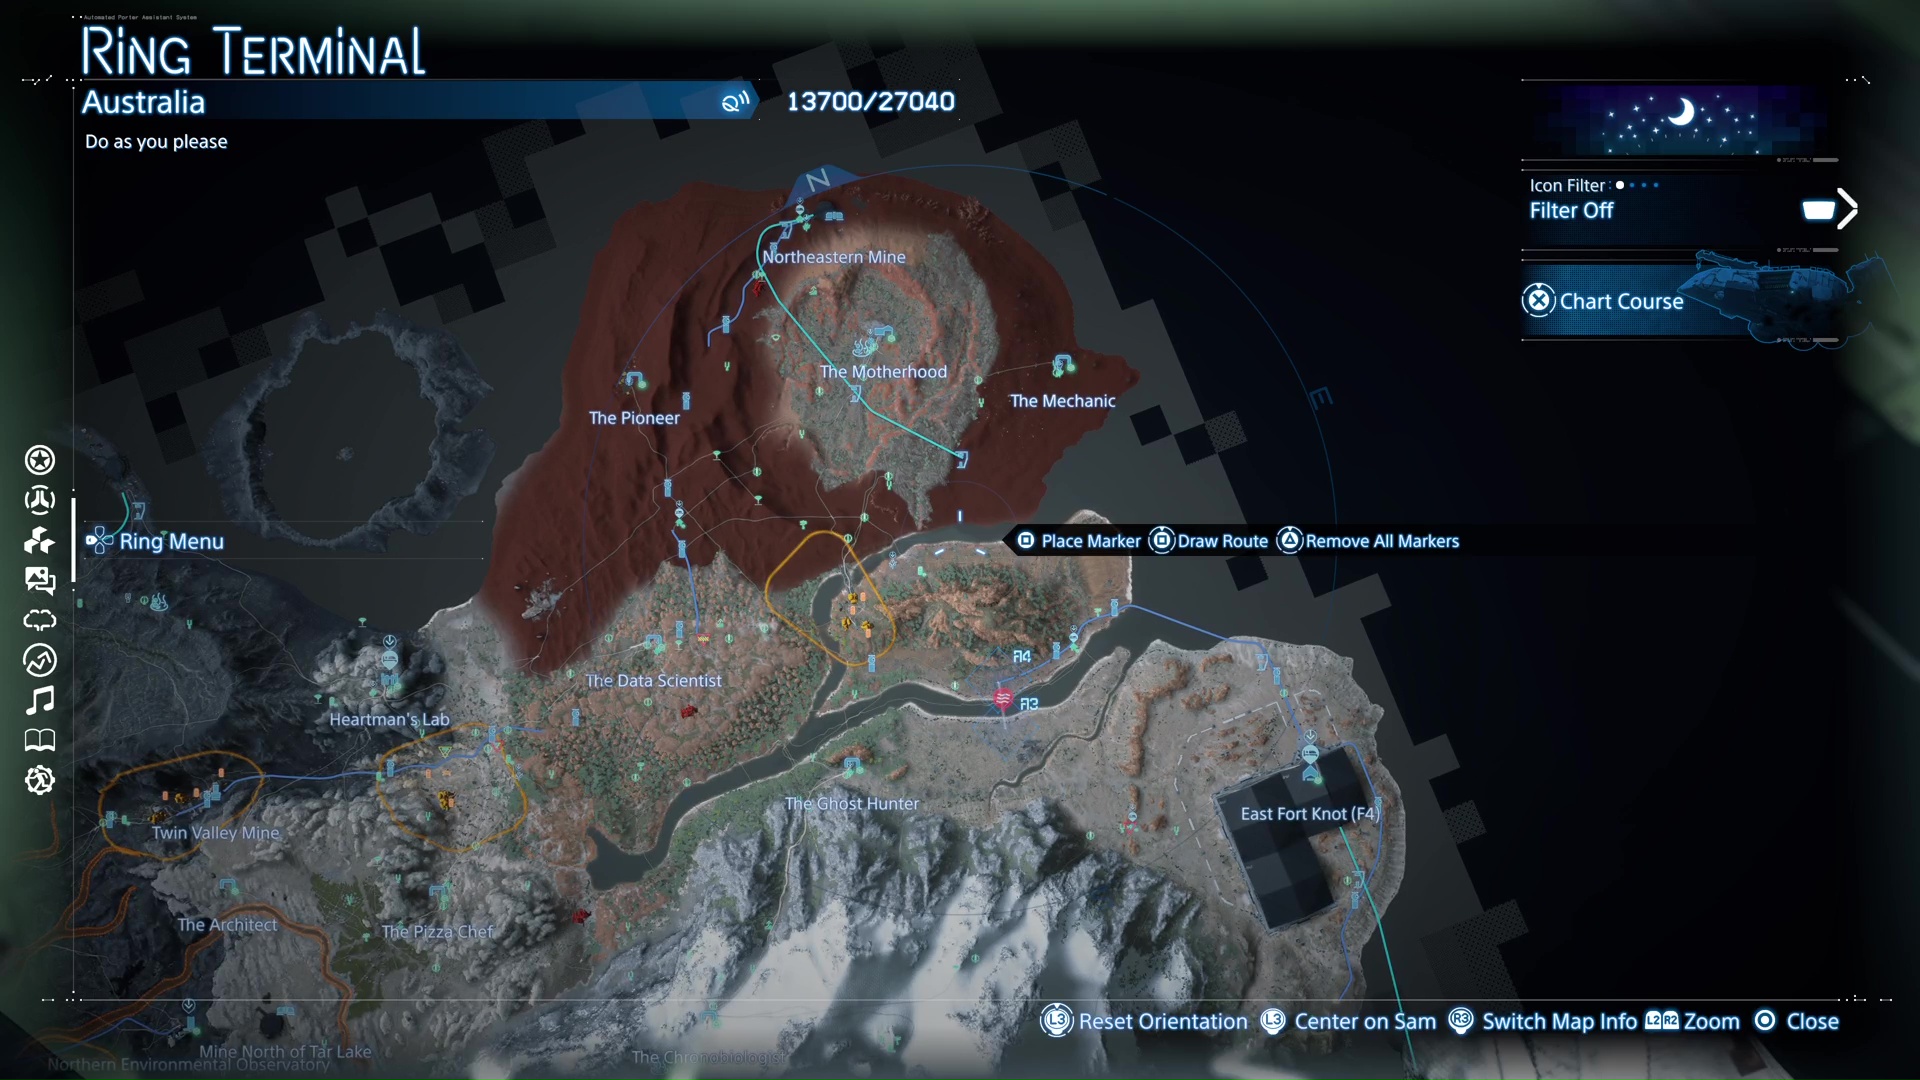
Fragile will hand you the Ring Terminal, one of your most important tools in Death Stranding 2. It allows you to check the map, look at the cargo, the route you are taking, and other in-game options. While the end goal of Episode 1 in Death Stranding 2 is to bring the research lab in southern Mexico, you will have to connect a few other places on the way to properly integrate Mexico into the network.
The first stop is C1 – Ciudad Nudo del Norte, where you will have to deliver the Chiral Network Gateway. Drawbridge provides you with the package, 1x Assault Rifle [MP] Lv1, 1x Maser Handgun, 1x Blood Bag, and 1x Ladder. You can use auto-arrange (Hold Triangle) to sort how you distribute all of them. Your next step will be to plot a delivery route.
Apart from natural obstacles like steep climbs, uneven surfaces, and water bodies, bandits and MULEs are ever-present threats. The main bridge that helps you cross the river on the way to Ciudad Nudo del Norte is under the control of bandits. Killing one of them should be the absolute last measure (because of the troubles with disposing of the corpse and voidouts).
The best route to take is to go to the left of the Bandit’s encampment. On the map, you will notice that a tall metal fence runs parallel to the river. This fence has two breaks on the left side. Take the left-most option and pass through. A sandstorm will likely be sweeping through, providing you with further cover.
Stay close to the river and walk straight to the bridge. Once there, use the broken vehicles to cross the river. You can avoid the human-made structures up ahead, hold left to them, and make your way to Ciudad Nudo del Norte. The rest of the journey will not have any trouble for you. Deliver the cargo (and any lost items you picked up along the way) and use the Q-pid to bring them into the fold of the chiral network.
Deliver One Or More Remote Medical Units To Villa Libre
![Delivering to La Madre [Source: Kojima Productions/Deltias Gaming]](https://static.deltiasgaming.com/2025/06/Screenshot-5294.png)
Make your way to the surface from your Private Room and access the terminal to take the order. While the straight route to Villa Libre from Ciudad Nudo del Norte runs through a Bandit camp, you can go right and completely circumvent the threat. Take the route shown in the image to have an easier time without confronting any foe.
In this order, you will be told to carry Container Repair Spray. Timefall damages containers during prolonged exposure. The repair spray reverses the said damage. Hold right on the D-pad, select tool, and select Container Repair Spray.
Make it face forward if you are spraying items in front of you on the ground, or backwards if you are aiming for containers on you. If you are taking the route shown in the image, Ladders and Climbing Anchors will come in handy to navigate the rugged terrain and cross the river.
This order is straightforward and shouldn’t take you too long to complete. Deliver the cargo as usual and pick up the next one that comes up after you bring Villa Libre into the chiral network.
Recover All Chiral Density Gauges Stolen By Bandits
![Next Mission in Death Stranding 2 Episode 1 Walkthrough [Source: Kojima Productions/Deltias Gaming]](https://static.deltiasgaming.com/2025/06/Screenshot-5295.png)
The next step in the Death Stranding Episode 1 Walkthrough will force you into conflict as you will have to recover two Chiral Density Gauges that bandits stole from the C1 South Distribution Center. Furthermore, the camp is in a forest with a river flowing through it in the middle.
Your first job will be to construct a Watchtower on the periphery of the camp at a designated spot. You will need a PCC to make the structure (hold right on D-pad, select PCC from Tools, and select what you want to build).
Keep in mind that there are chiral creatures in the forest, hostile lifeforms that look like spiders. While they can be seen moving idly in groups on the forest floor, they will come into a frenzy at the first contact with Sam. All of the creatures present at the location will then start zooming towards Sam. You will lose blood at each contact. If you are attacked by any, the safest option we found is to make a run for it.
After going a bit in the forest, you will see a rugged stony path on your left that’s a steep climb. You can take it to cross the hill and avoid the forest. Ladders/Climbing Anchors left by others can also quicken the journey. On the other side of the hill, you can beeline straight to where the watchtower has to be built.
Once you have constructed it, use it to mark all the guards, the location of the Chiral Density Gauges, and any other points of interest. Once you are sure you have gotten all the information you need, make your way ahead. It would likely be night by now.
The Maser Handgun is your best option here. Hold L2 and then R2 to charge up the gun. Once charged up, simply aim at a bandit to incapacitate them.
![Tackling threats with Maser Gun [Source: Kojima Productions/Deltias Gaming]](https://static.deltiasgaming.com/2025/06/Screenshot-5298.png)
There’s only one camp on this side of the river, which has one of the Chiral Density Gauges. You will have one enemy close to the camp and one a little farther to the left. Take care of them as you see fit and pick up the Chiral Density Gauge.
Follow the path down to the river and cross it. Best to use a ladder here to quickly make it across. Climb straight up and go behind the big white tent. There are two enemies nearby here. Another enemy is behind a little farther up. The final Chiral Density Gauge is in the farthest corner of the camp in a tent. There will be only one enemy nearby.
Once you have gathered both the Chiral Density Gauges, step out of the tent and follow the road up, keeping to the right. You will notice a hole in the stone wall to the right. Go through it straight, take a left in the clearing, and keep running straight towards your final destination. Deliver the cargo, and you can rest in the Private Room. Deadman will visit you there and start sharing information.
Defeat The BTs Near The Former Geophysics Research Lab And Deliver The Prototype MP Bullets To The Lab
![Encountering BTs in Death Stranding 2 Episode 1 Walkthrough [Source: Kojima Productions/Deltias Gaming]](https://static.deltiasgaming.com/2025/06/Screenshot-5305.png)
This is the final stretch of reaching Deadman’s lab in the Death Stranding 2 Episode 1 Walkthrough, and the first time where you will have to encounter BTs and eliminate them.
For this, you will have Blood Grenades in your arsenal. They are potent weapons against the BTs. Hold right on the D-pad, choose weapons, and select Blood Grenades. Each has five uses. You will have to aim, holding L2 and then hit R2 to chuck it at the target. Provided you didn’t miss, the BT will screech and then disappear.
Given that a BT encounter can go south really quickly, the Timefall Shelter comes in handy. We will advise to make one (or use one if already put by some other porter) near the ruins where you will be tackling BT. A Timefall Shelter reverses any Timefall damage to the container and also repels any BT that is chasing you. You can keep the precious cargos at the Timefall Shelter and only carry Blood Grenades and Blood Bags for the skirmish.
With all this in place, hit R1 to crouch and enter the ruins. Sam’s heightened DOOMS will make the silhouette of BTs visible. Get as close as you can to make a successful throw and chuck the Blood Grenade. Be careful not to be caught (hold R1 to hold breath for a limited time). Once you have eliminated several BTs, the chiral density will fall within the normal range, and the BT threat will be neutralized.
Go to the Timefall Shelter to retrieve the cargo and then make your way to the Former Geophysics Research Lab. Deliver the cargo, connect the location to the chiral network, and go to your Private Room.
Defeat the giant BT
![The Giant BT in Death Stranding 2 Episode 1 Walkthrough [Source: Kojima Productions/Deltias Gaming]](https://static.deltiasgaming.com/2025/06/Screenshot-5322.png)
Go back to the surface and access the terminal to kick off the task. The Assault Rifle [MP] can now be used to counter BTs. Carry a couple (although you will find more as you fight the giant BT too) of them, Blood Grenades, and Blood Bags for this mission. A short cutscene will ensue once you step out of the shelter, revealing the giant BT. It is a giant head separated into two halves because of a crack in the middle.
The giant head has tentacles that it can use to slam the ground or do vertical sweeps. You can hold L2 and hit X to evade attacks. Keep shooting your Assault Rifle to whittle down the yellow health bar visible atop the giant head.
After it loses a certain percentage of health, it will disappear into the tar and reappear at a different location. It can throw vehicles at you and use long tendrils from afar to attack you. Once you defeat the BT, there will be a large amount of Chiral crystals for you to pick up. Go to the research lab’s private room to rest. Deadman will restart his conversation with you.
Deliver The Present For Lou
![Deliver the Present to Lou [Source: Kojima Productions/Deltias Gaming]](https://static.deltiasgaming.com/2025/06/Screenshot-5290.png)
The final job in Death Stranding 2 Episode 1 is to get Deadman’s present back to Lou. Rest assured, the journey will be really short this time around, as you will have access to a vehicle, tri-cruisers. Carry PCCs to make generators to charge on the way if necessary.
On the map, you will be able to notice flat ground in between the hills. Make use of that space and move ahead. The tri-cruisers can be used to cross the river (with the wheels changing shape to become some sort of flippers).
Once you cross the first big river we did back in the first order of Episode 1, make sure you once again utilize the break in the fence to cross through. As you are making your way back to Sam’s shelter, you will get a notification that the place is under attack from hostile armed individuals.
Once you reach the place, you will find the room empty. You will have to come back outside and use the Odradek to scan for Fragile’s footstep (pink footsteps). Use the tri-cruiser and follow them. You will soon find Fragile, who will tell you what went down and where Lou is.
This will bring Episode 1 of Death Stranding 2 to an end. You can learn more about the next chapter in our Death Stranding 2 Episode 2 Walkthrough.
We provide the latest news and create guides for Death Stranding 2. Meanwhile, you can check out the following Death Stranding 2 articles or catch us playing games on Twitch and YouTube: