Facebook
 Reddit
 Email
Email
Learn how to craft a one-bar Arcane Dragon Templar build using subclassing in ESO to solo any PvE challenge with ease.
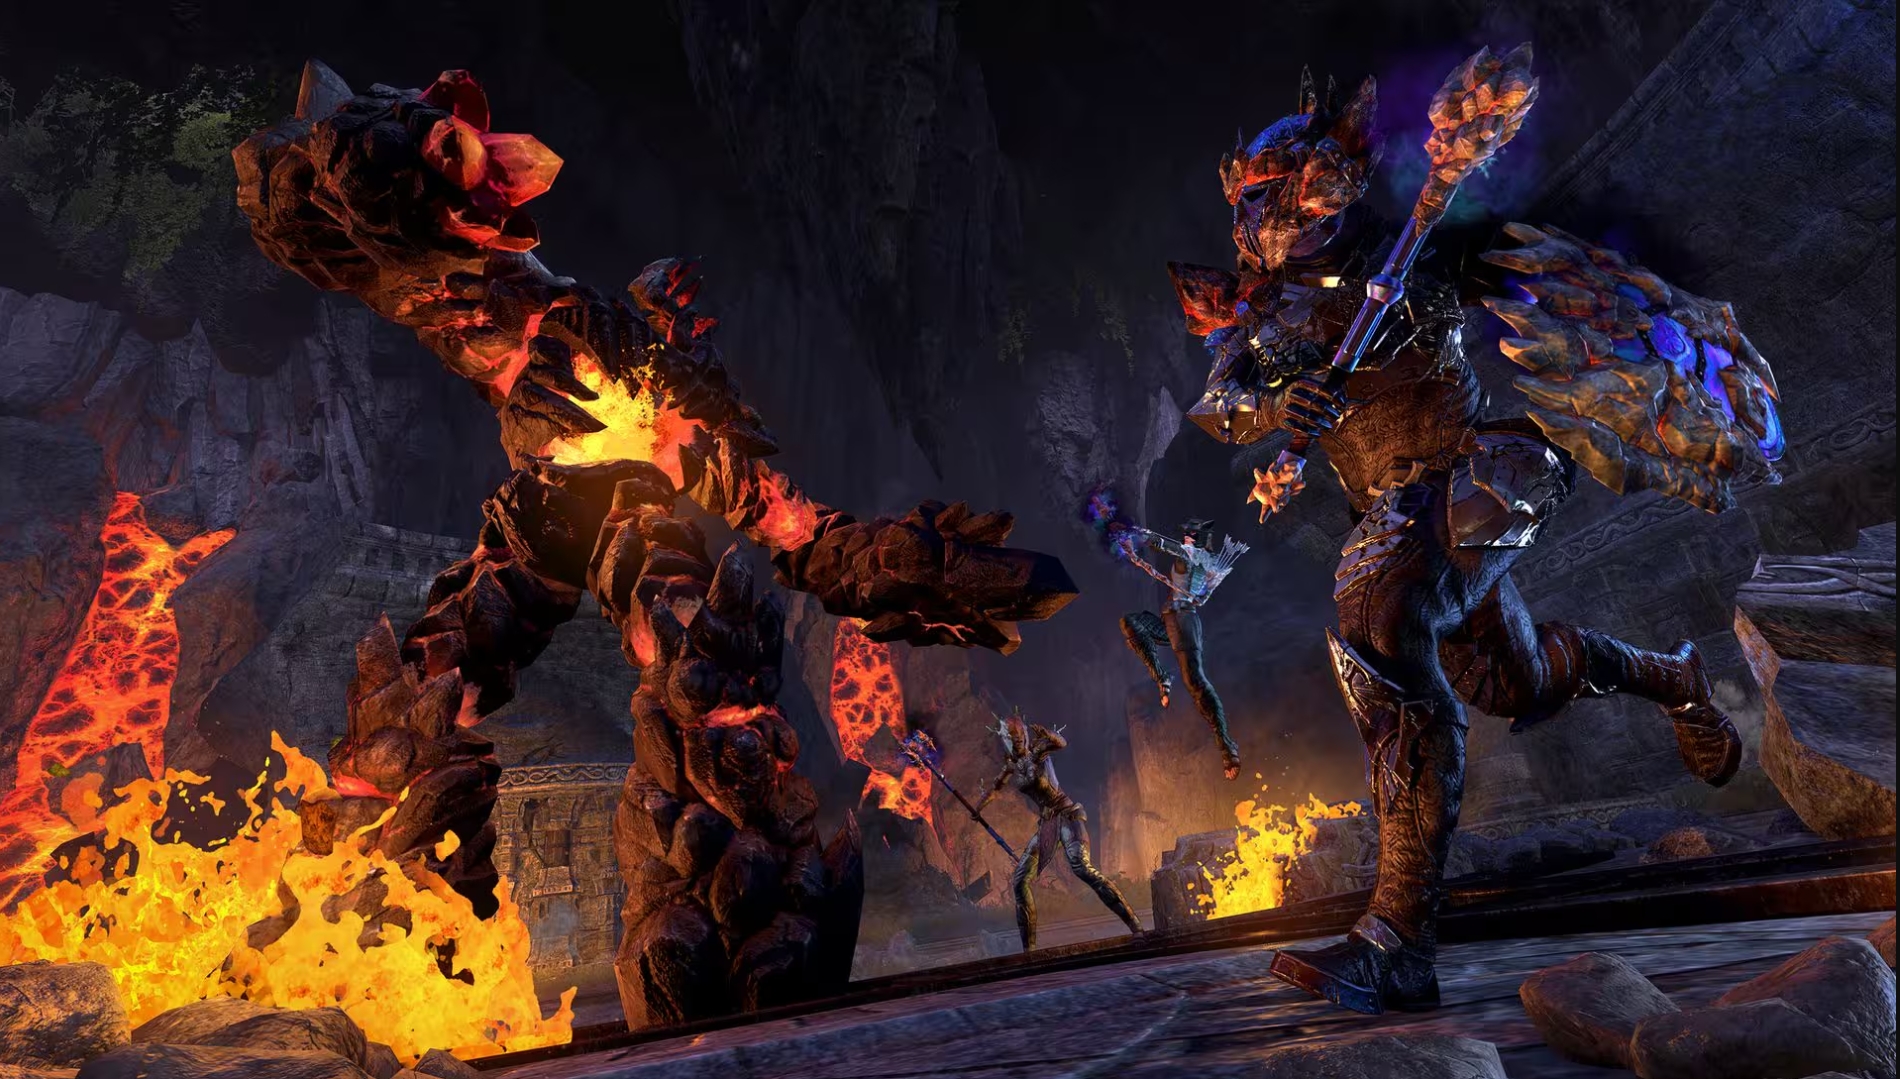
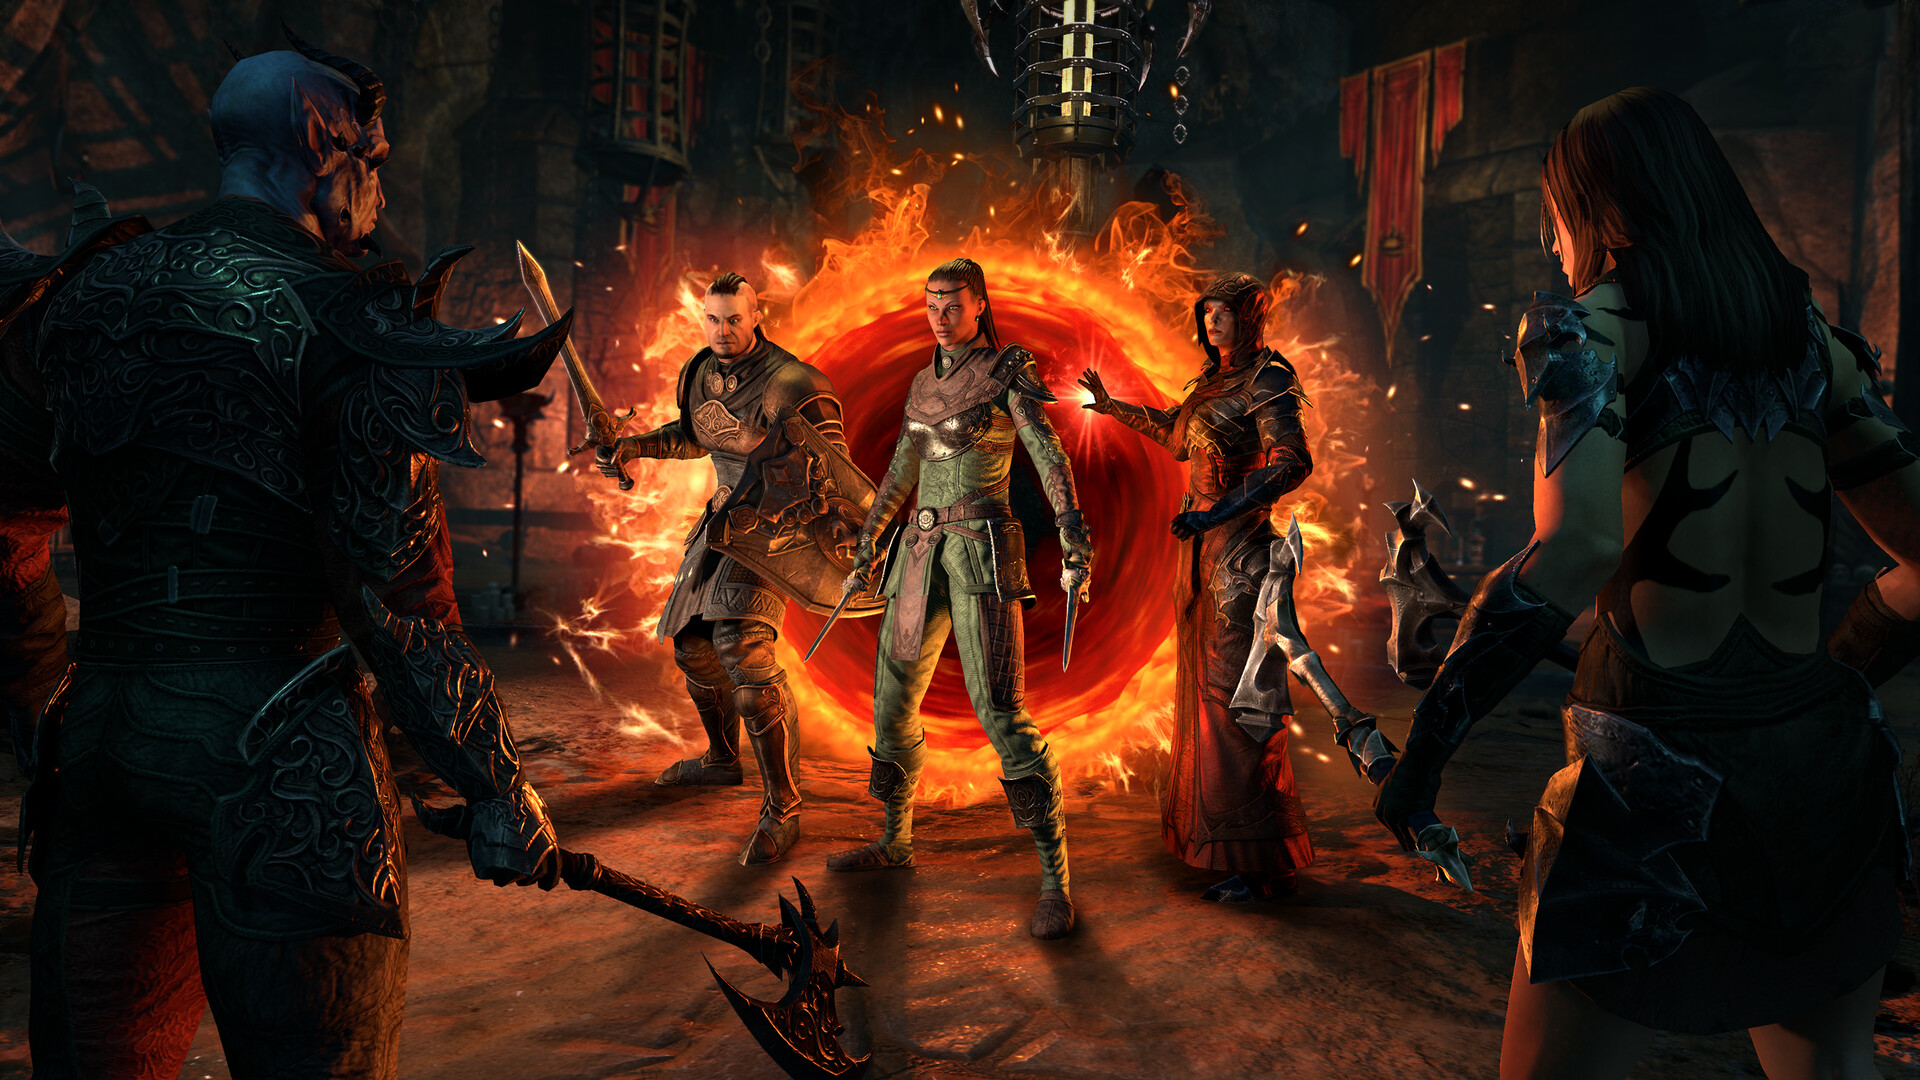
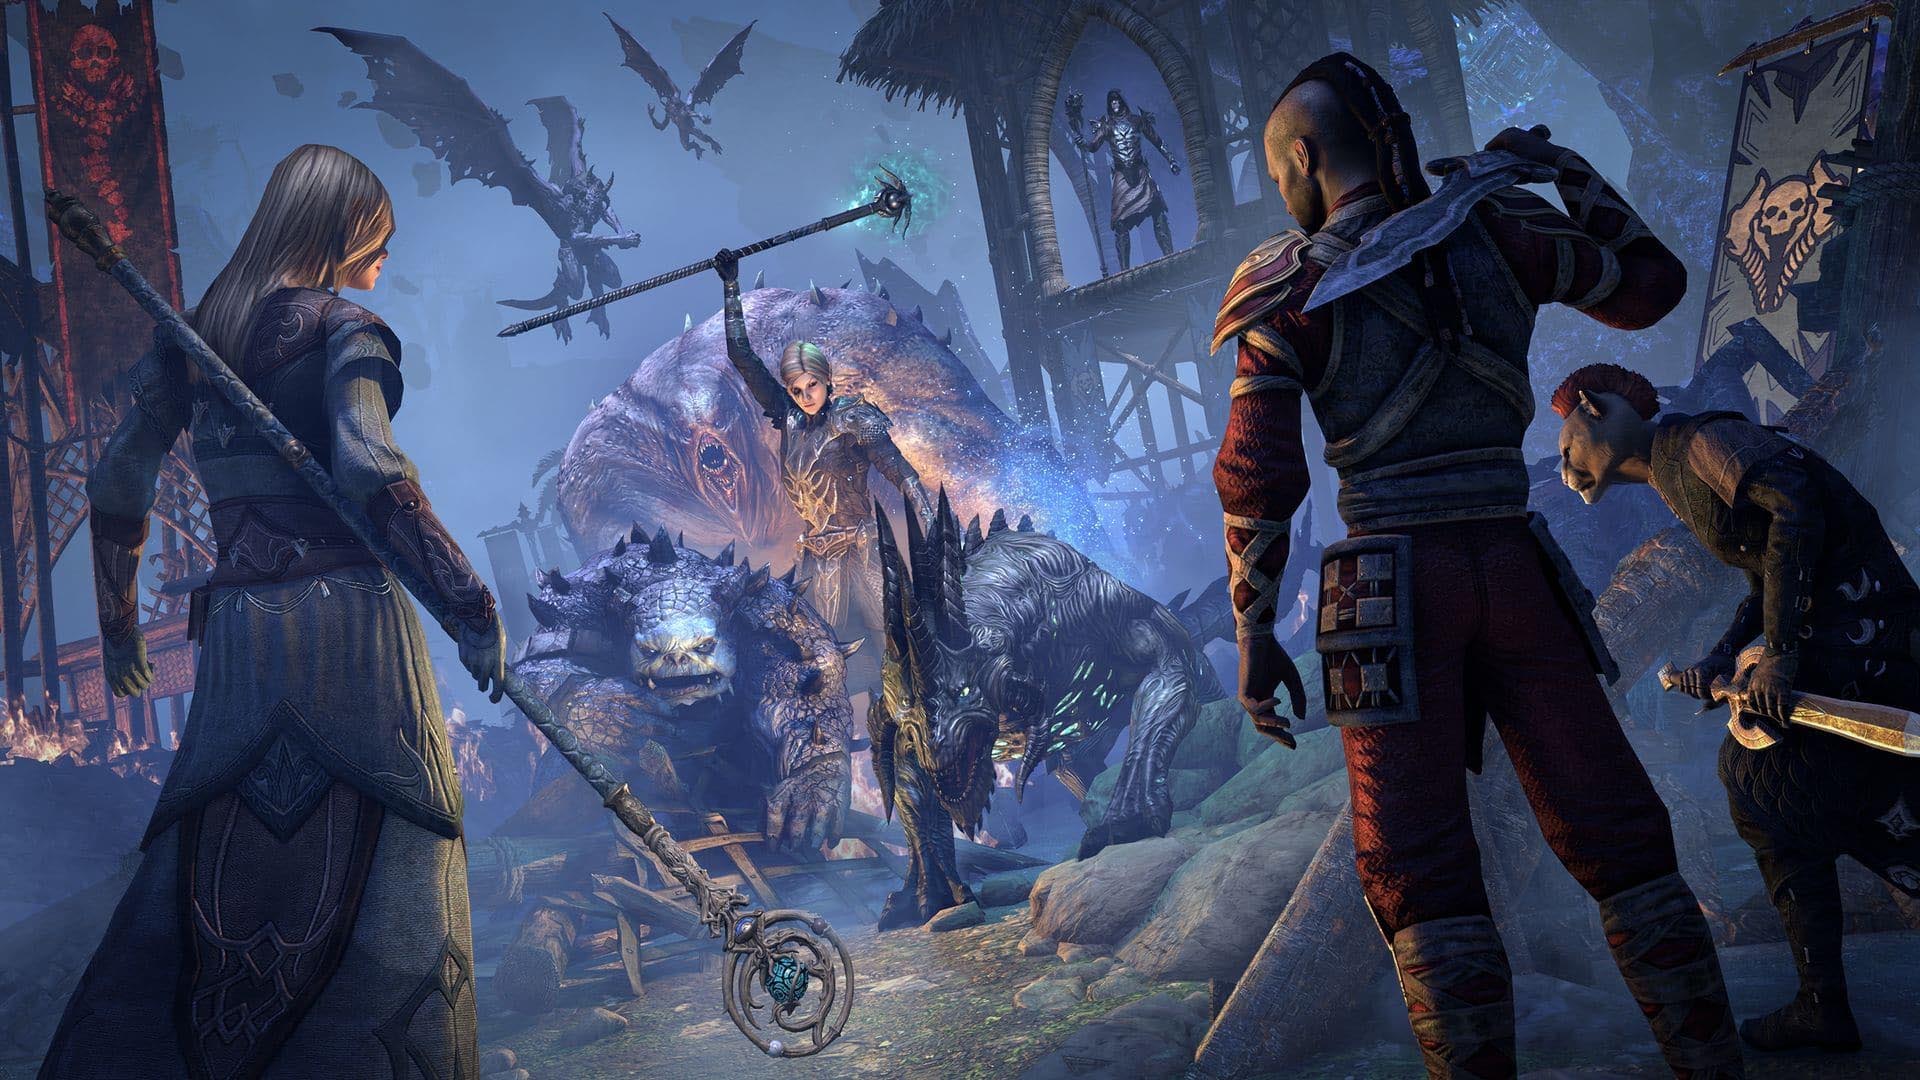
This one-bar Arcane Dragon Templar build in The Elder Scrolls Online combines the strengths of Dragonknight, Templar, and Arcanist into a powerhouse capable of handling any solo challenge. The build can solo all content in the game, including veteran DLC dungeons, trial bosses, arena bosses, and world bosses. Its combination of heavy armor, precise gear choices, and optimized champion points ensures high performance without requiring complex bar swapping.
Table of contents
ESO: Templar-Dragonknight-Arcanist Subclassing Build Guide
- Base Class – Dragonknight
- Weapon One – Deadly Strike Lightning Staff (Precise. Flame)
- Armor Types – 6 Heavy, 1 Medium
- Race – High Elf
- Attributes – 64 Health
- Mundus Stone – Atronach
Class Skill Lines
- Ardent Flame (Dragon Knight)
- Aedric Spear (Templar)
- Soldier of Apocrypha (Arcanist)
Subclassing
The build’s subclassing merges Dragonknight’s DOT pressure, Templar’s healing-through-damage mechanics, and Arcanist’s defensive tools, creating a self-sustaining build that thrives in prolonged fights while remaining strong in both solo and group content.
Also Read: ESO Subclass Power Leveling Guide 2025
Templar-Dragonknight-Arcanist Skills
Primary:
- Runeguard of Still Waters
- Lingering Flare
- Puncturing Sweep
- Burning Embers
- Noxious Breath
- Sanctum of the Abyssal Sea (Ultimate)
Runeguard of Still Waters serves as the build’s panic button. When health is below 50%, casting Runeguard of Still Waters will heal the player with the next enemy attack, with the healing scaling off max health. Using heavy armor passives and +64 health attributes to increase max health empowers Runeguard of Still Waters further, making it a safety net for solo runs.
Lingering Flare provides a 10% damage reduction while slotted and reveals hidden and invisible enemies around you. Alternatively, you can use Explosive Charge if Lingering Flare isn’t unlocked or leveled up. Use Noxious Breath when Magicka begins to run low and you are crowded by enemies. The ability deals poison DOT and is spammable for dishing out AoE damage.
Puncturing Sweep is a spammable and primary source of damage for this build. It provides single target damage, AoE damage, and healing upon use. The healing scales with the damage dealt by the ability, further incentivising boosting its damage. To do so, the build uses the Deadly Strike set, which increases channeled attack damage and DOT (Damage Over Time) by 15% with its 5-item set bonus.
Since Puncturing Sweep is a channeled attack, it benefits from the 15% damage increase from the Deadly Strike set. Several of the other skills deal DOT, enhancing the set bonus’ value further. For example, Burning Embers deals DOT and heals the player based on the damage dealt. Therefore, the Deadly Strike set synergizes extremely well with the skills, boosting Burning Embers and Puncturing Sweep, scaling their healing with the increased damage.
Sanctum of the Abyssal Sea is the ultimate ability in the skill loadout and should be saved for tough bosses. It creates a shield around the player, absorbing 60% of all incoming damage for 10 seconds. After 10 seconds, you lash out, dealing all the absorbed damage as Magicka damage in a five-meter radius.
Champion Points
Warfare Constellation Champion Points
- Master-at-Arms
- Biting Aura
- Ironclad
- Fighting Finesse
Fitness Constellation Champion Points
- Fortified
- Rejuvenation
- Boundless Vitality
- Bracing Anchor
Craft Constellation Champion Points
- War Mount
- Gifted Rider
- Sustaining Shadows
Equipment
| Slot | Type | Set |
|---|---|---|
| Head | Heavy | Kra’gh |
| Shoulders | Heavy | Tide-Born |
| Chest | Heavy | Tide-Born |
| Legs | Heavy | Tide-Born |
| Hands | Heavy | Tide-Born |
| Feet | Heavy | Tide-Born |
| Waist | Medium | Deadly Strike |
| Weapon One | Lightning Staff | Deadly Strike |
| Necklace | Jewelry | Deadly Strike |
| Ring 1 | Jewelry | Deadly Strike |
| Ring 2 | Jewelry | Oakensoul |
Consumables
- Tri-Pots Potion
- Ozorga’s Smoked Bear Haunch
Thank you for reading the ESO Guide. We provide the latest news and create guides for ESO. Also, watch Deltia play games on Twitch or visit his YouTube channel!